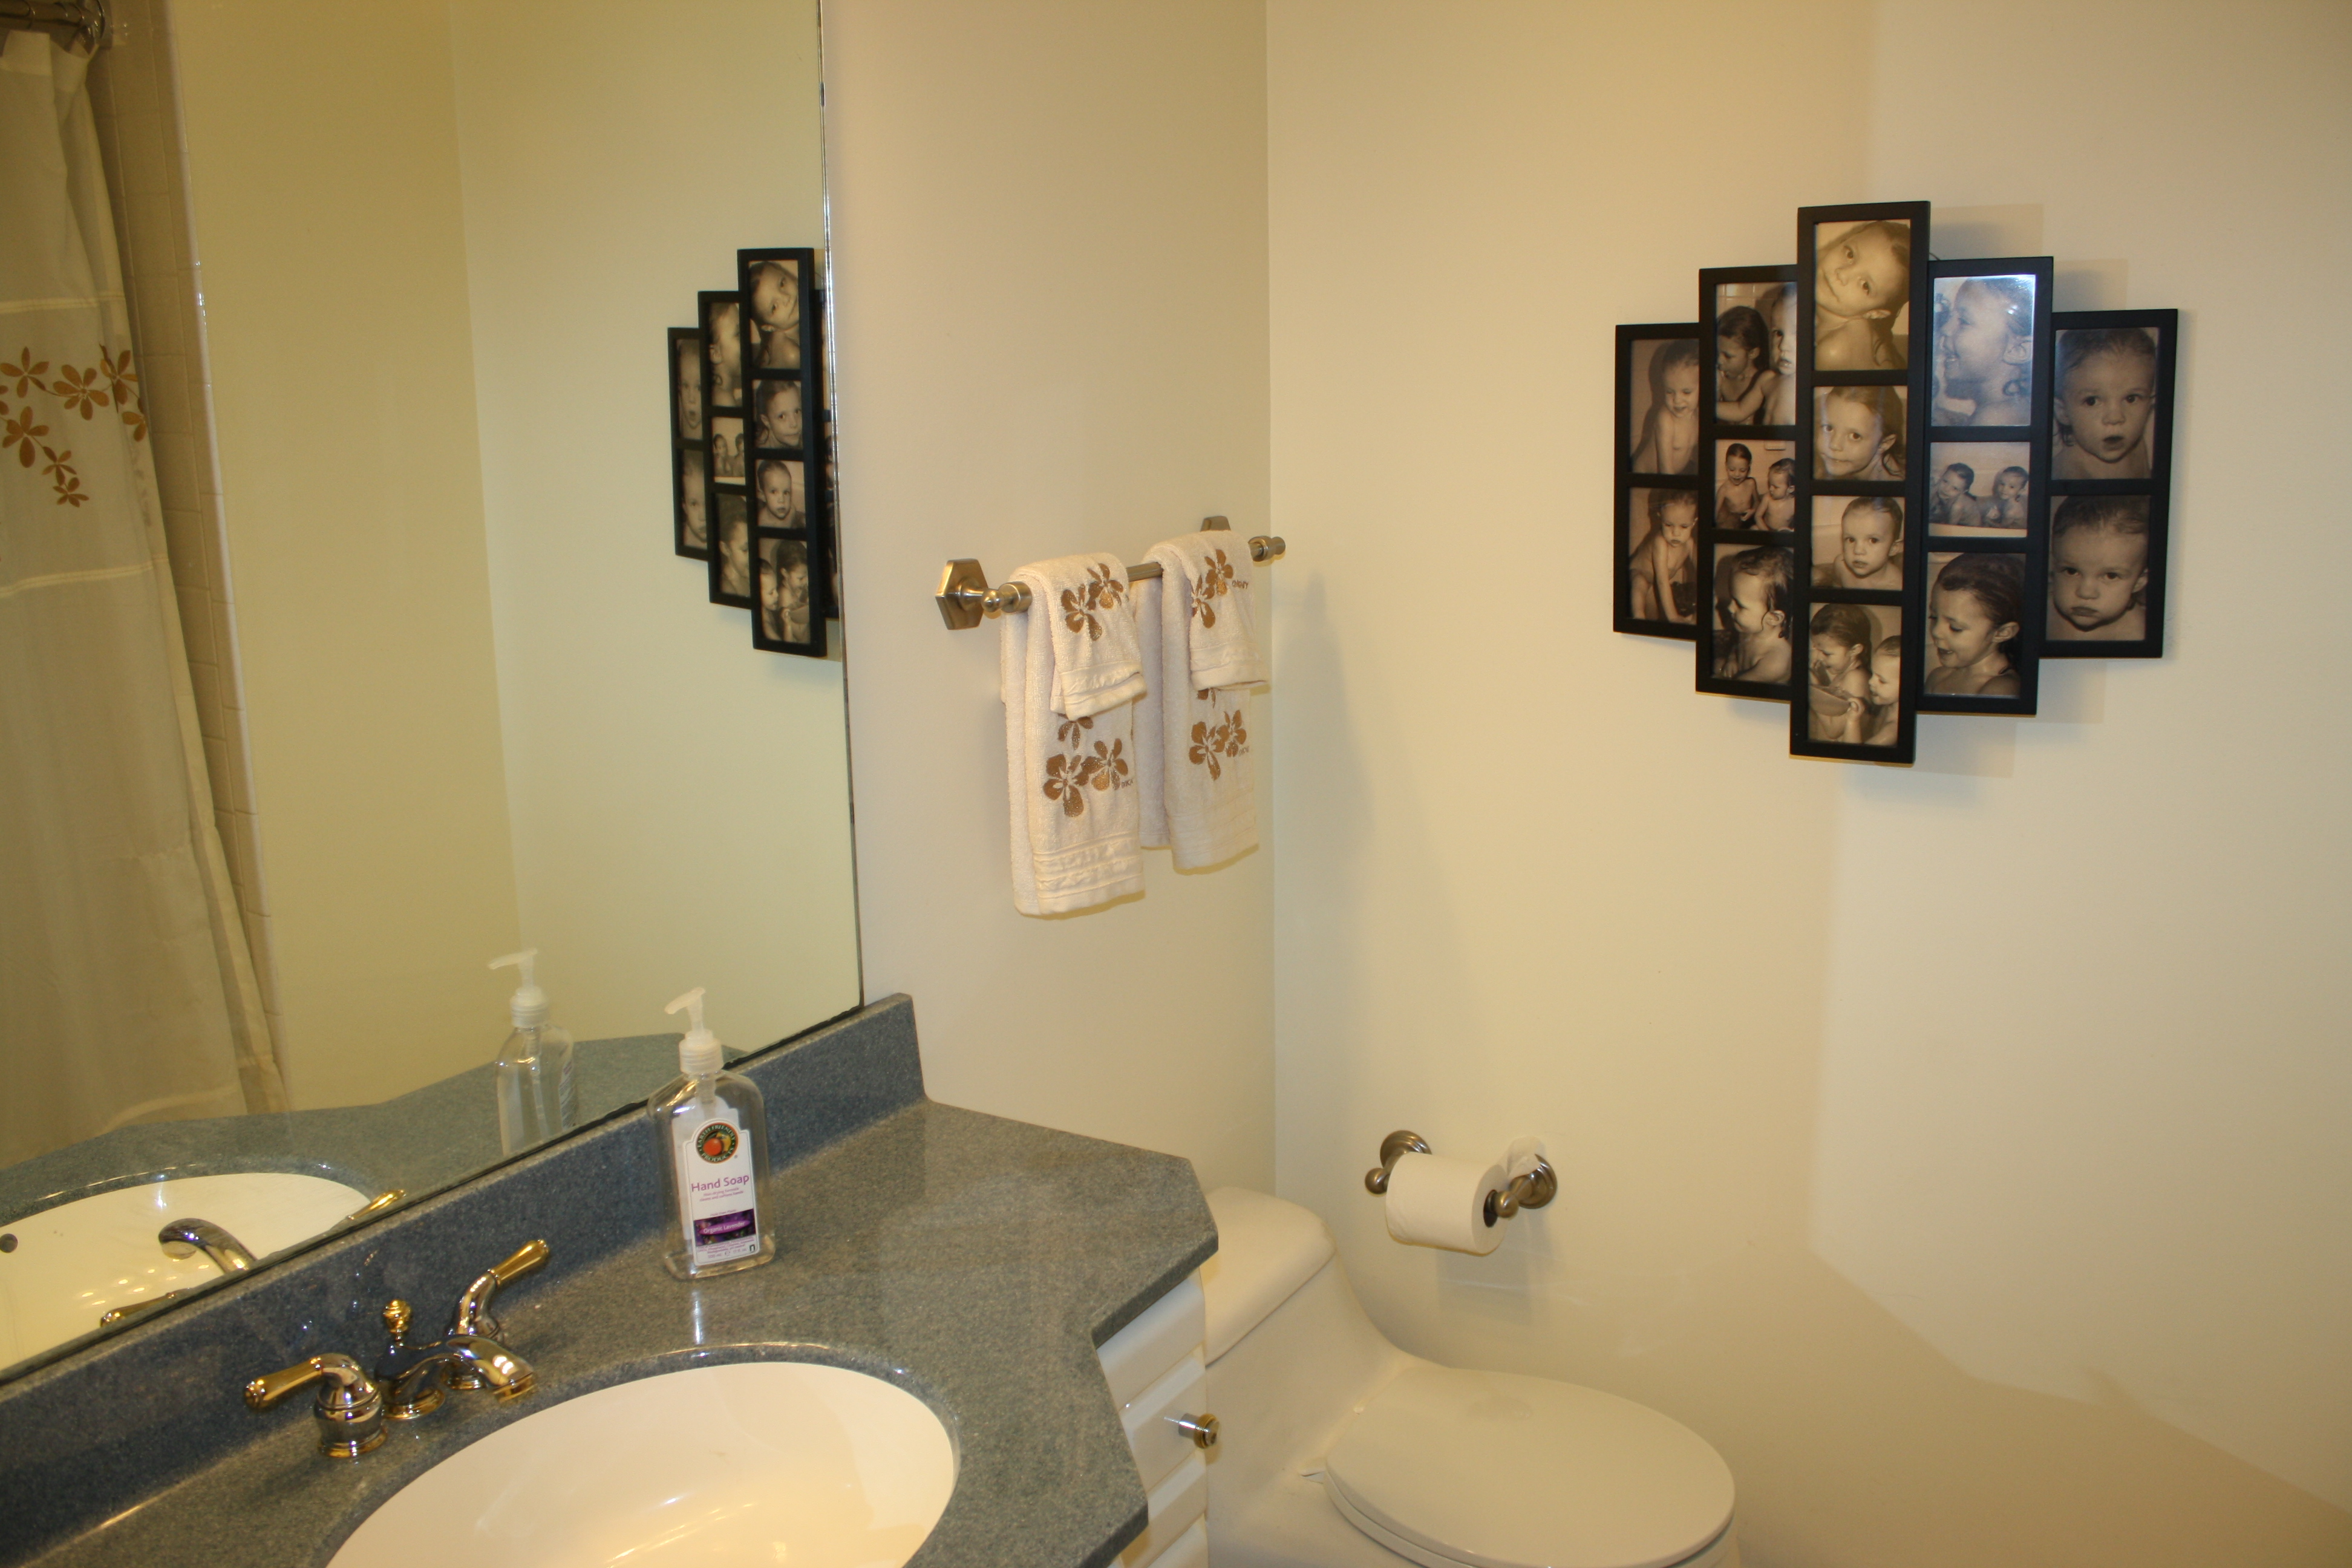
{Before}
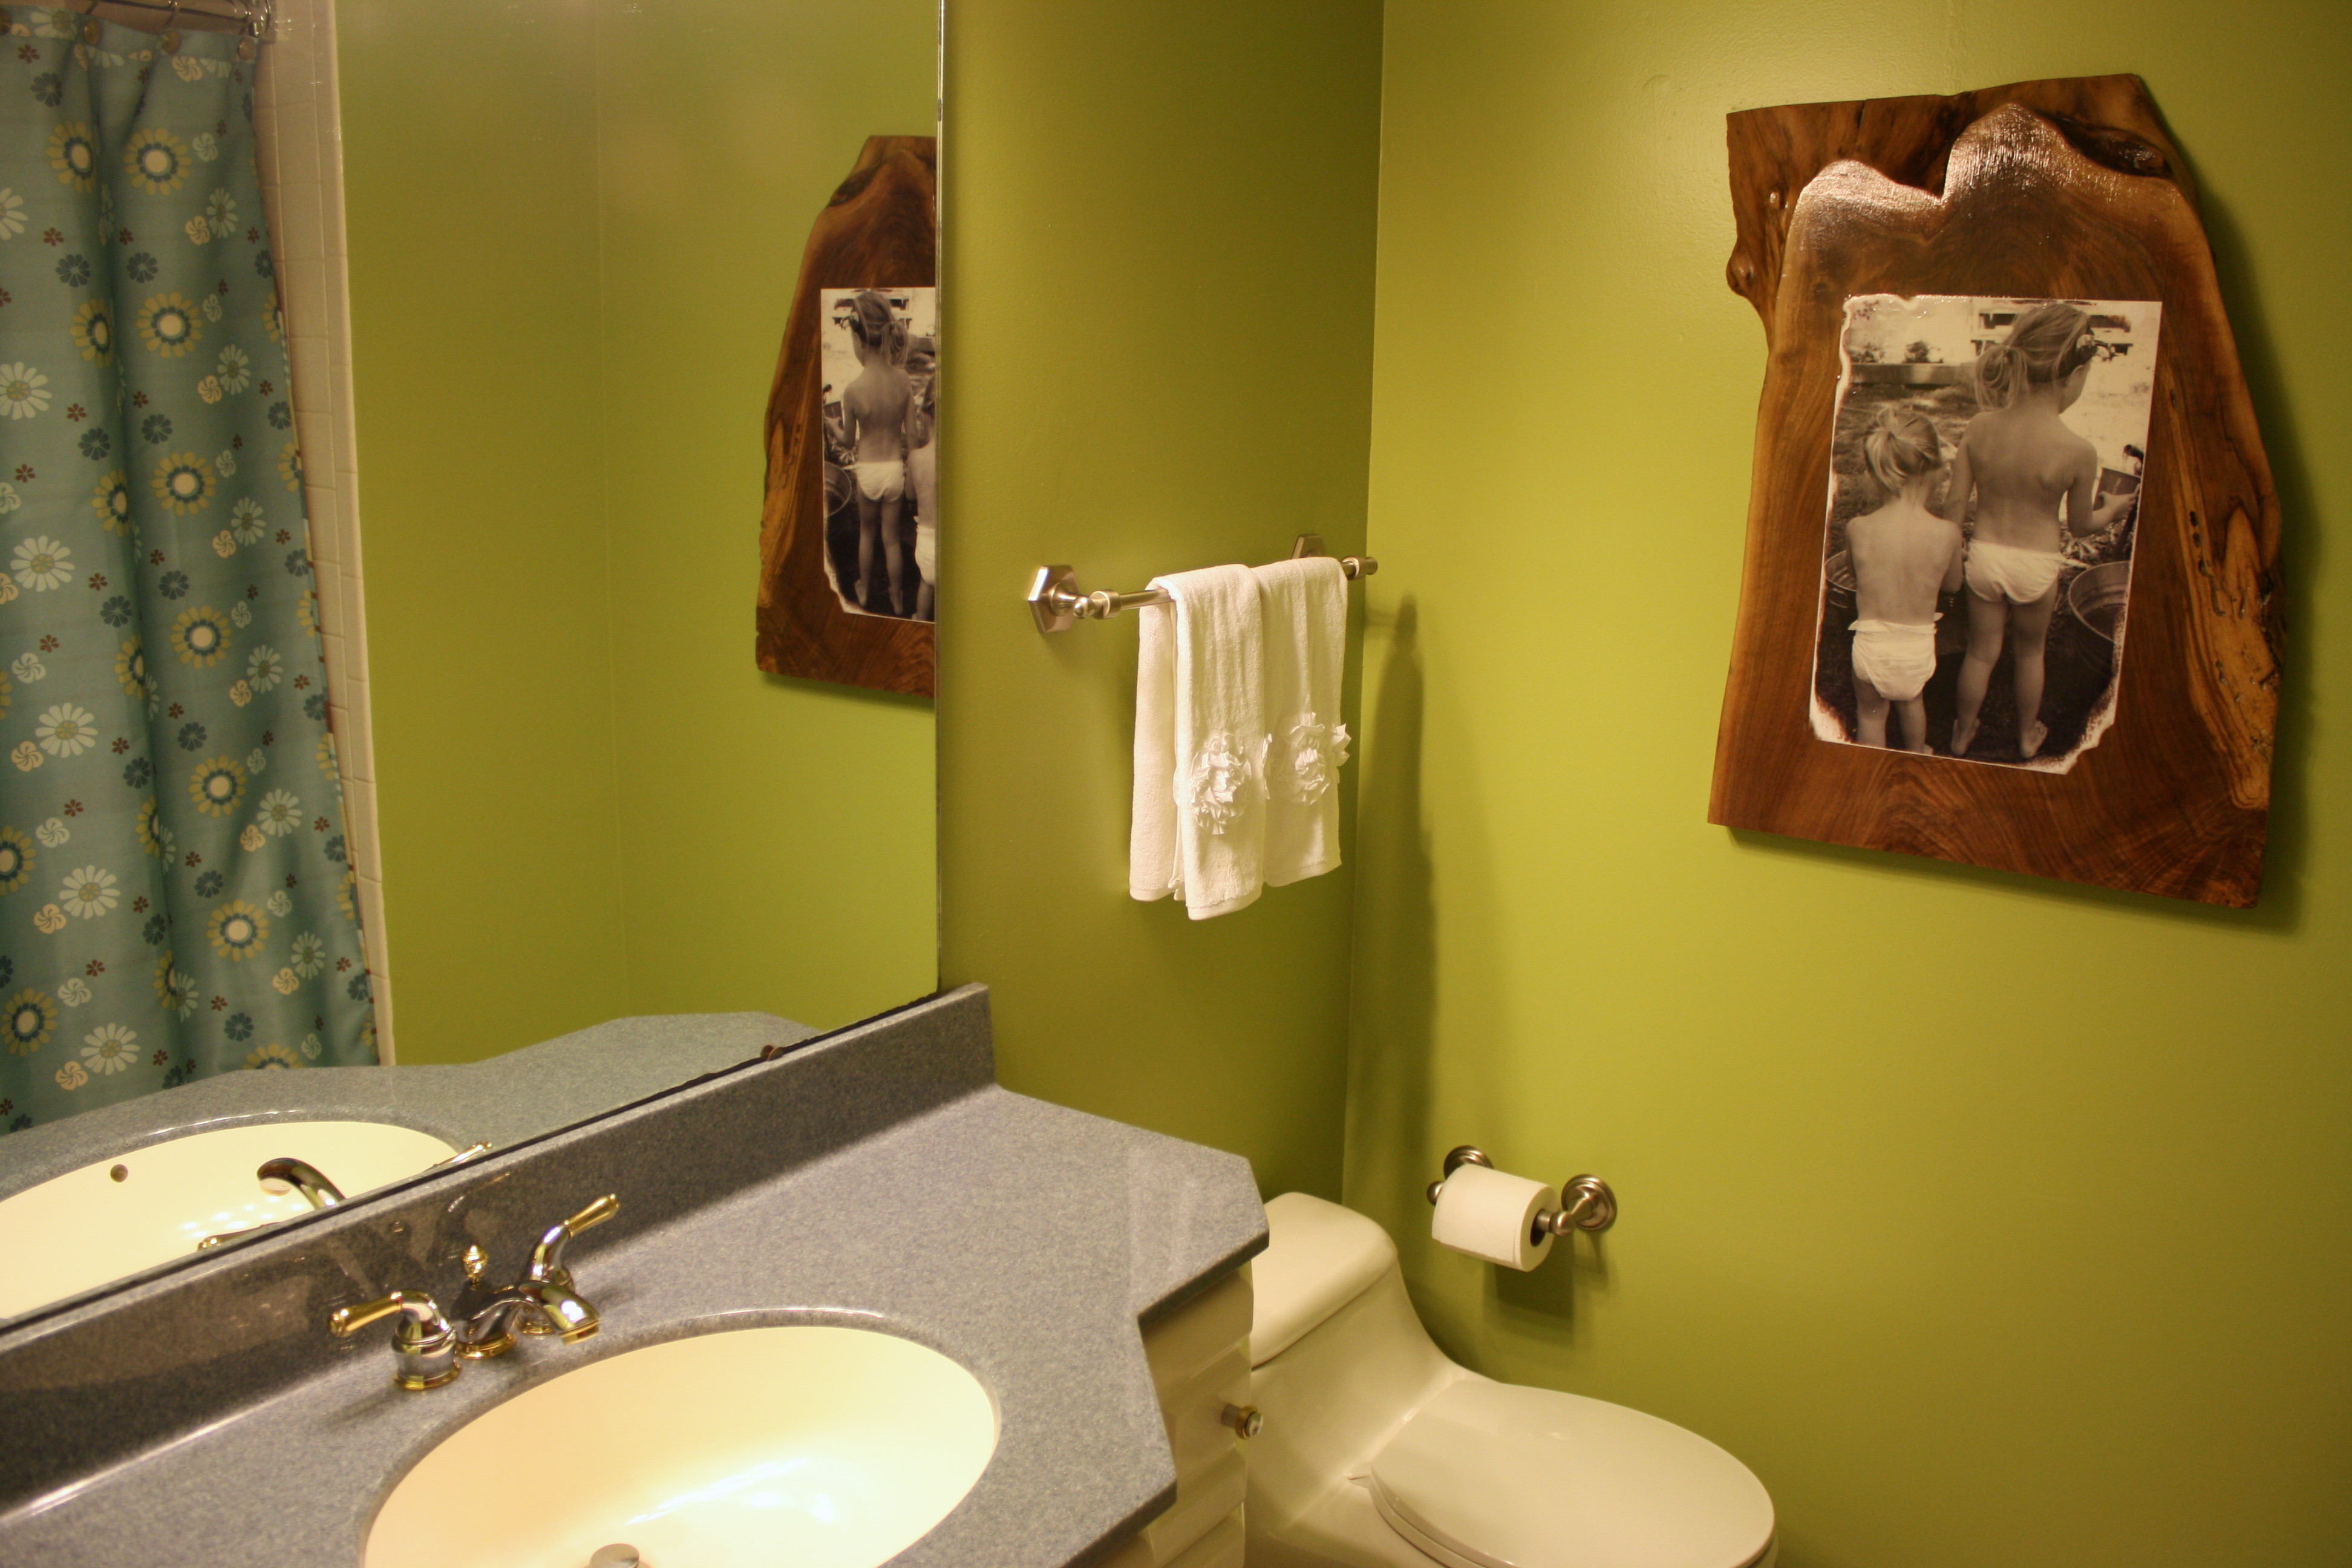
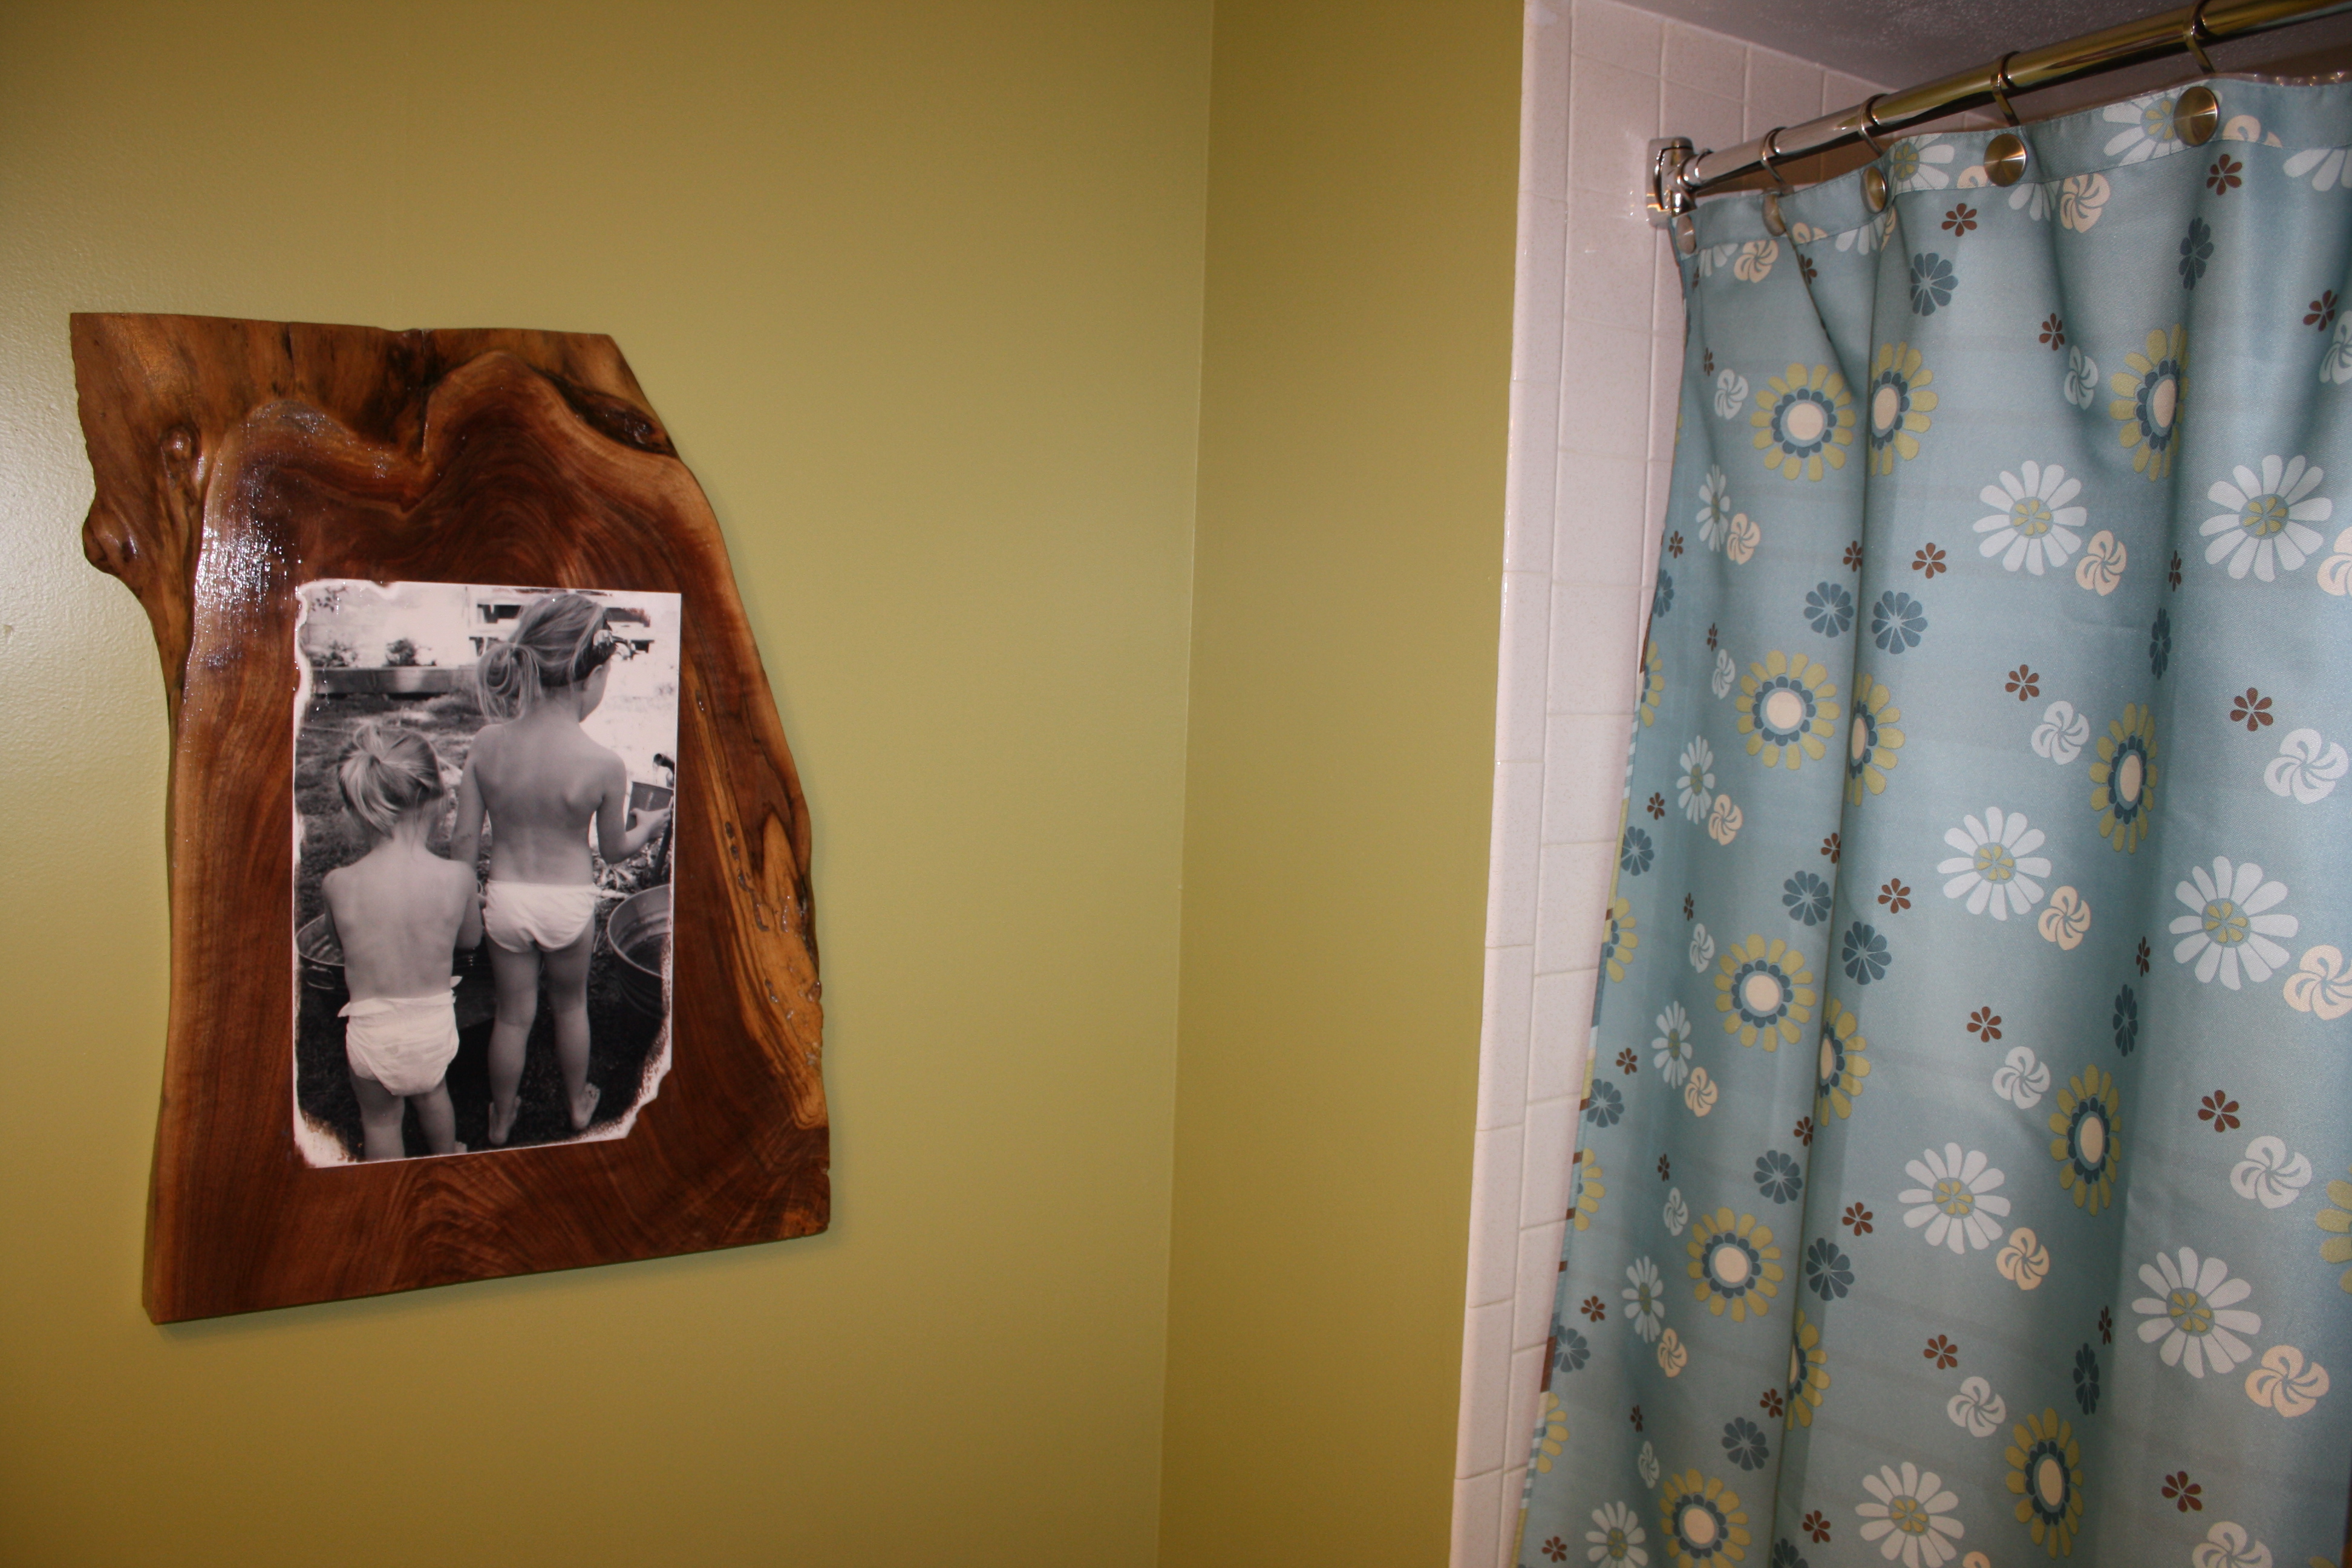
{After}
I recently completed a decoration redo of our main bathroom, and I must say, although it took me awhile to complete, I am quite happy with the results. The decor is definitely inspired by the natural elements, specifically a beautiful piece of wood from my father-in-law.
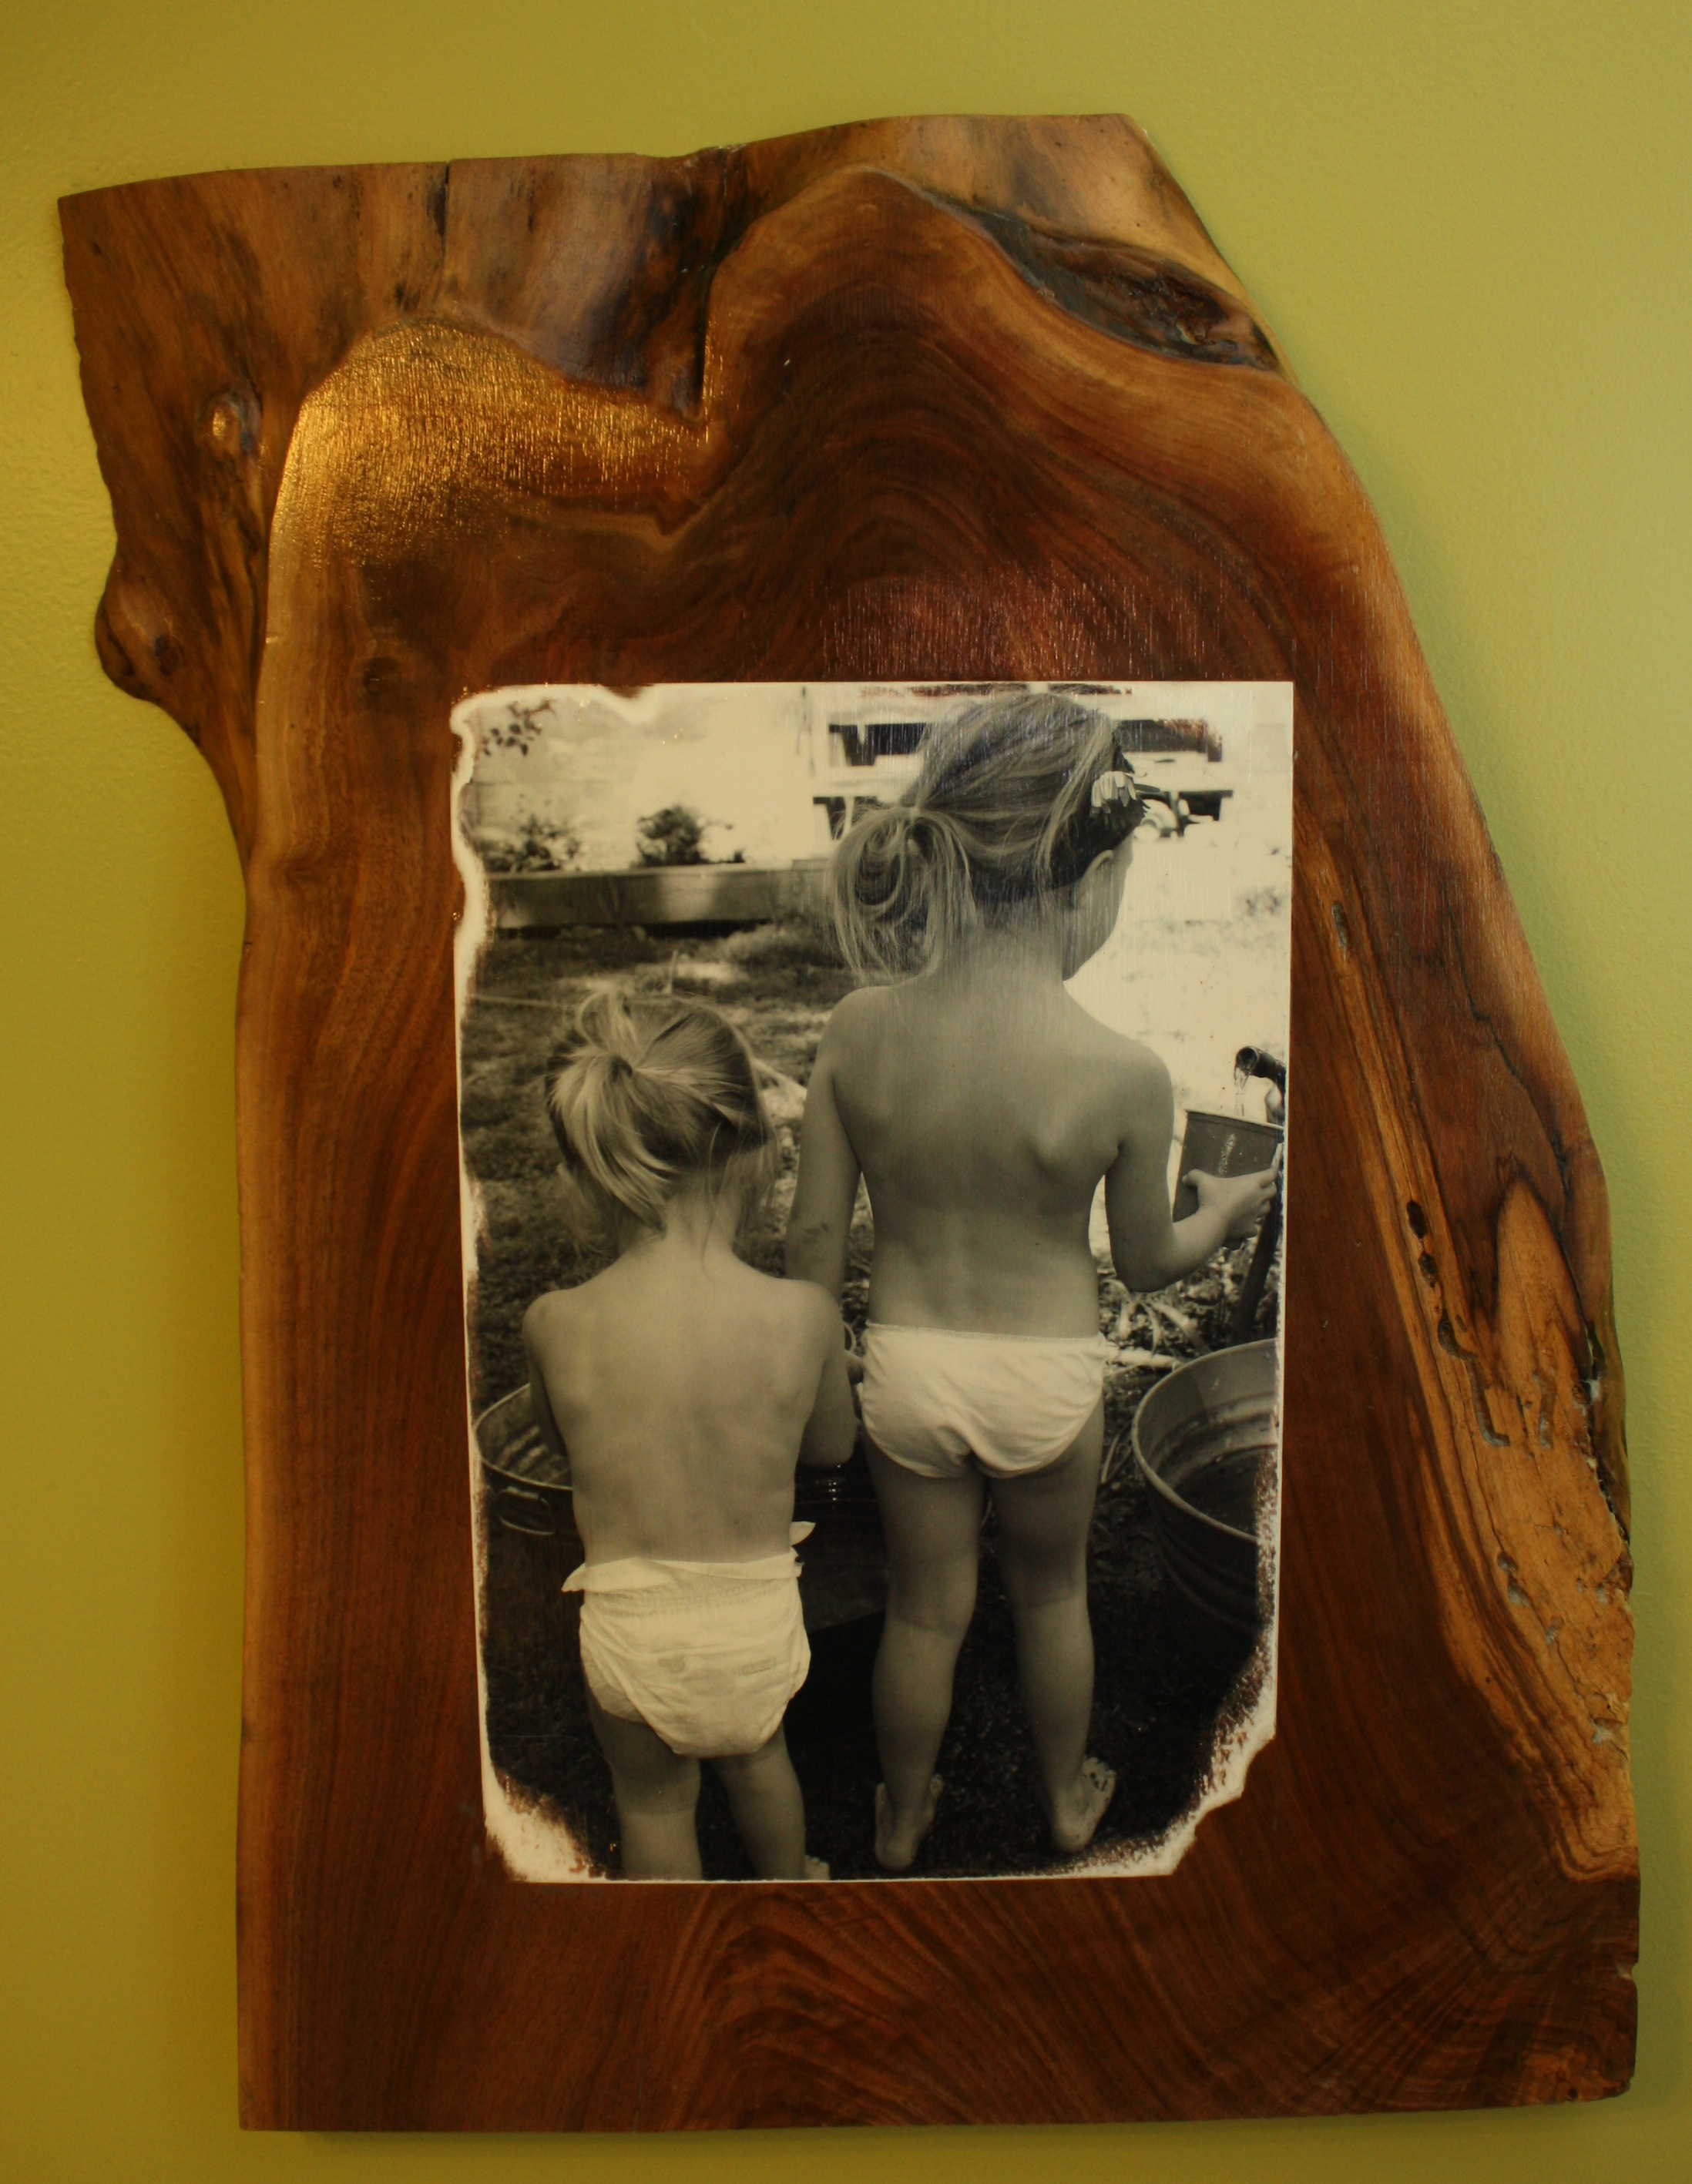
The photograph project was pretty easy, it just took some time to allow for drying between layers.
1. I first spread a very thin layer of Modge Podge on the back side of a black and white photograph. I carefully smoothed out the picture, mounting it in the center of the piece of wood.
2. Then using a sponge applicator, I applied two very thin layers of Modge Podge to the top of photograph (also covering the entire piece of wood). I allowed 30 minutes of drying time between coats.
3. I then took a very fine grit sand paper and roughed up the edges of the photograph.
4. Next I repeated Steps 2 and 3 four more times.
5. I finished off the project by applying 5 thin coats of Modge Podge to the entire piece of wood. (Allowing 30 minutes of drying time in between each coat.)

I’m redoing my bathrooms but I don’t have such a neat piece of wood to work with! Beautiful job!!
Thanks Jacki!
Sent from my U.S. Cellular® Android-powered phone
How neat! It turned out great!
Thanks so much! Have a wonderful weekend!
~Jaime