
This May marks ten years since I graduated from The University of Illinois. (How is this possible I ask you? Oh my!) In honor of our decade since graduating, and the birth of the 15th baby born to my group of college girlfriends, we gathered in central Illinois for some food, fun and fabulous conversation.
And of course with every new birth, there must be presents. I had a bit more vintage fabric in my closet, so I decided to try my hand at a stuffed animal for the new baby, and why not a skirt to match for the big sister? I used the same variation on the Butterick pattern I mentioned in yesterday’s post for the Big Sis Skirt. And I played around a bit and came up with the following process for the stuffed owl. I hope you enjoy!
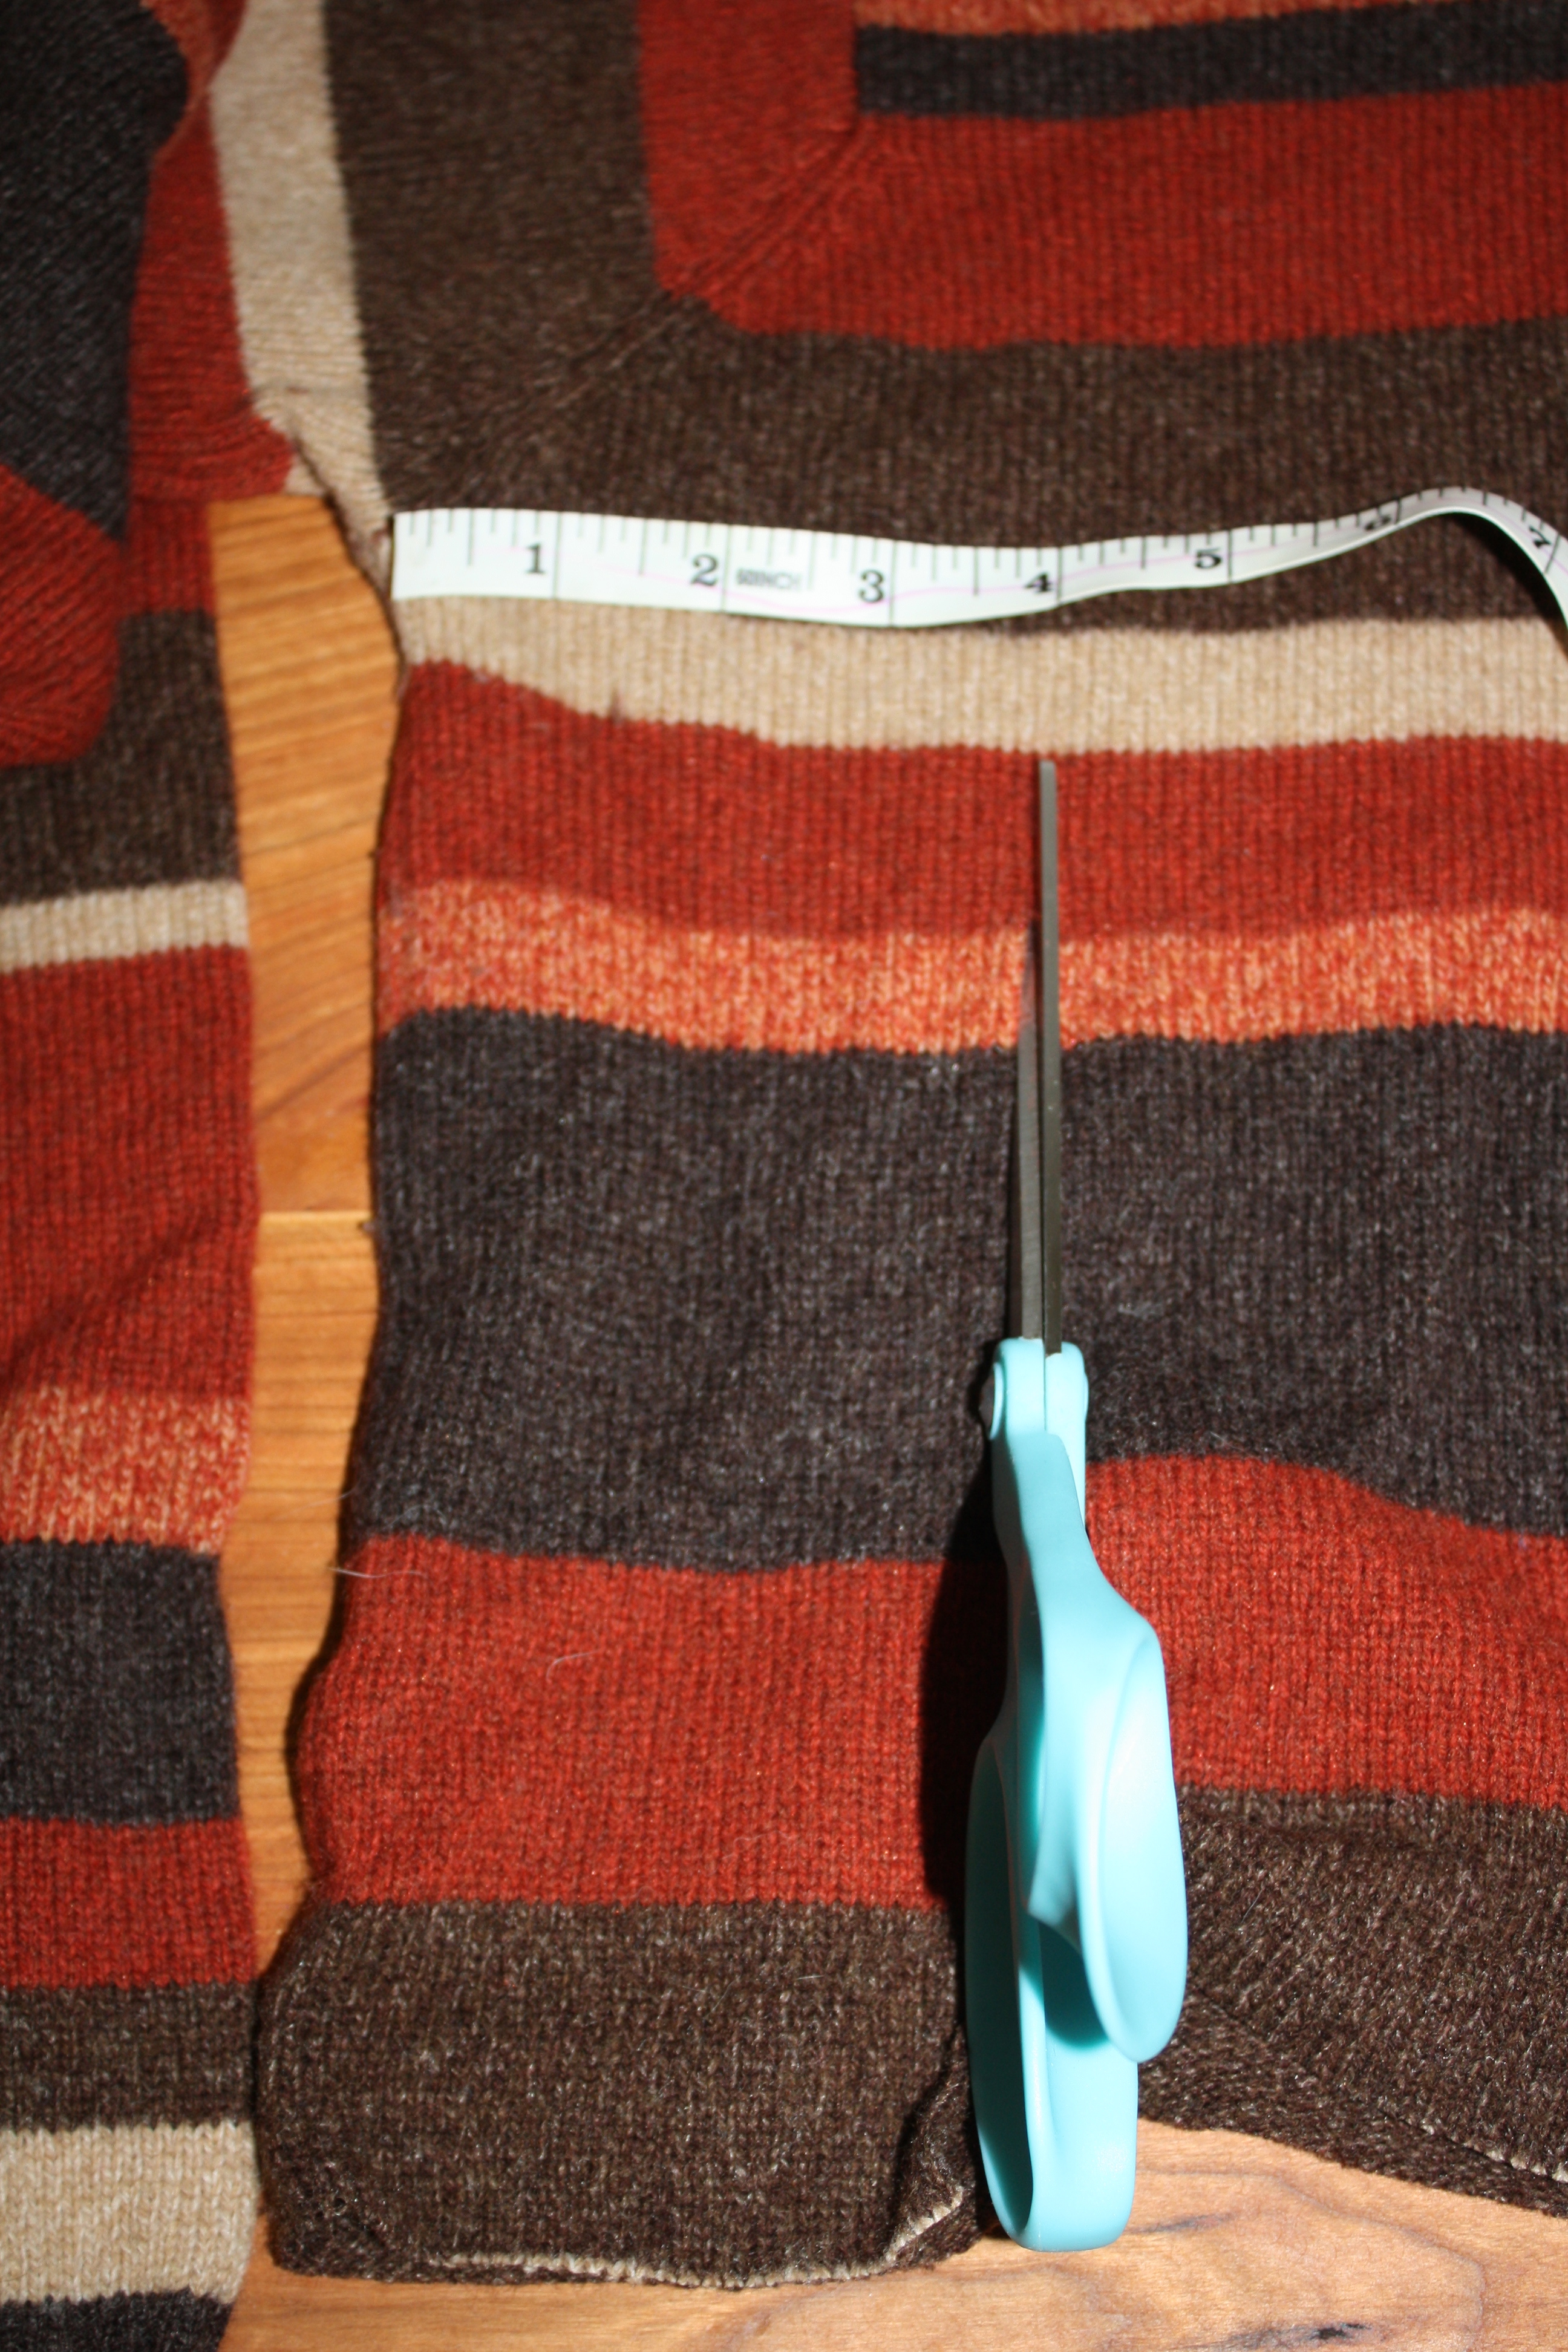
Step 1: I took a wool sweater I had already felted (I washed it in warm water, then let it dry. Repeat this step several times to shrink the stitching up a bit.), and using the edge of the sweater as my fold, I cut 2 4″ X 8″ strips.
Step 2: Placing right sides together, sew around 2 sides of the strip, leaving the top open. (I actually sewed two lines of stitching to strengthen the edge.)
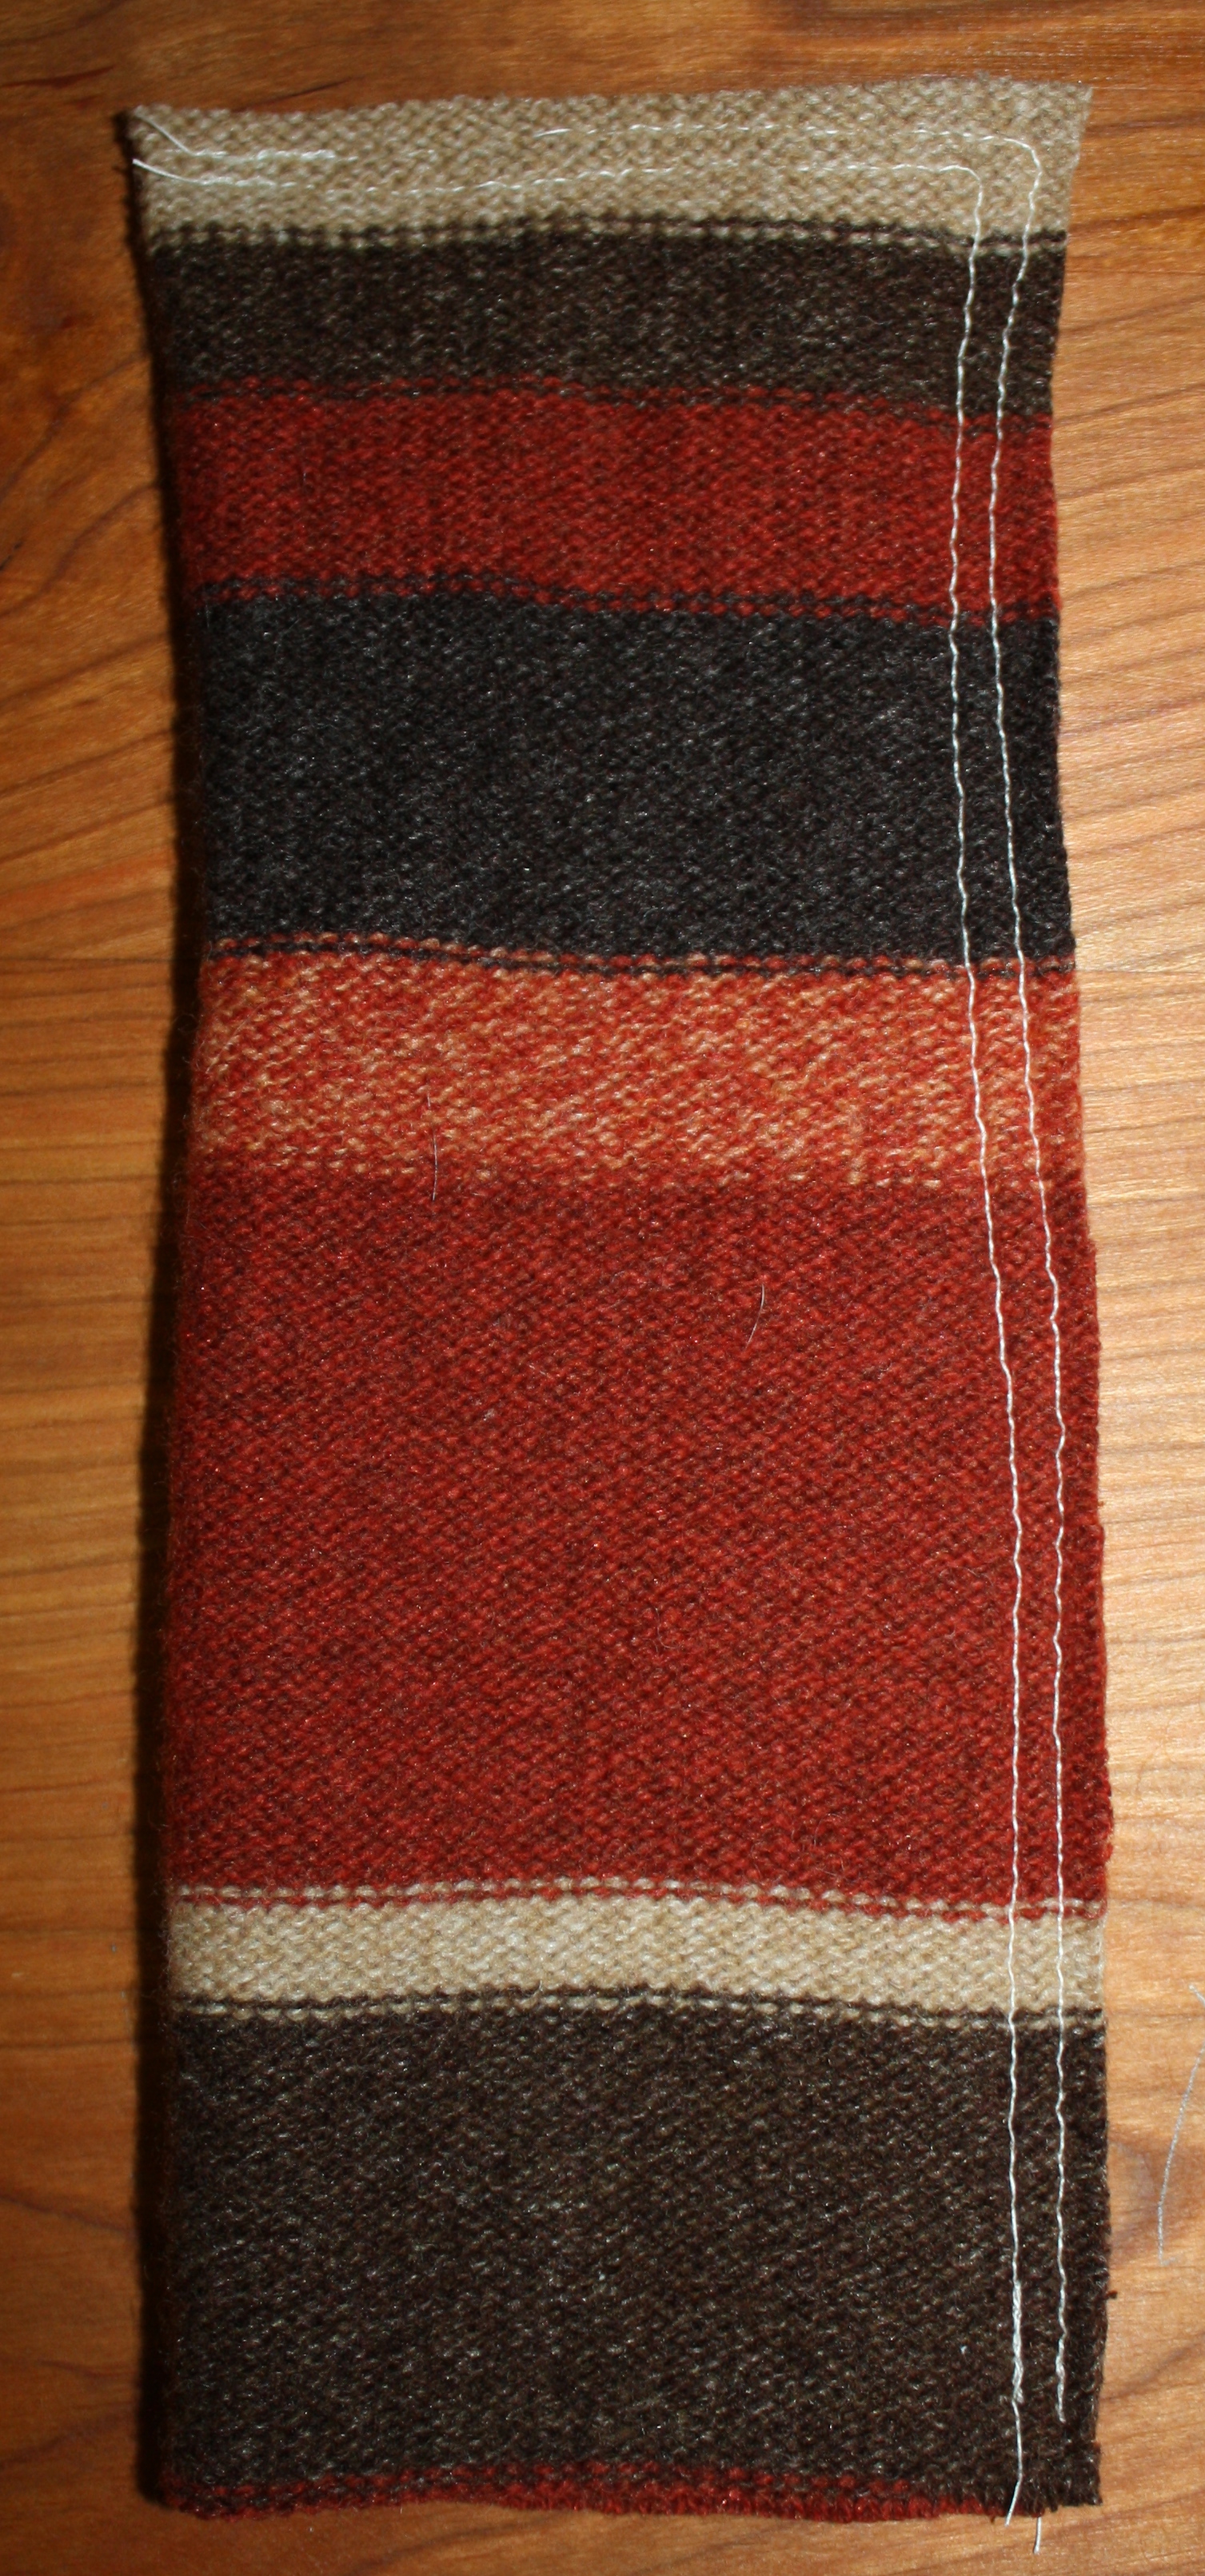
Step 3: Turn right side out, and stuff the “legs.” Set aside.
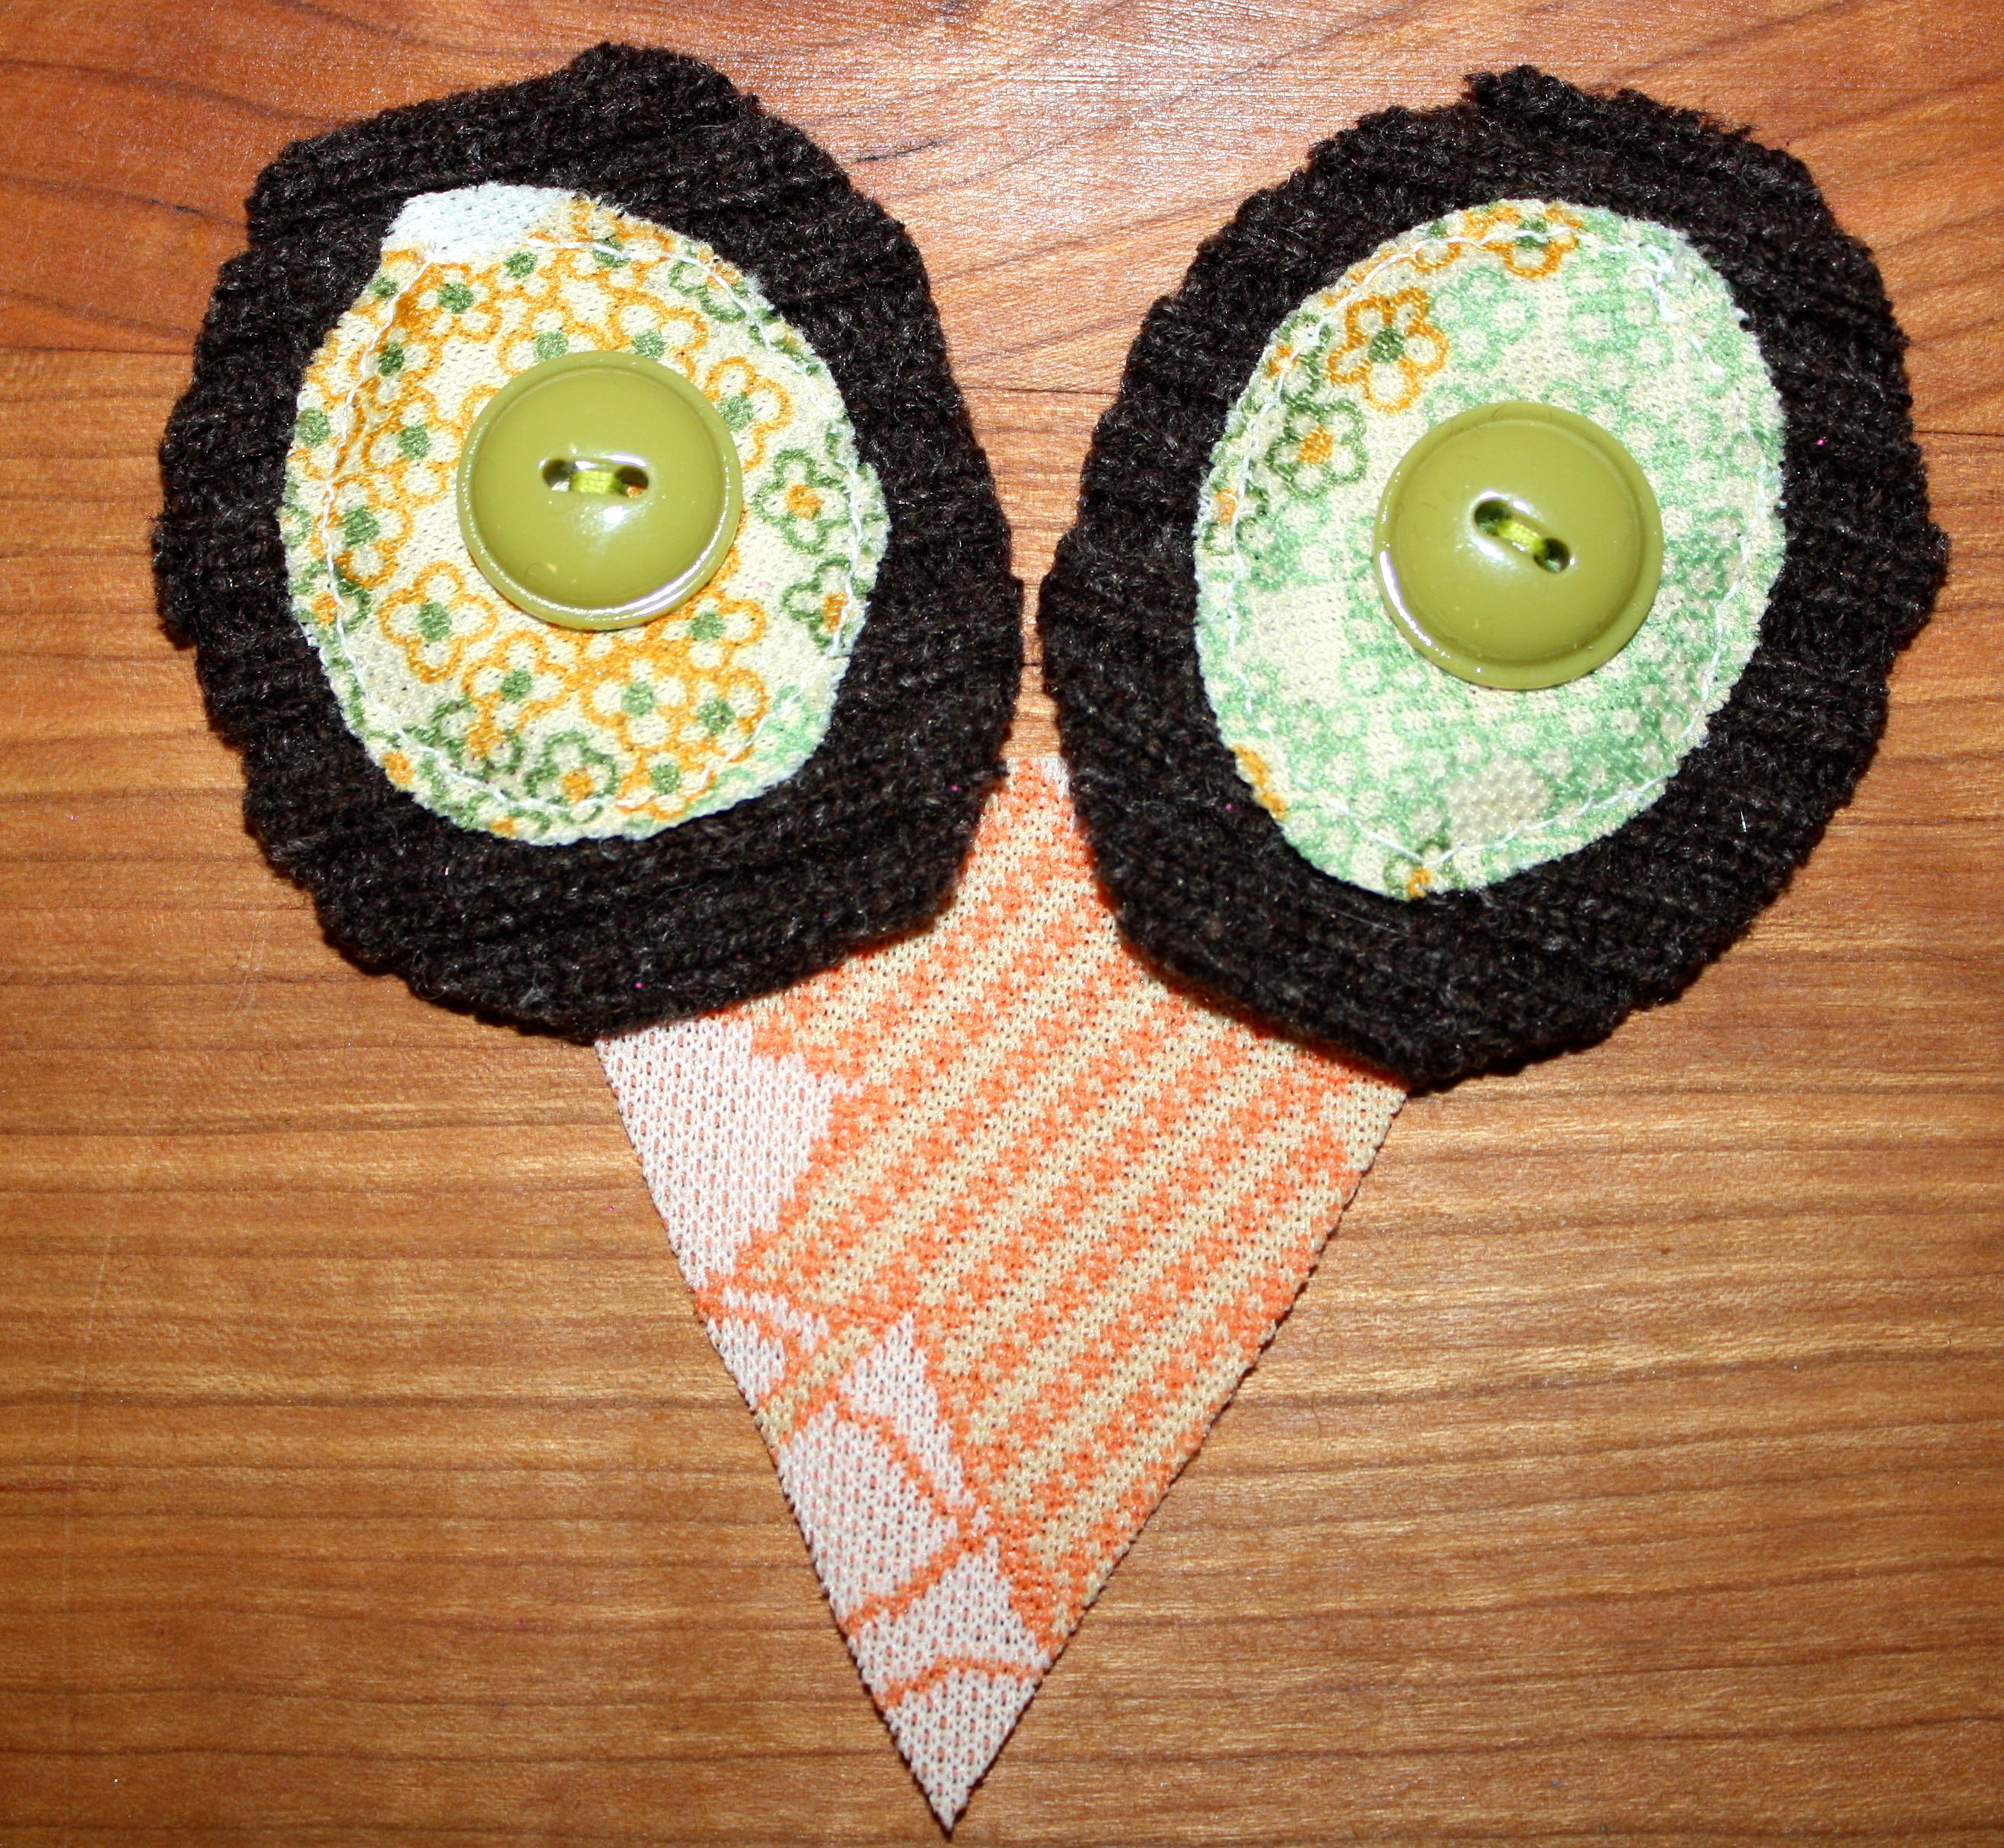
Step 4: I then used the cuffs of the sweater and cut out two ovals. Then take remnant fabric and cut out two more ovals a bit smaller than the first two. Stitch the smaller oval on top of the larger, sew on a button and your eyes are done.
Step 5: Again using remnant fabric, cut out a triangle for the nose.
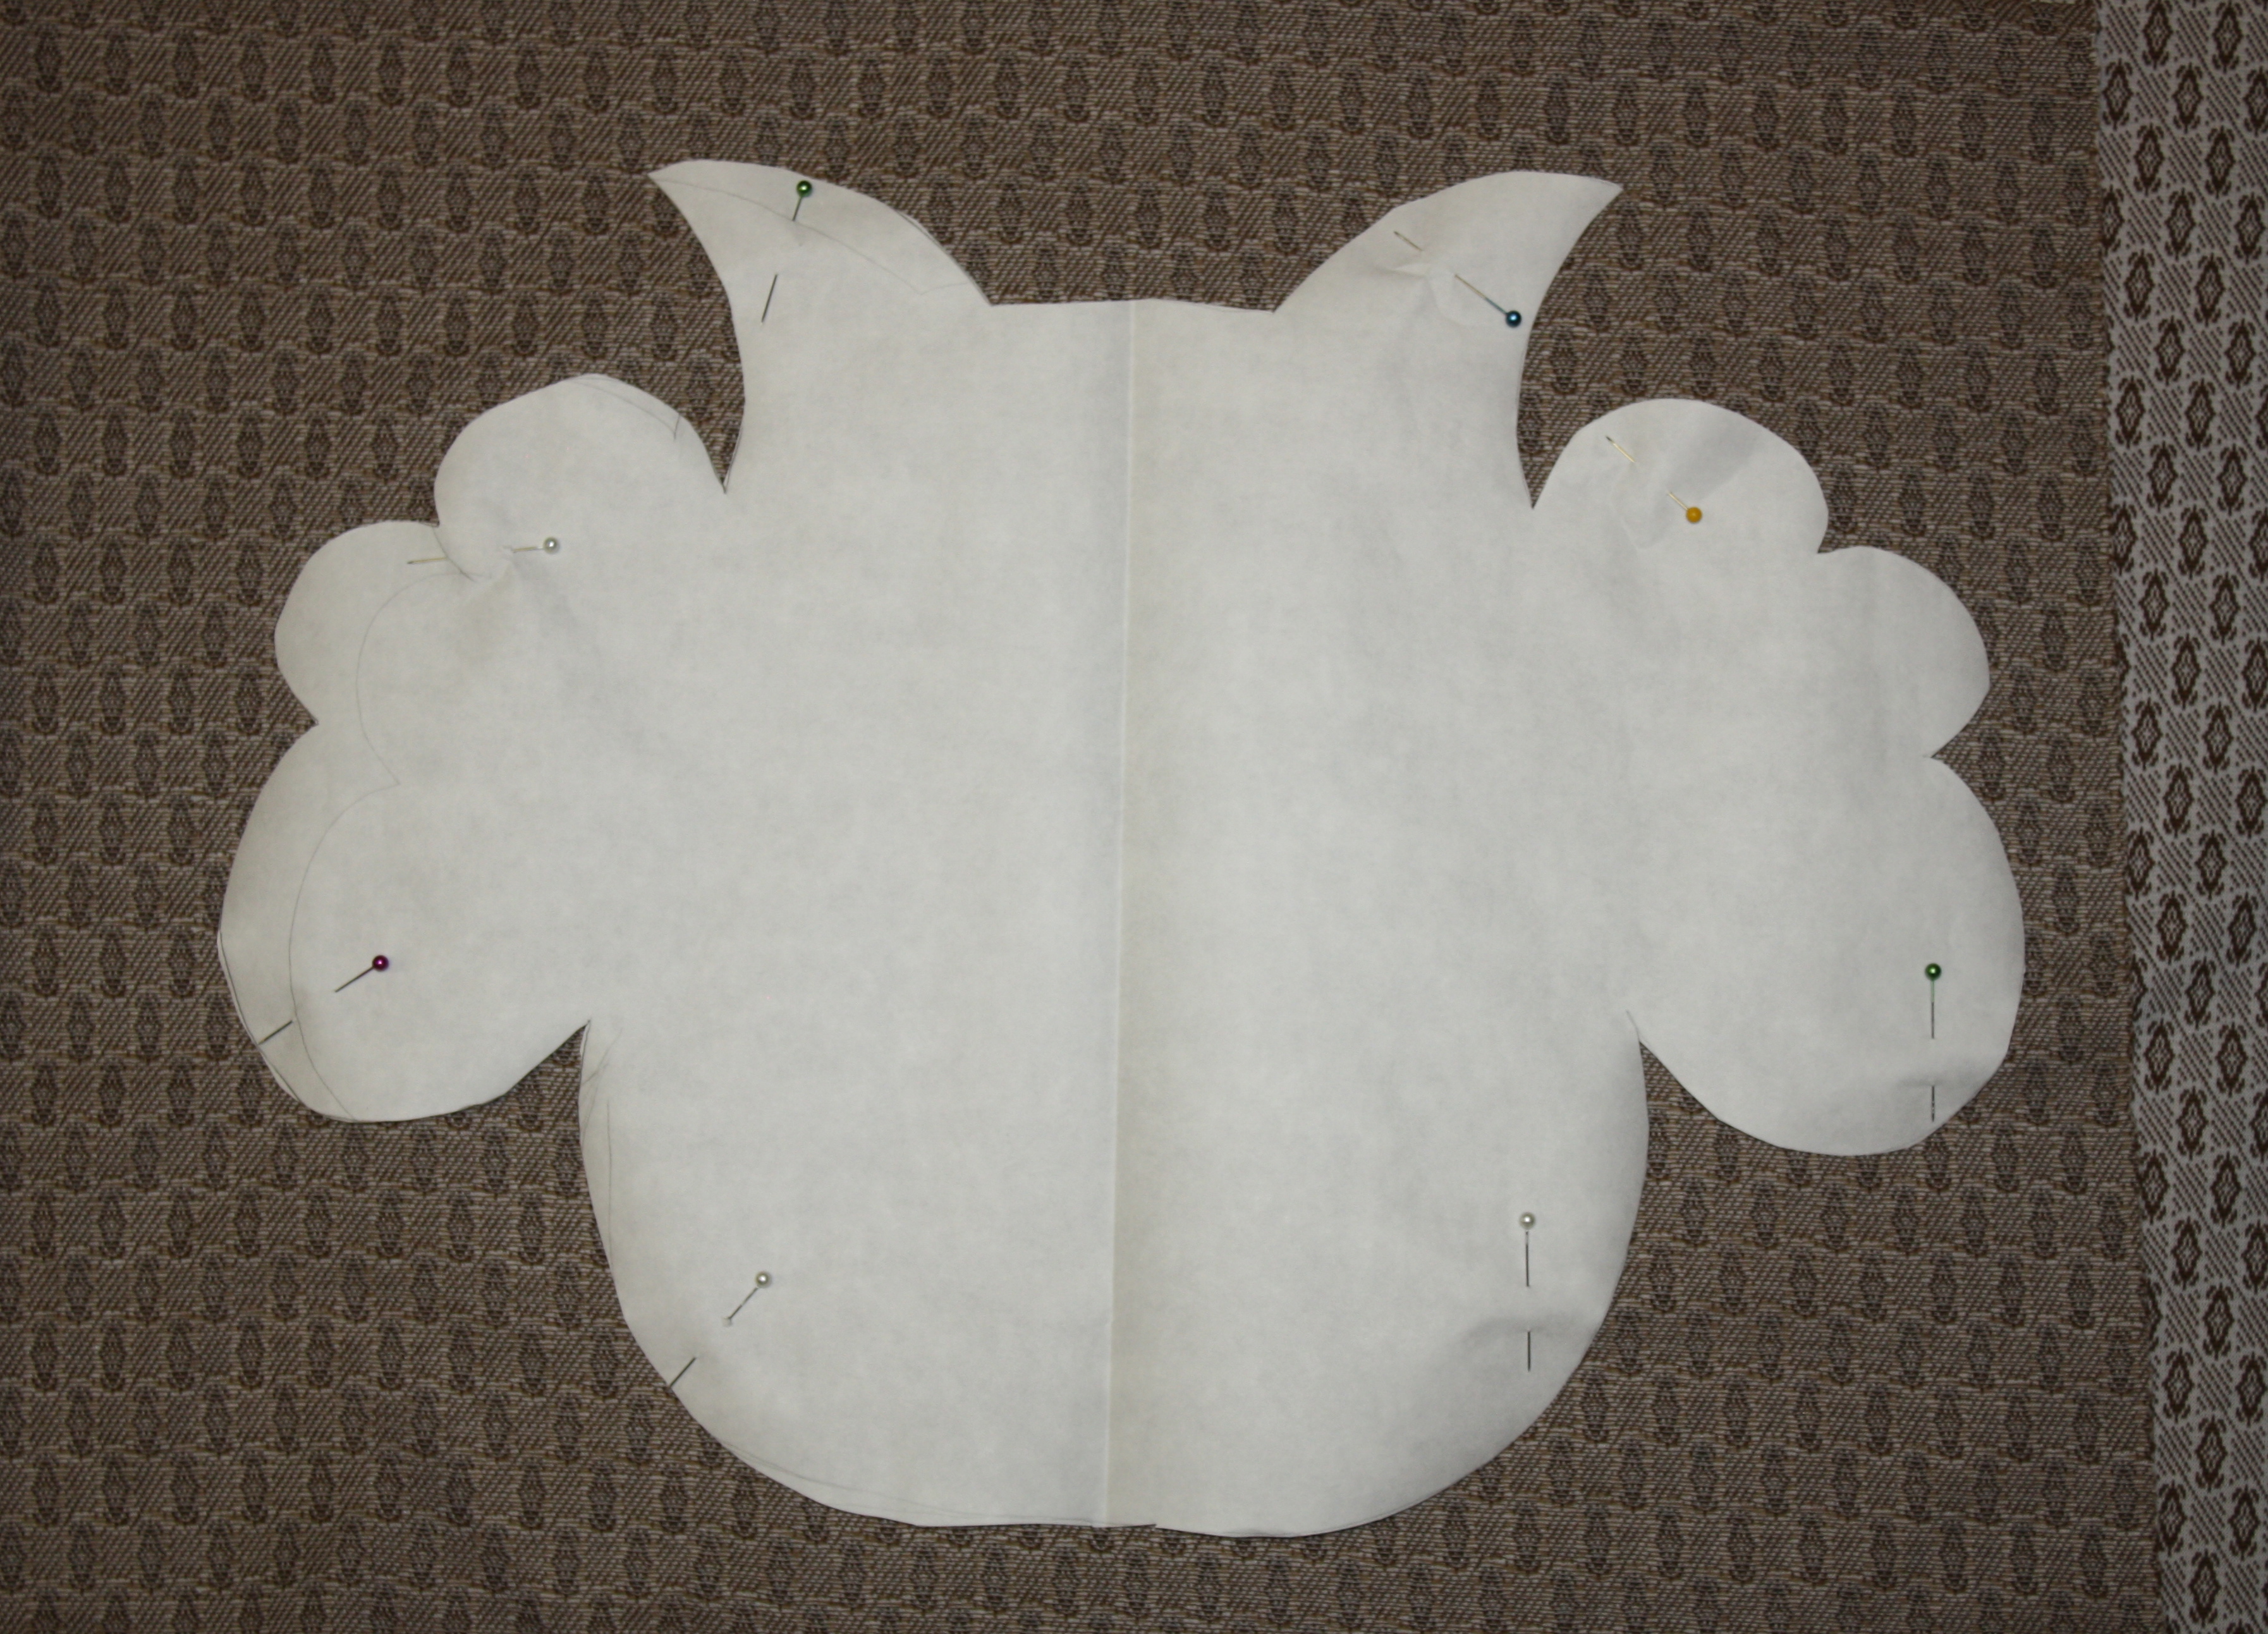
Step 6: Draw an owl pattern on a large sheet of paper. Take a large piece of fabric, fold it so the right sides are together, trace the owl pattern and cut out both pieces.
Step 7: Sew the eyes and nose to one of the owl cut outs.
Step 8: Place one owl-shaped piece down on a table (right side facing up). Pin each leg in place along the bottom of the owl.

Then place the second owl-shaped piece on top with the right side facing down.
Step 9: Sew around the outer edge of the owl, being sure to capture both legs in your stitching. (Again here, I also sewed two lines of stitching to strengthen the edge.) Be sure to leave about a 2″ opening so you can feed the fabric back through and stuff the owl.

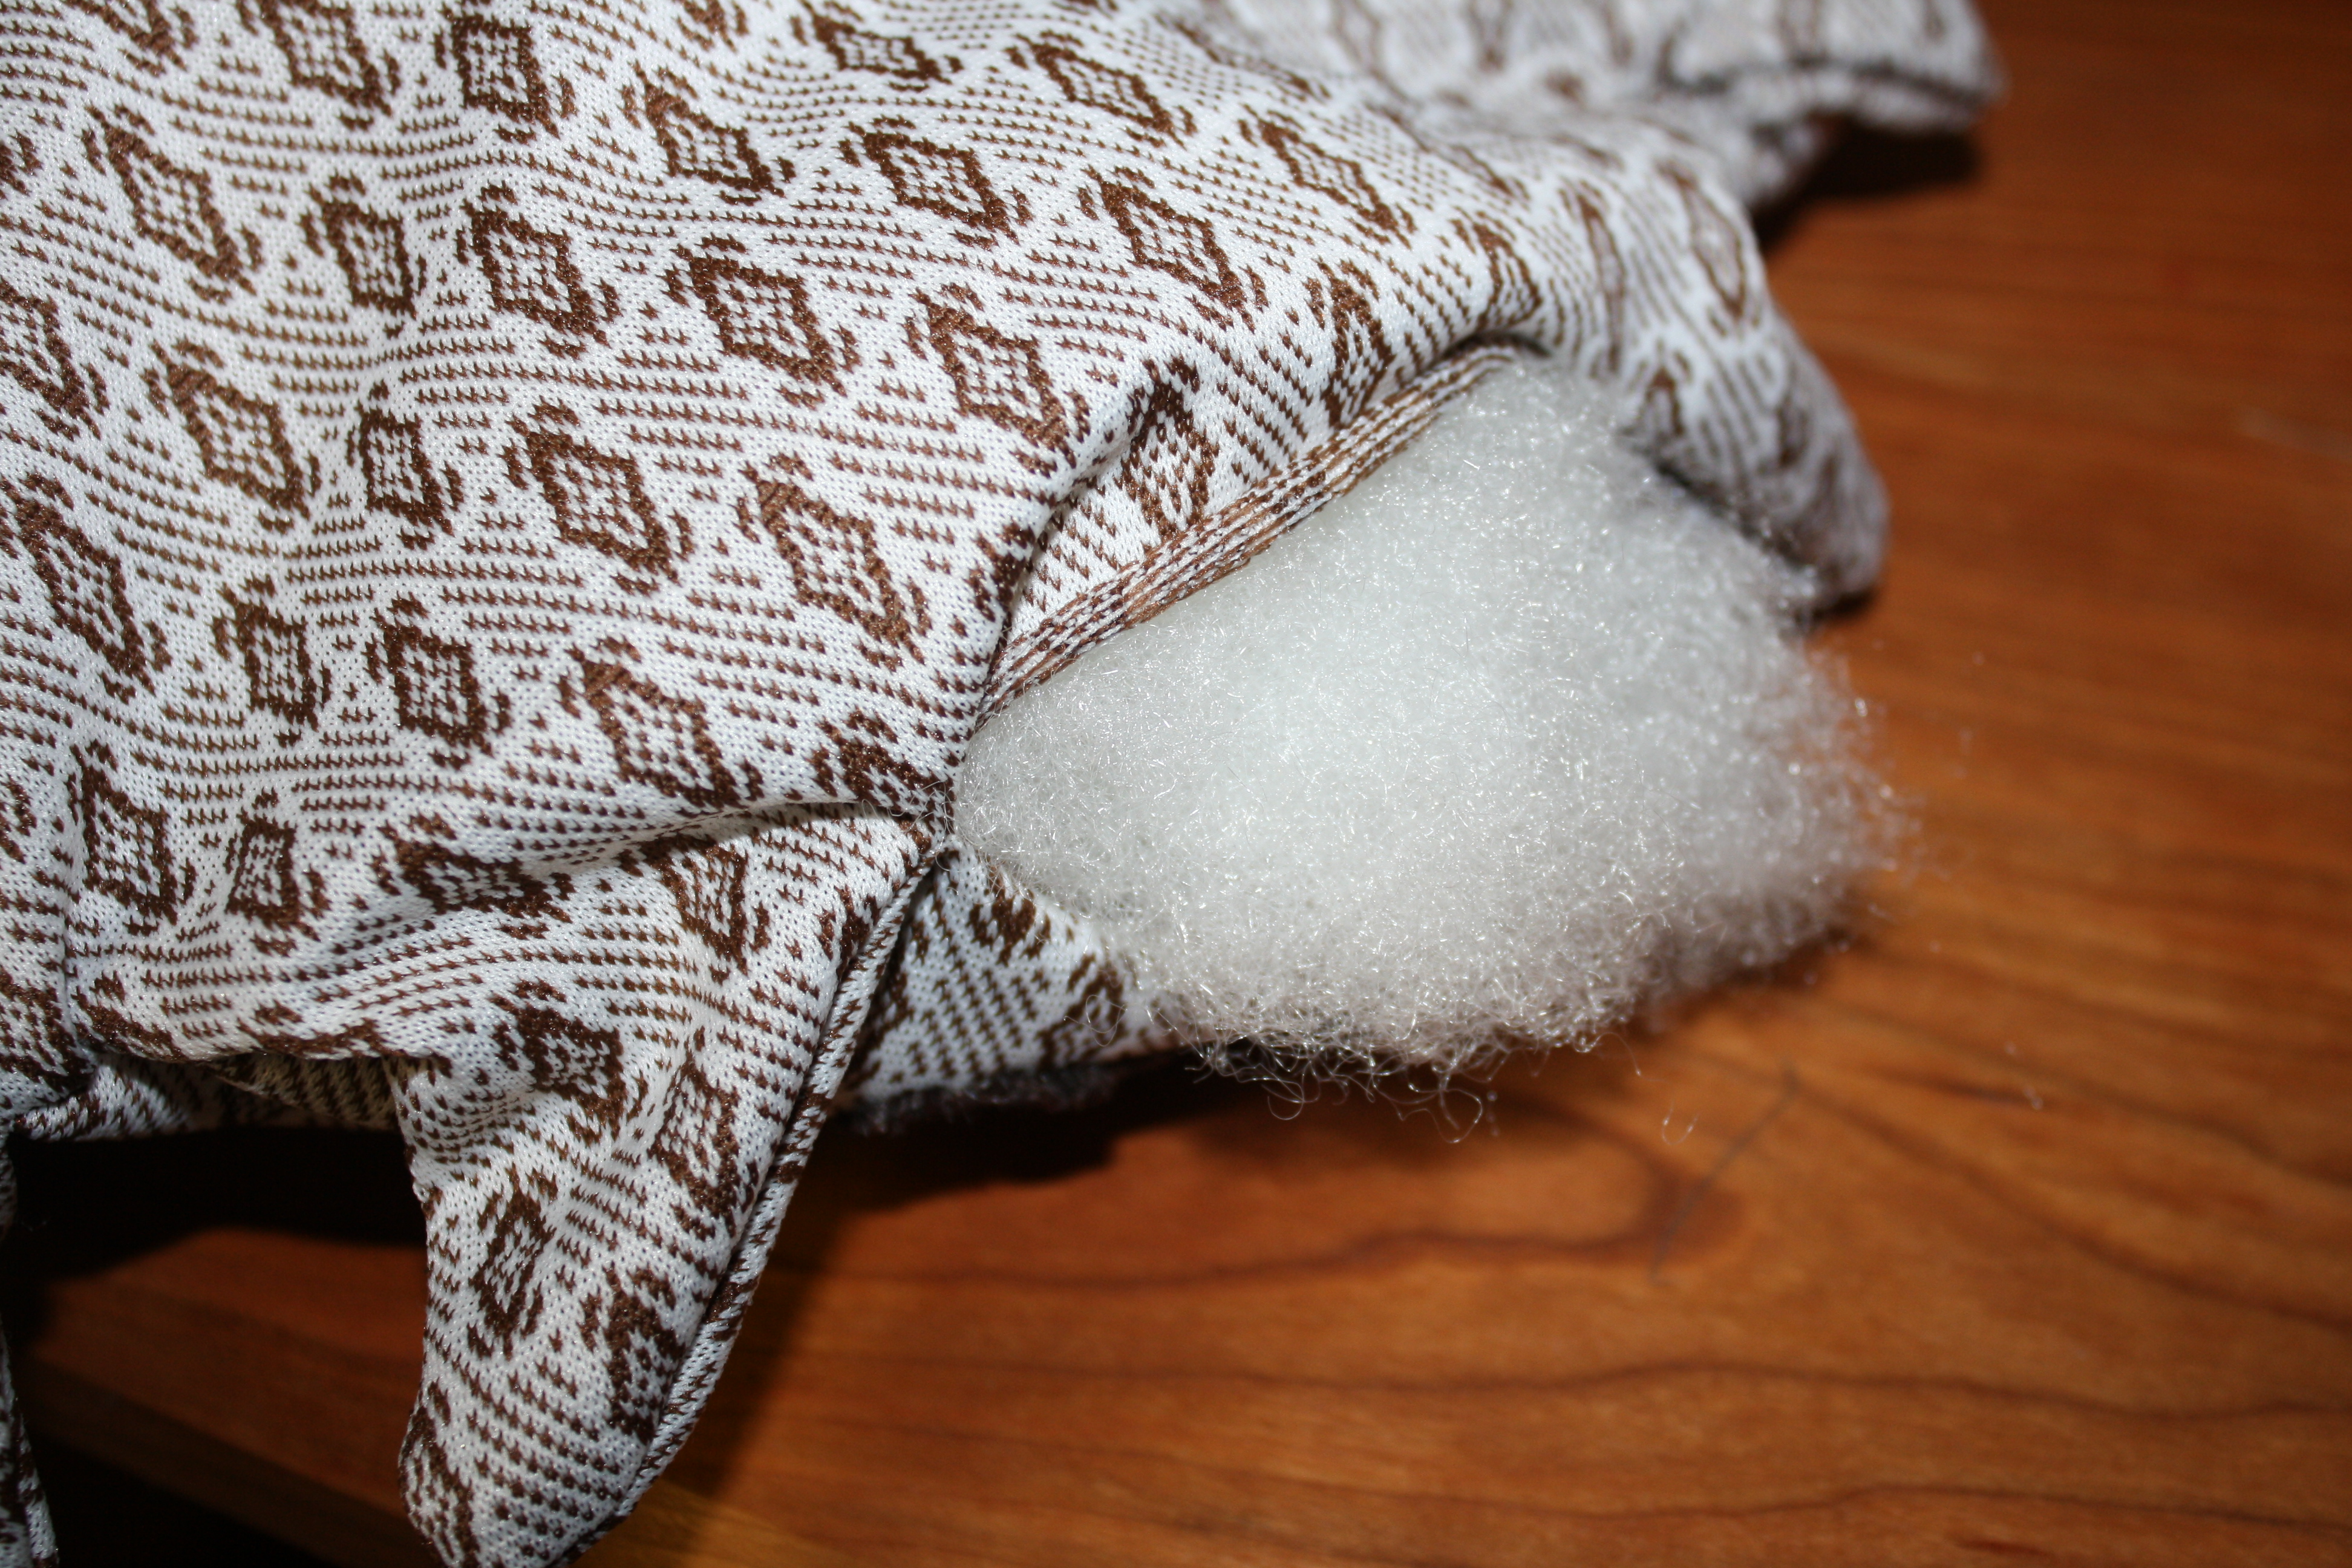
Step 10: Feed the fabric and legs through the opening, and remove pins. Stuff the owl and then sew shut the opening.


Thanks again, Jaim! These are such adorable gifts that are even more special being made by you. You’re an inspiration and I love you to pieces!
Thanks Ash! Love you too!
You are sew creative…that is awesome!