On the Cusp

Today I began my last semester of homeschooling. And it is so bittersweet.

I have deeply loved the past 8 years spent homeschooling my girls. I will always cherish the memories of snuggles on the couch while reading our favorite books; the science experiments reeking havoc in the kitchen; the hikes through the woods to our favorite picnic spot; afternoons spent covered in paint and glitter, watching projects take shape. 

Of course, our years did not go without struggle. Lows. Times when I questioned if what I was doing was best. Periods where there was resistance. Doubt. Anger.

But now, as this chapter of our lives comes to close, I find myself allowing those challenging times to illuminate just how wonderful the good days were. 

For without the dark, we cannot truly appreciate the light. 

And I choose to remember this era of our lives as a bright moment in our family’s history.

As I prepare to close this portion of my story, a new chapter is on the cusp of emergence. 

And I cannot wait ✨

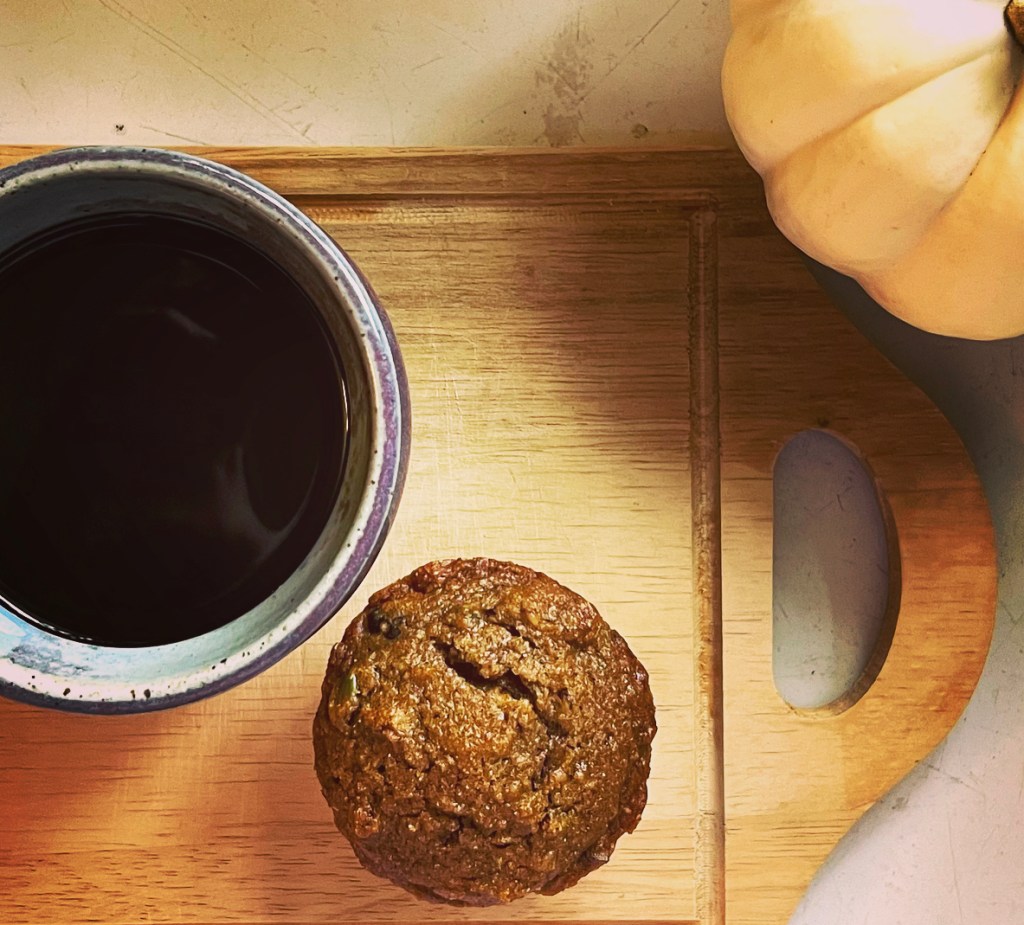
Vegan Harvest Muffins

While some families are already in full-on Christmas prep, our family is trying to soak up as much of the remaining autumnal season as possible. We are raking leaves, gazing at mums, and enjoying all things pumpkin.

This weekend I played around with a vegan version of my favorite go-to pumpkin muffins and the results were delicious!

I hope you enjoy!

Preheat oven to 350 degrees.

In a large mixing bowl, combine 2 cups whole wheat flour, 1 cup all purpose flour, 1 teaspoon sea salt, 1 teaspoon cinnamon, 1 teaspoon nutmeg, 1/4 teaspoon ground cloves, 2 teaspoons baking soda, 1 cup chopped walnuts, 1/2 cup pumpkin seeds, and 1/2 cup vegan dark chocolate chips. Set aside.

In a separate large mixing bowl, combine 1 cup apple sauce, 1/4 cup water, 14 oz. can pureed pumpkin (or roast your own pumpkin and then puree it), 1 cup avocado oil, and 1 1/2 cups sugar. Beat with a hand mixer until smooth.

Gradually add the dry ingredients to the wet ingredients. Mix until fully combined.

Scoop batter into muffin tins. Bake at 350 degrees for 20-25 minutes, or until a toothpick inserted into a muffin comes out clean.

Enjoy!

At This Moment

At this moment, I am…

*basking in the unseasonably warm weather.

*hunting for a change of pace for dinner tonight. For inspiration, I am reaching for Jamie Oliver’s Jamie at Home: Cook Your Way to the Good Life.

*dead-heading the last of my marigolds. I have a really fun natural dyeing project brewing in my mind. More to come soon!

*assembling a compost bin for a client. (Did you know I do garden installations? If you want more information, visit 815yoga.com/private-sessions )

*worrying about my new teen driver. Ugh.

*devouring Lila Lolling’s book Walking the Ancient Path of Yoga: A devotional journey through Raja Yoga.

*wishing you a wonderful start to your week, friends.

Greetings from the Fall Garden

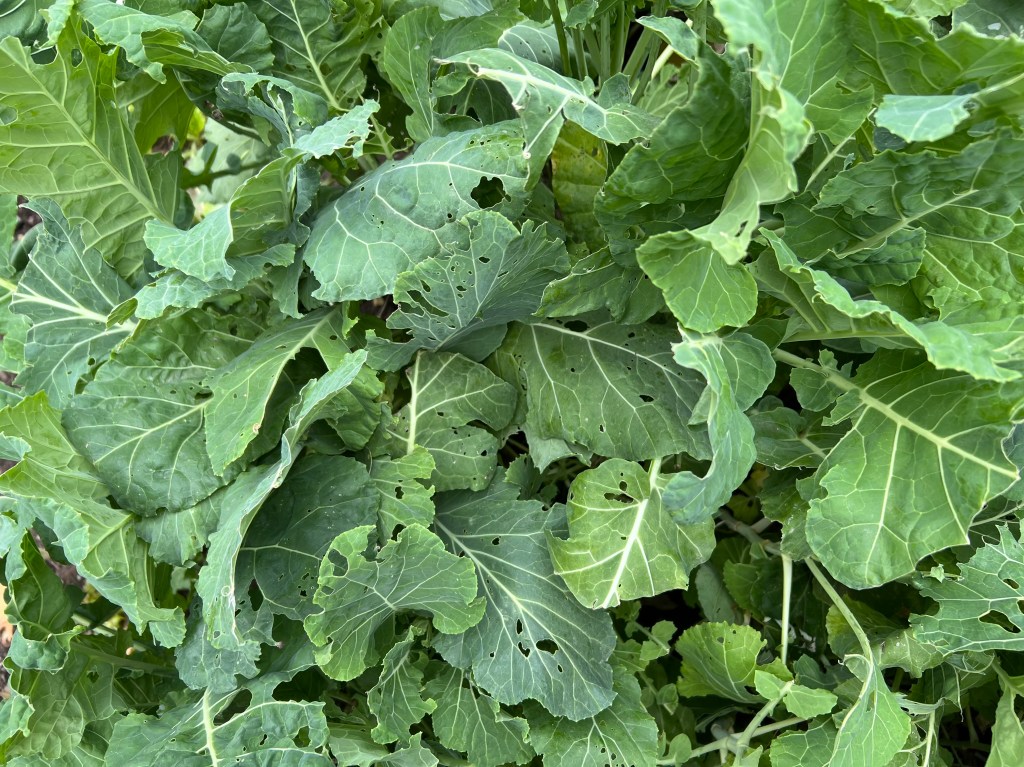
While I adore gardening in the summer months, I am partial to the autumn garden. The vegetables growing now are hearty, earthy and robust. They stick to your bones, just as we need them to do, for the cold months ahead.

Perhaps my favorite veggie this time of year are collard greens. While I have been known to throw a few collards in my salad or smoothie, these greens taste best when cooked low and slow – making them perfect for the fall dinner table.

Below I have shared my all-time favorite collard green recipe. It’s a spin on an Ethiopian recipe I learned long ago, and I think it’s really going to make your stomach and soul happy at your next meal.

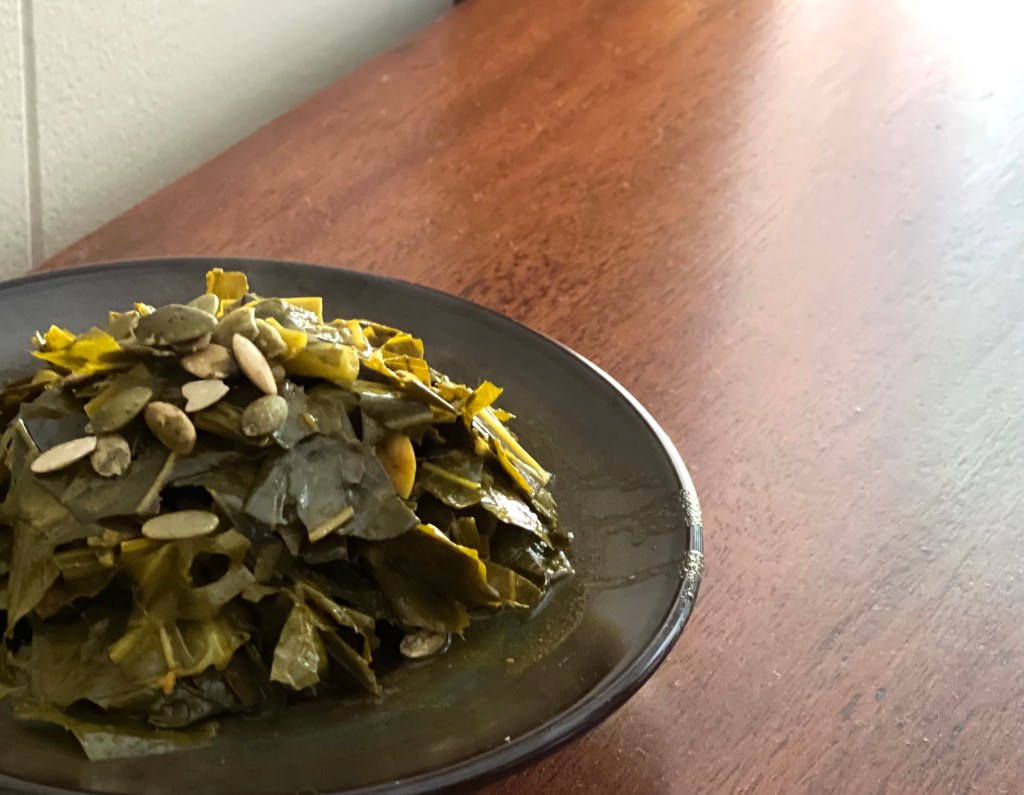
Spiced Collard Greens

Step 1: Pour 1/4 cup avocado oil in the bottom of a slow cooker.

Step 2: Add 8-10 cups chopped collard greens (any variety of collards work for this recipe) to the slow cooker.

Step 3: In a separate mixing bowl, combine 4 cloves crushed garlic, 1 teaspoon sea salt, 1 1/2 tablespoons ground turmeric, 1 1/2 tablespoons garam masala, 3 tablespoons dijon mustard, 1 tablespoon sriracha, and 3 cups vegetable stock (any type of stock can be used for this recipe). Whisk all ingredients until fully combined.

Step 4: Pour the stock mixture over the collard greens. Place the lid on your slow cooker, set it to the lowest setting, and allow to cook for 4-6 hours. About every hour, give the mixture a quick stir so that all of the flavors can marry.

Step 5: When it’s ready to serve, top your greens with a few salted pumpkin seeds to give it a bit of crunch.

Enjoy!

Connection

The world is a lot right now. I have begun to feel the dark thread weaving itself into my mind, attempting to tether me to the chaos, doubt and disease of this moment in history. Each news broadcast. Every swipe through social media. All of it leaves me feeling the pull of the thread strengthening, threatening to bind me to the abyss of negativity.

I sat with these thoughts this morning. Let them rest in my mind, acknowledging their existence, then deciding to abandon the binding holding me to the night and instead choosing to look into the light of day. I left my phone, that device often threatening my ability to lean into brightness, resting in my bag for the day. No news. No social media. No hum of electronic connectivity.

This afternoon I found myself in a favorite spot. Sunlight streaming through the newly bare tree branches. Pebbles and sticks crunching beneath my feet. The unseasonably warm breeze whisking over my skin. The tumble of the river traveling rapidly downstream. My mind quieting.

Then from out of this quiet came a hum. A different hum. No longer the hum of electricity, but rather the soft whisper of natural connection. The connection to Earth on a cellular level. The vibrations within the atoms of my body aligning with that of Mother Earth.

Here I will sit awhile. In this space. Feeling this thrum of connection.

At This Moment

At this moment, I am…

~enjoying the dark, early morning hours. Alone. Savoring the dawn of this new day.

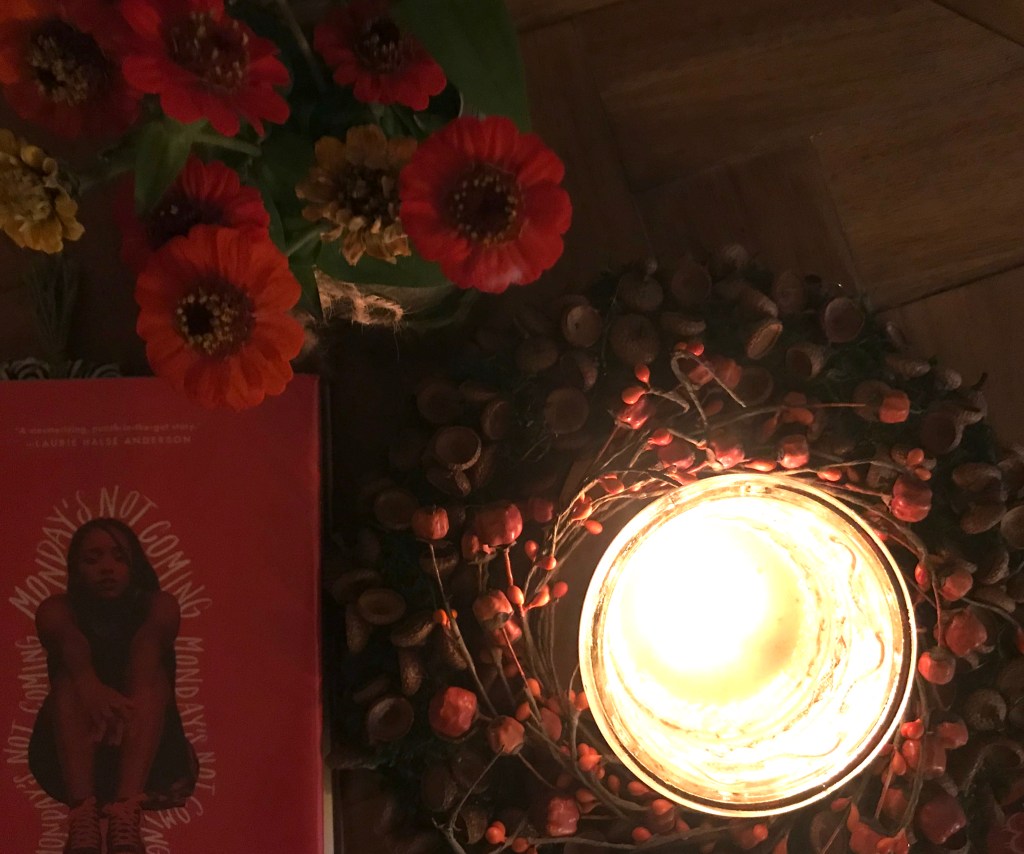
~returning to the warm, blanket-covered couch after clipping zinnias by cell phone light early this morning for a late-October bouquet.

~mopping up tears and remnants of yesterday’s mascara after finishing Tiffany D. Jackson’s novel, Monday’s Not Coming. A profoundly powerful piece of writing.  

~preparing to mince some of our garden’s garlic for a batch of grass-fed beef bone broth.  My hubby is drinking a quart of broth a day, so I have been working hard to keep up with demand.

~gearing up for what is sure to be a lively day of homeschooling featuring Indian food and celery stick science experiments.

~feeling grateful for a calming experience last night at sound bath meditation.

~wishing each of you a lovely start to your Thursday. I wish you much love and light today.

Lacto-Fermented Carrots

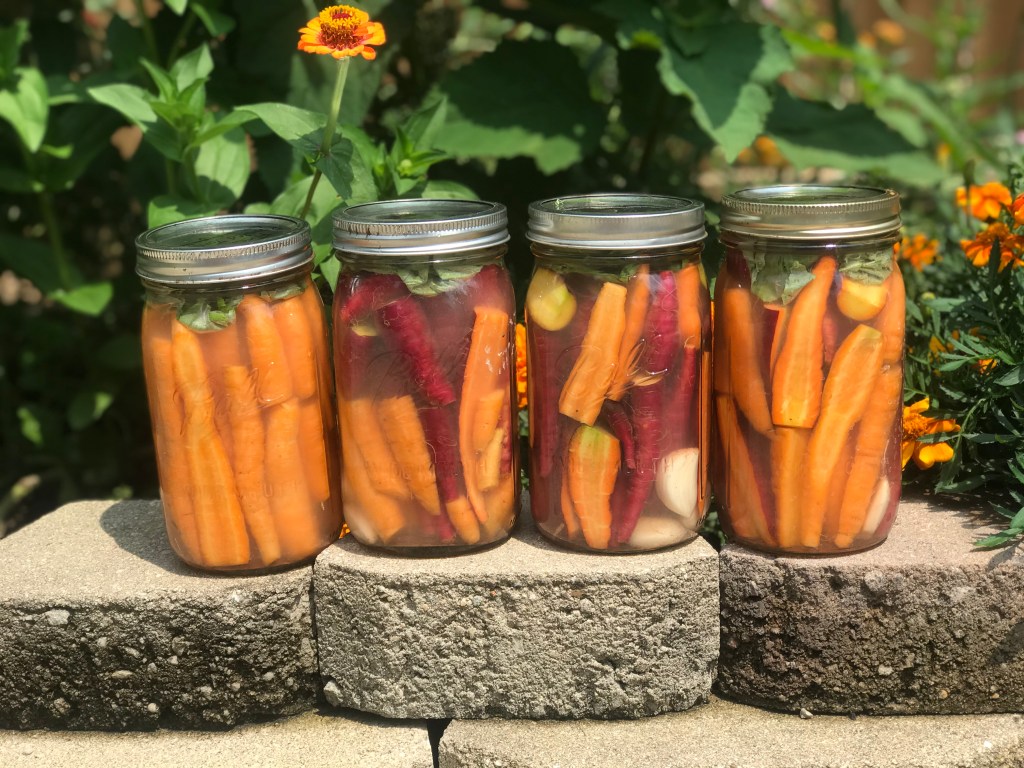
This lacto-fermented carrot recipe is a yearly go-to in our kitchen. It can be whipped up in very little time and is a family favorite with the adults and kids in the Fagan house. The carrots stay crispy, can be as tangy as you wish, all while giving your body the fermented bacterial goodness that we all need during this crazy health crisis. And the best part: It’s incredibly cheap to make!

This year I planted Dragon and Scarlet Nantes carrots in the garden and both varieties seem to work great in this particular ferment. But in all honesty, I have never had a carrot that did not work great in this recipe, so any fresh carrots will do!

Making of a Home Lacto-Fermented Carrots

1 pound fresh carrots

4 garlic cloves

2 cups of warm water

2 tablespoons sea salt (be sure your salt contains no added fillers or anti-caking agents)

1 cabbage or collard green leaf

1 glass quart-sized canning jar

Peel your garlic cloves and place them in the bottom of your jar. Next, place your trimmed carrots vertically in the glass jar, nestling them in there nice and snug. Continue to pack your jar until you have an inch of headspace remaining.

Mix together your warm water and salt until the salt is dissolved. Then pour this mixture over the top of your carrots and garlic.

Finally, take your cabbage or collard leaf and tuck it into the jar, helping to keep all of those cute little carrot tops submerged under the brine mixture. Tightly cap your jar.

Allow your jar to sit on your counter at room temperature to ferment for 6 – 10 days, depending upon how tangy you would like your ferment to taste. ***In the beginning stages of fermentation (the first 2-3 days), you will have to “burp” your jars to allow some of the carbon dioxide to escape. If you don’t “burp” your jars, there is a chance your jars could explode.

Once your ferment reaches your desired “funk” level, place it in the refrigerator. Your fermented carrots can remain in your fridge, unopened for up to 6 months.

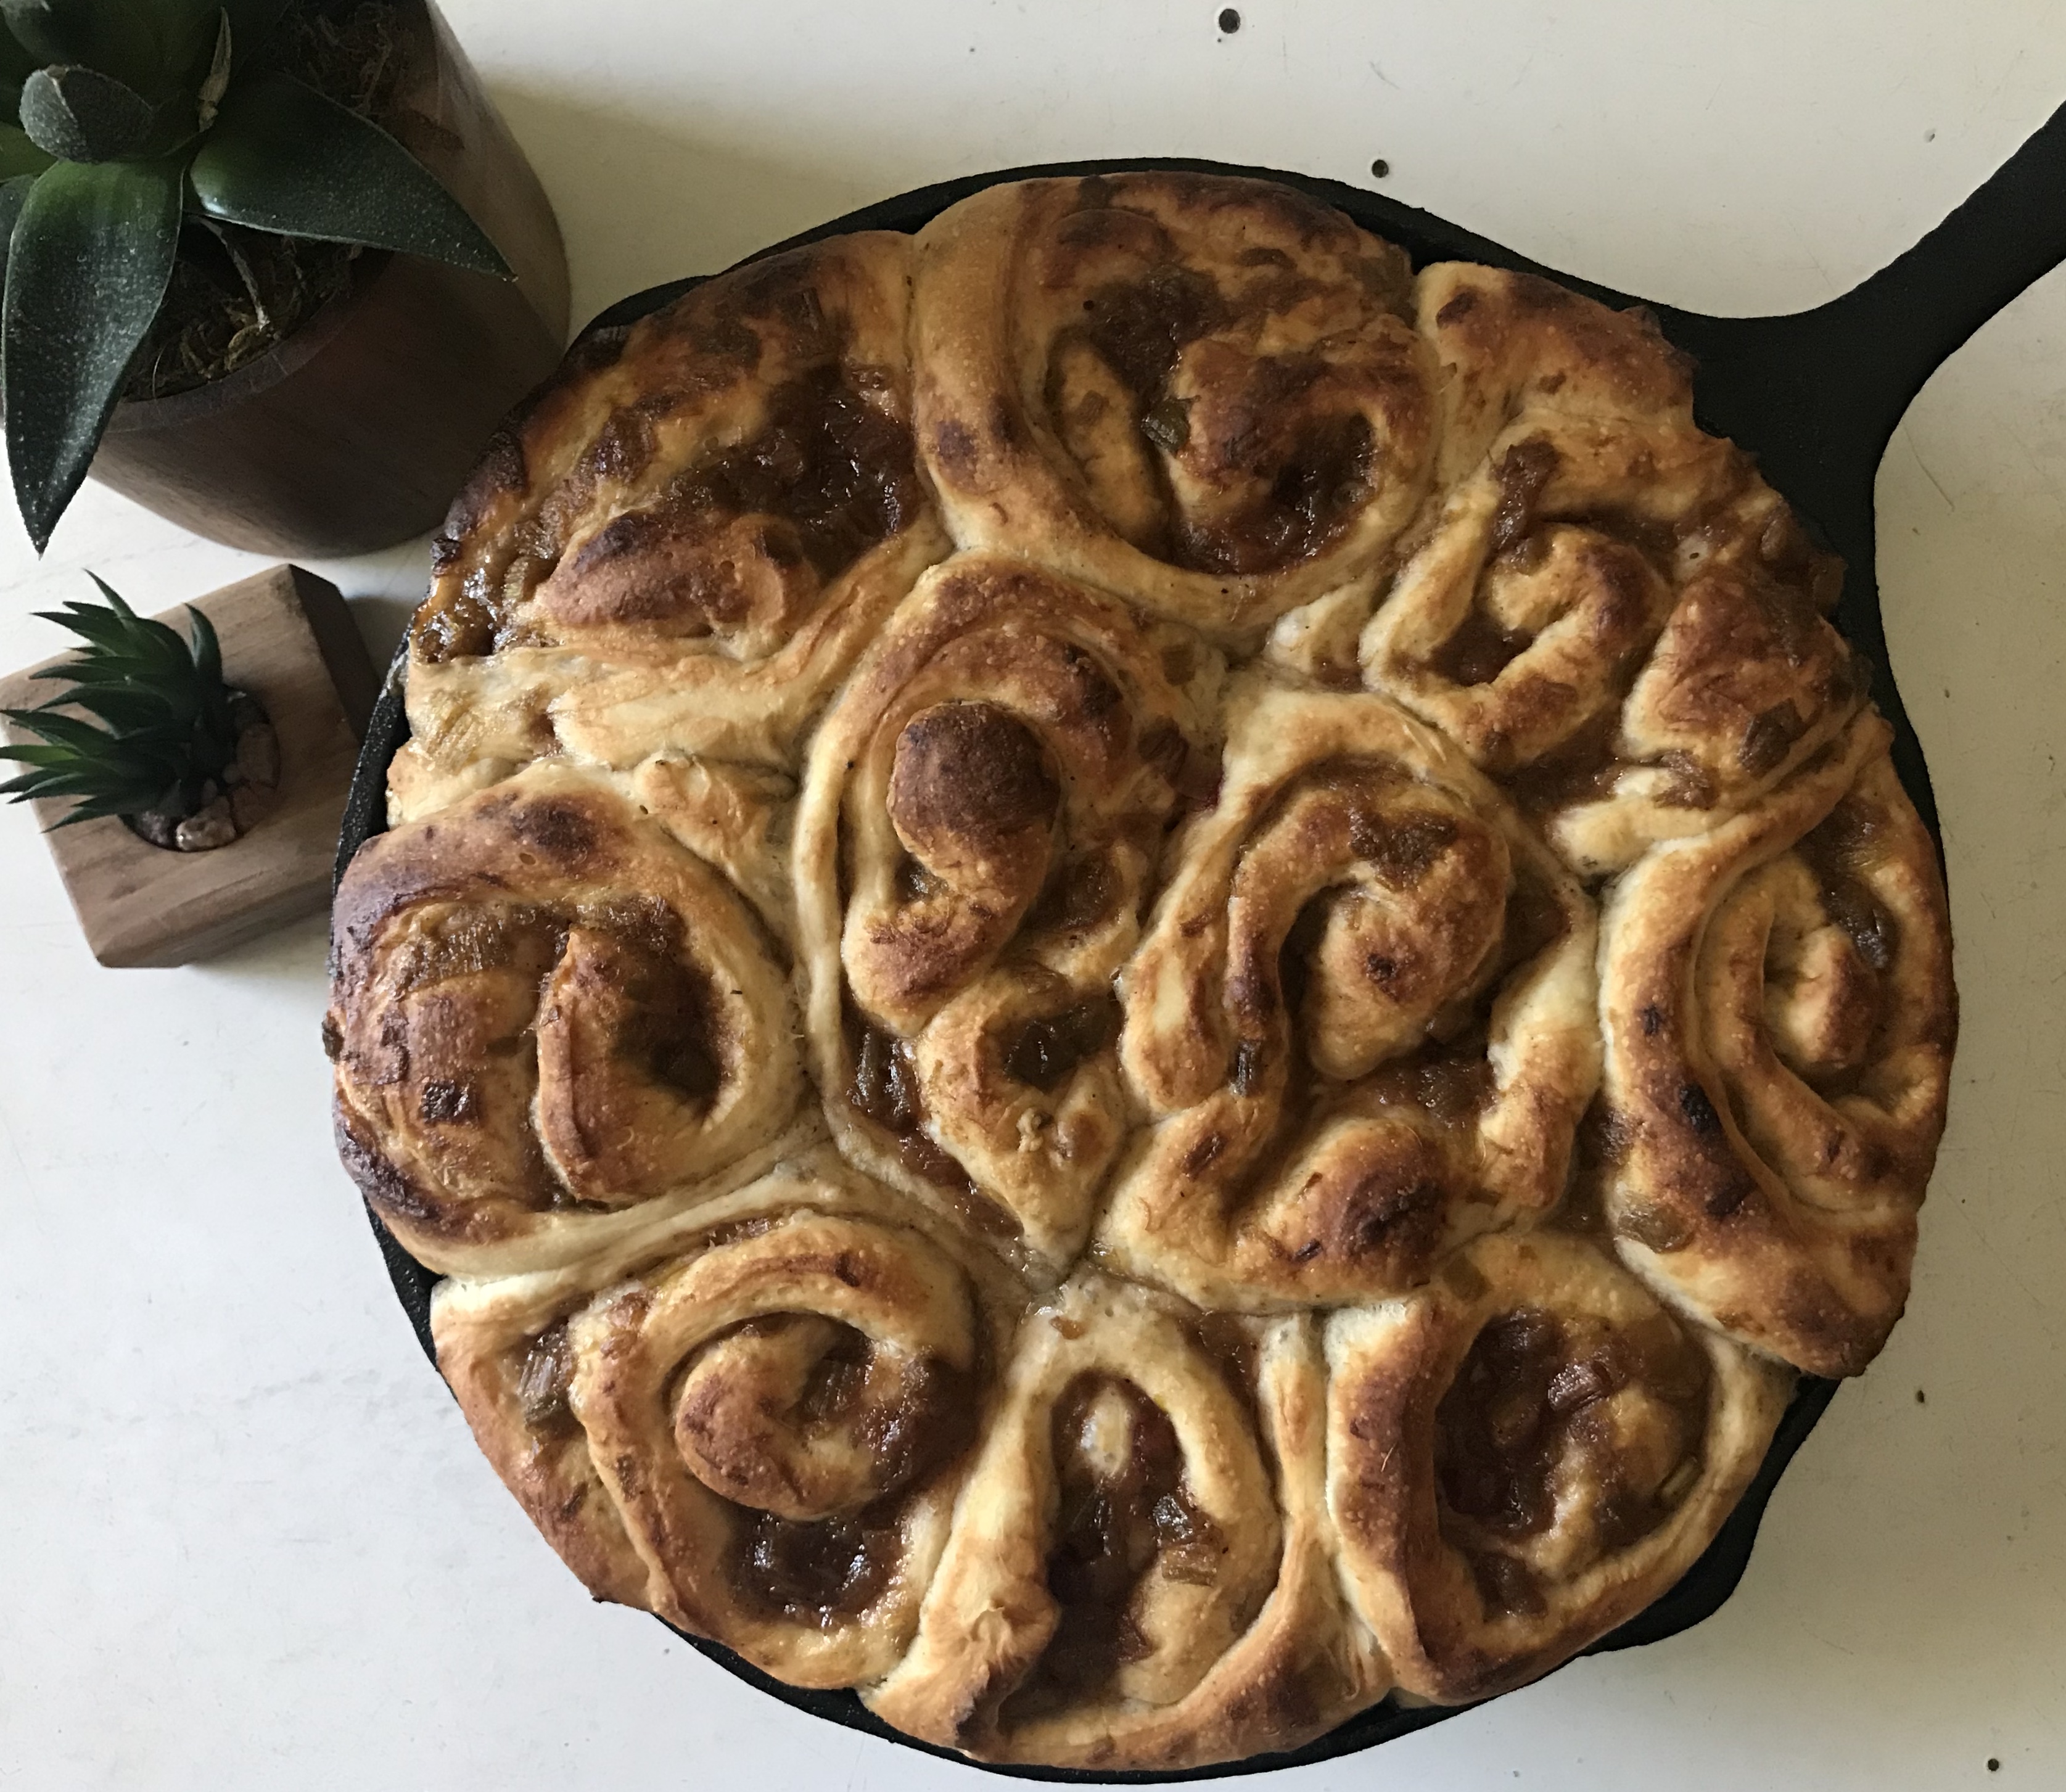
Rhubarb Sourdough Sweet Rolls

fullsizeoutput_23f5

Our rhubarb crop is thriving right now, and I have been in the kitchen testing out some new recipes that showcase this first-of-the-season gem.  I recently fell down the sourdough rabbit hole and have been in love with all things sourdough, so this recipe features a bit of that fermentation love as well.  I hope you enjoy!

Rhubarb Sourdough Sweet Rolls

In a stand mixer bowl, mix the following:

  • 1 cup sourdough starter
  • 1/4 cup warm water
  • 1 cup warm milk
  • 2 cups flour

After the ingredients are thoroughly combined, cover with plastic wrap and allow to rest at room temperature for 30 minutes.

Remove the plastic wrap and add the following to the mixture:

  • 6 tablespoons melted salted butter
  • 1/2 teaspoon salt
  • 1 tablespoon vanilla

Attach the bowl to a stand mixer and mix with a dough hook for 1 minute.

Slowly add 2 additional cups of flour, while continuing to run the mixer on low speed. Once all the flour has been added, continue to mix on low speed for 3 minutes.

Turn out the dough onto a floured surface and knead lightly for about 3 minutes.  Then form a ball with the dough, place it into a greased bowl, and cover with plastic wrap.  Allow to rest at room temperature for 1 hour.

Uncover and stretch and fold the dough in a circular fashion until all of the dough has been stretched and folded.  Again, cover the bowl and allow to rest at room temperature for an hour.  Repeat this process a total of 3 times. (Your total rest time for this step will be three hours.)

During this resting period, heat the following in a medium-sized saucepan over medium heat:

  • 3 cups chopped rhubarb
  • 1 cup honey
  • 1/2 teaspoon nutmeg
  • 1/ teaspoon cinnamon

Continue to cook the mixture until the rhubarb becomes tender, then remove from the heat.  Once removed from the heat, add 1 teaspoon almond extract. Allow the mixture to fully cool.

Turn out the dough onto a floured surface and roll out into the shape of a large rectangle that is about 1/2 inch thick.

Next spread the rhubarb mixture over the entire rectangle-shaped dough.

Roll the dough, starting at one of the long ends, until you have one long roll.

Next cut the roll into 2 inch pieces.  Place the pieces snuggly into a greased cast-iron skillet or greased 9 x 9 inch baking dish. Cover the rolls with plastic wrap and refrigerate overnight.

An hour before baking, remove the rolls from the refrigerator and uncover them.  Allow to rest at room temperature for an hour.

Bake the rolls at 350 degrees for 30-40 minutes, or until the rolls become golden brown on top.

Serve and enjoy!