


Obsessed. There is no other way to describe what is happening in this house right now after discovering this new craft. The possibilities are endless.
Obsessed. There is no other way to describe what is happening in this house right now after discovering this new craft. The possibilities are endless.


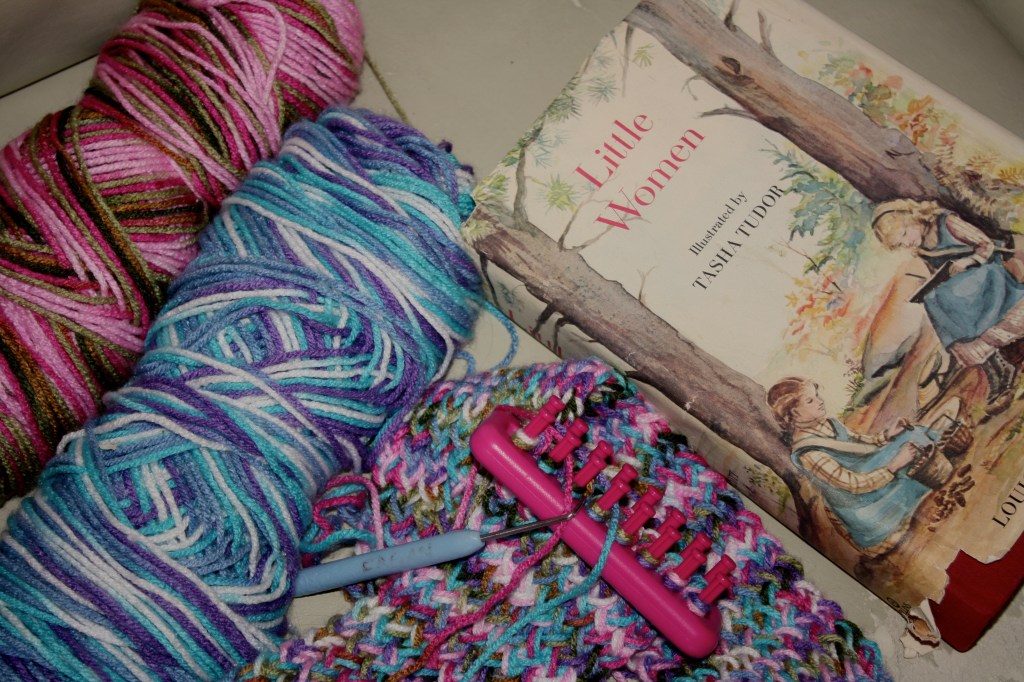
Friends, I’m telling you, there are times when it is just awesome to have a dad who owns a hardware store. For those times you want to paint a room, or unclog a drain, or make a basket. Wait, what? Yup. I think I did indeed just find a new obsession: rope basket making.
For months now, I have been eying Amanda Blake Soule’s baskets made with clothesline on her blog. I yearned to make one myself, but was not confident in my sewing ability. Then Taproot’s “Folk” issue arrived on my doorstep, and within its pages were step-by-step instructions for these rope baskets. So, this week I decided to give it a try. I went to my dad’s hardware store, bought some clothesline, and got to work.
Now let me be clear…I am by no means a seamstress. I can barely handle sewing pajama pants and nightgowns for my girls. So believe me when I tell you, these baskets are a cinch to make, and so much fun! And there is something so meditative about working in a circular pattern, which made this particular project that much more wonderful. Once I got started, I couldn’t stop. Have I said making this basket was a blast? 🙂
Dinner ended up being super late to the table and my family was starving, but I made a fabulous basket! I think I will find myself in the rope aisle of my dad’s hardware store again very soon. Man, this is fun!
(P.S. If you are in my family, plan to get a basket for your birthday this year. And Christmas. And on a random Tuesday.)


Isn’t it interesting that sometimes we spend so much time in our homes that we never actually see it? I have been reflecting on this thought a lot lately. Pondering what it is that I don’t actually see because I look at it each day.
With this thought in mind, I went through my house this week (with my camera) and tried to truly make a connection with what it was that my eyes (and the camera lens) saw along the way. When I stopped to do this, I found so many things I never really noticed before: a watercolor picture of a rooftop garden that somehow made it onto the cabinet without my noticing, legos strewn about next to our worm farm, and a canvas print of one of my favorite quotes that I don’t remember ever hanging up. So many interesting objects that illustrate our family life at this moment in time.
Wishing each of you a weekend in which you can find a quick moment to really see those items in the nooks and crannies of your home that come to define you and your family at this moment in time.

With winter now fully upon us, my family and I have found ourselves battling some stuffy noses and sore throats. We try to open up our mornings with a smoothie, and drink tea throughout the day, but I just began to feel that I needed to mix it up a bit and try something new in order to add an extra layer of immune support to our diet. Enter elderberries.
Elderberries act as a wonderful boost to the immune system, while also imparting a unique currant-like flavor to a dish. I have drunk tea infused with elderberries in the past, but again, I craved a change up of some sort. I got just that while at co-op a few weeks ago when a dear friend shared a fabulous lunch idea she often prepared for her children: elderberry gelatin. I just loved her idea because not only would this snack offer the immune support of elderberries, but also the unique health benefits of quality gelatin.
Well, this week I took my friend’s idea, ran with it, and crafted an elderberry gelatin parfait. I served it as “dessert” for dinner this week and my family gobbled it up. (Even my eldest daughter, who has a strange fear of gelatin (“I just don’t trust something that moves around like that on your spoon,” is her famous saying. :), gave the dish a whirl. I hope you and your family enjoy!
Elderberry Gelatin Parfait
Bring 2 cups of water to a boil. Once the water reaches a boil, turn off the heat, add 1/4 cup dried elderberries to the water, cover the pot and allow to steep for 15-25 (depending on how strong you would like the elderberry flavor).
While the berries are steeping, mix 4 tablespoons gelatin in 1 cup of cold water.
After the berries have steeped, strain out the berries using a fine mesh strainer. Then add 1/3 cup honey to the elderberry-infused water.
Slowly add the hot water-elderberry-honey mixture to the cold water-gelatin mixture, whisking continuously while doing so. Pour into a shallow dish and place in the refrigerator until set.
When it is time to serve, pour 1 cup heavy whipping cream in a bowl and beat until soft peaks form. Then cut the gelatin into small squares and alternate layers of gelatin and whipped cream in a small dish. Enjoy!

*A note about all my recipes: I use all organic ingredients, local when available. I use non-homogenized milk, and all of the dairy we use is from animals raised on pasture. I also use oils that are non-GMO verified. All our meat is raised locally on organic feed, and our beef is grass-fed, grass-finished. All our spices and cane sugar are fair-trade certified and purchased through a cooperative.


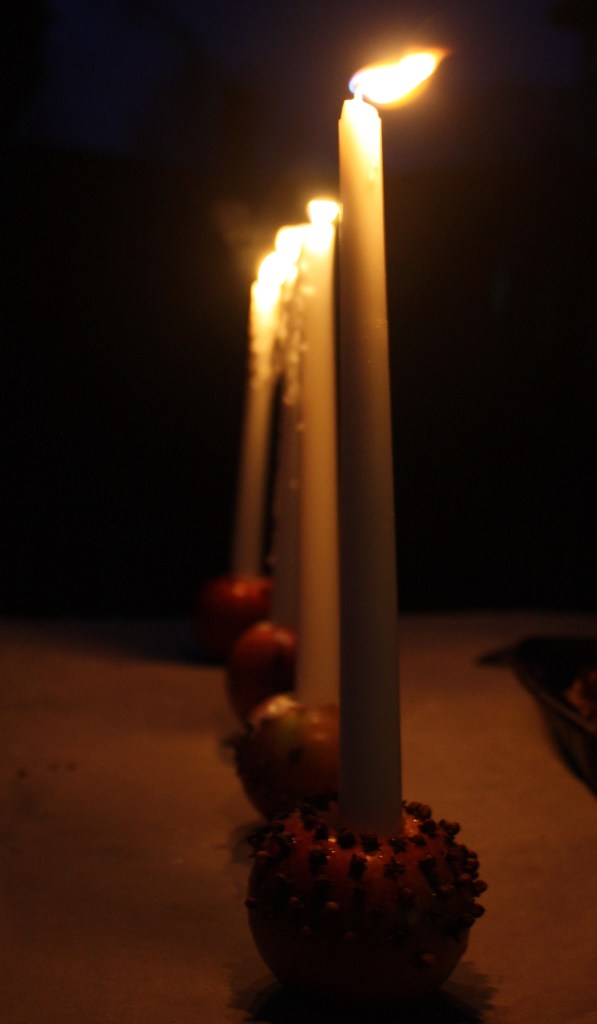


My mom always use to say that December 21st was her favorite day of the year because after it, each day gets a bit longer. For years now, I have wanted to have a winter solstice celebration, but crazy schedules around the holidays always seemed to get in the way. However, this year it seemed as if a solstice celebration was something of a necessity for me. I yearned for it as a reminder to myself that no matter how dark and lonely this holiday season may seem because of my mom’s passing, each day will be filled with a bit more light. And I pray that some day that light will help fill this cavernous void of today with new life and hope.
Wishing each of you much love and light this season.

This whole homeschooling venture is still so new. It’s a good new, but still unfamiliar territory that I am working to navigate. This week has been especially challenging, what with coming off of the big birthday weekend, and now having various new puzzles, Lego sets and craft kits dotted throughout our home. And now, the challenge emerges in front of me: How do we have “school” when there is all this birthday present goodness acting as a distraction?
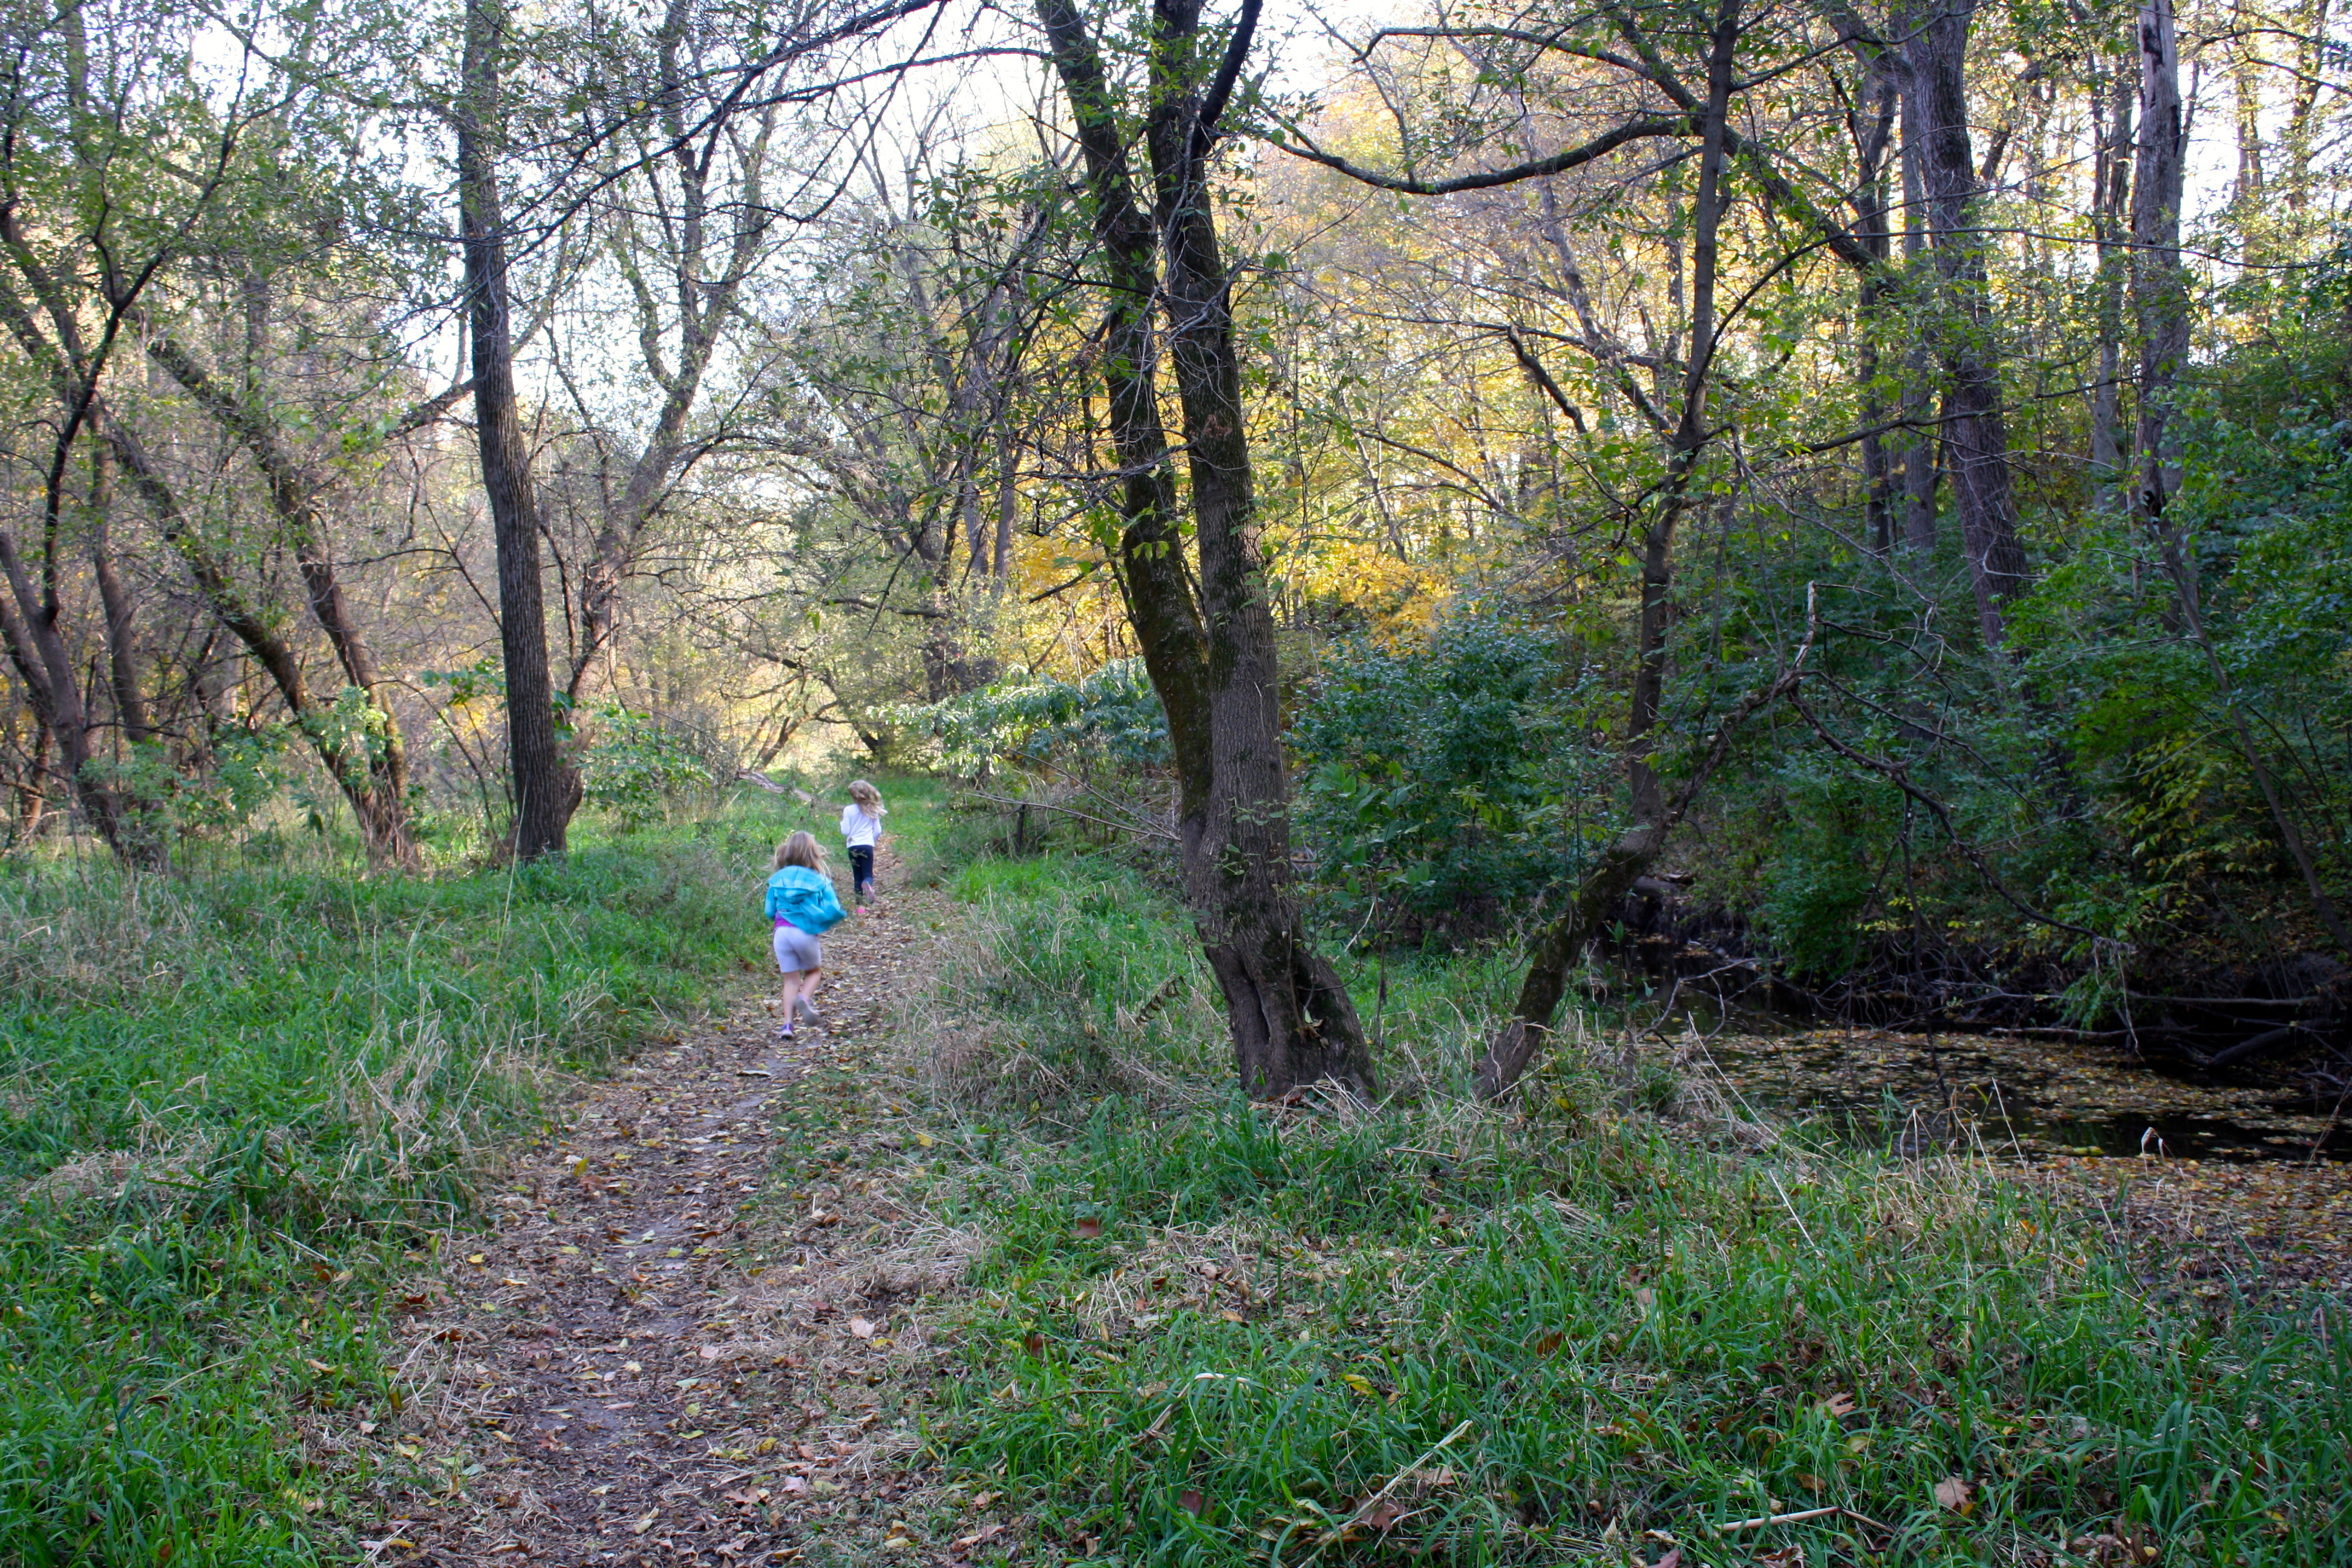
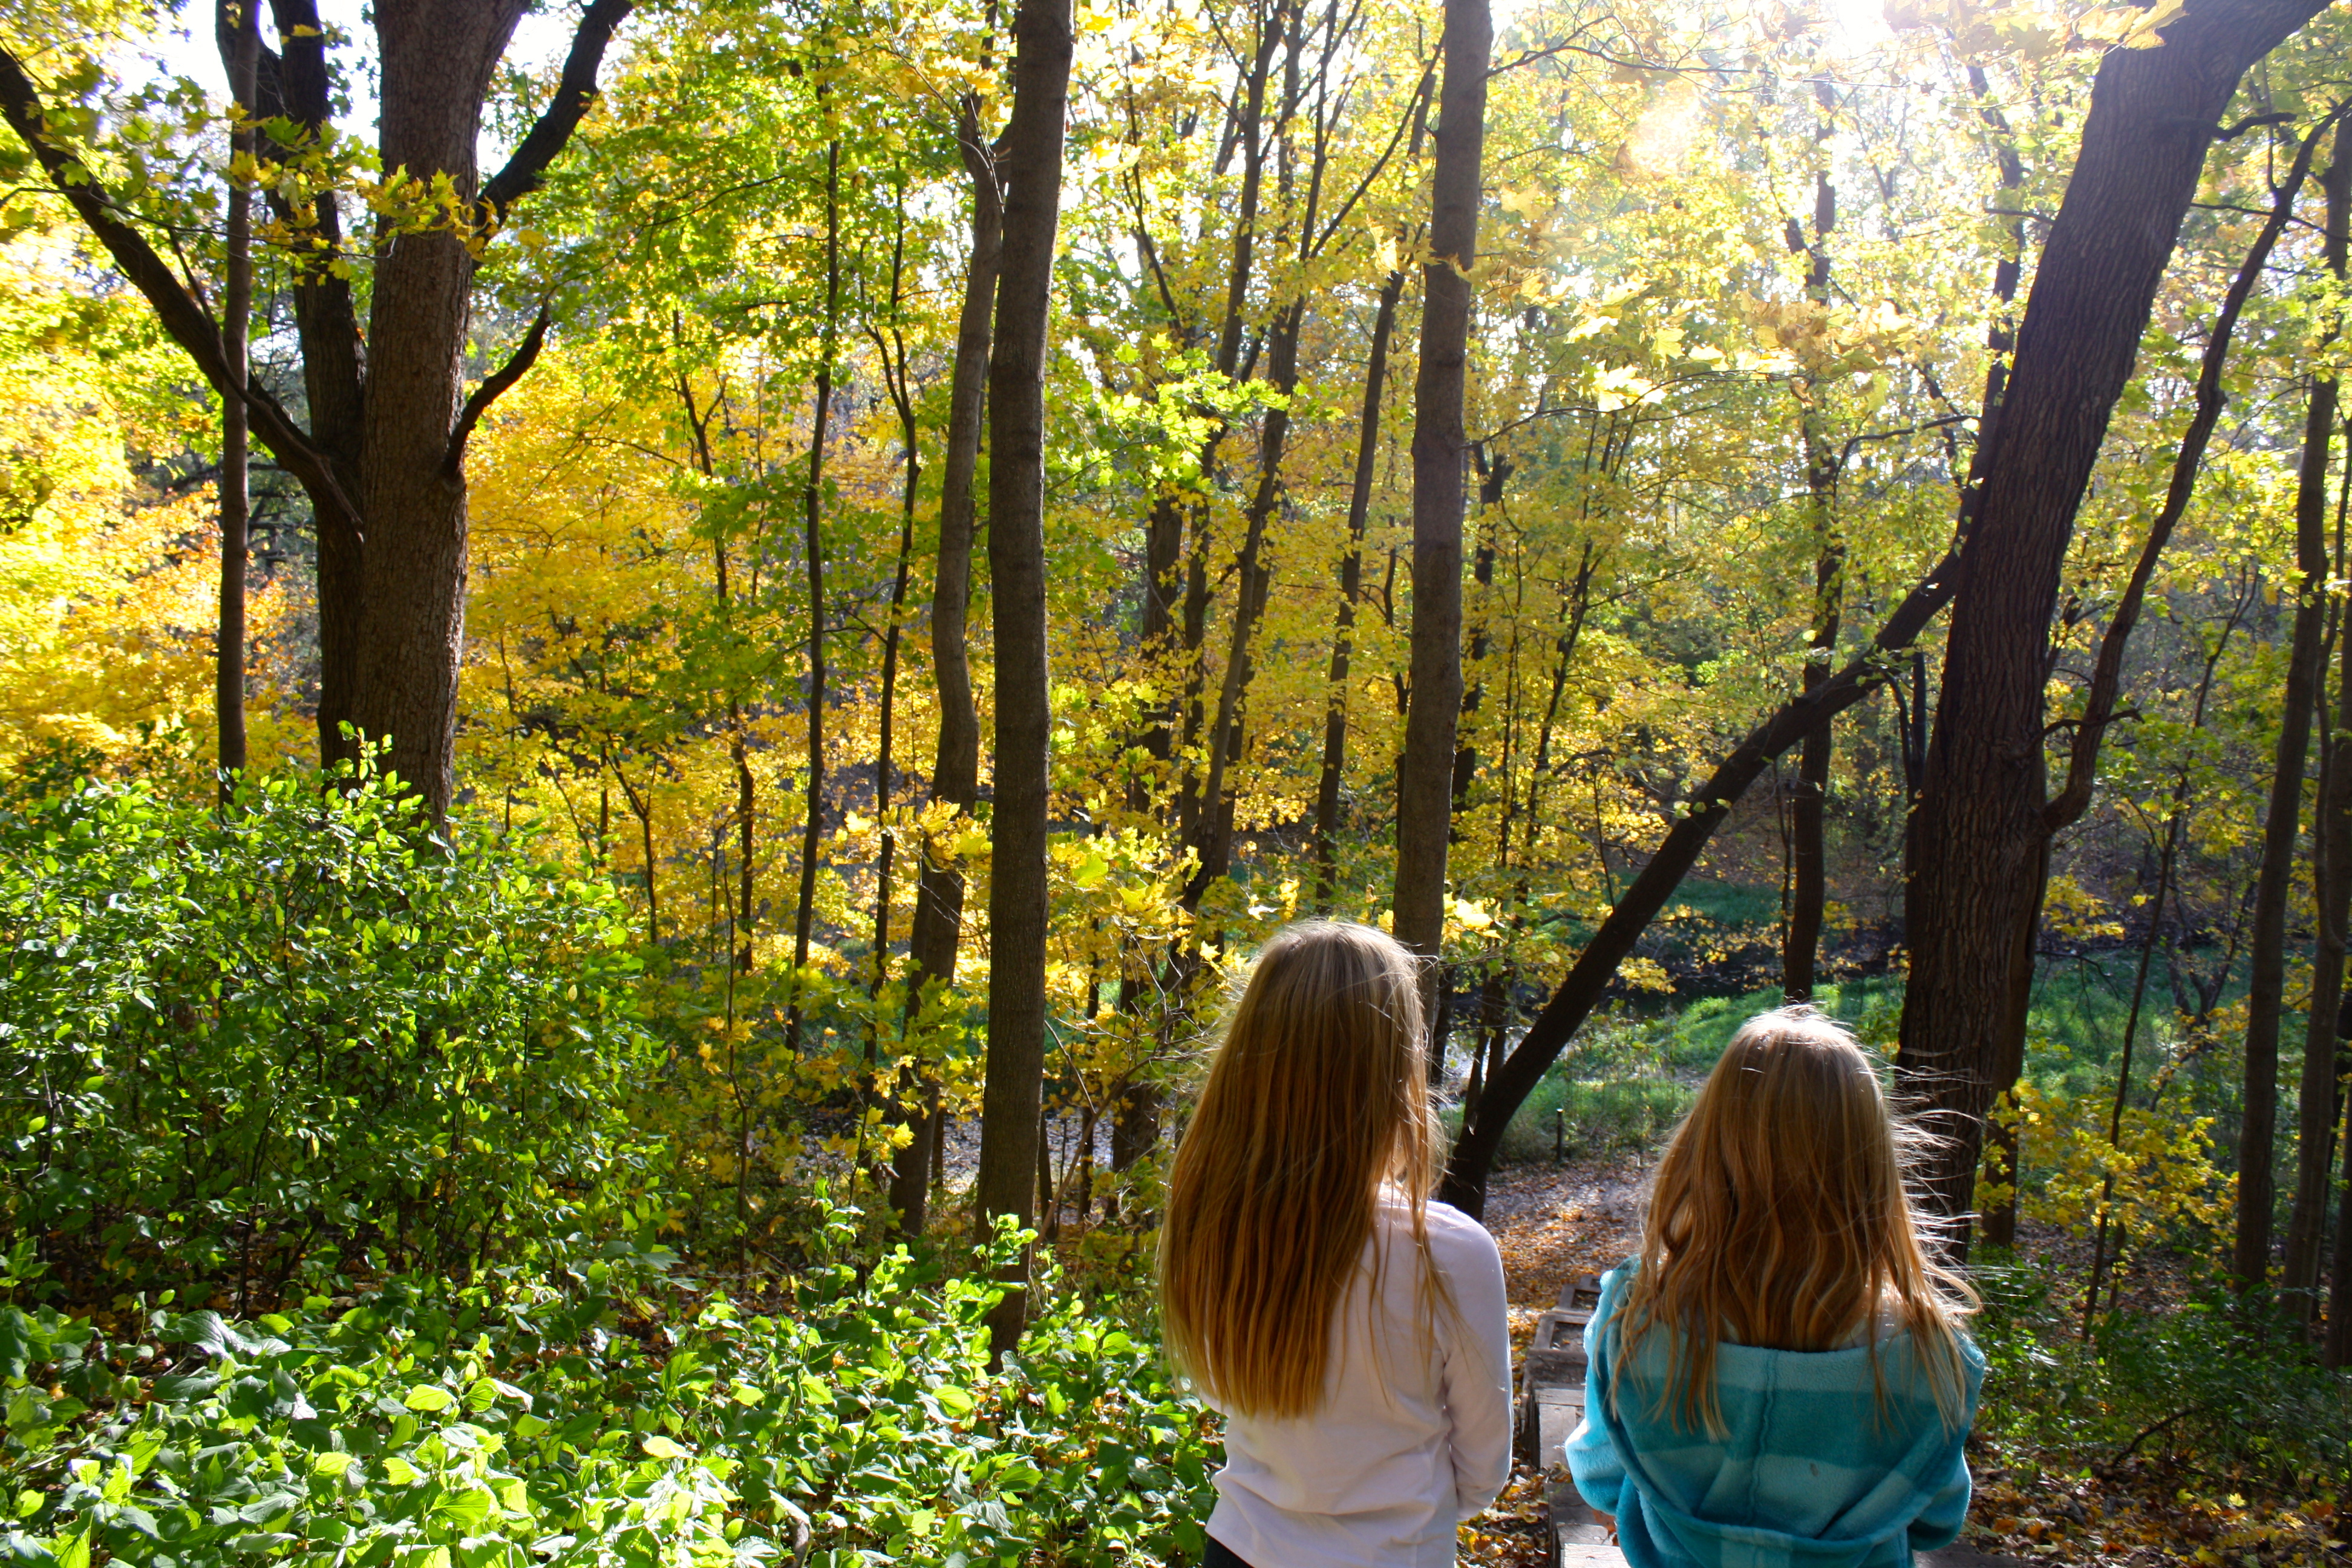
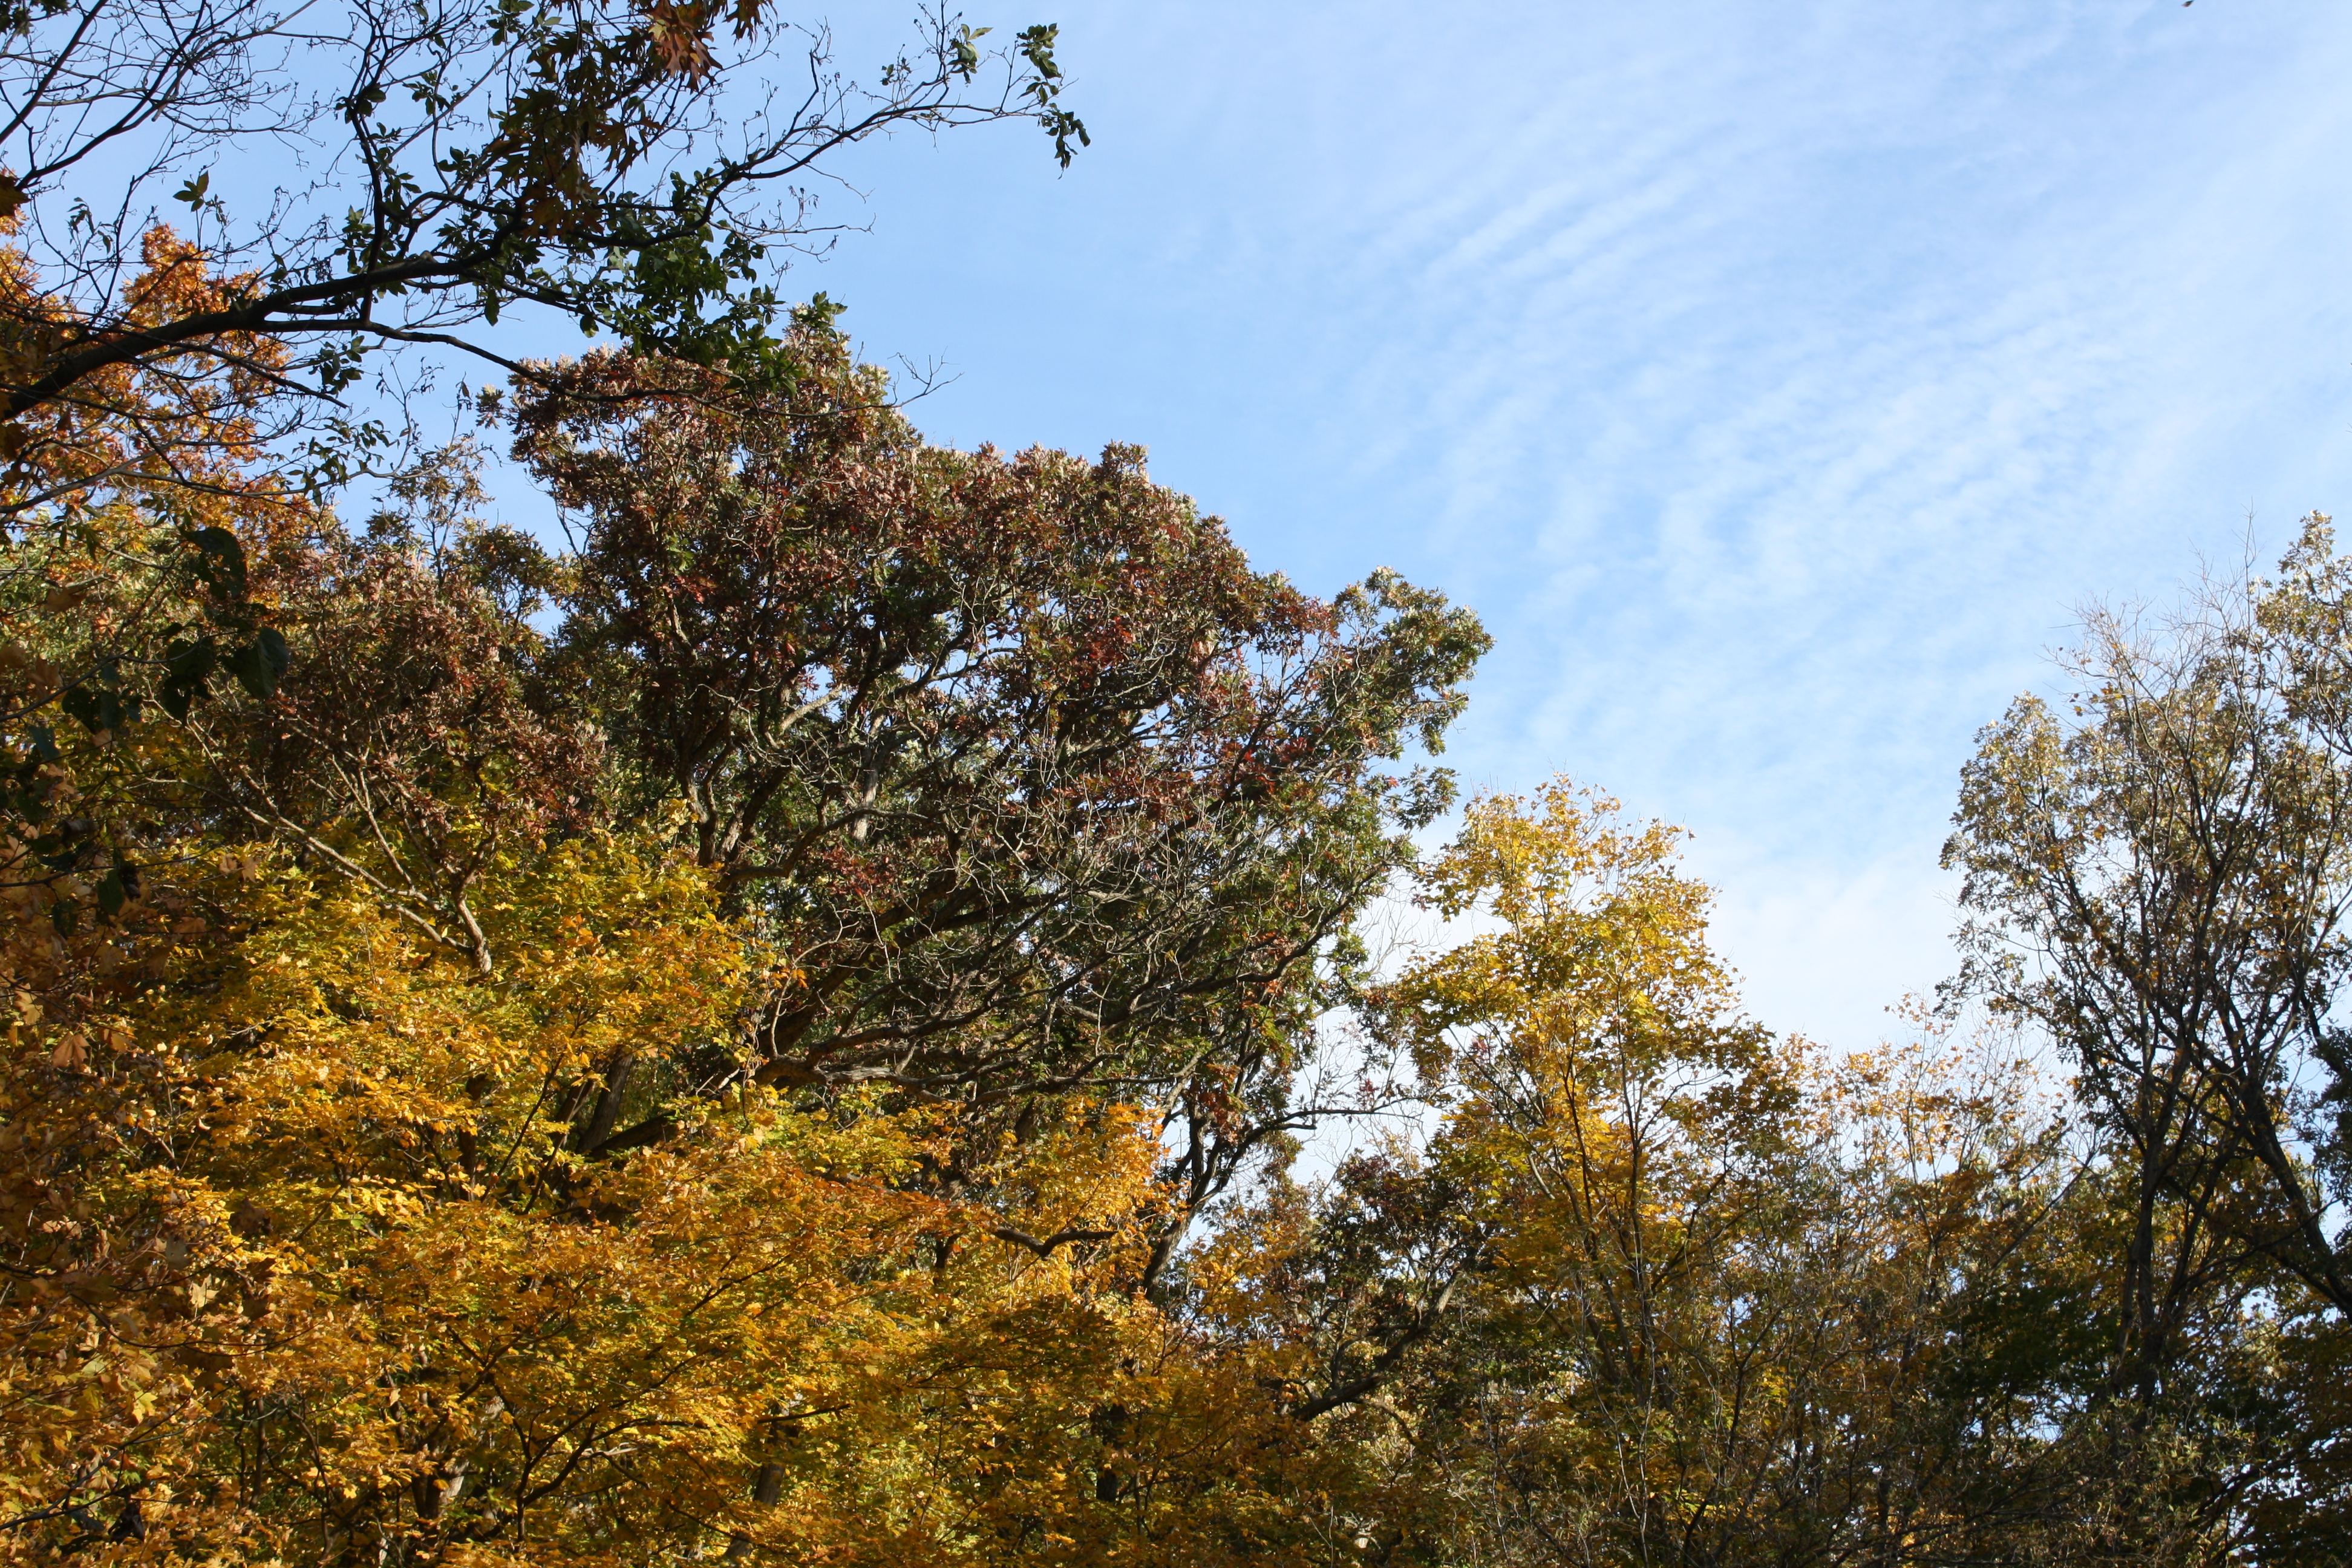
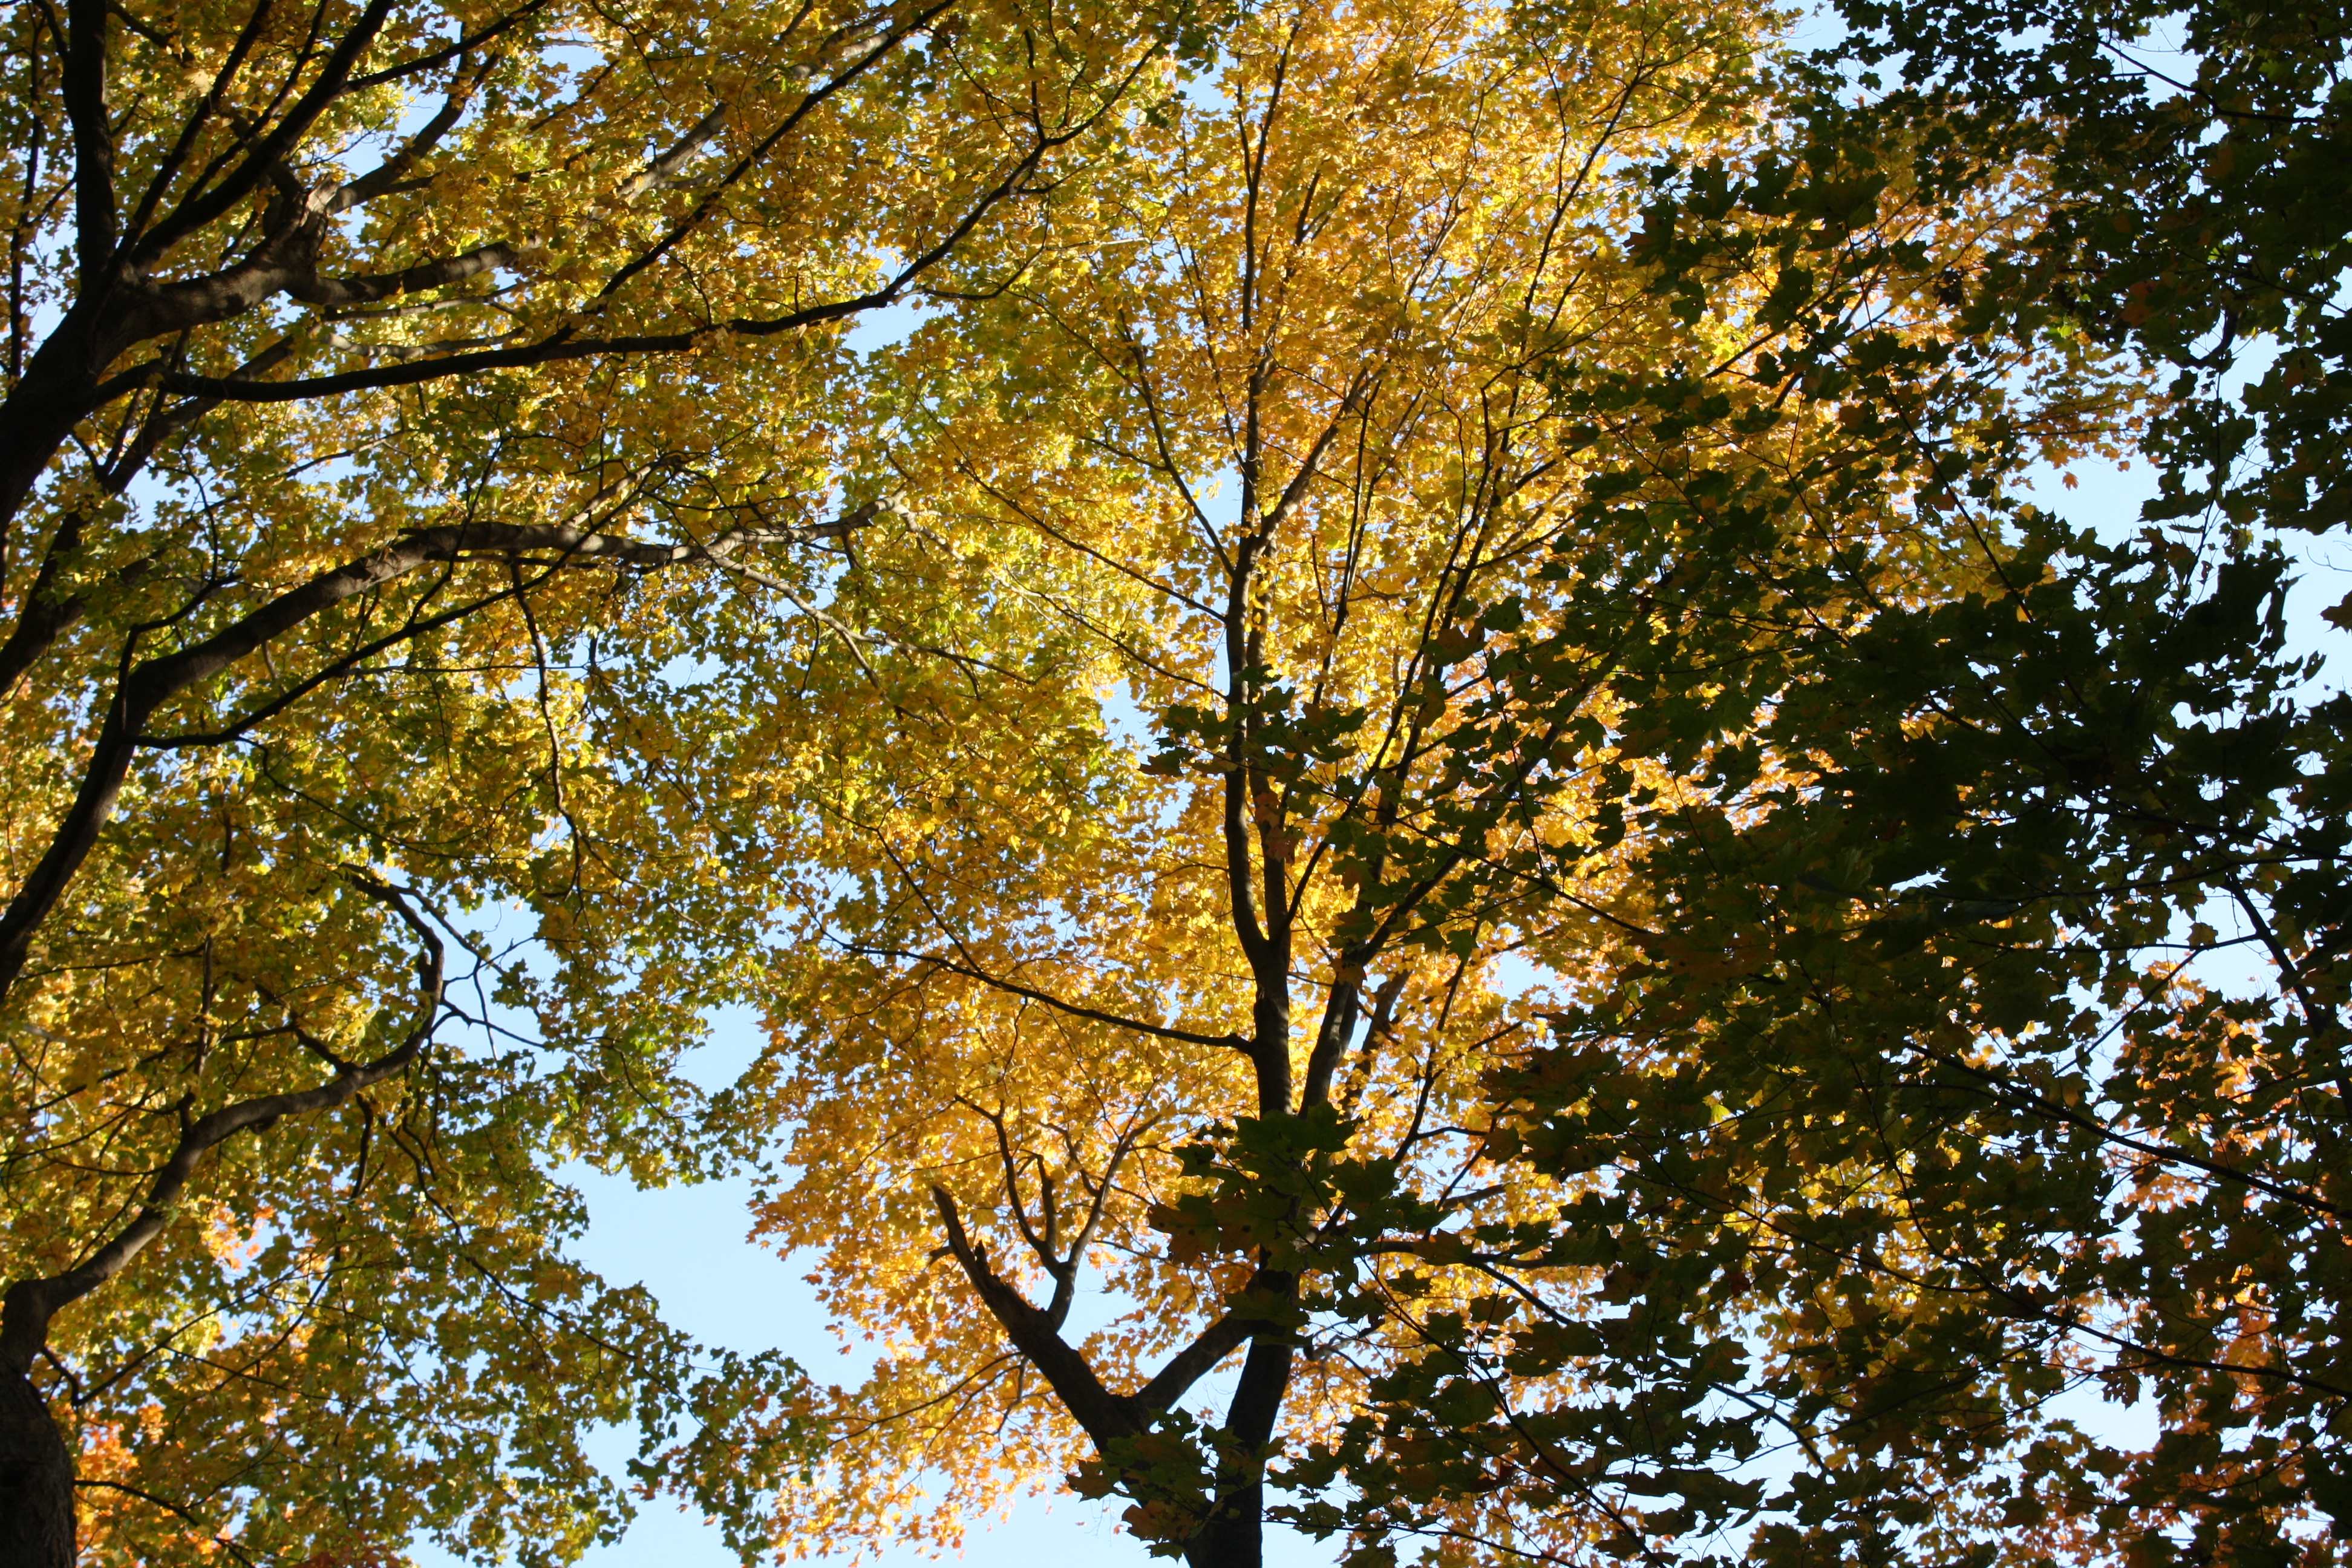
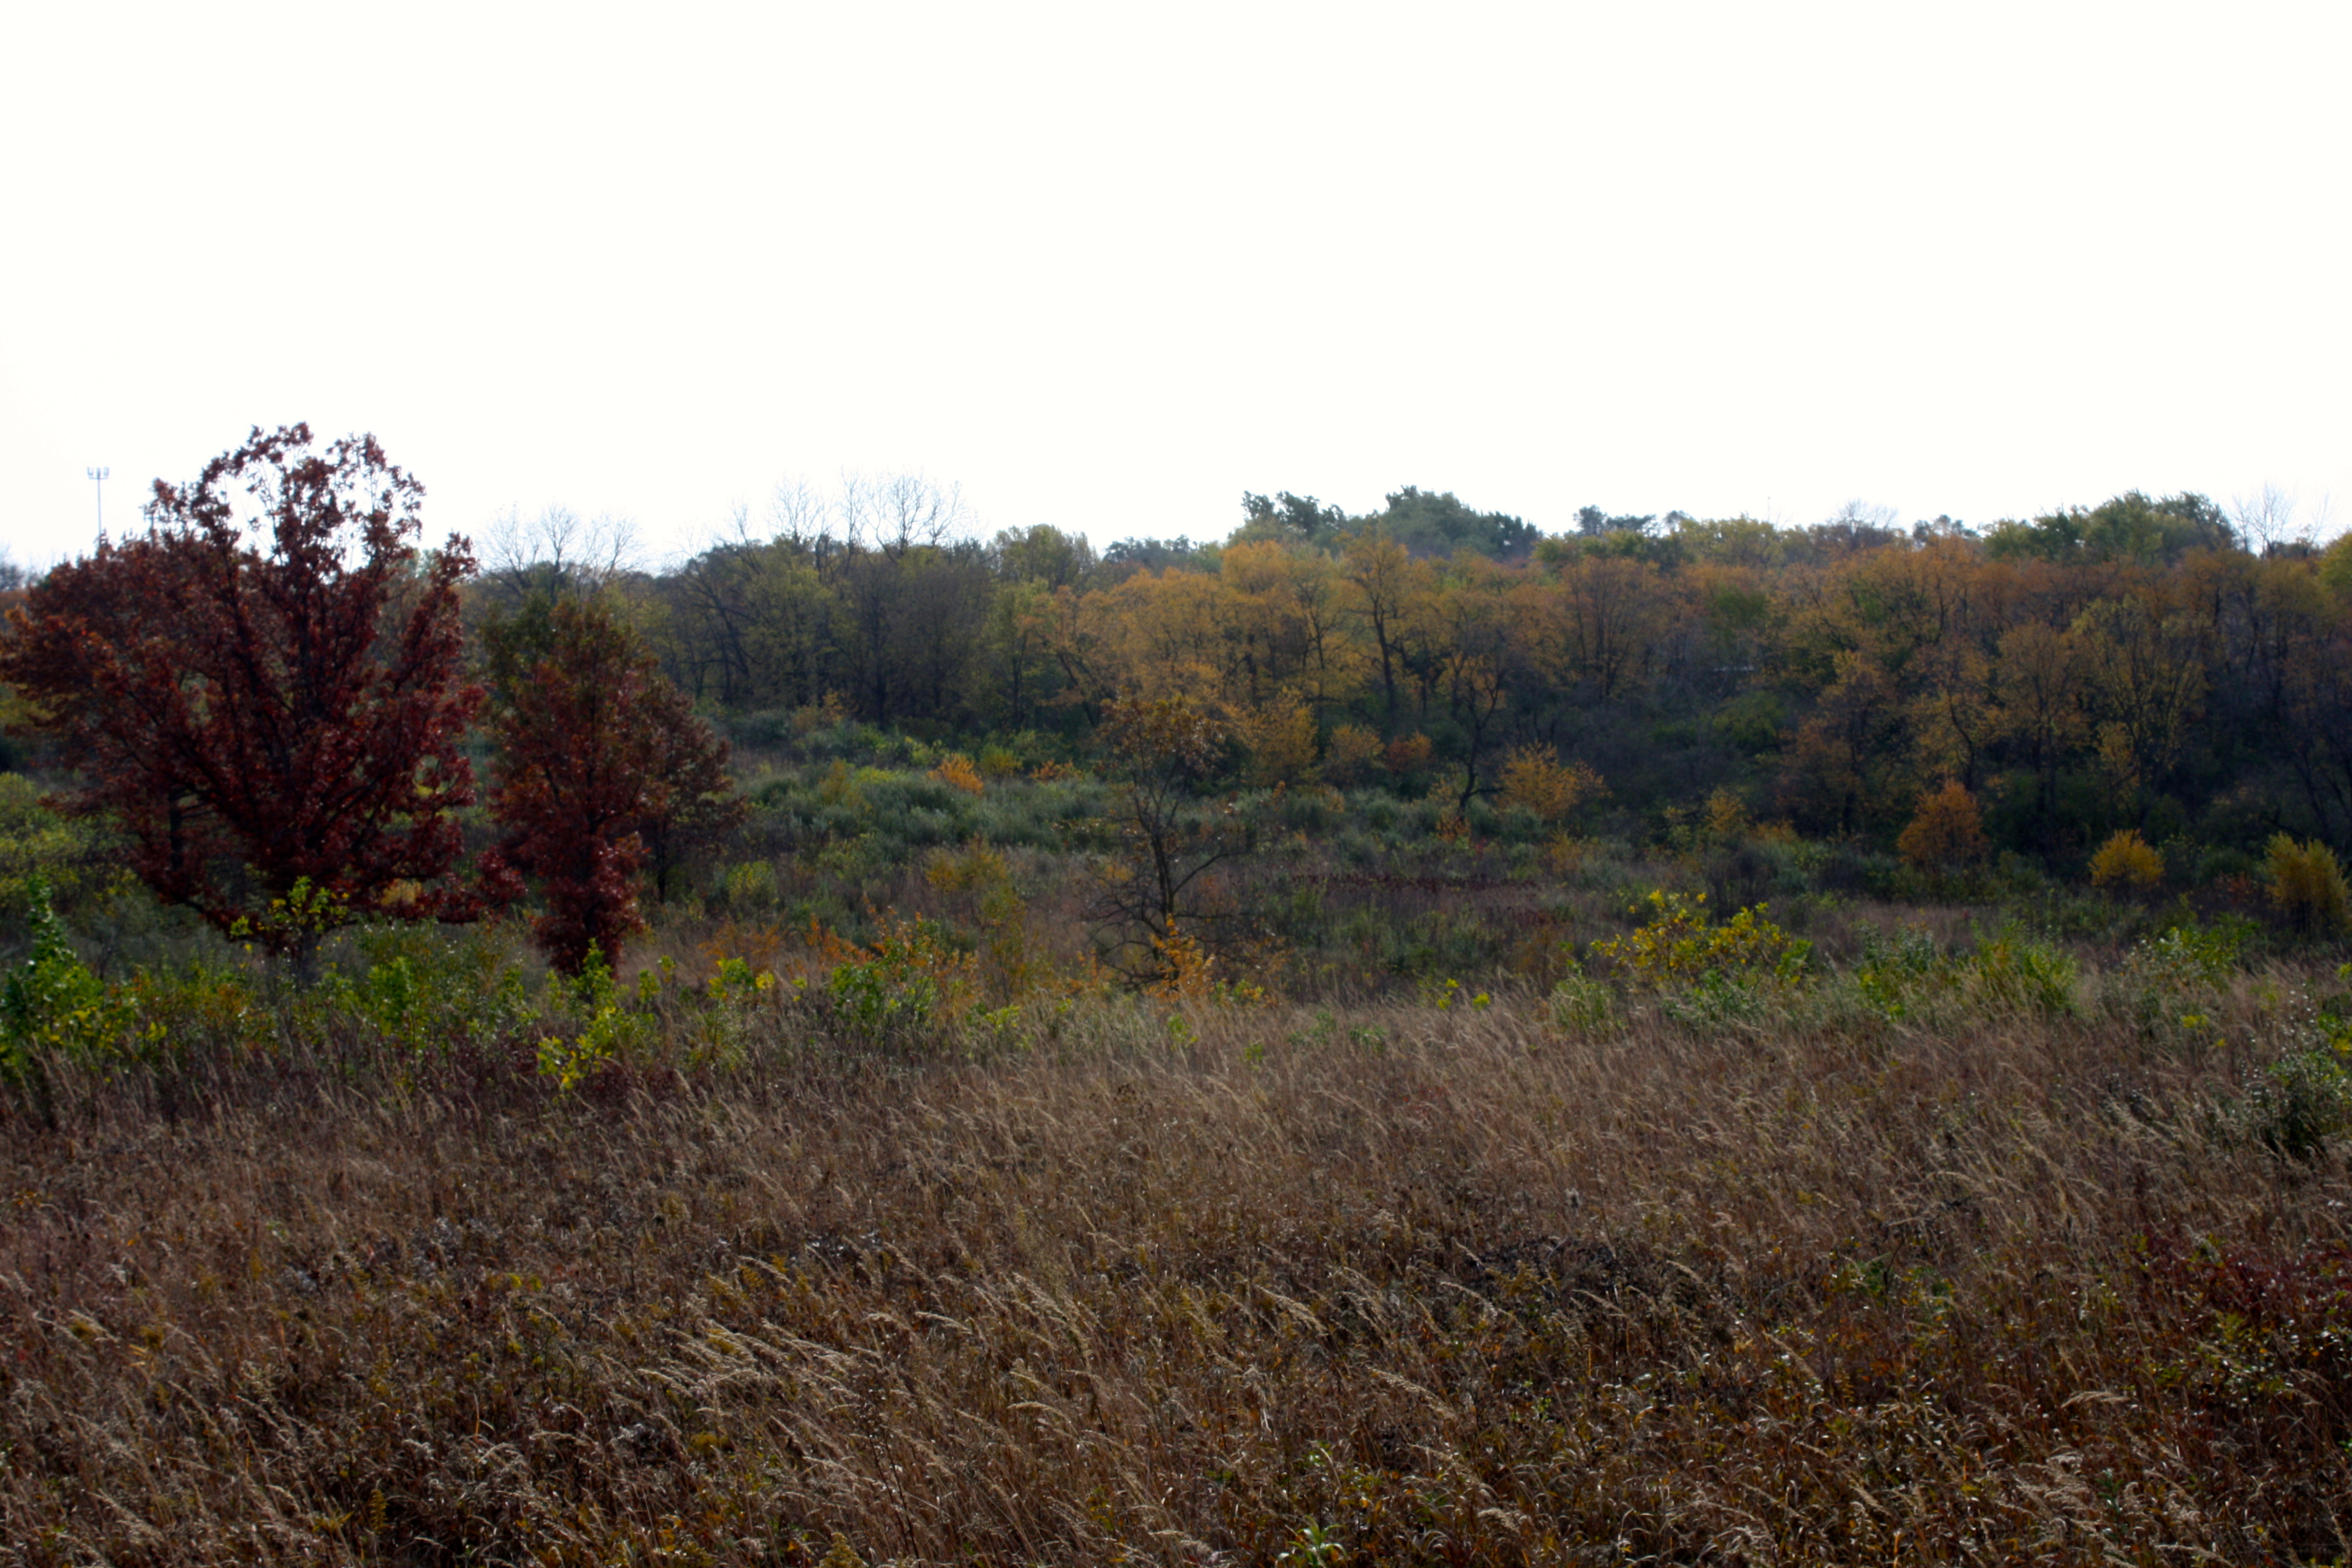
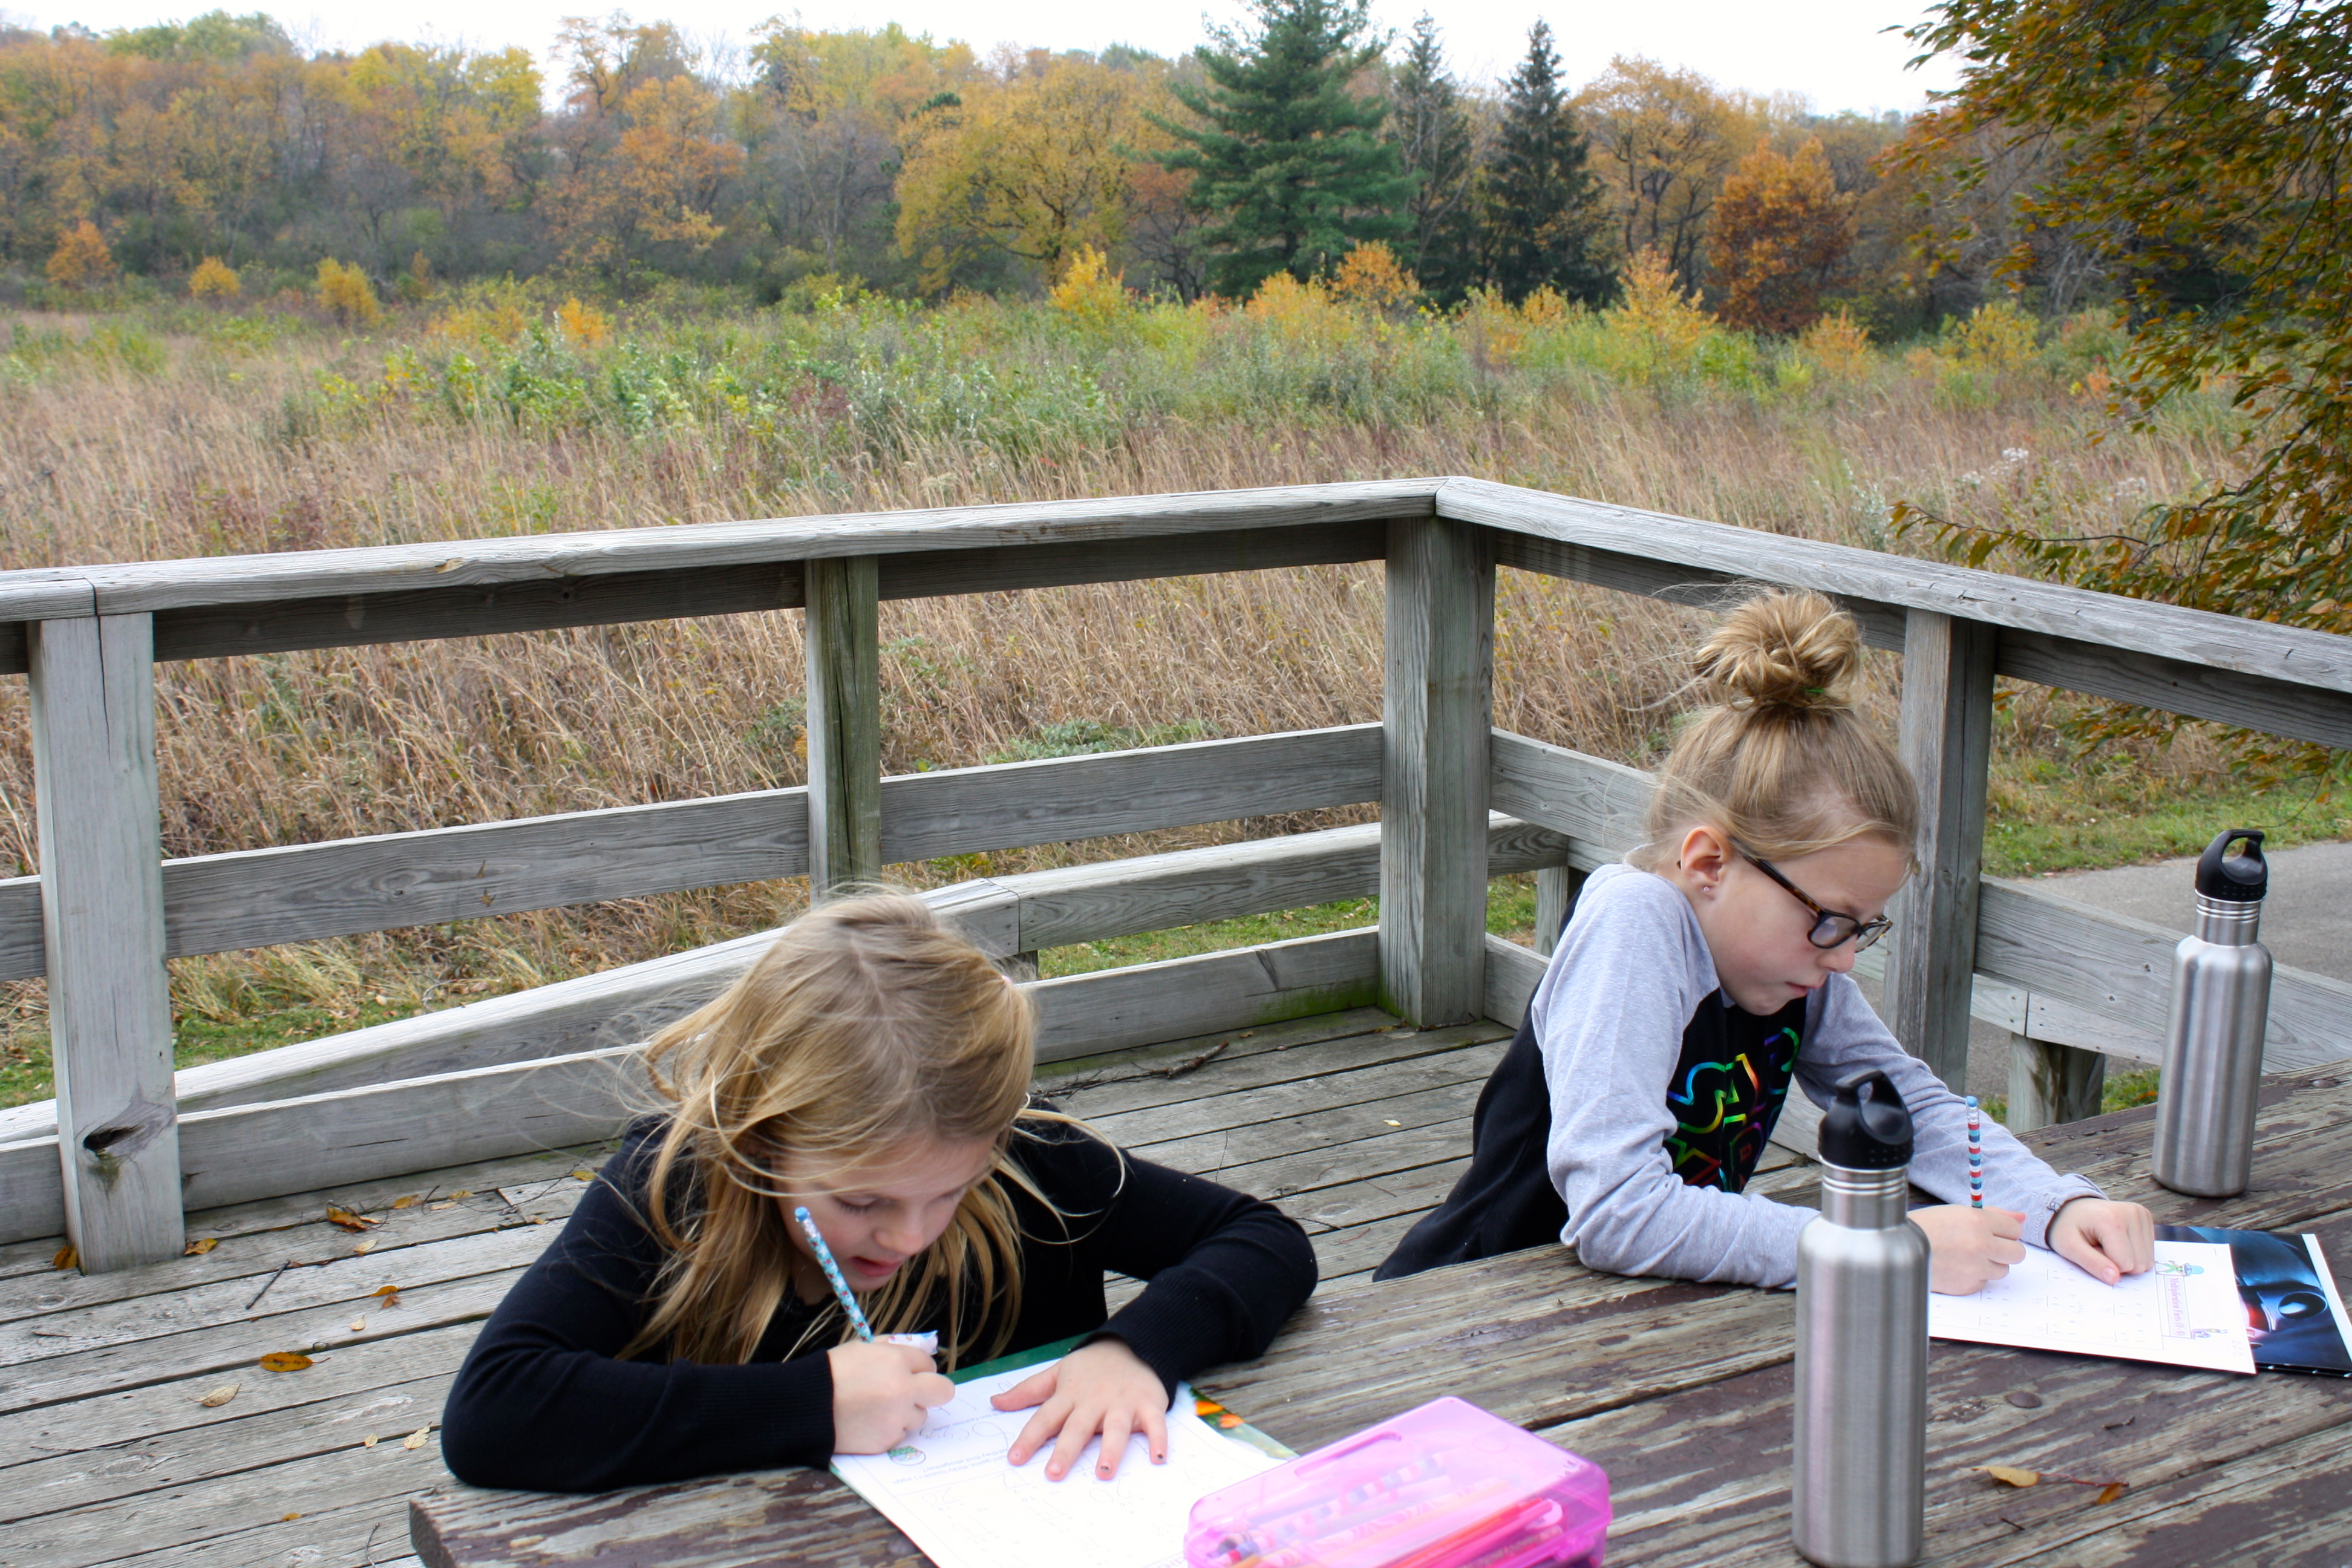
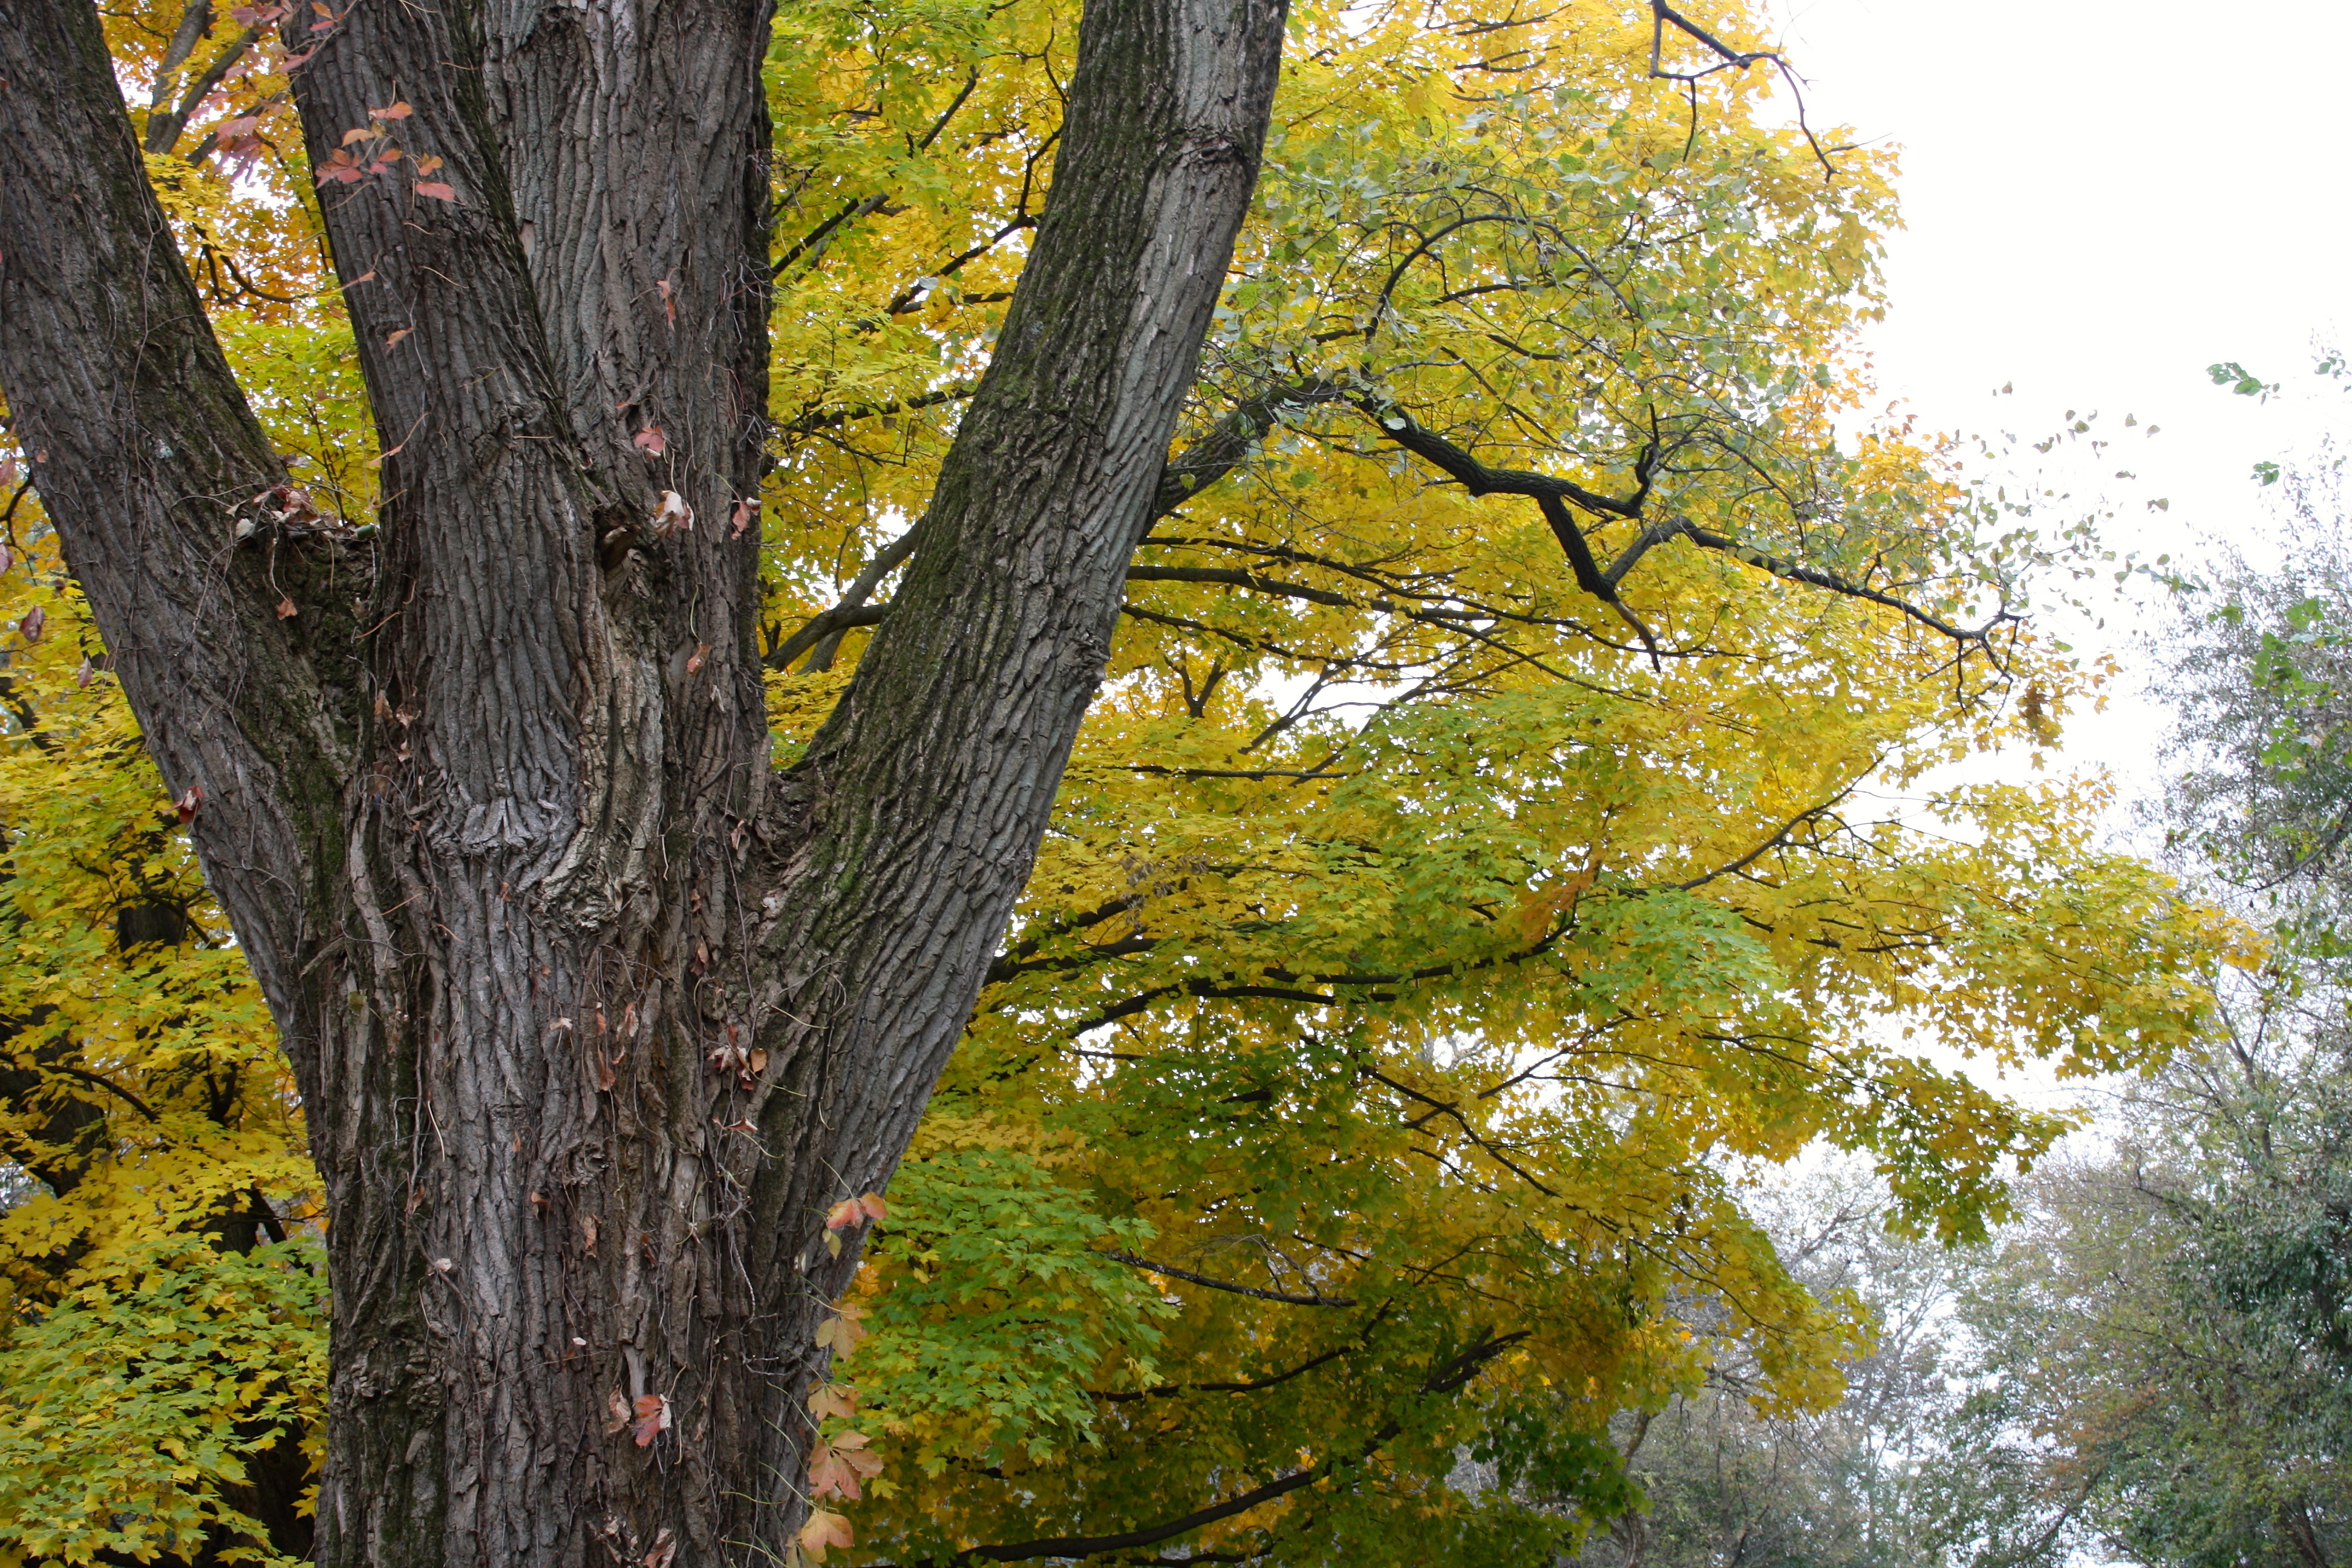
But isn’t it crazy how God gives us just what we need? This week we have been blessed with the most beautiful weather. It is warm, yet the scent of autumn can be found upon the breeze, and the fall foliage is in its true glory. With these glorious days set before us, I decided to pack up the books, and move our lessons outdoors this week. We spent our days at two of our favorite local spots, Aldeen Park and Atwood Park. There is just something to say about learning while being immersed in nature. It makes the learning process truly magical, and the movement and physical activity that can be incorporated in this setting is unmatched. Living in the Midwest, we know these outdoor educational opportunities will not last much longer, but boy are we working to soak it all up while we still can.
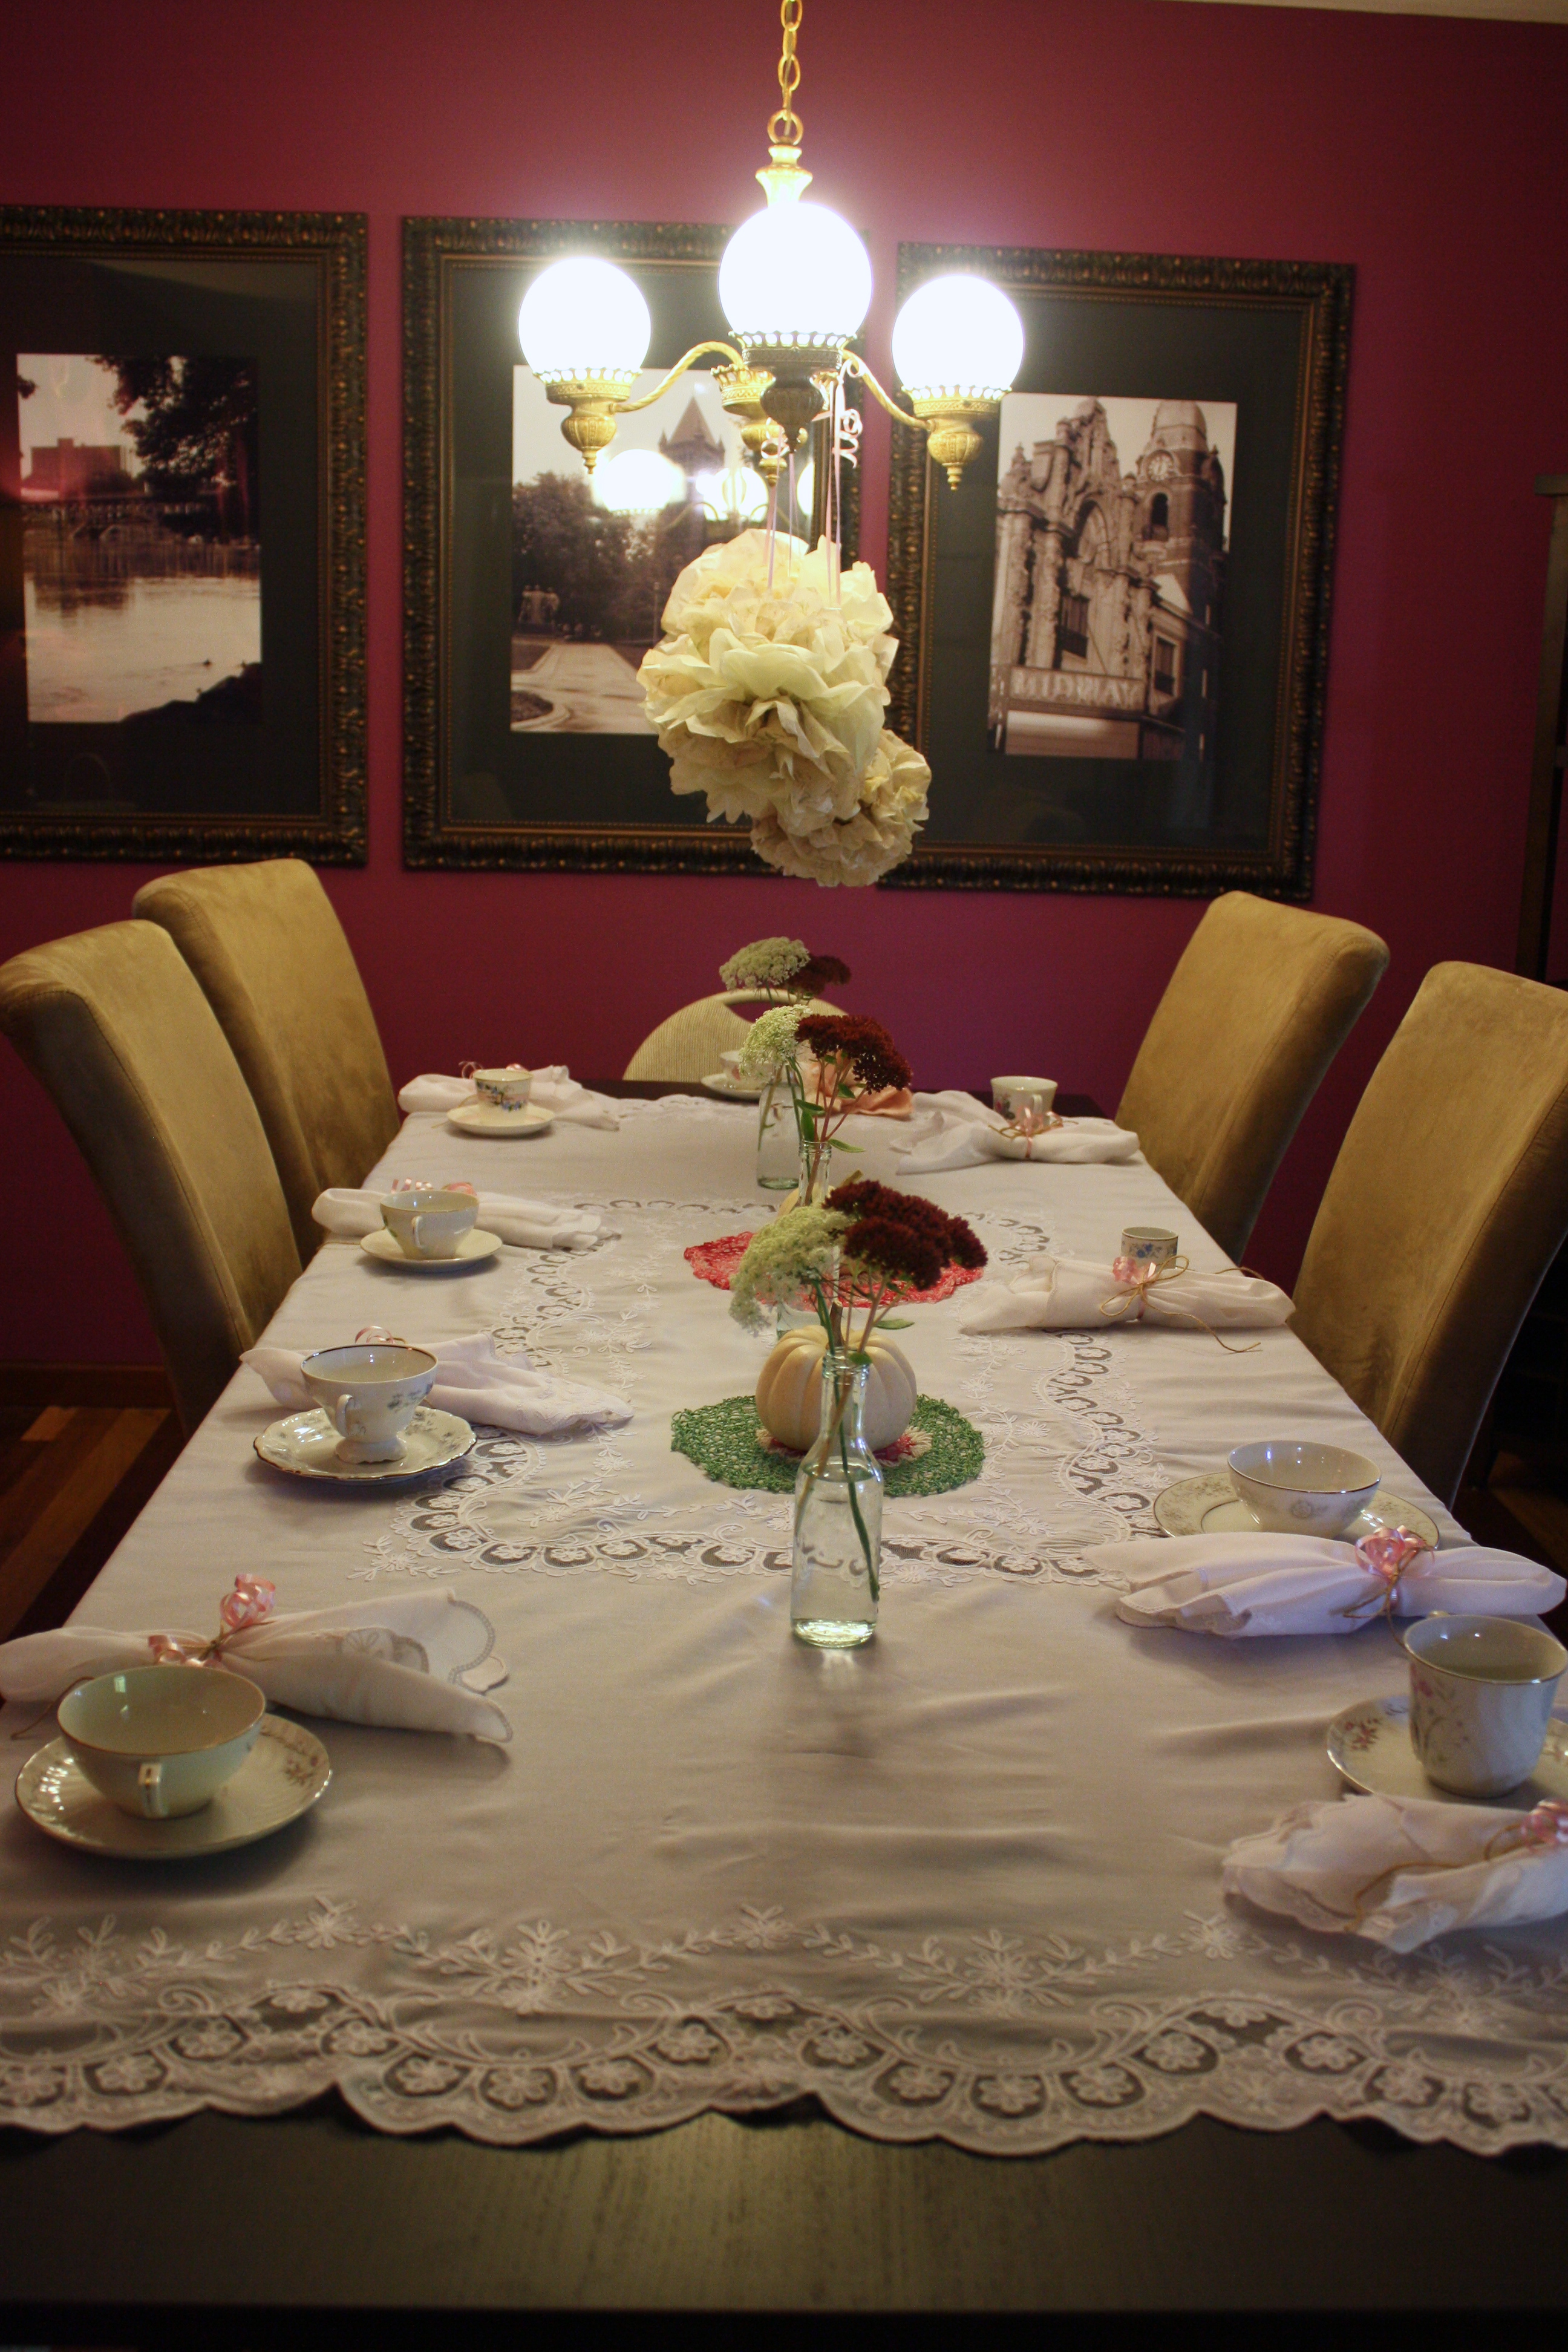
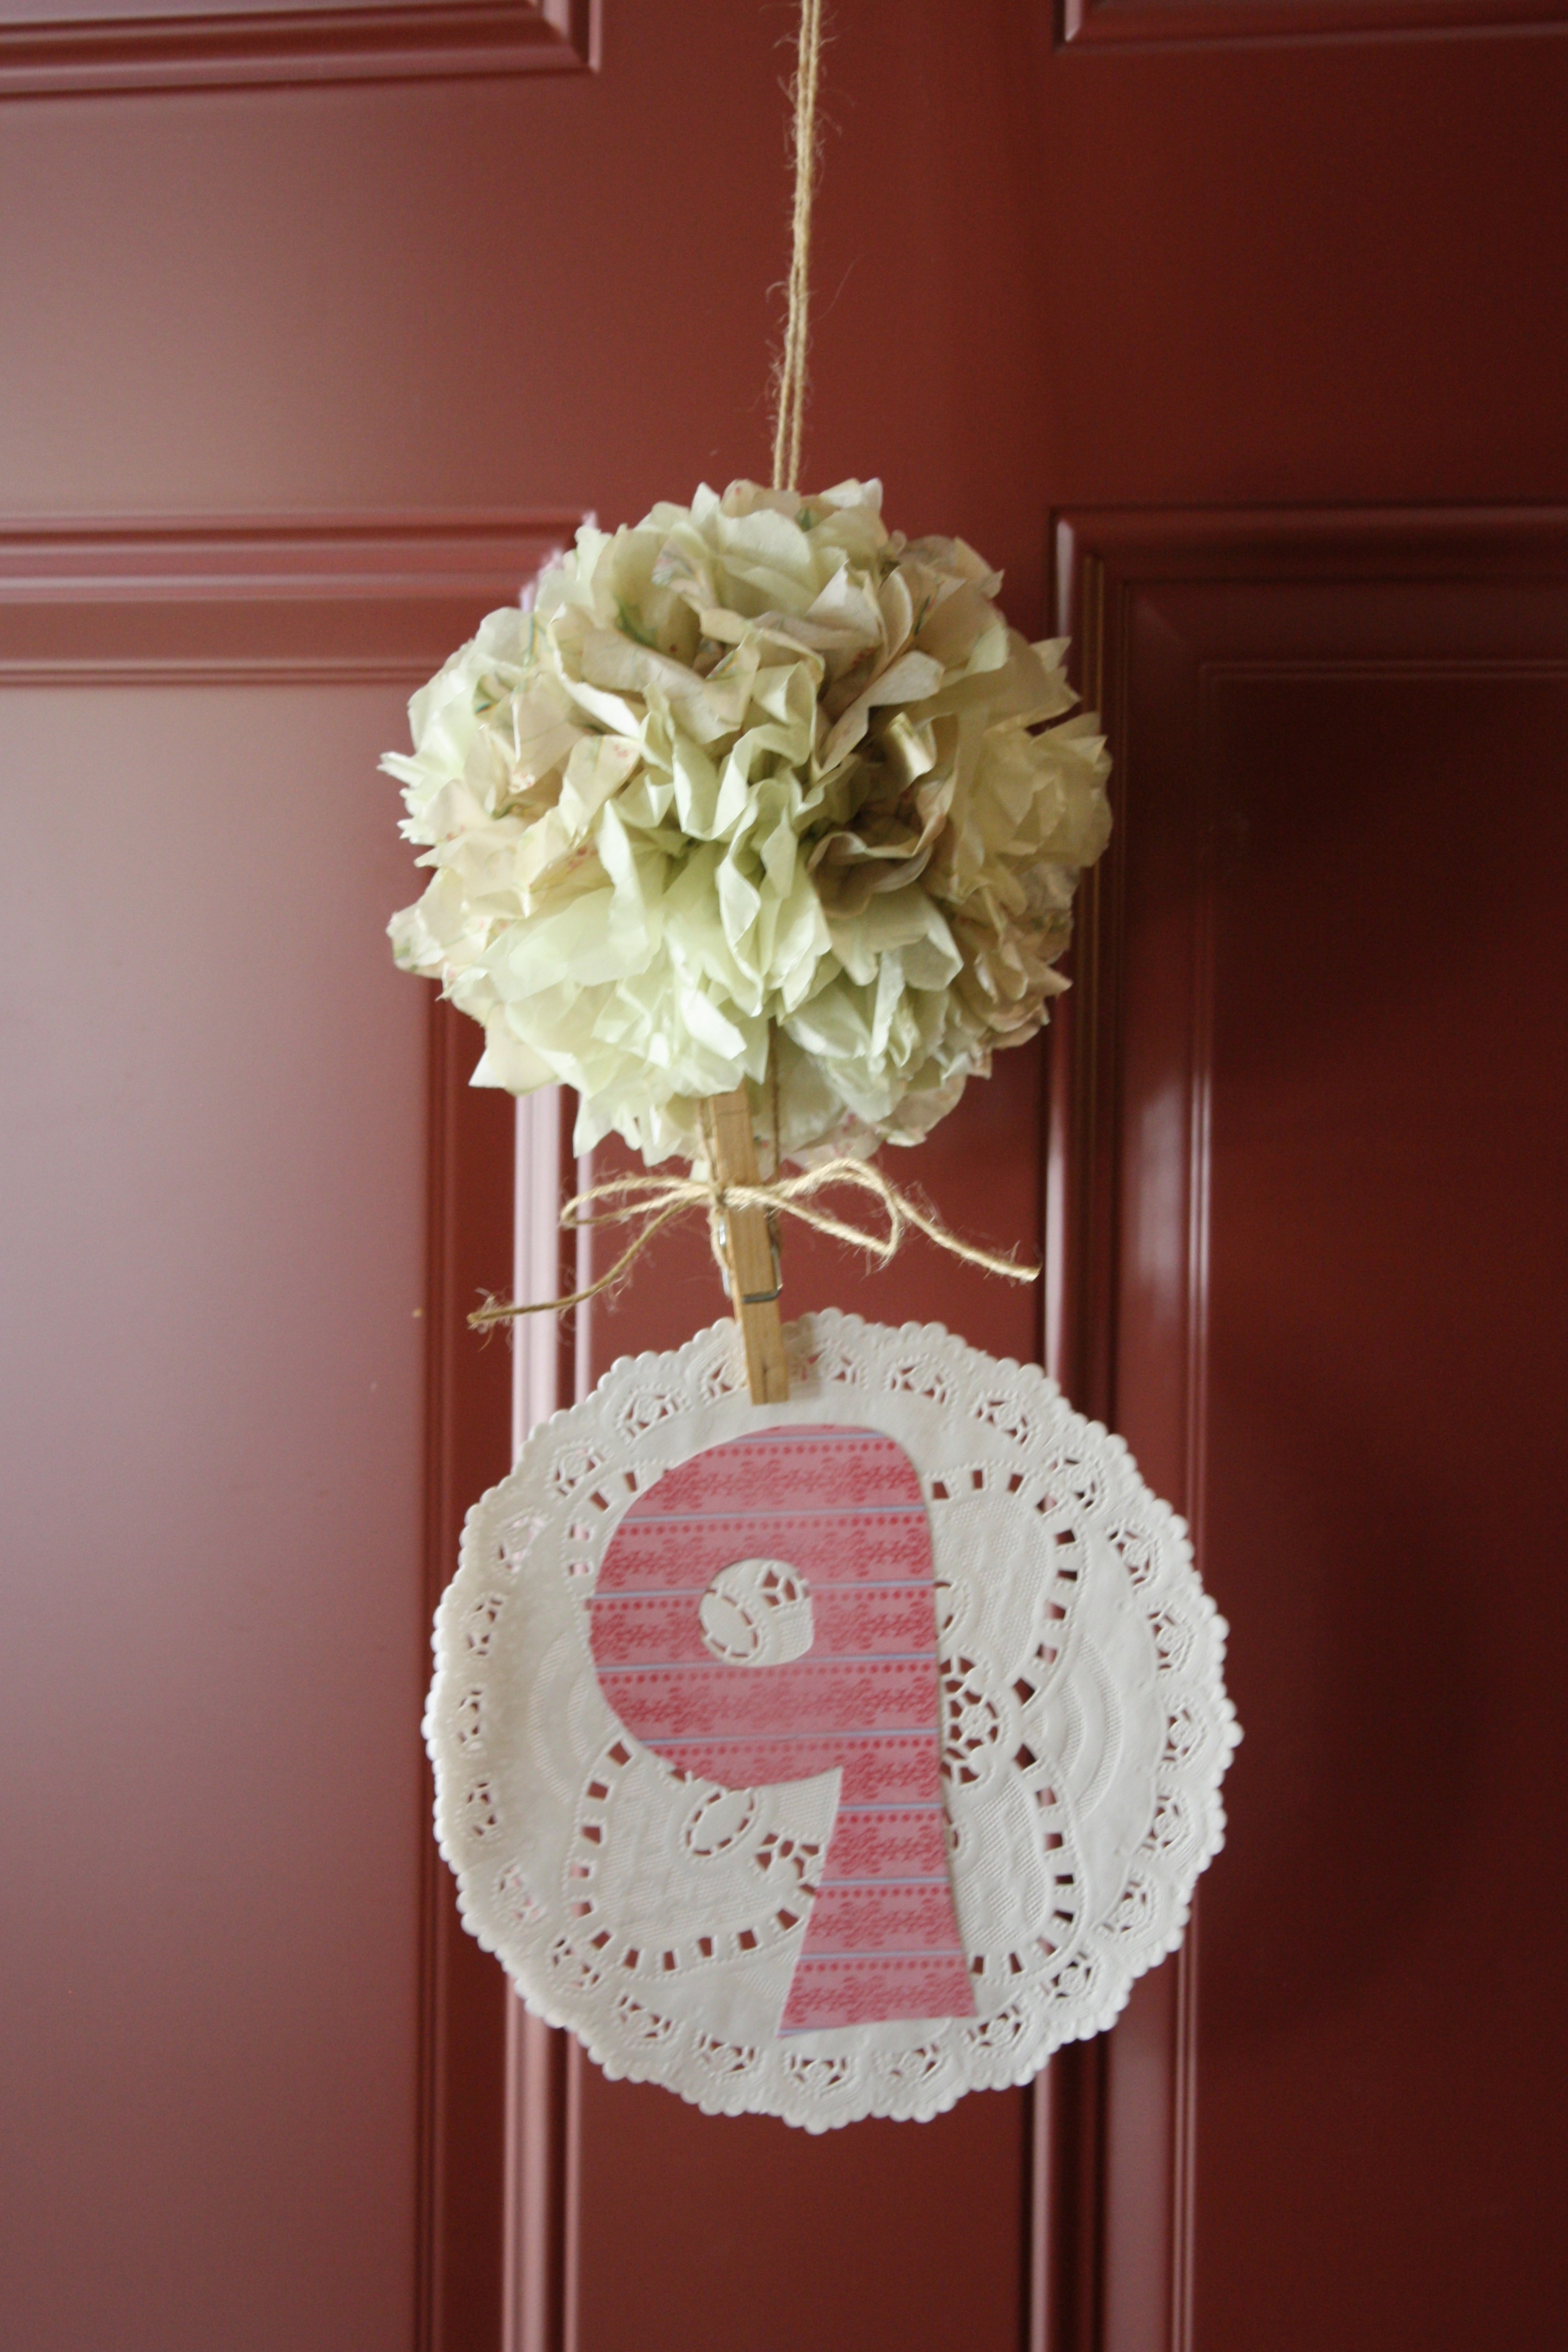

My eldest gal turned nine this weekend. How is it possible that my precious girl is so near double digits? Needless to say, this weekend was filled with all kinds of party action. And true to form, each party was historically-based, for my daughter who loves history more than any third grader I have come across.
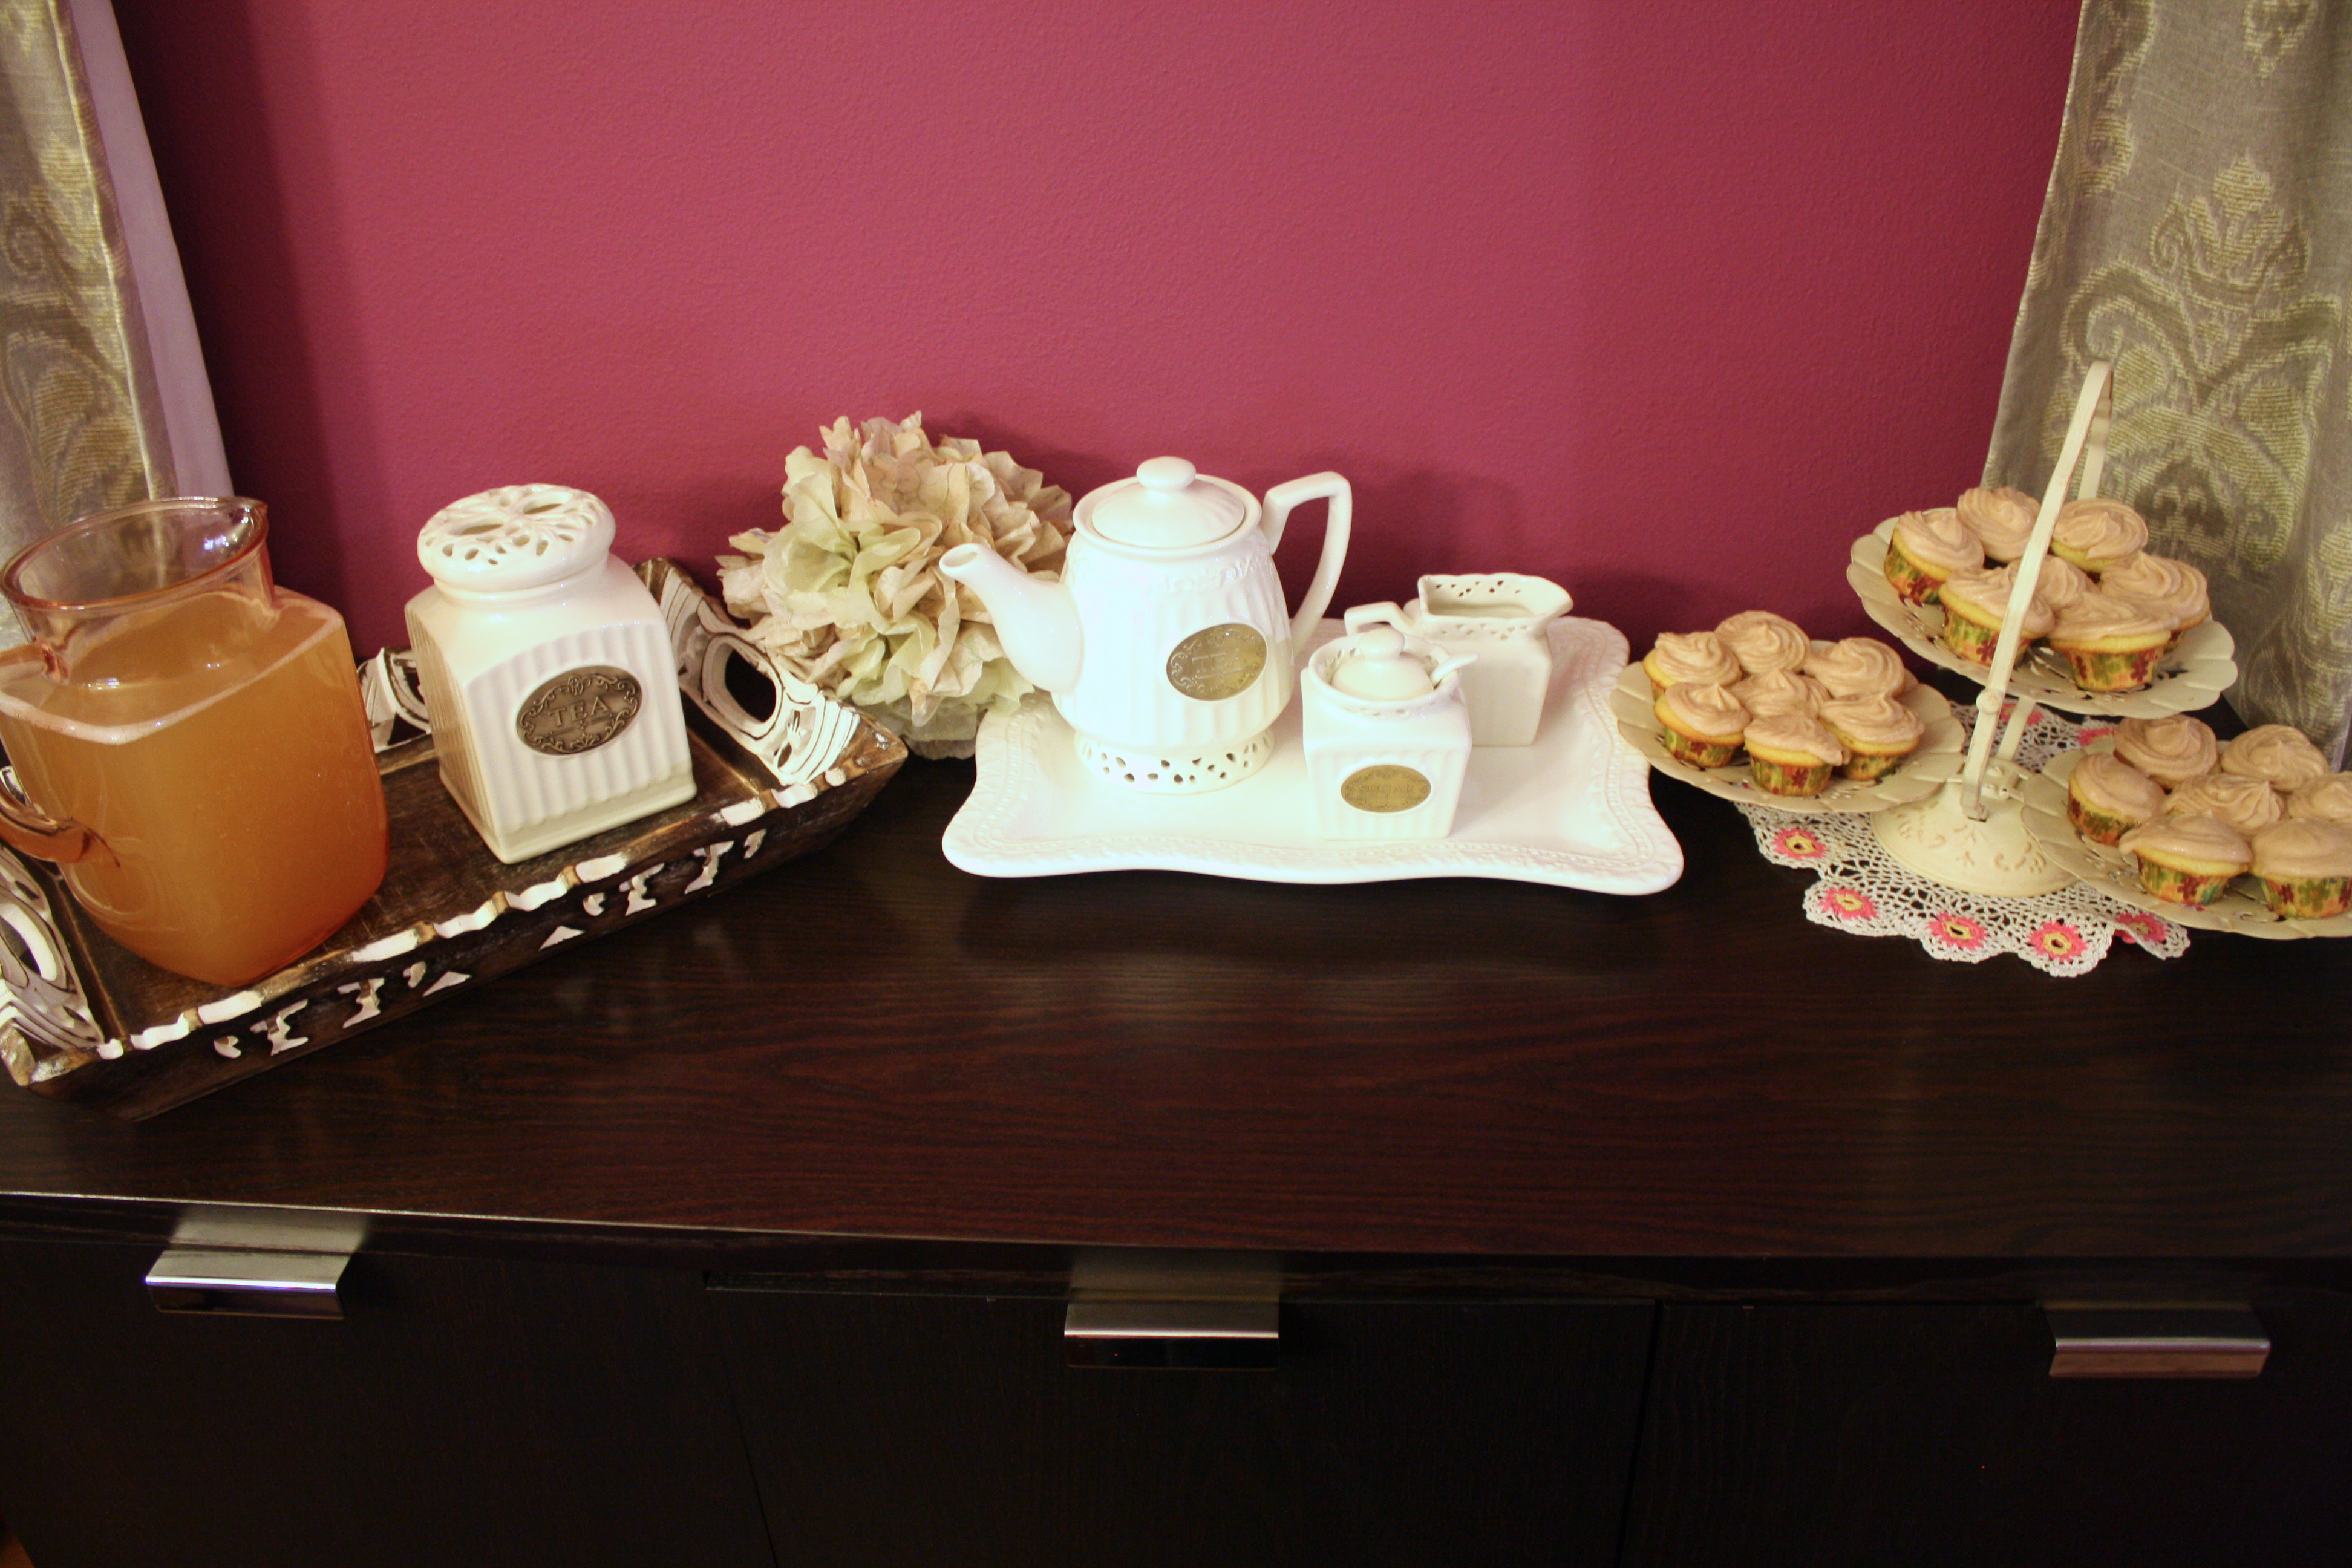
On Saturday, she hosted her girlfriends for a Victorian tea party for her girlfriends and their dolls. They sipped on her favorite raspberry peach tea, and snacked on our favorite cupcake recipe from this cook book. (We used this natural food coloring this time, and I must say, I loved it! We have run into trouble in the past with natural food coloring in that it did not hold the color very well, but this one worked like a charm.)
This tea party was especially close to my heart because when I was nine, my mom held a tea party for my sister and me. It is one of my fondest memories I have as a child, and I was just thrilled when Gianna suggested a similar tea party for her birthday on this particular year. We could just feel Mana’s presence with us all day long.
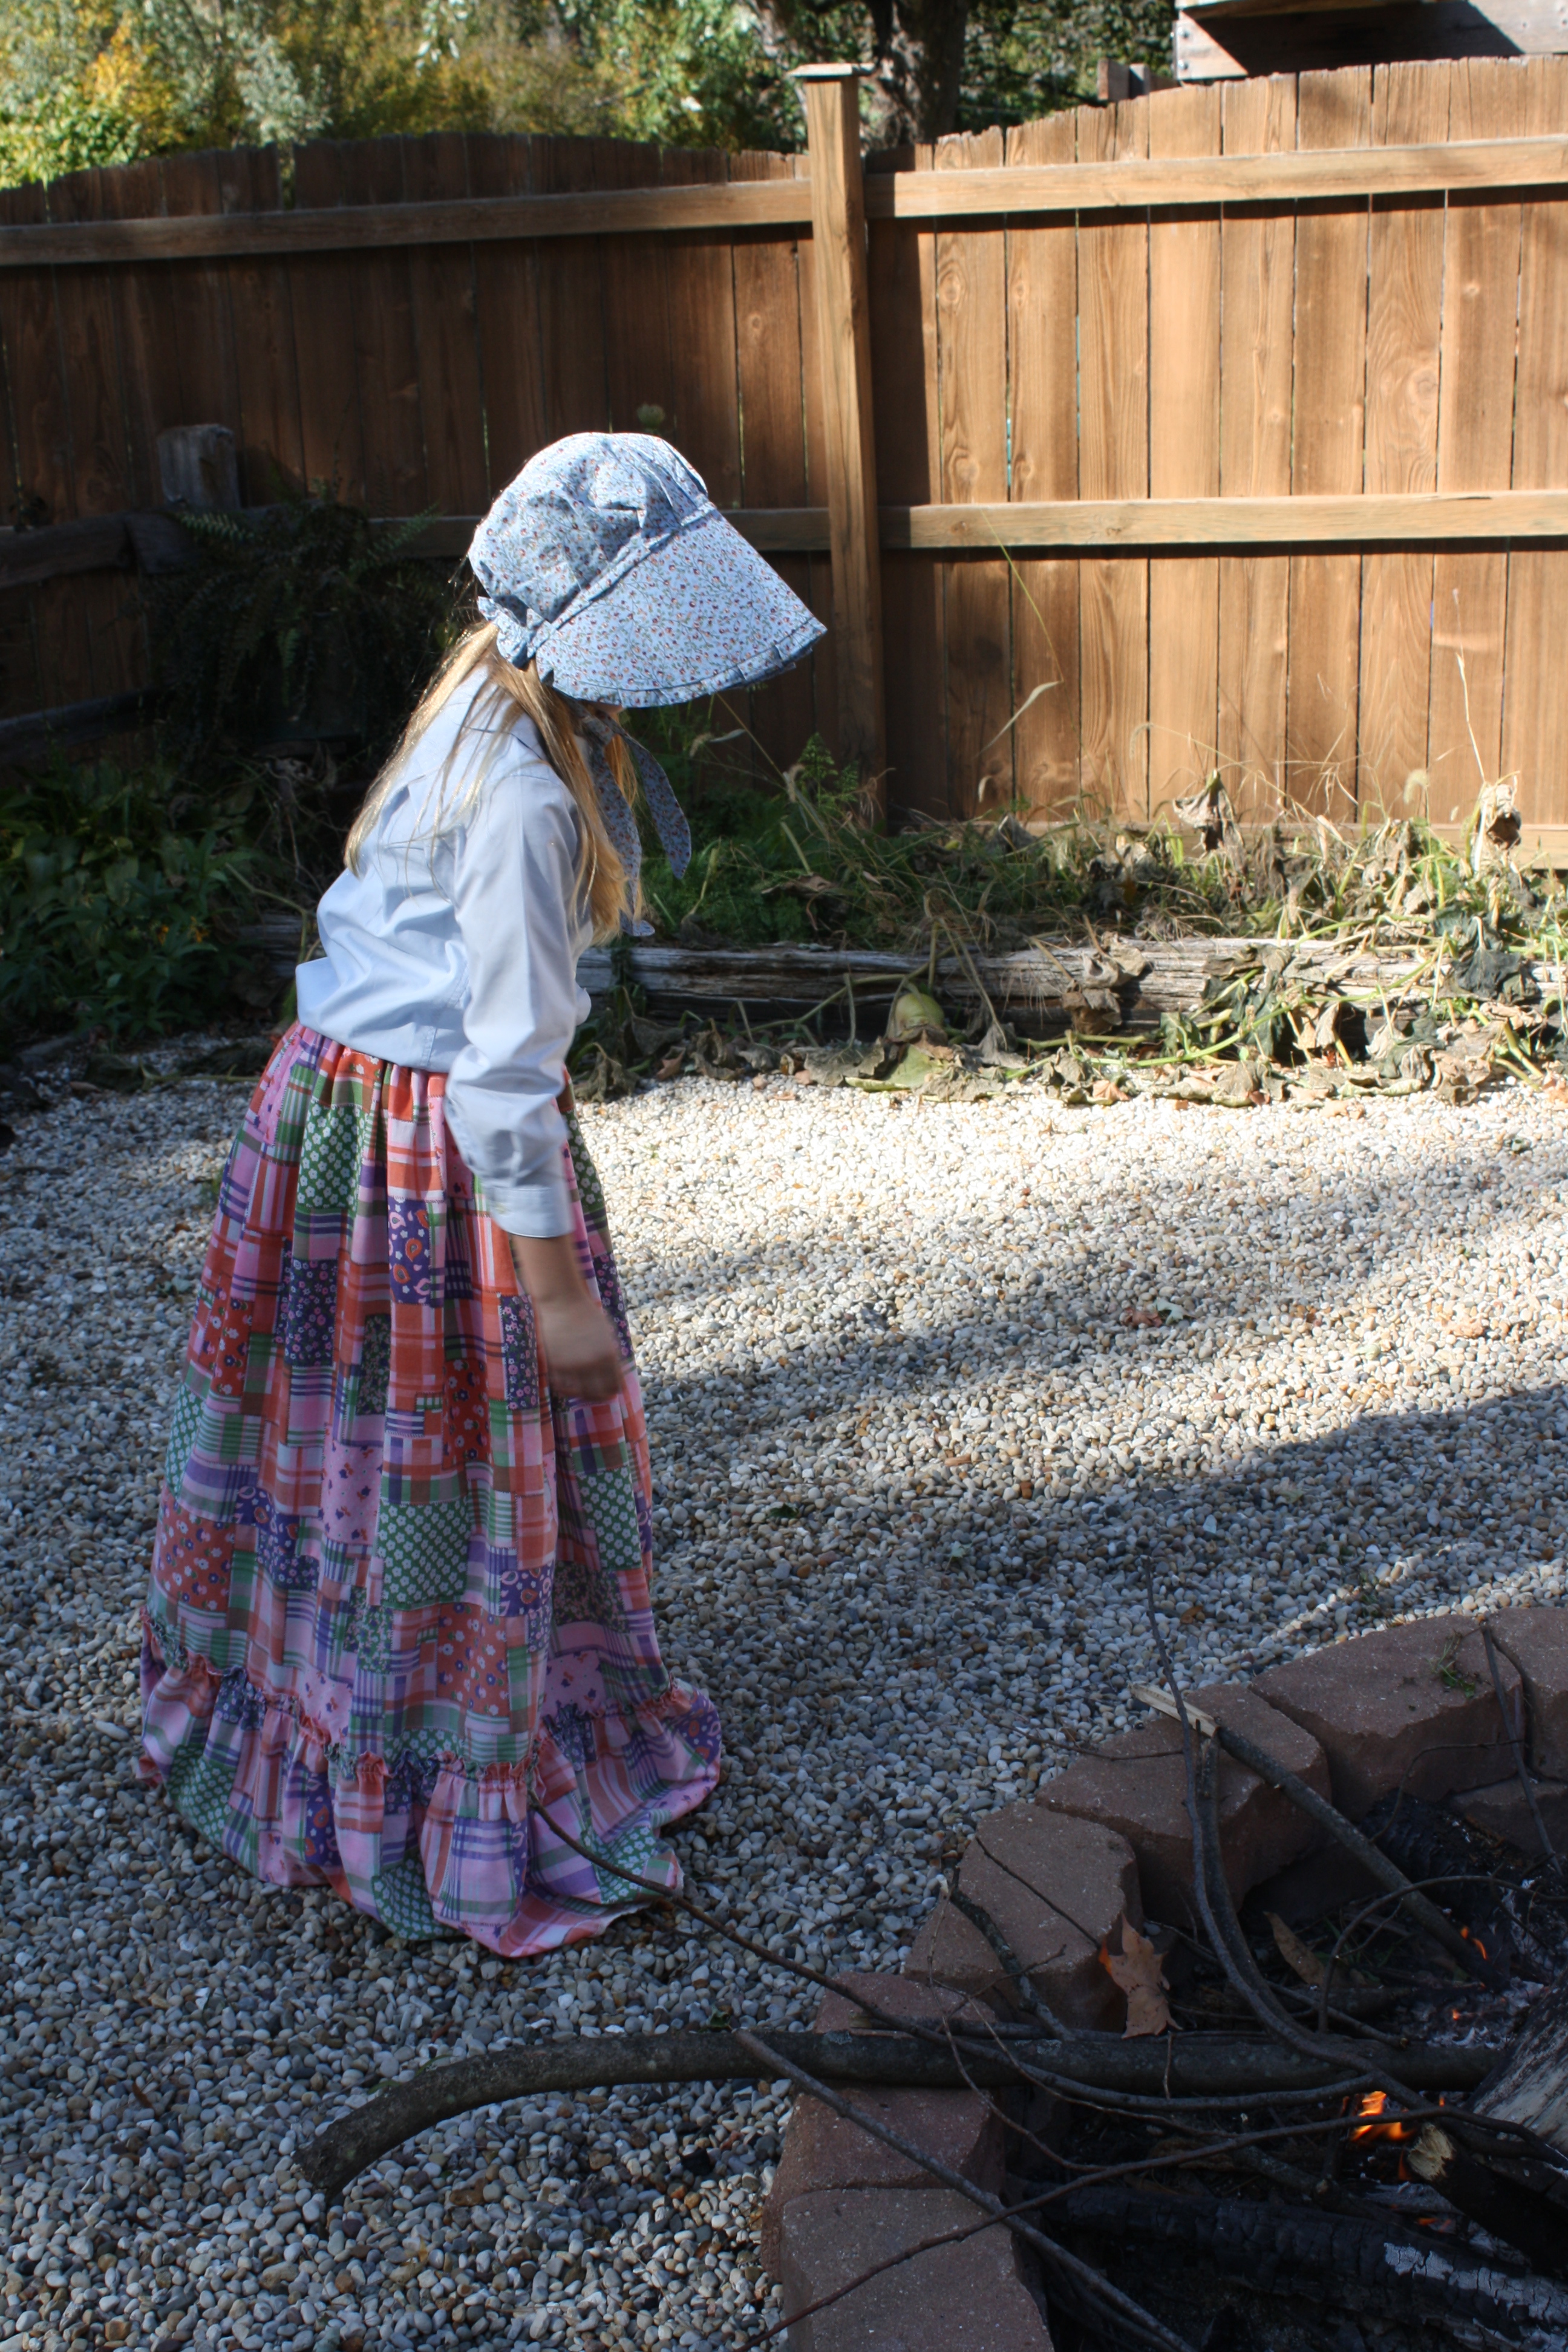
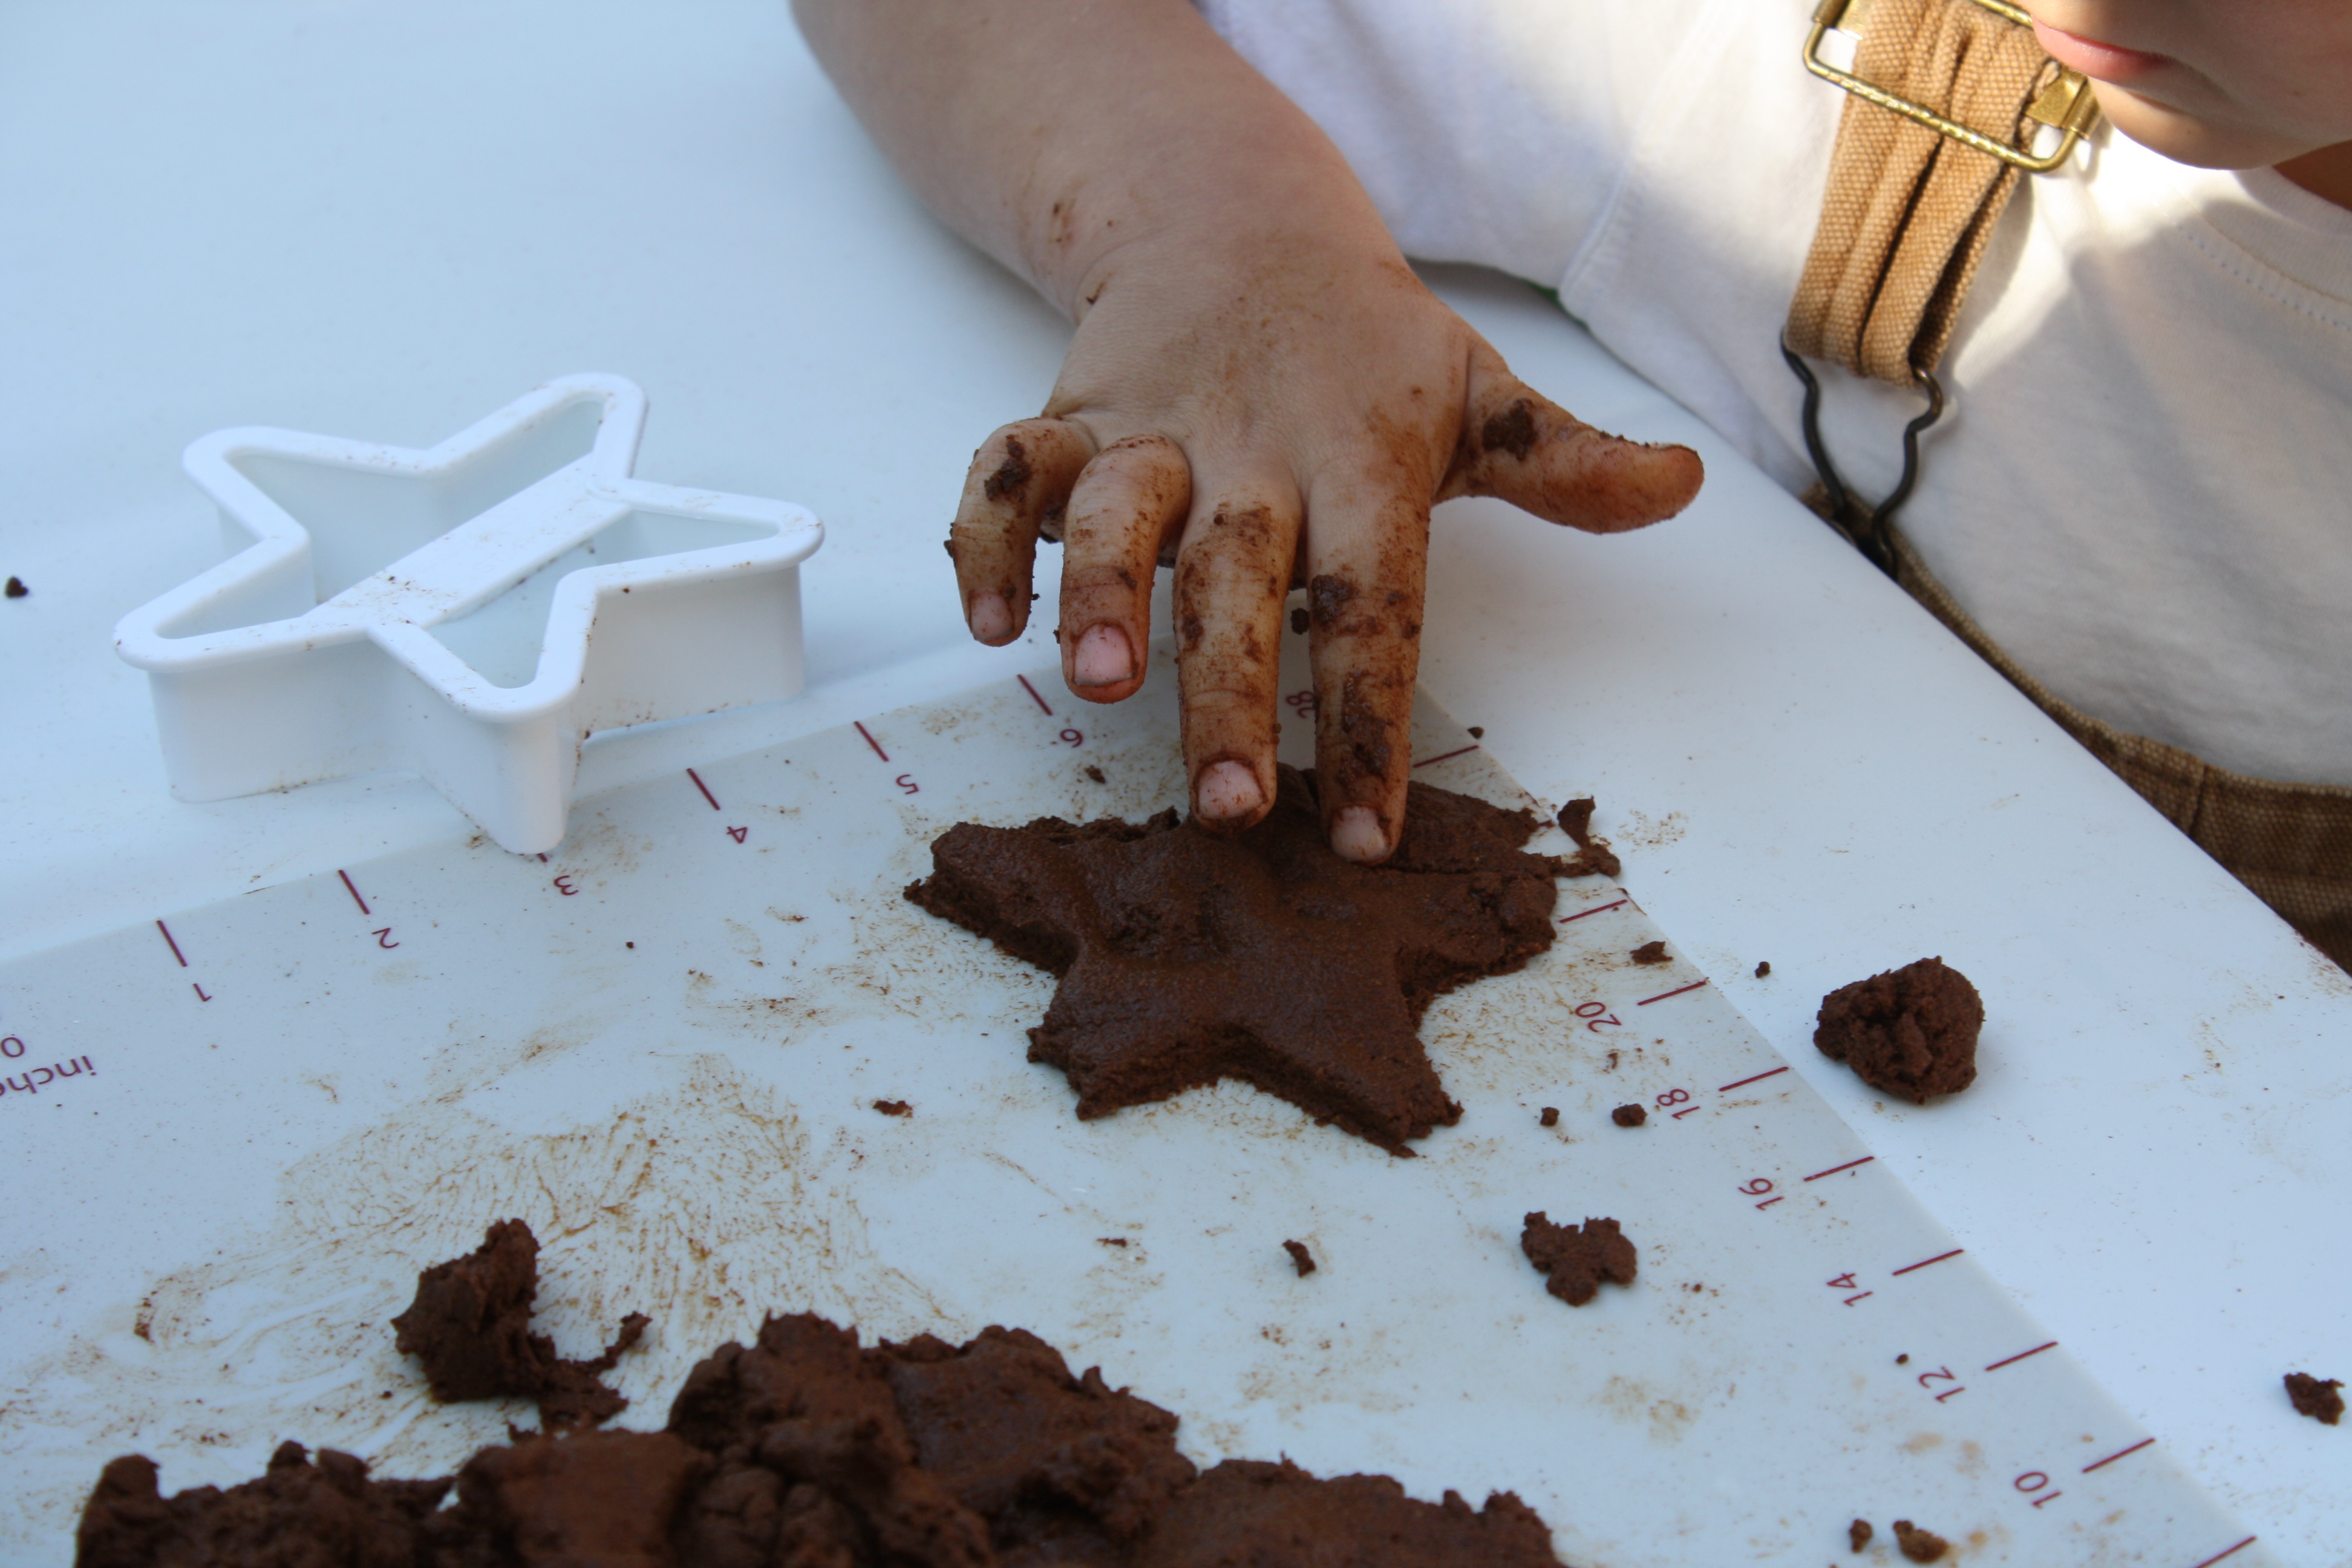

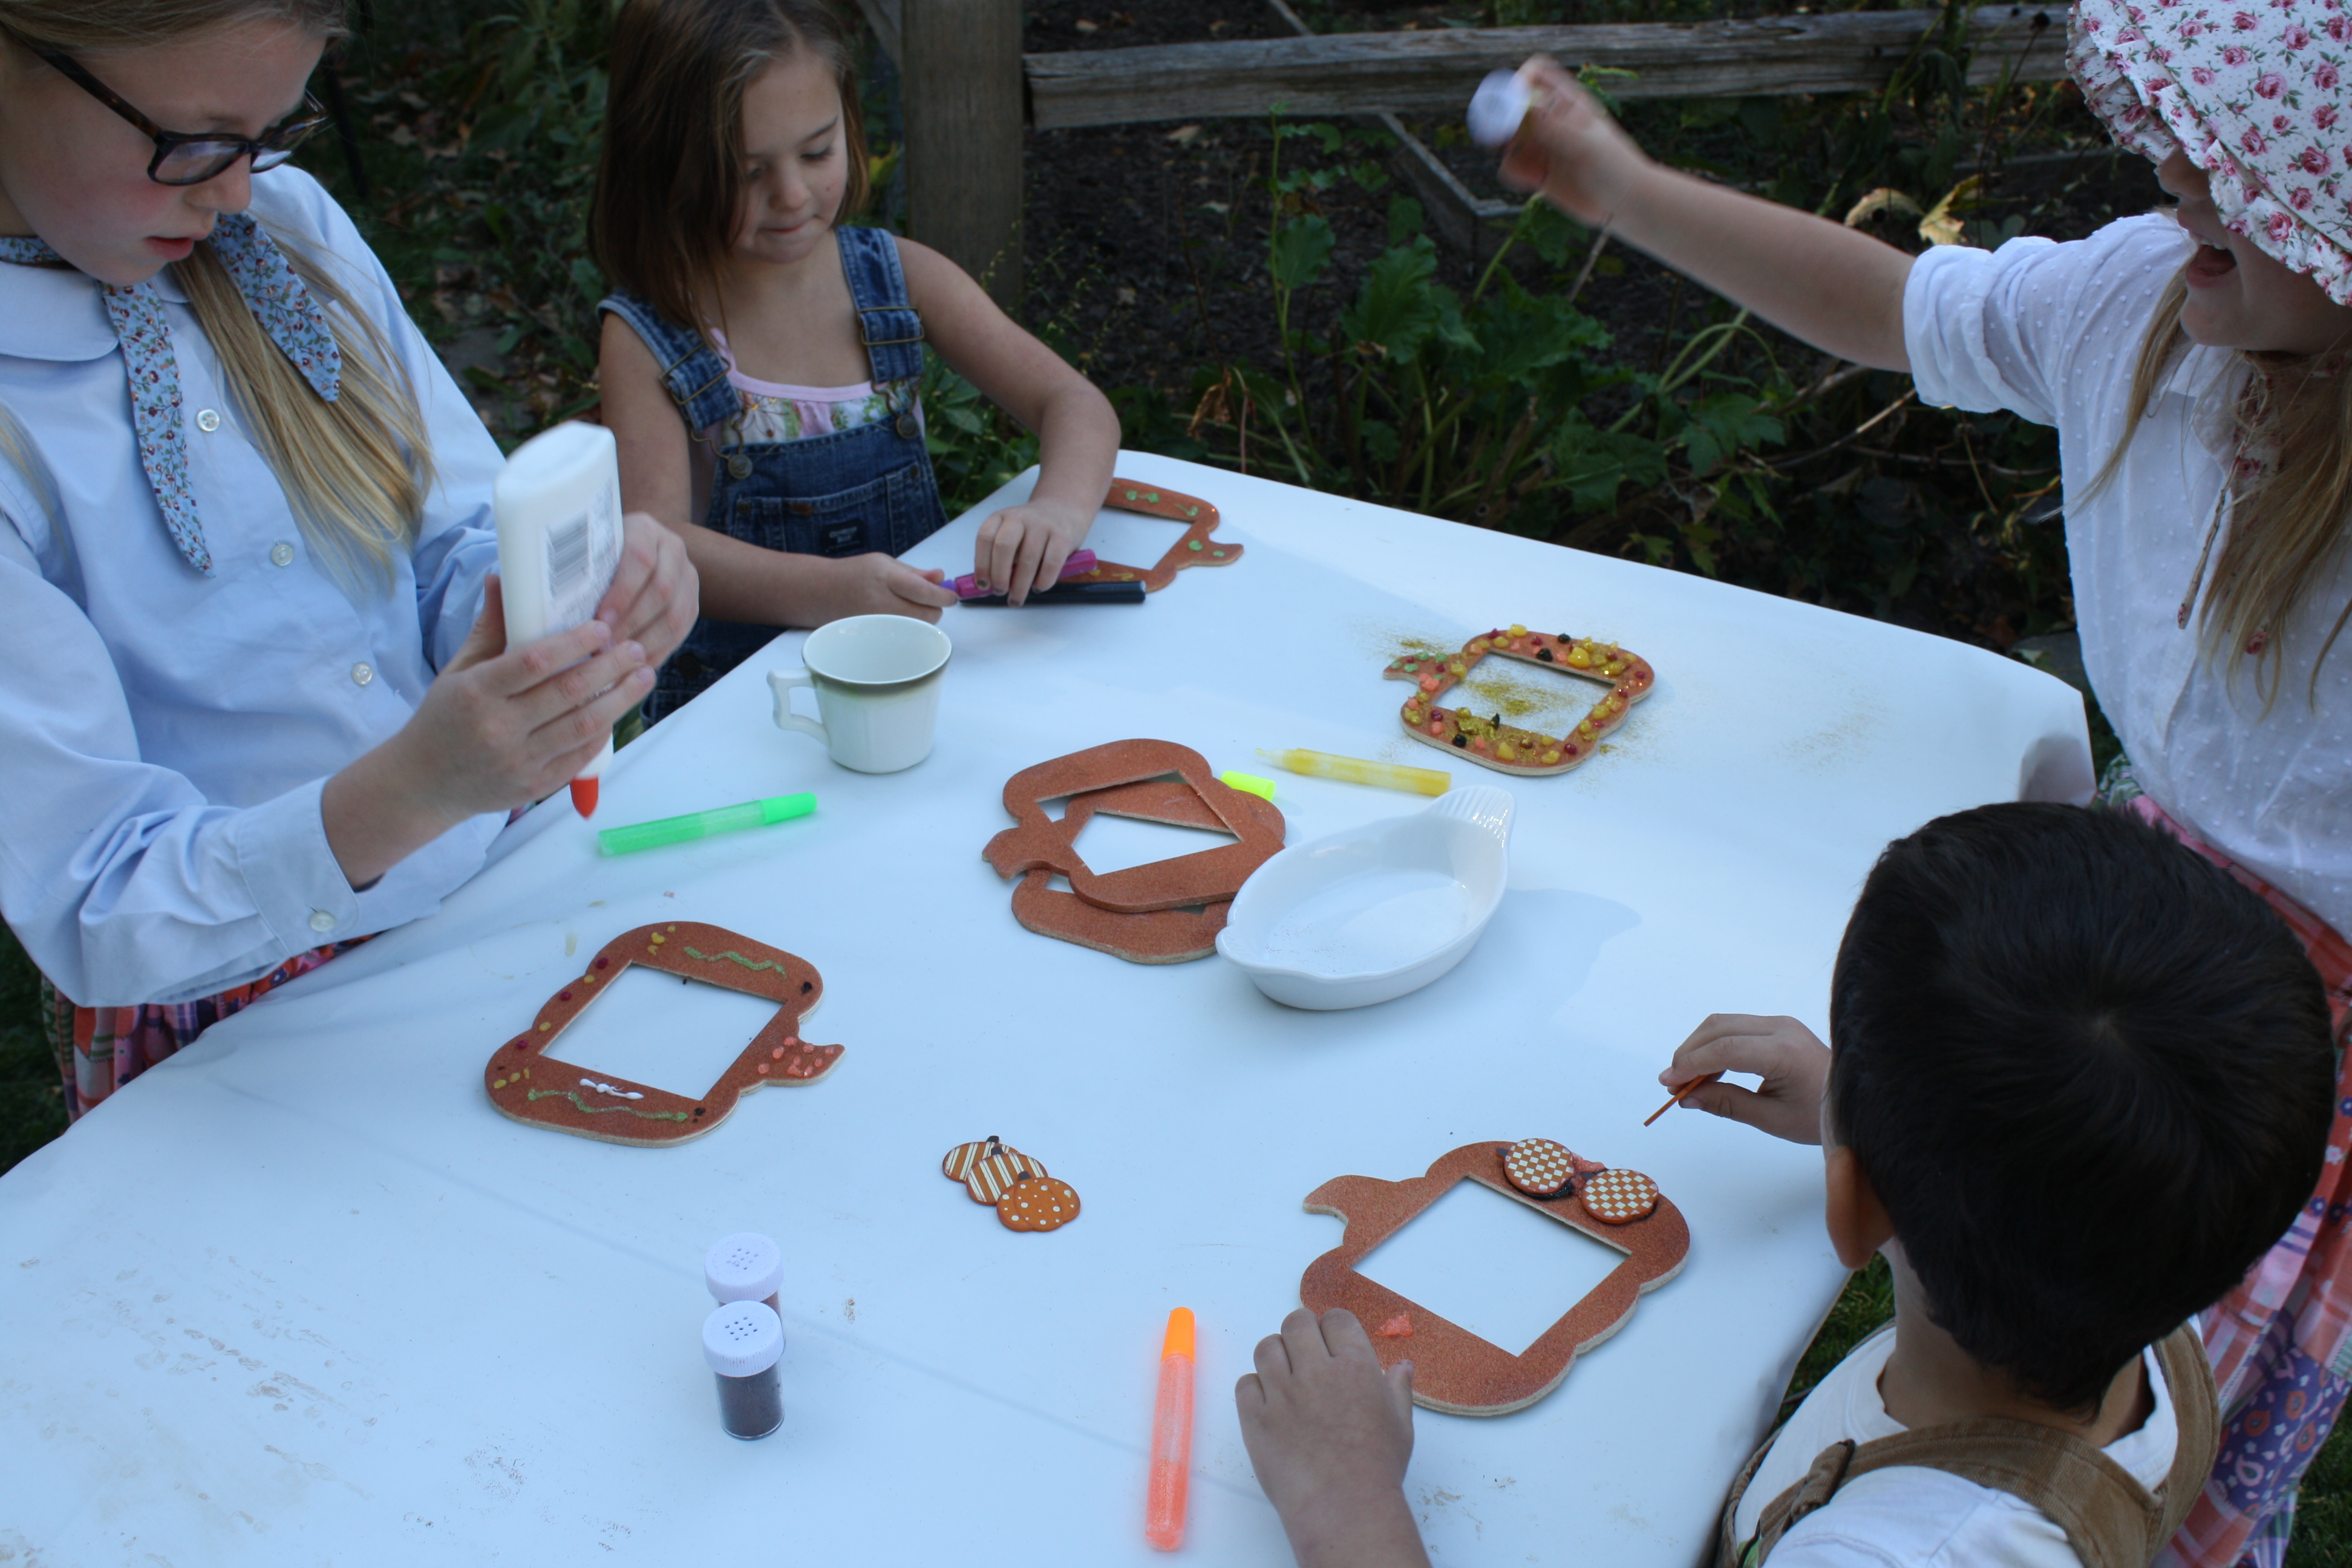
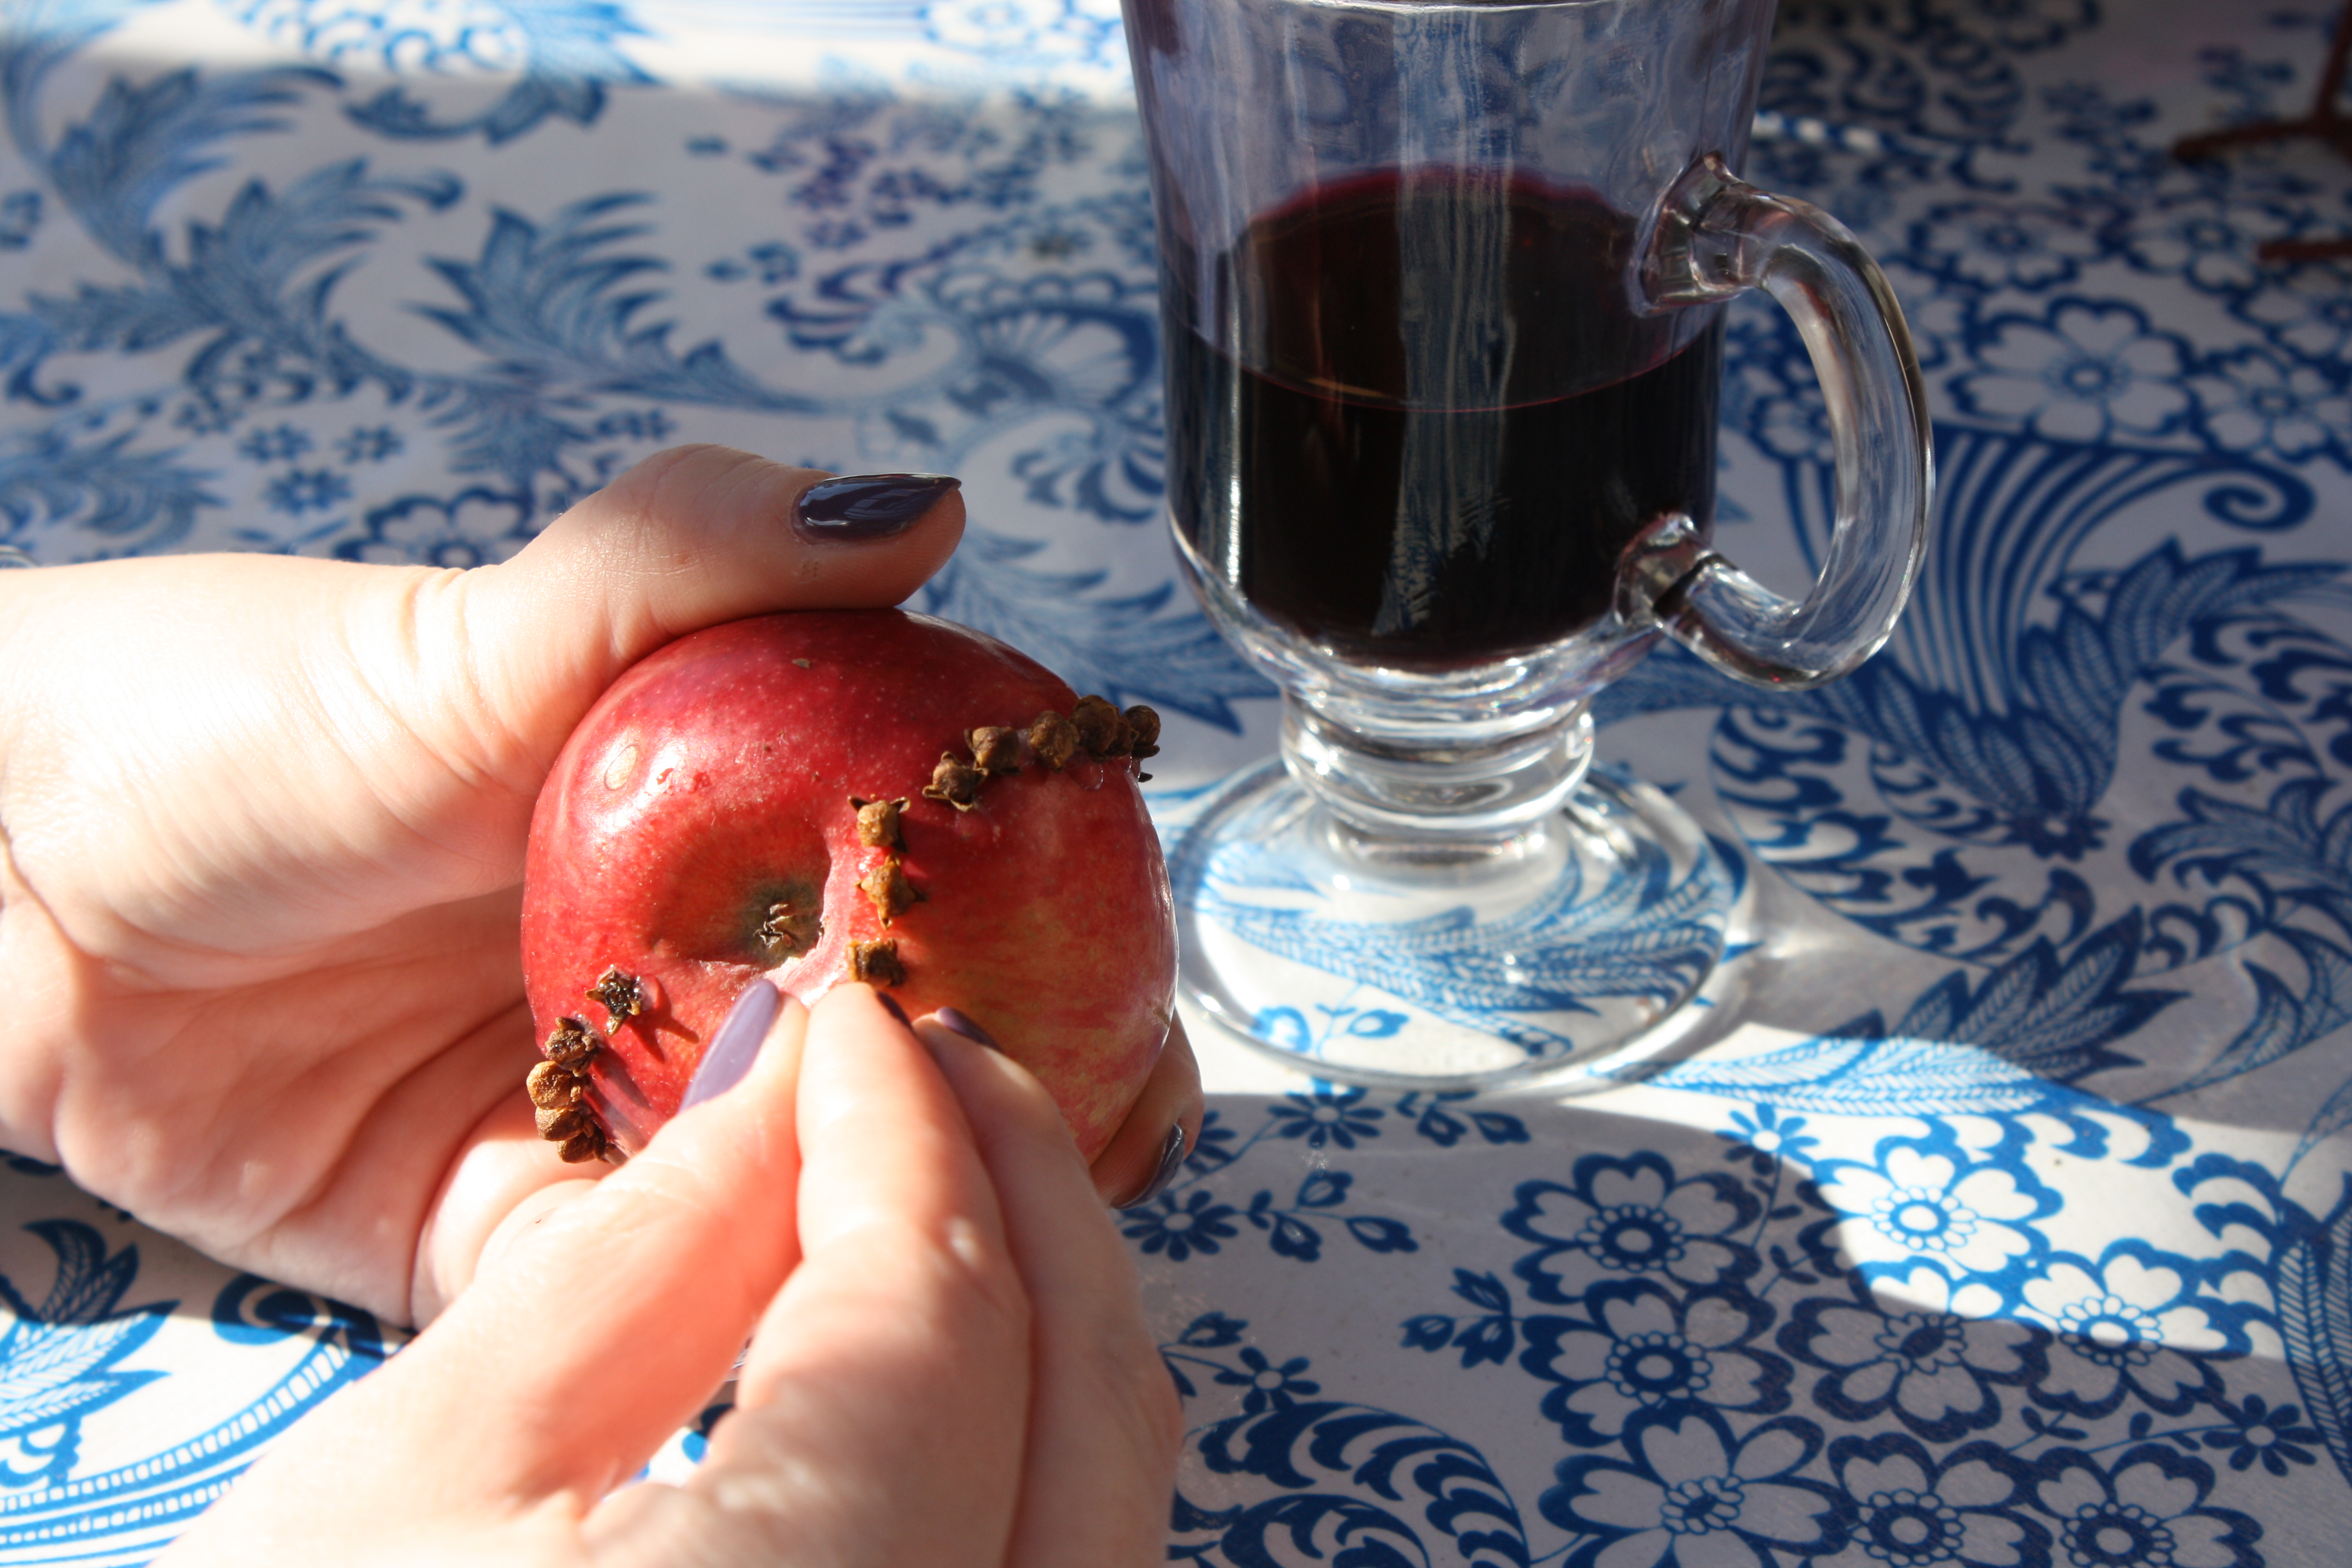
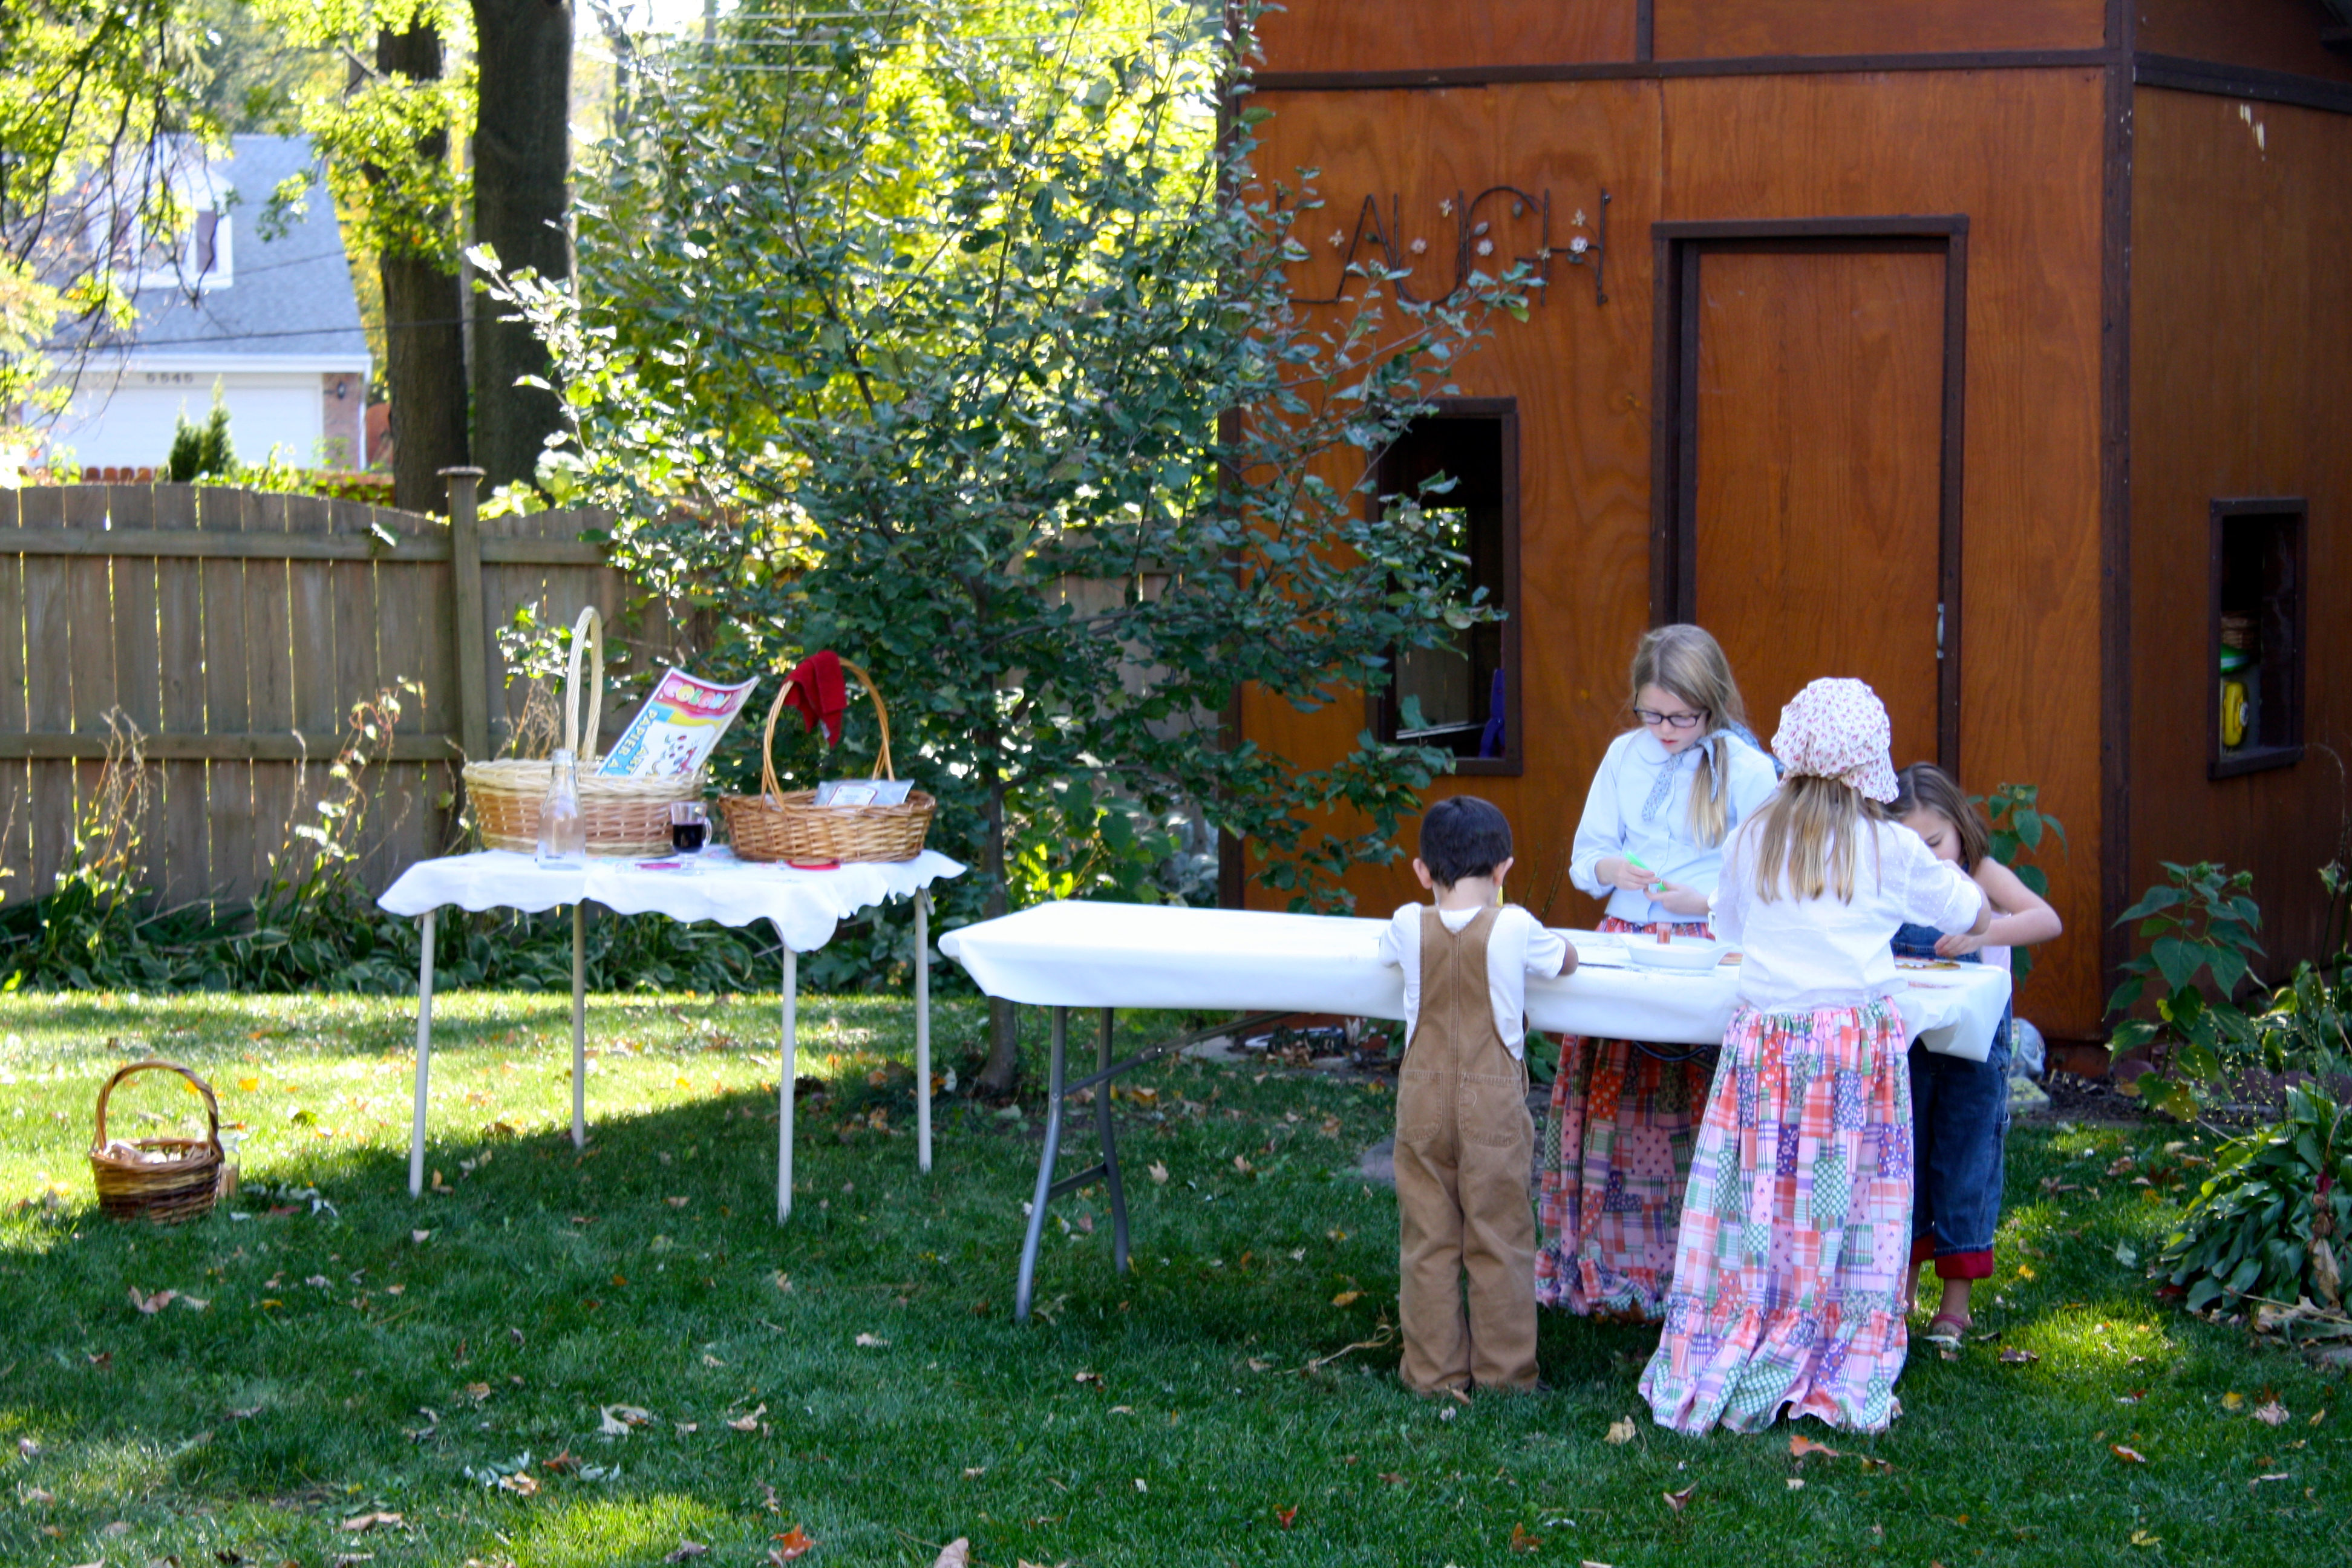
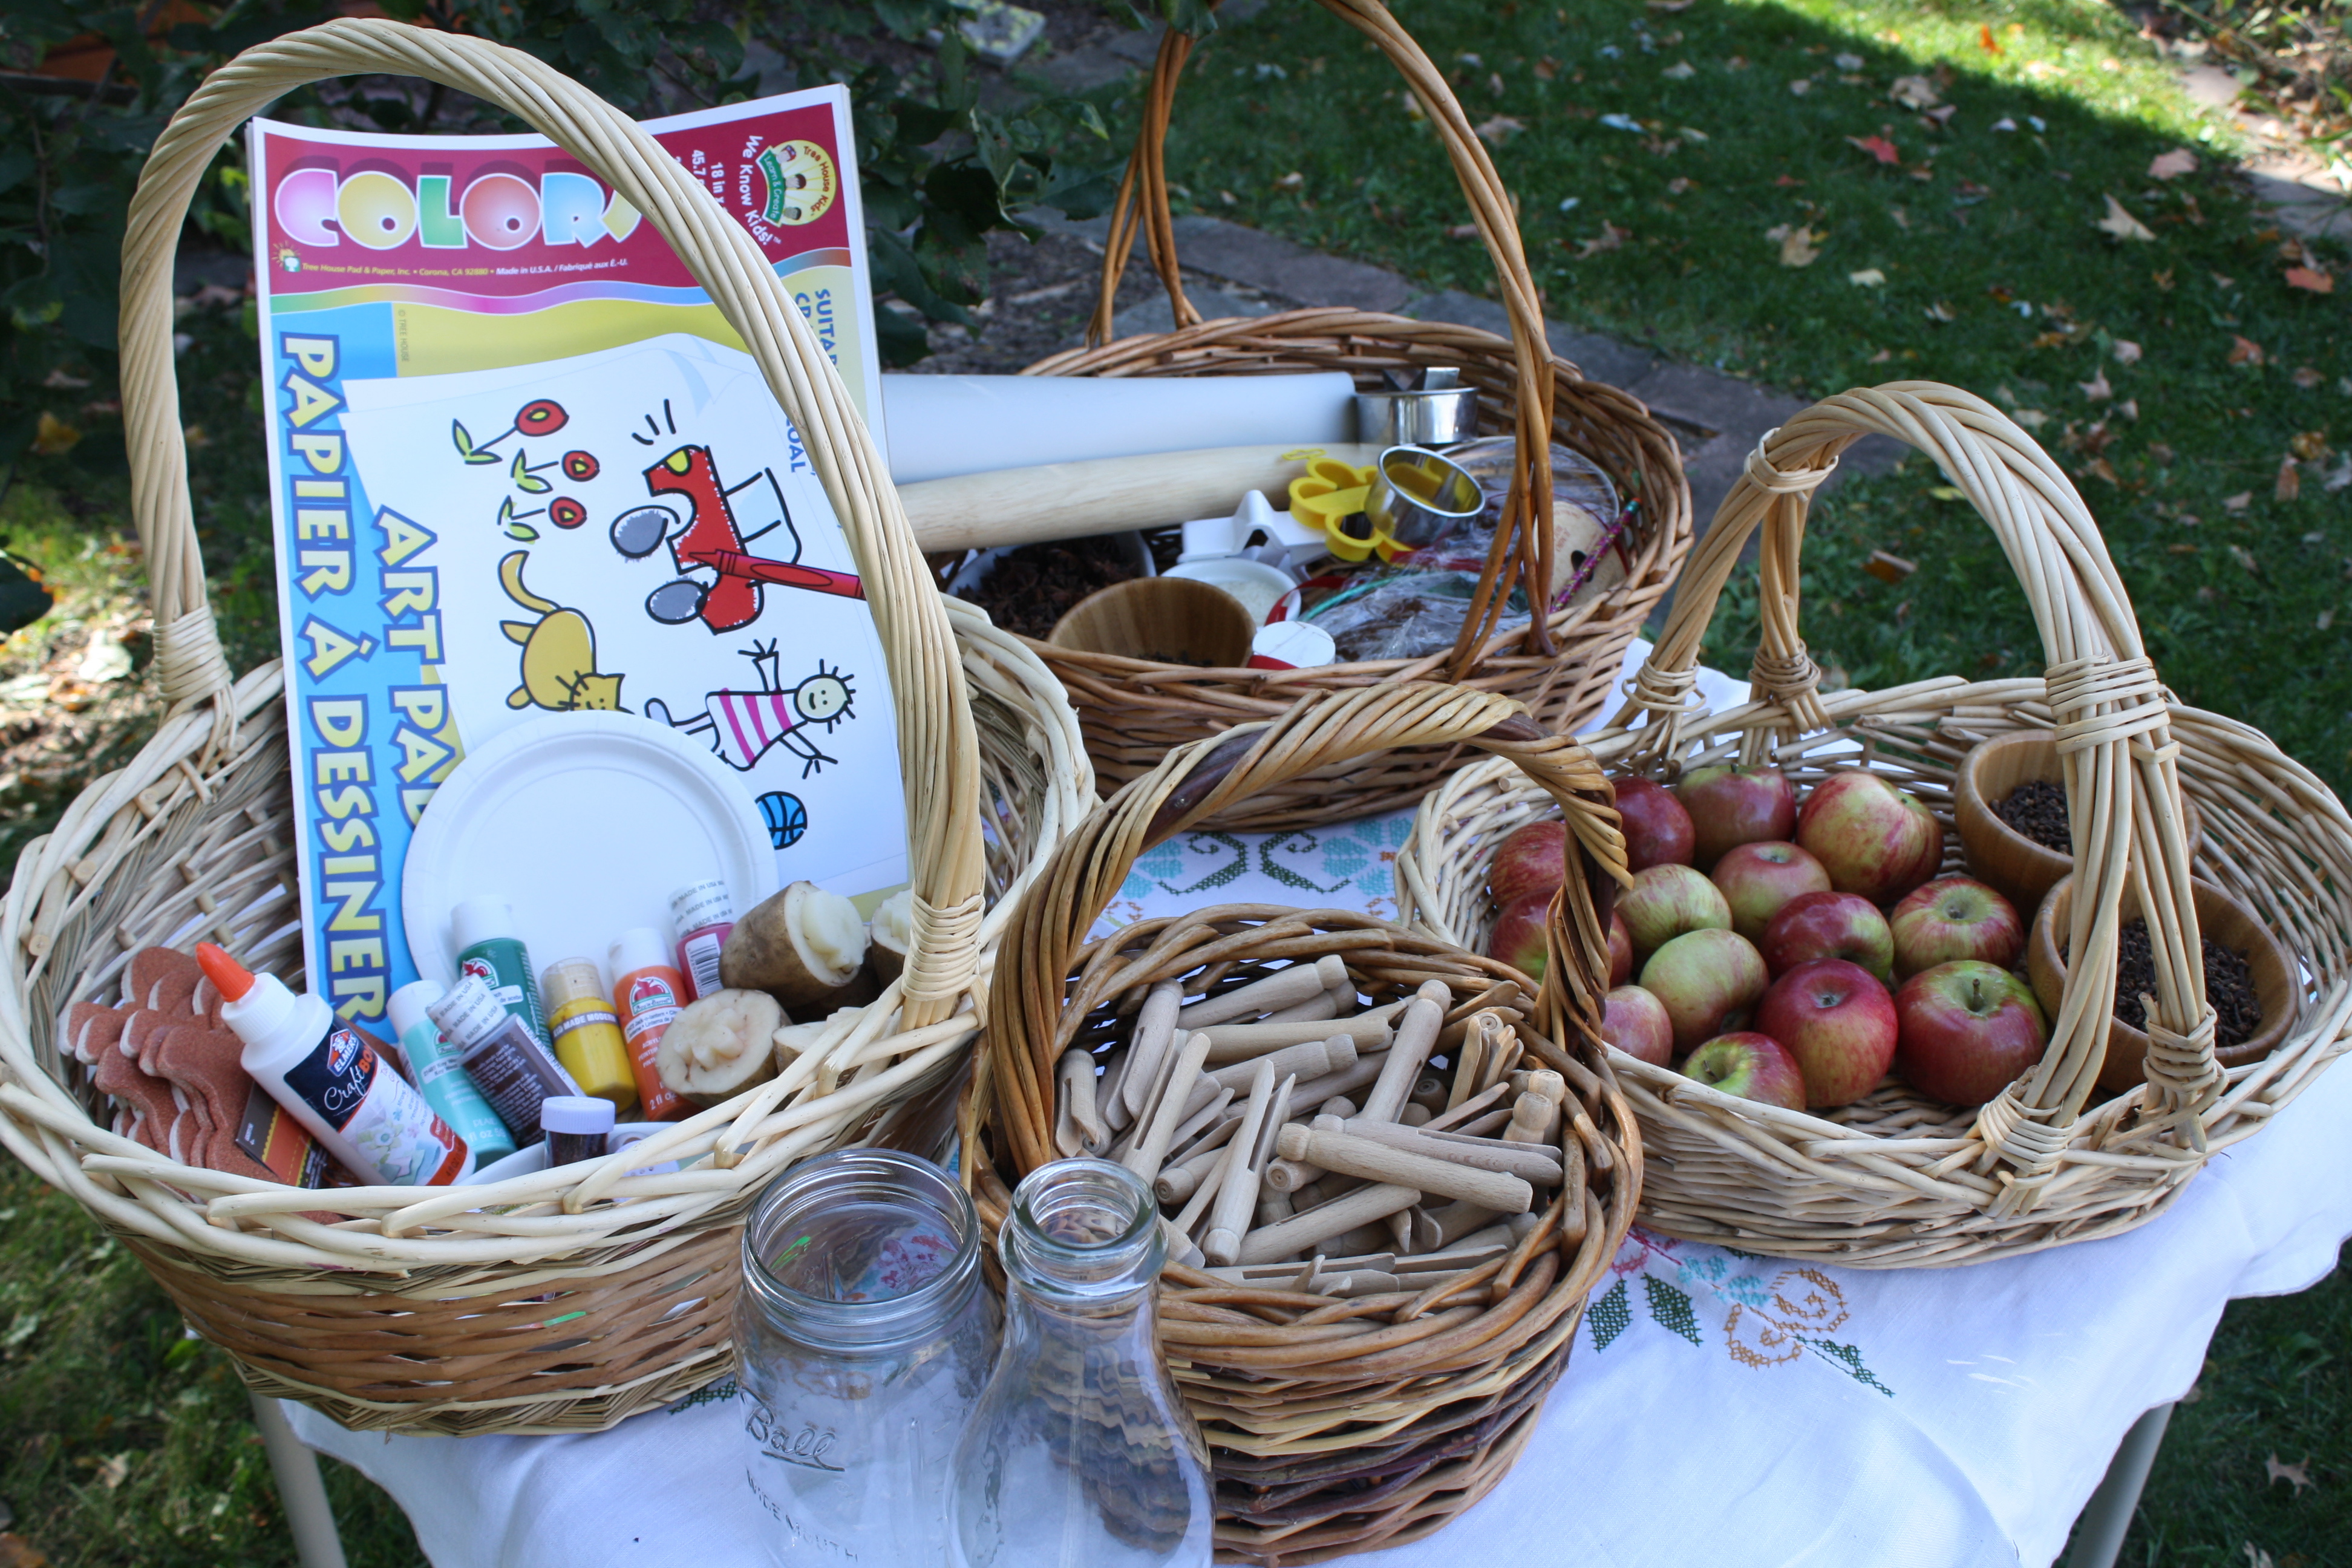


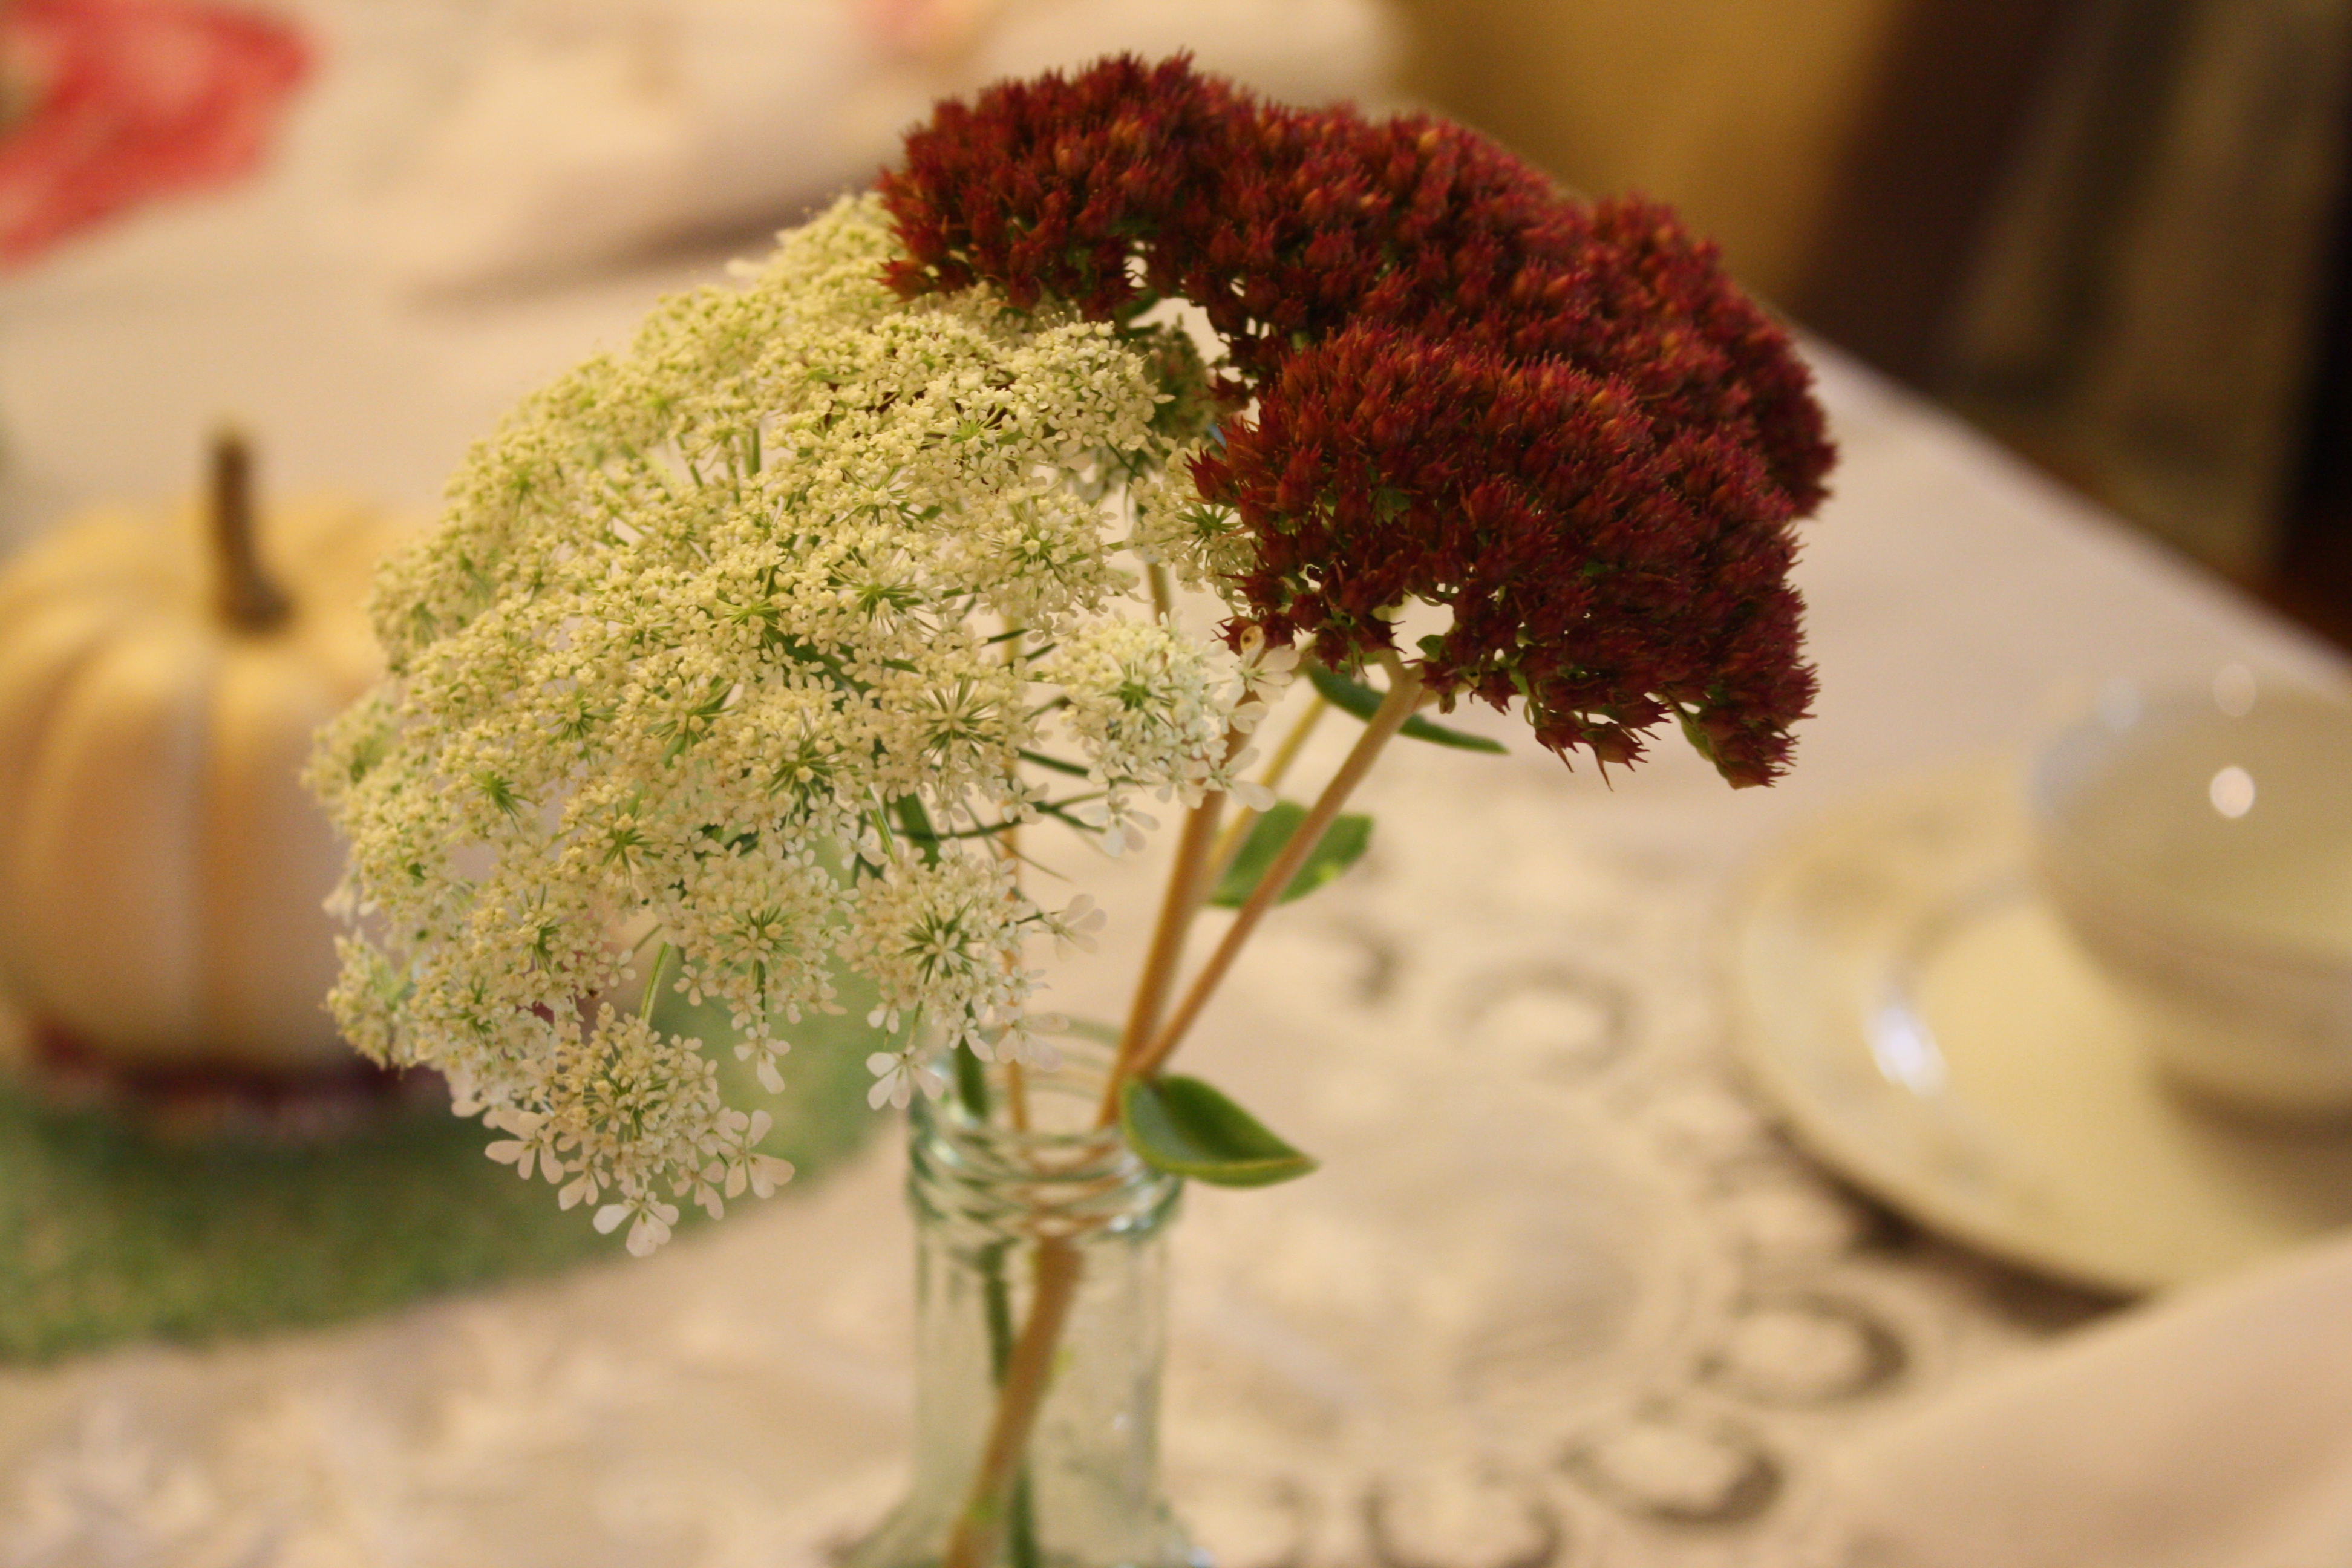
Then on Sunday, we ventured back to the time of the pioneers for her Little House on the Prairie-inspired party, celebrated with our family. My daughter is quite the organizer, and planned the entire menu, decorations, and kids’ activities, all on her own. The afternoon featured center pieces and a fun pomander activity (and mulled wine…my contribution to the day) from Ashley English’s Handmade Gatherings. She also found tons of fun pioneer crafts for the kids in Pioneer Projects by Bobbie Kalman. She then made her own corn chowder with a recipe from her newly acquired Lincoln Heritage Trail Cook Book. And of course, a pioneer party is not complete without homemade butter and bread, so we baked her favorite honey oat bread from The Rhythm of Family by Amanda and Steve Soule. And for those who may be wondering, I made the girls’ skirts from a vintage coverlet I found at a thrift store, and I purchased these bonnets to complete the pioneer ensemble.
The shining sun, crisp autumn air, and scent of campfire and cloves mingling in the air left us all feeling that this was truly a wonderful way to close our weekend.

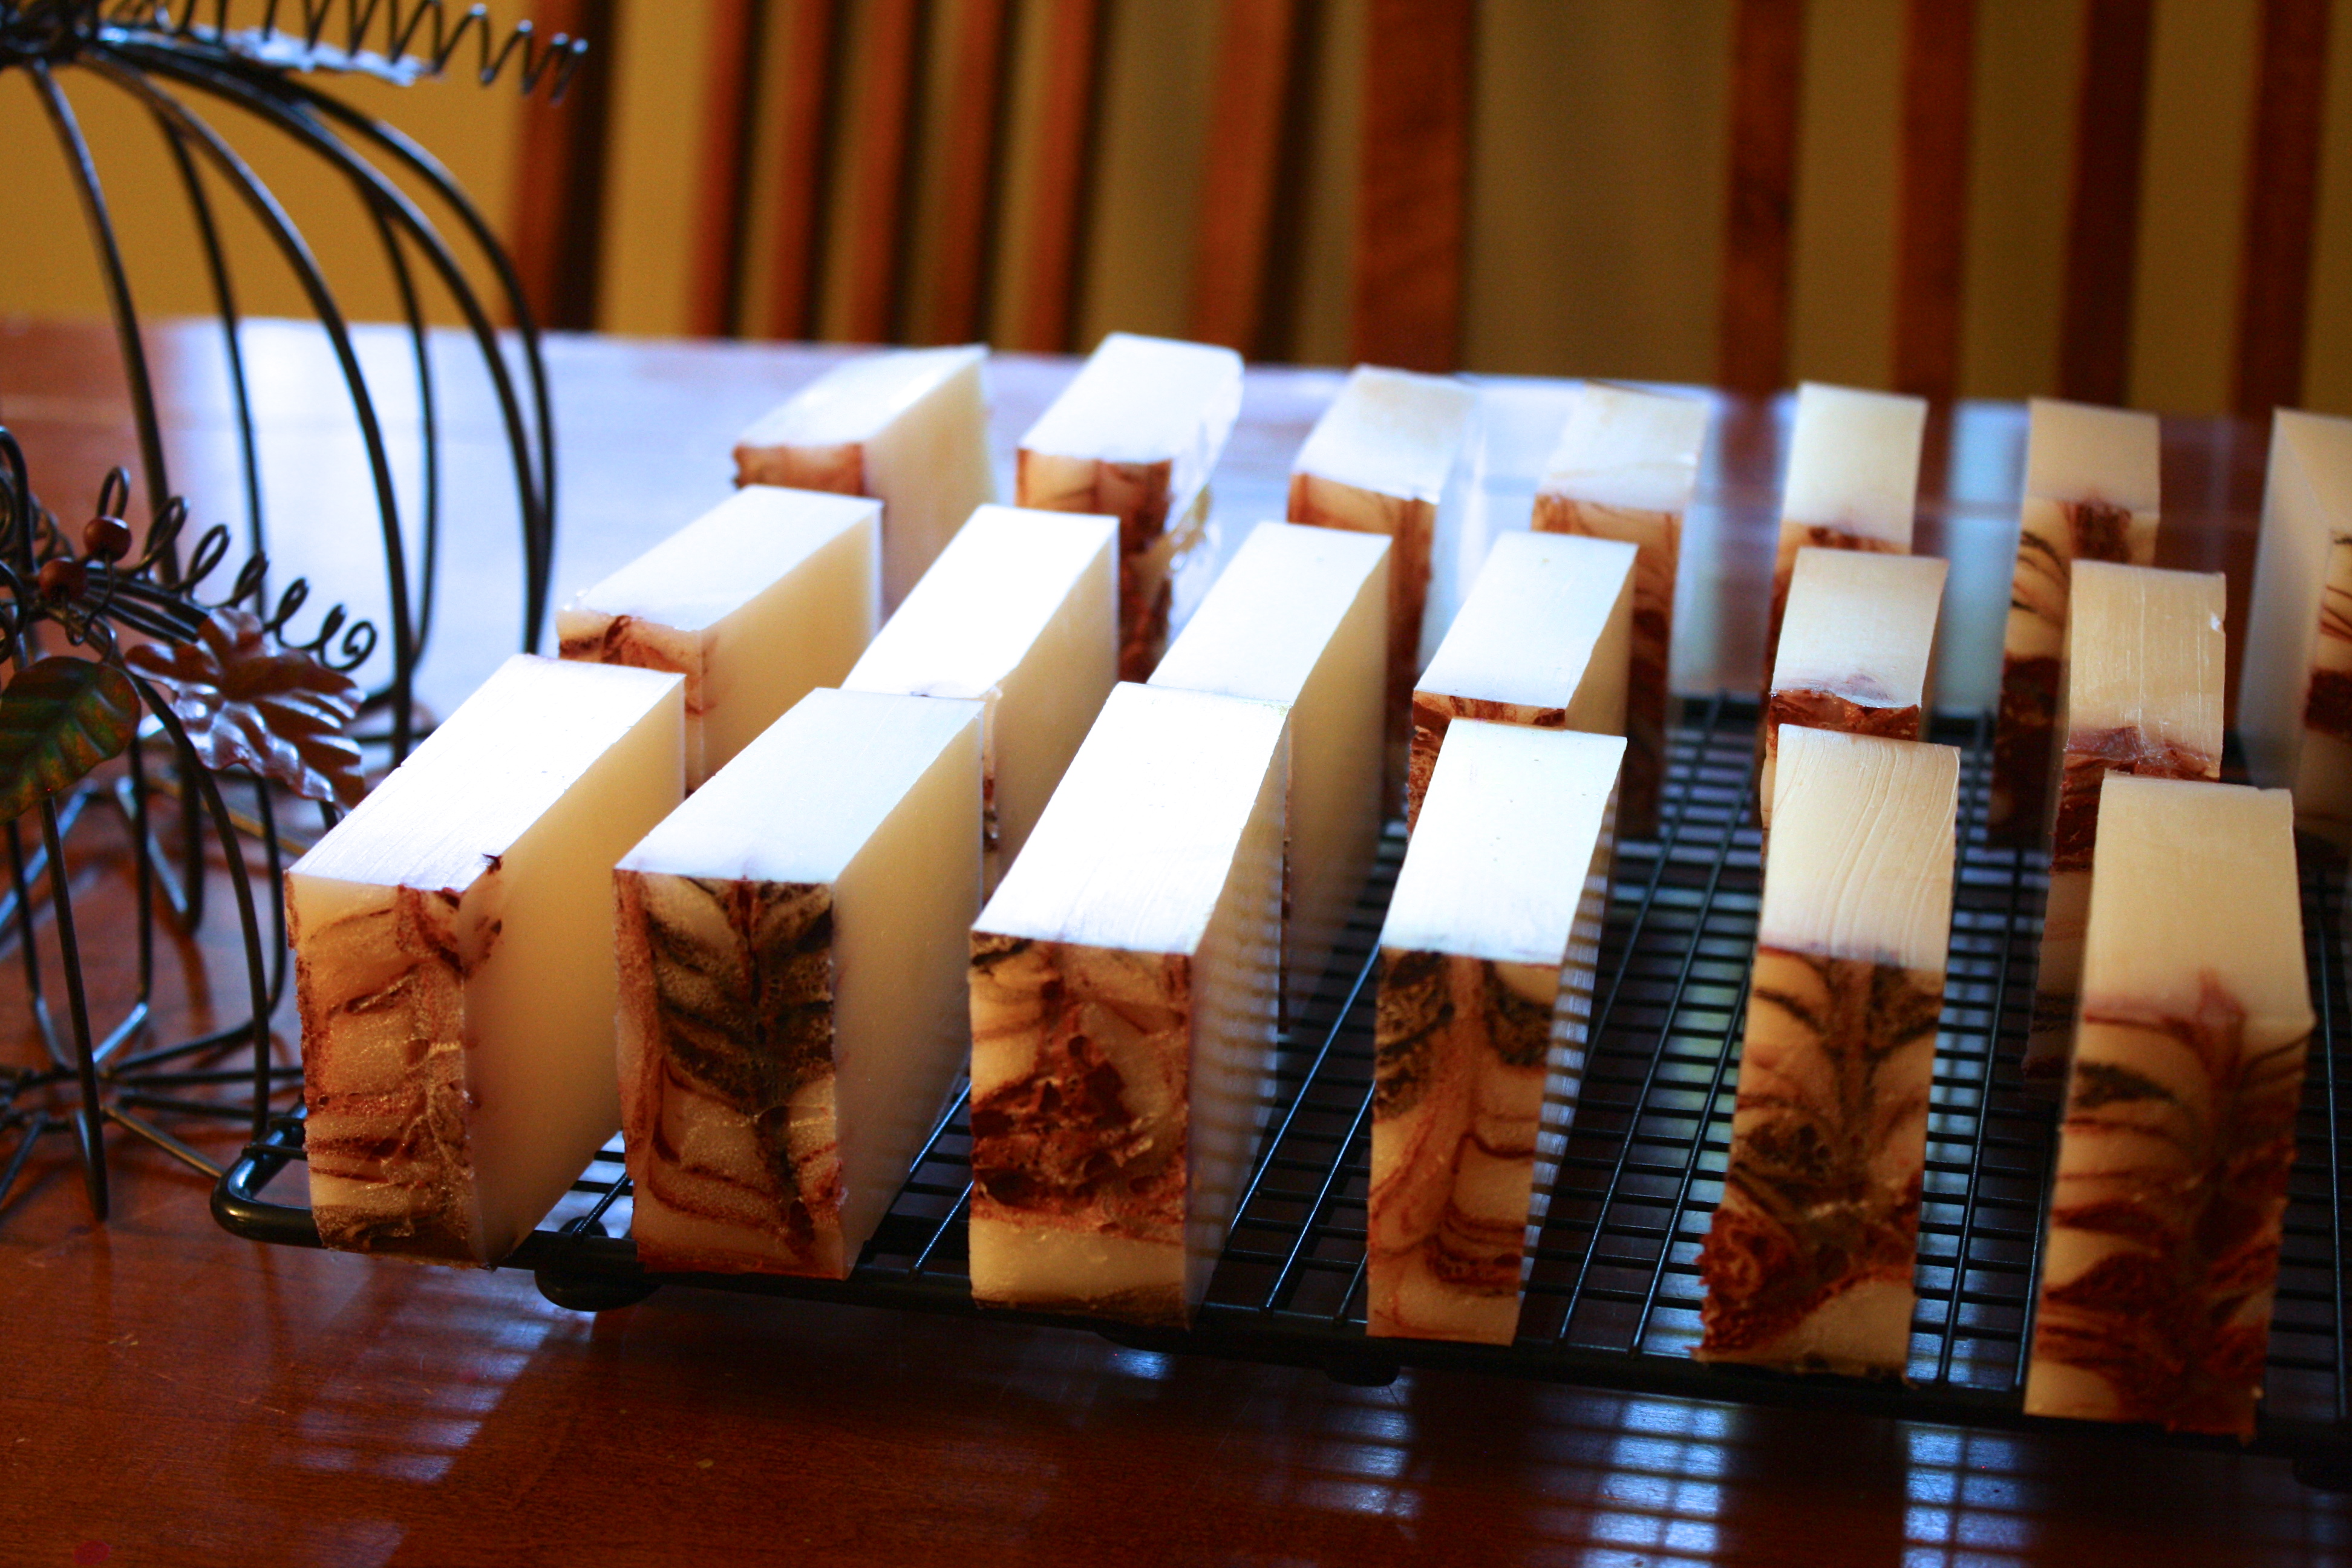
Friends, I am so very excited to share with you my vegan soap recipe today! It is a recipe I have been experimenting with for several months now, and at this point I am very happy with the way the soap is turning out. I also worked with Brazilian clay this go round, and I am thrilled with those results as well.
This soap recipe has been a gradual evolutionary project for me. When I began making soap many years ago, I used a melt-and-pour base to which I added essential oils, herbs, and other fun things. I then moved on to making my own cold-pressed soap using a combination of lard and coconut oil. My struggle with making this type of soap was that at times when I did not have access to lard from a pig in which I knew the farmers that raised it, I was using lard purchased from the grocery store. I had a hard time with this because I am so careful to consume (and feed my family) foods in which I feel confident in its raising/growing, and here I was, making soap that would go be lathered onto the largest organ of our bodies (our skin!) and I didn’t know where it came from. I started to seek an alternative for our family during those months when we did not have access to local lard, and this is the result of those efforts. I hope you enjoy!
Vegan Soap Recipe
5 cups distilled water
12 oz lye
12 cups organic unrefined coconut oil
Essential oils of your choosing (if desired)
Brazilian clay of your choosing (if desired)
*Before you get started, please know that making soap with lye can be very dangerous. You MUST be sure you are wearing proper gloves and eyewear at all times, and you must be in a well ventilated room! (I never, ever make soap when my children are awake. It is not worth the risk of having them underfoot in any way. I normally make soap very late at night after my household is asleep. I open all of the windows in the kitchen, turn on all of our ceiling fans, and then begin.)
Step 1: In a large stainless steel bowl, carefully stir the lye into the distilled water. Stir continuously until all the lye is dissolved. (This mixture can rise in temperature to almost 200 degrees, so again, proceed with caution.) Allow the lye-water mixture to cool to 75 degrees. This can often take several hours.
Step 2: Warm the coconut oil in a stock pot until it becomes liquid. Remove from the heat and allow to cool to 80-85 degrees.
Step 3: In a very slow and steady stream, carefully add the coconut oil to the lye-water mixture while stirring constantly. (I often have my husband help with this process. I slowly stir the lye-water mixture while my husband ladles in the coconut oil.)
Step 4: Once all the coconut oil has been added, I use an immersion blender to get the soap to reach trace phase (the consistency of a thick honey).
Optional Step: If adding essential oils, blend the oils in at this time. And if adding clay for coloring your soap: mix a tablespoon of clay with .25-.50 mL of your chosen essential oil. Partially mix the clay into the soap mixture so it streaks.
Step 5: Pour mixture into soap molds. Cover with plastic. I then place lots of old beach towels on top of the plastic wrap to help insulate the soap.
Step 6: Allow your soap to remain insulted for 3-4 days. Then remove the soap from the molds, cut the soap (if necessary), and place on a cooling rack.
Step 7: Allow your soap to cure on the cooling rack for at least 2 months before using.
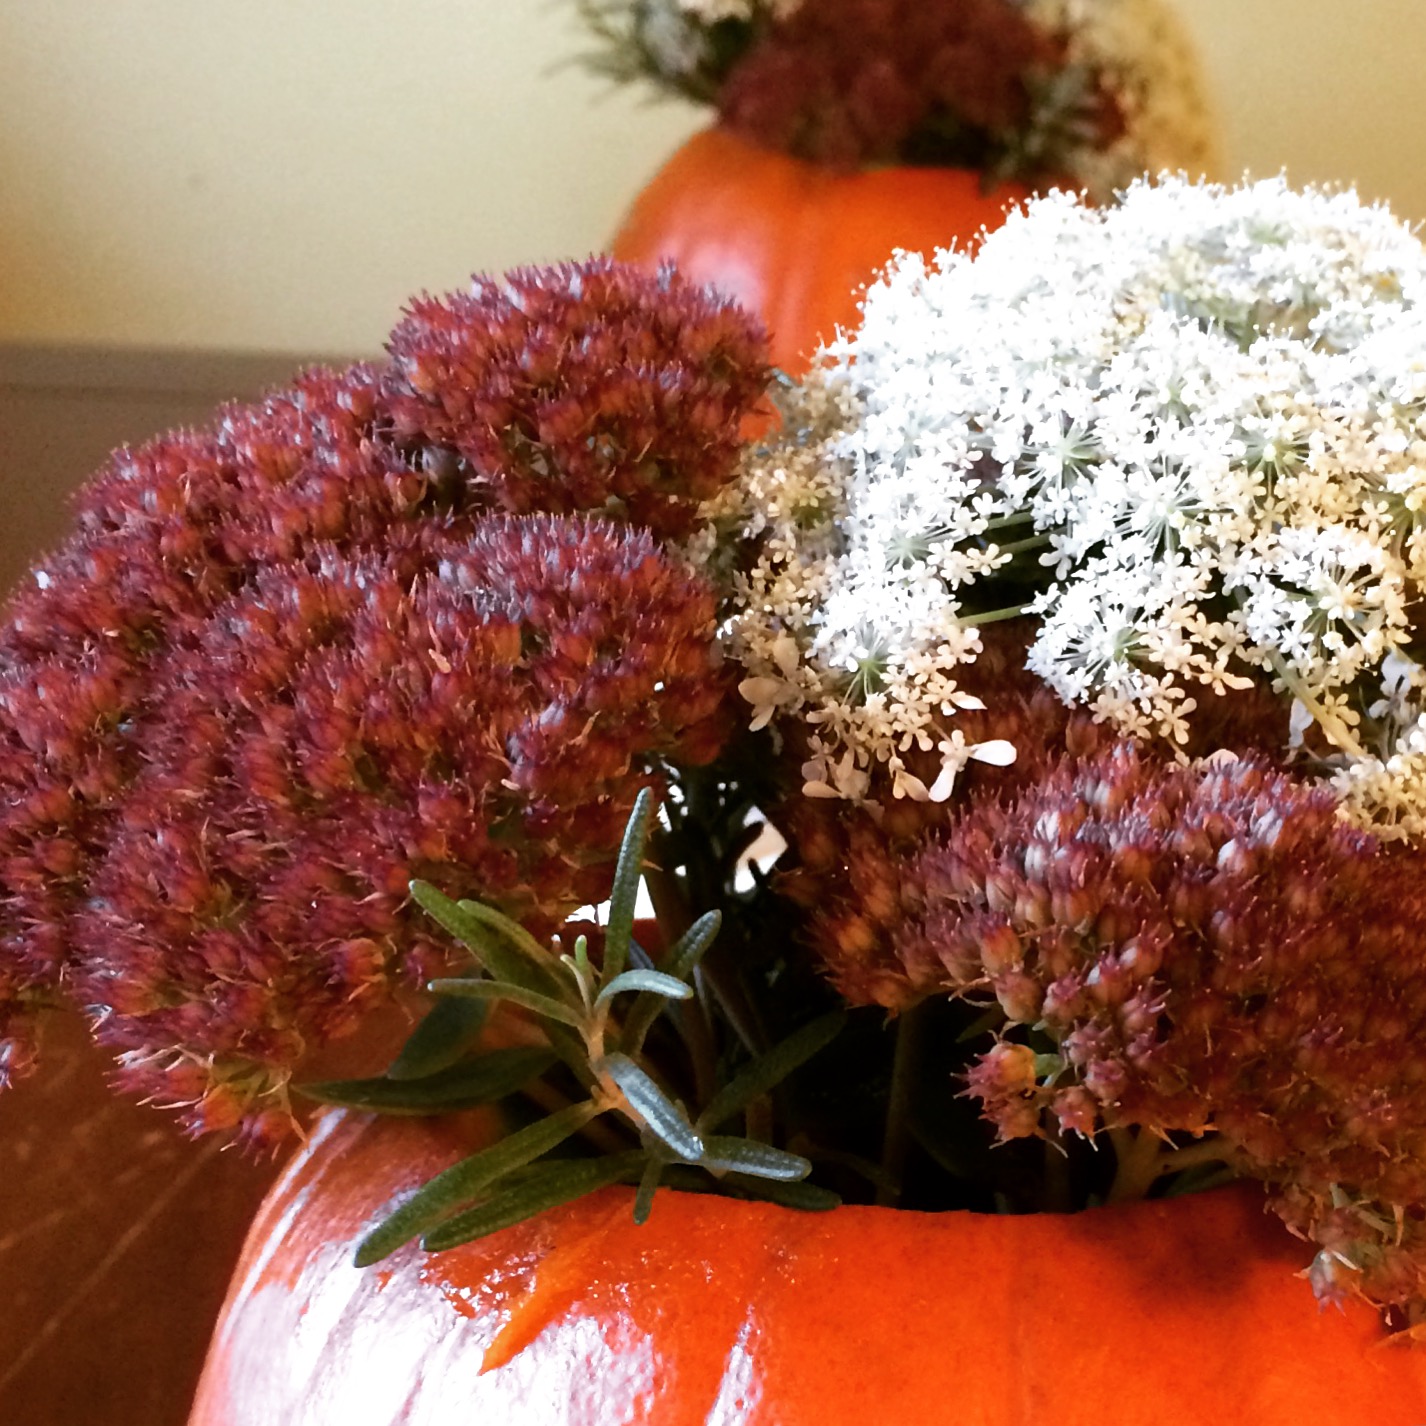
As fall quickly approaches, the end of the gardening season is just around the corner. But with everything going on in our garden, one would never know it. So, for now, we are just so very grateful for all that our garden provides for us.
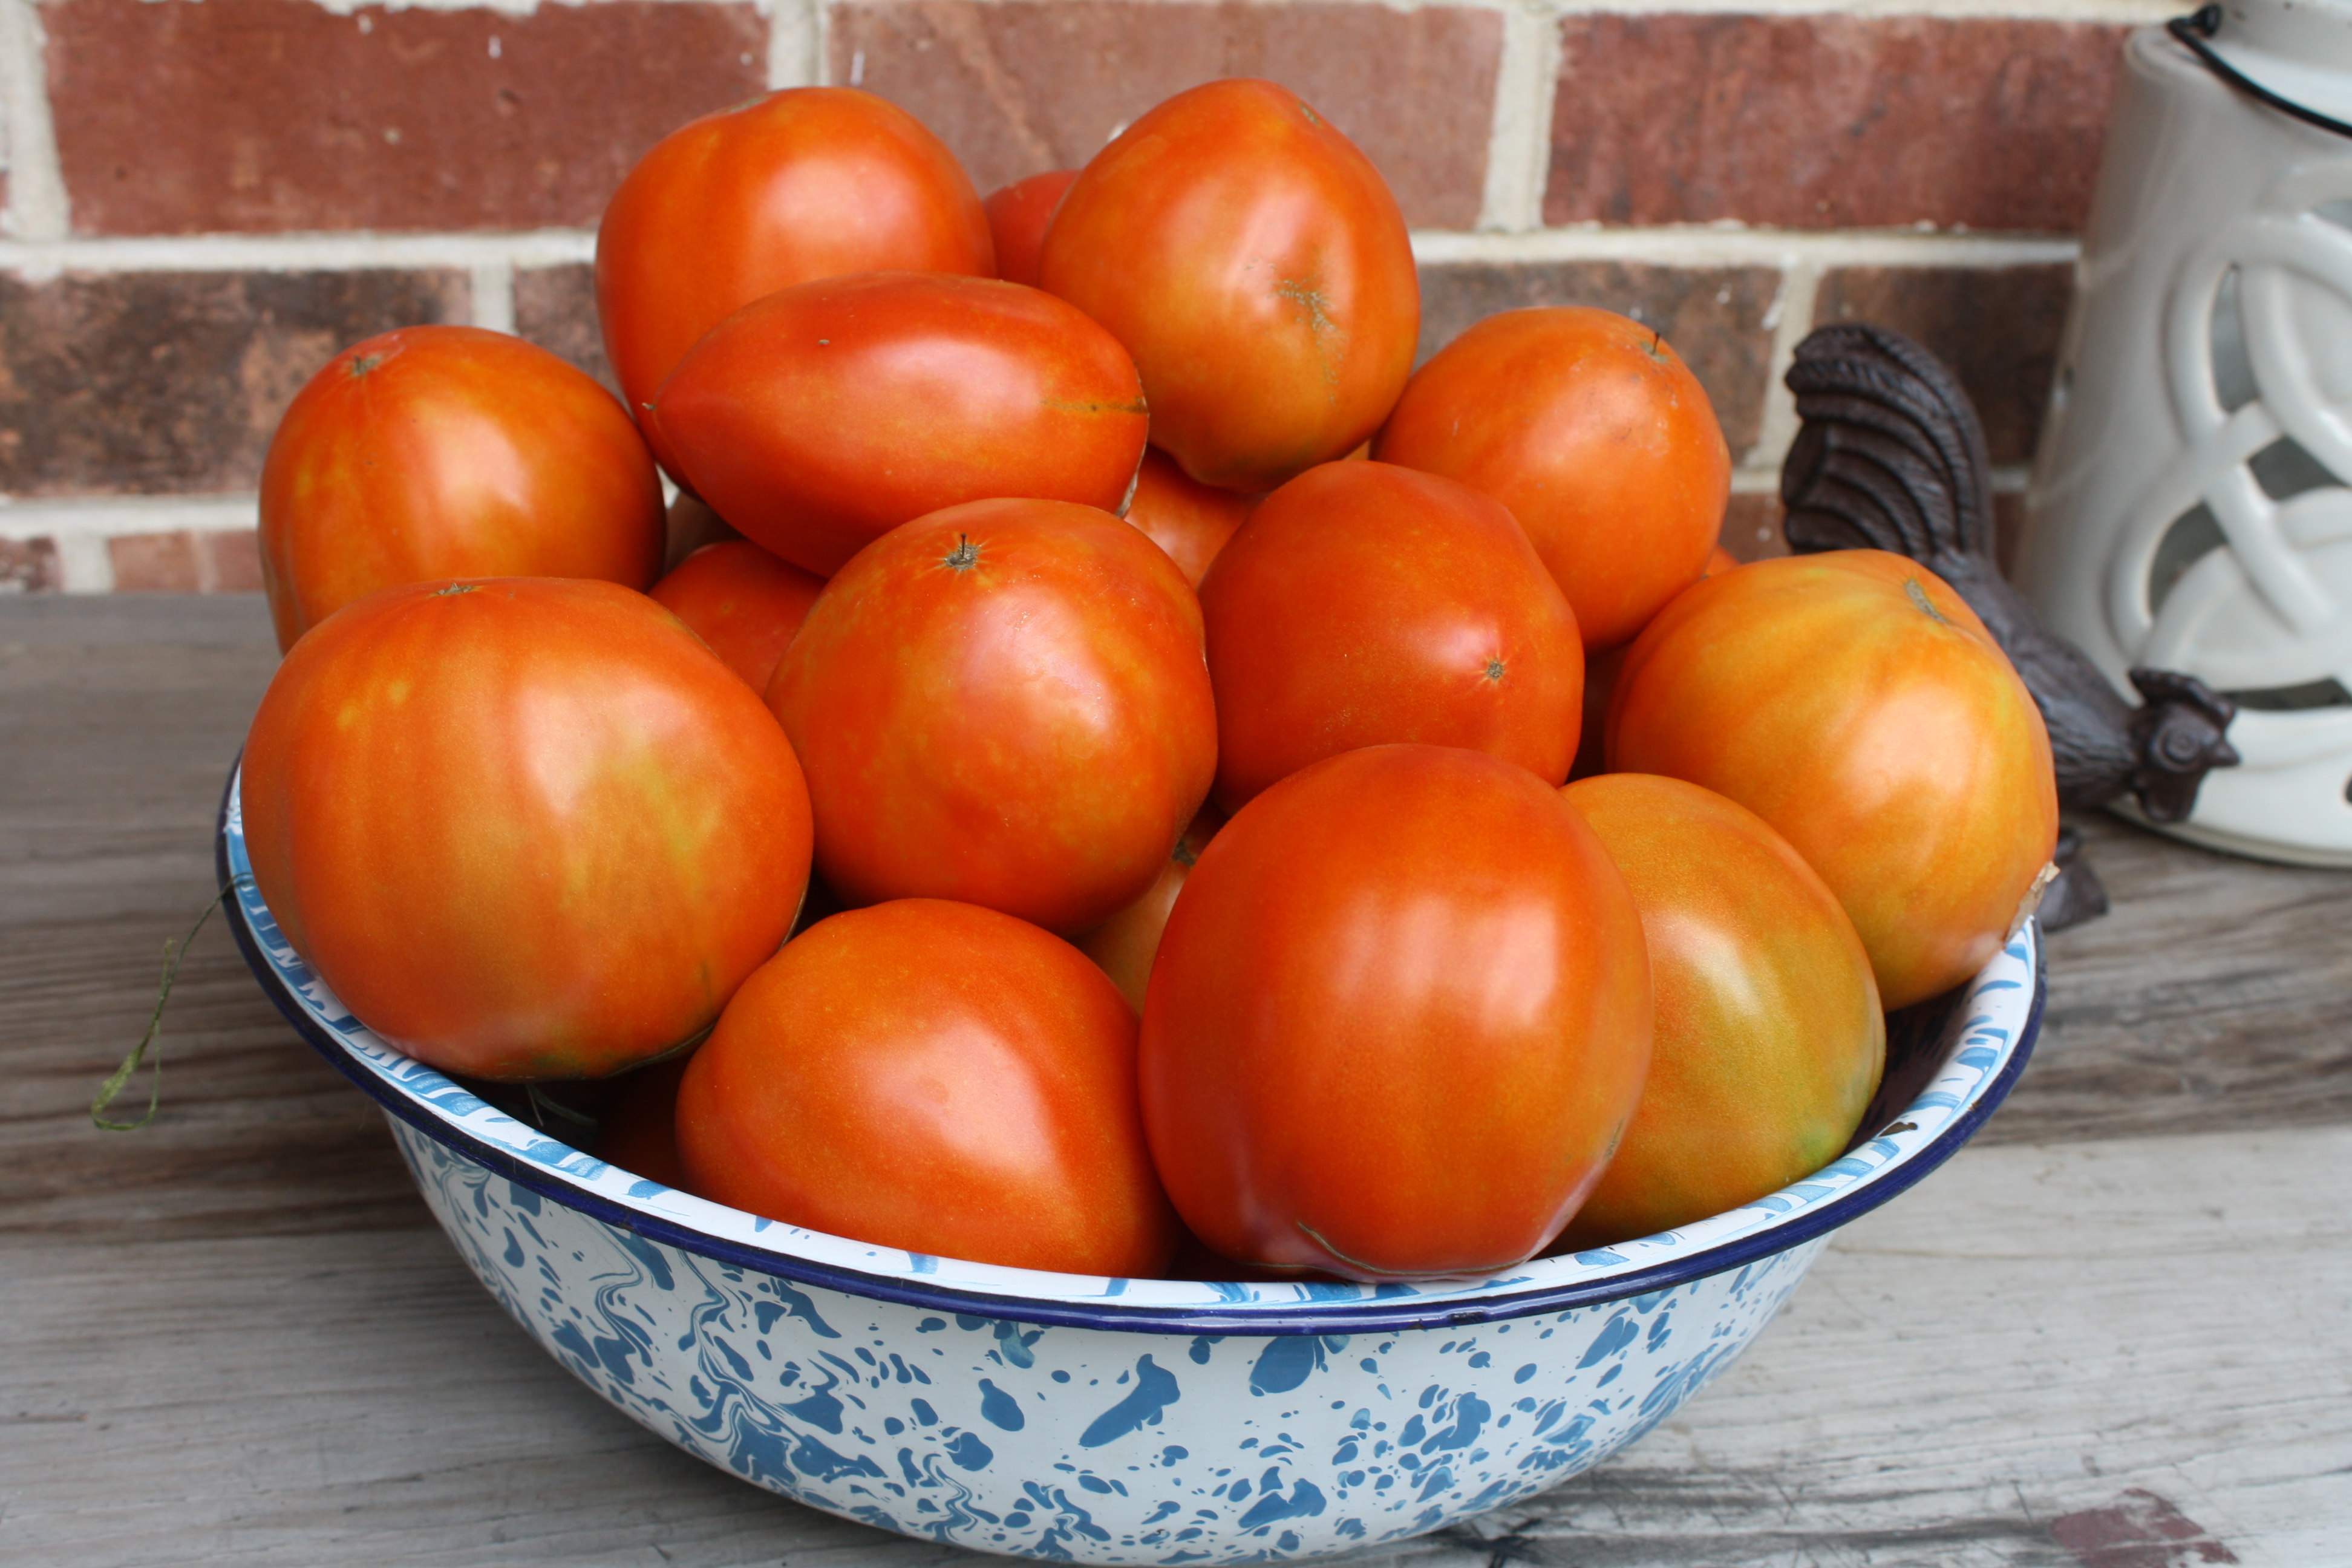
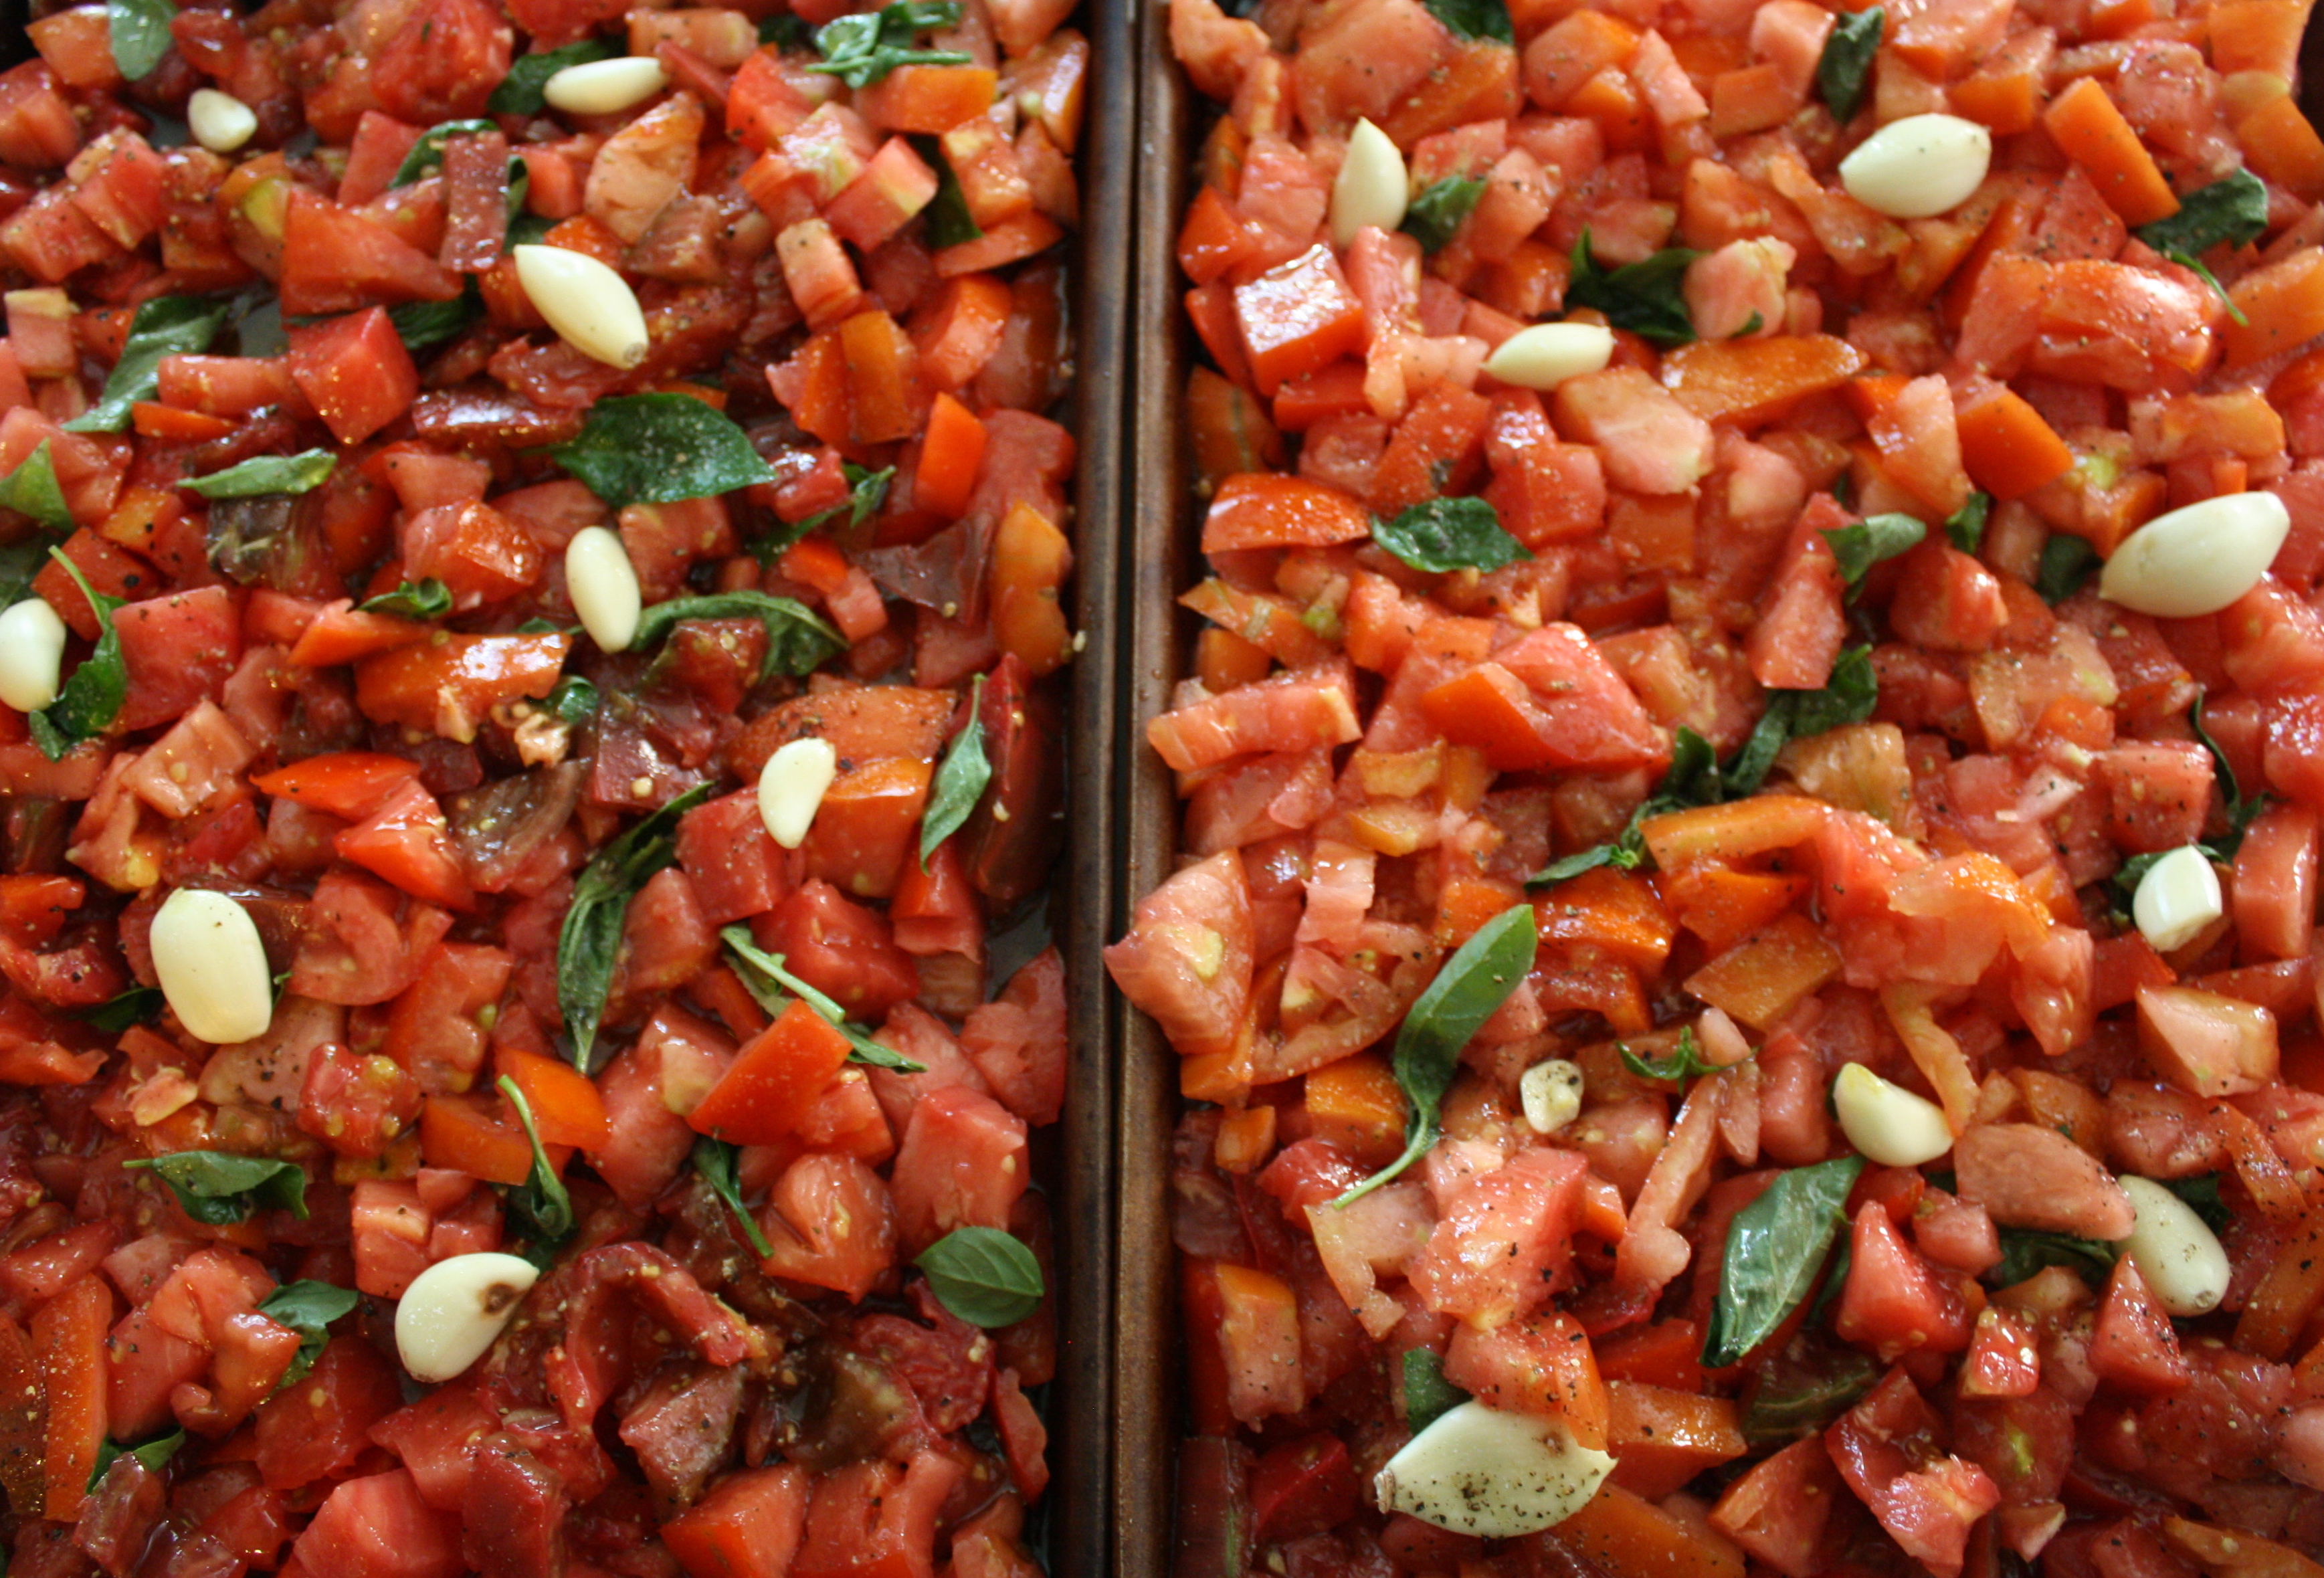
As I mentioned last Tuesday, our tomatoes are in full swing right now. That means lots of canning is taking place around our house. This year I am attempting something new after reading my favorite blog. I am roasting my tomatoes and basil with a bit of garlic, olive oil, salt and pepper in a 450 degree oven until the tomatoes begin to brown. I then let it cool to room temperature, scoop the mixture into quart jars, and freeze them.

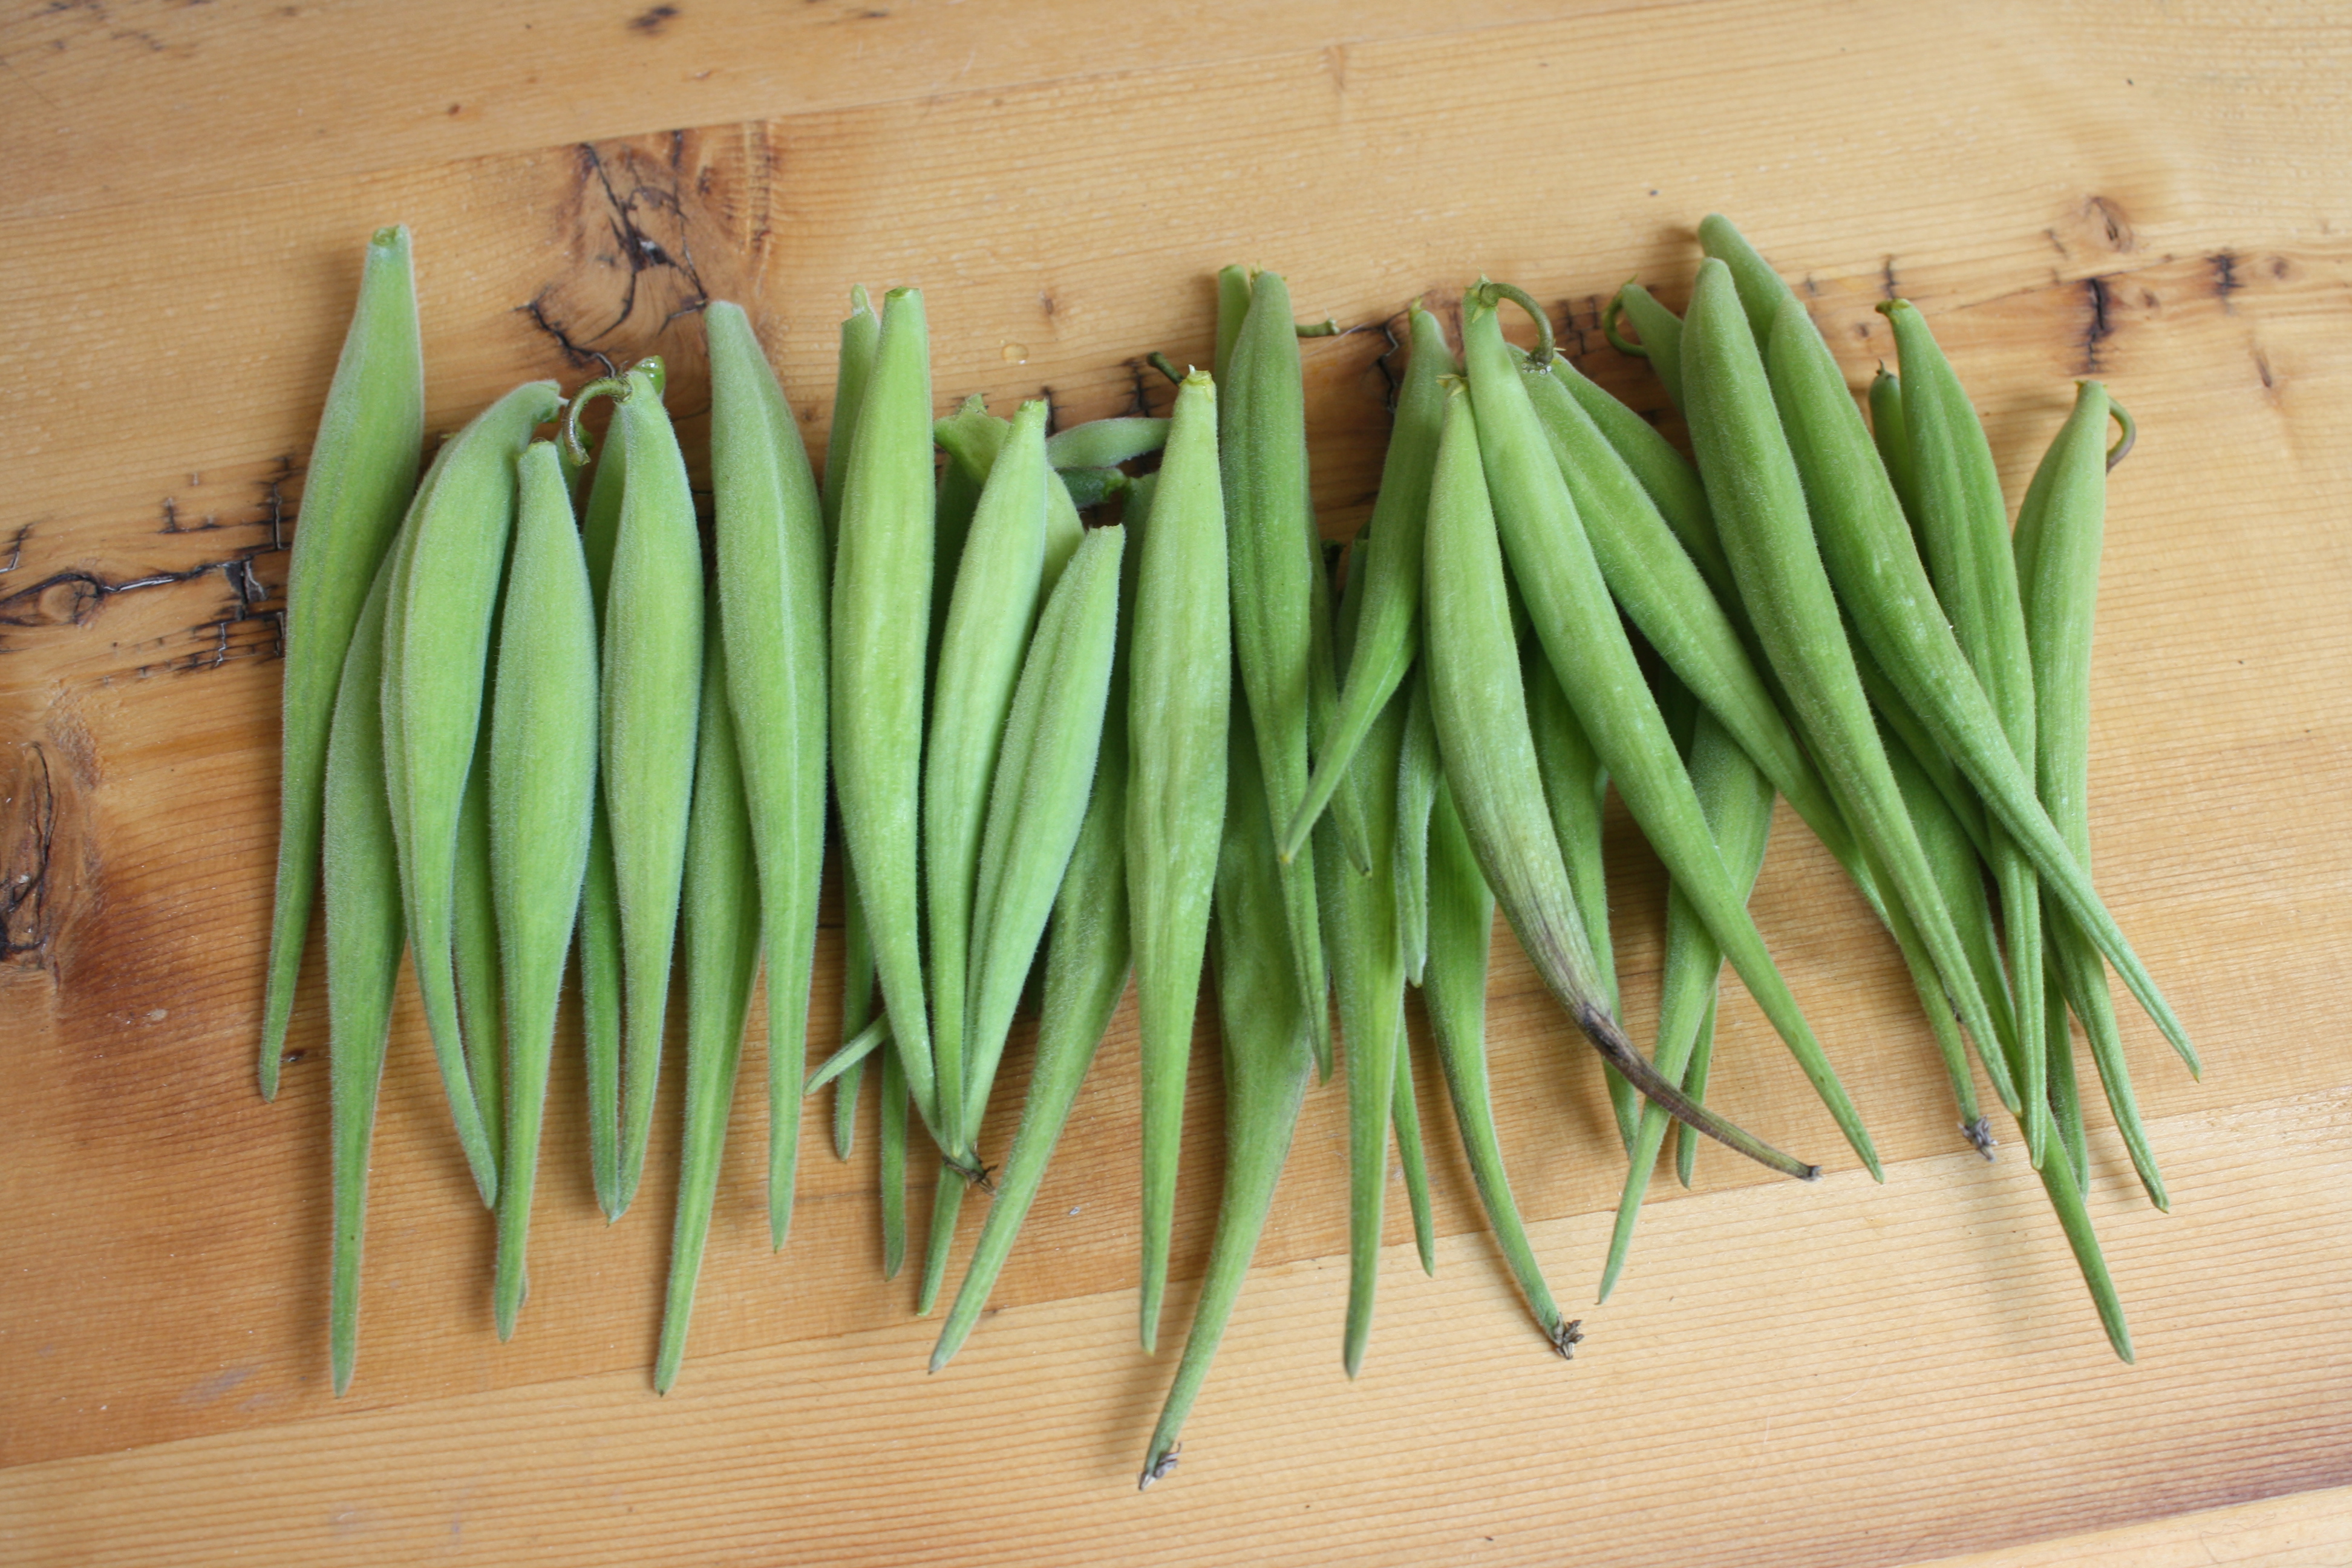
On a fun tomato note, last year I grew Mexican Midget tomatoes and Green Zebra tomatoes in our school garden. At the end of the growing season, my students and I tried a little experiment. We picked about 3 tomatoes from each plant, sliced them very, very thin and left them to dry out on a coffee filter. Once the tomatoes were dry, I stuck them in my file cabinet until this past March. Then, using our class pet’s castings (Yes, we had worms as a class pet!) as a base, we placed the coffee filters (with the dried tomato slices on them) on top of the compost. We then coated the dried tomatoes with a thin layer of compost. Once mid-May hit, we transplanted the small tomato plants into our school garden and I also took some home. Above is the result of our experiment: some Green Zebras (left), some Mexican Midgets (right), and a nice cross pollinated version (middle). And the result of this cross is just delicious because it is sweet like a Mexican Midget, but also has a tang to it similar to the Green Zebra. Science is so fun!
Our milkweed has begun to go to seed, and with my daughters’ current obsession with Little House on the Prairie, we are drying the seed pods and then plan to use the wispy, silky fibers to stuff a small doll.
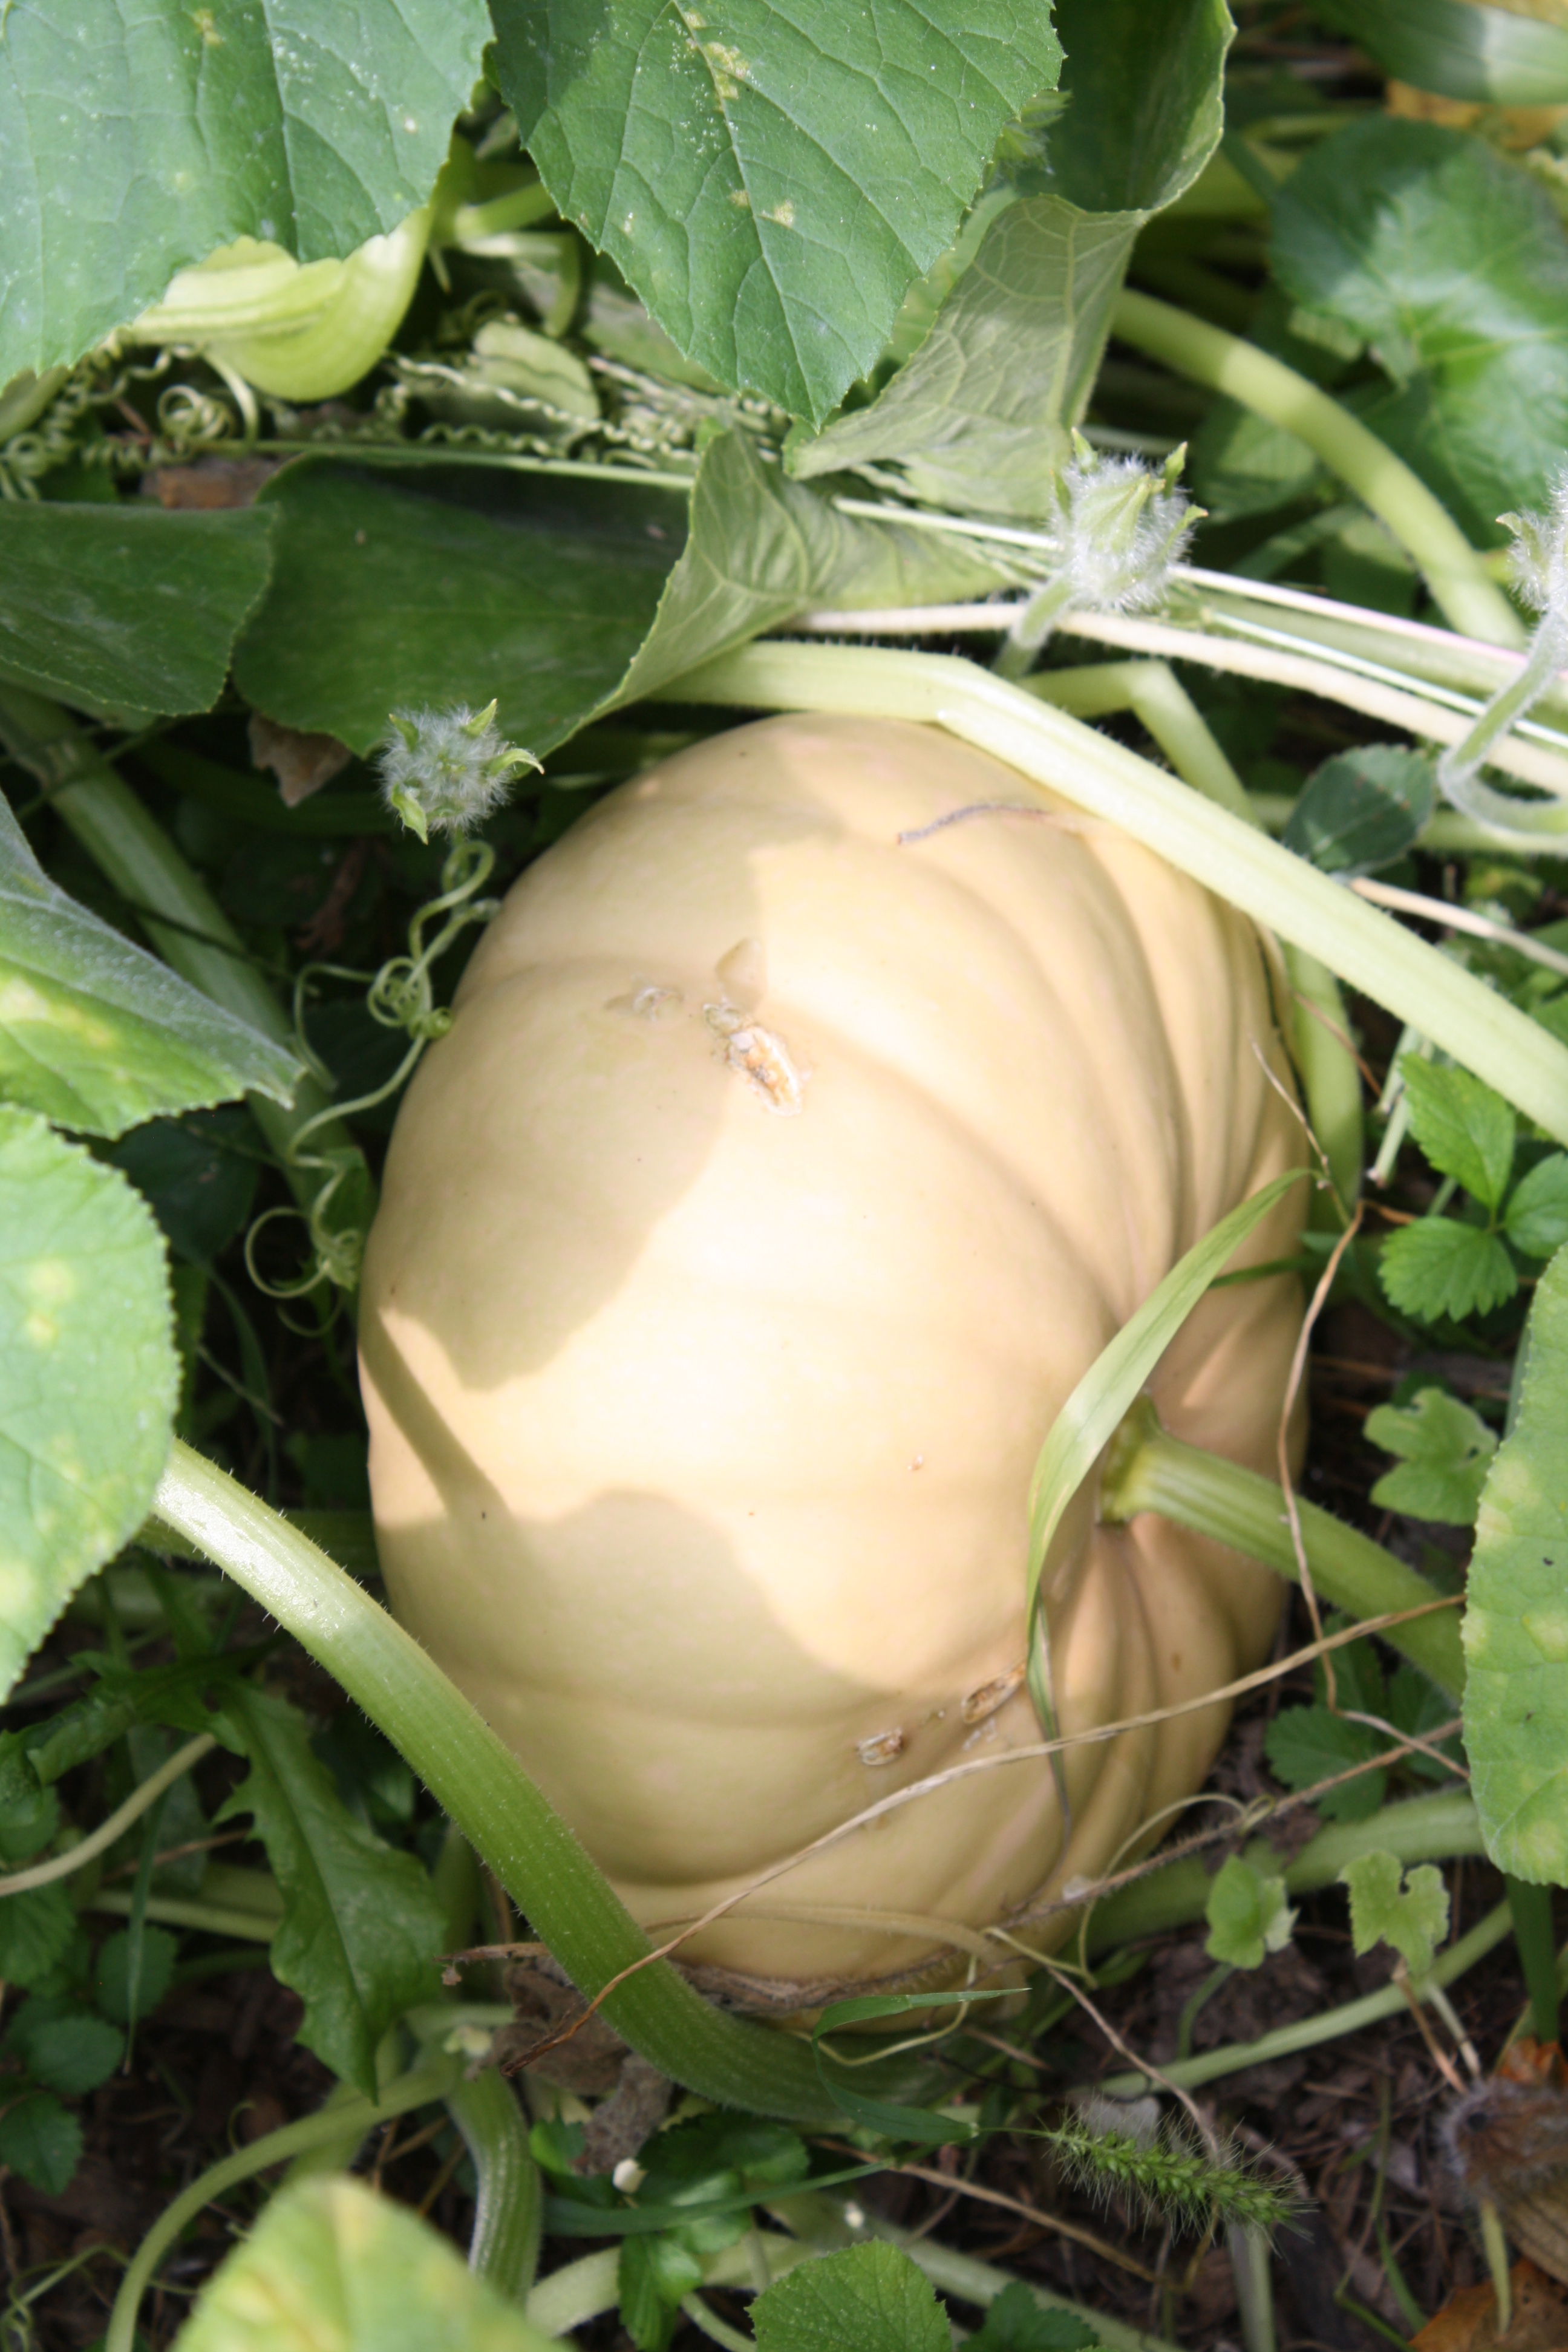
For the first time ever, we are growing pumpkins. And they are actually growing! I cannot express my excitement when I went out to weed the other day and found this guy nestled in among the gourds we are also growing in that same space.

The cucumbers are currently out of control. And truth be told, I have no desire to can pickles this year. At all. I am hoping my sentiment changes because I am not quite sure what do to with all of these guys that are currently sitting in the middle of my kitchen table.
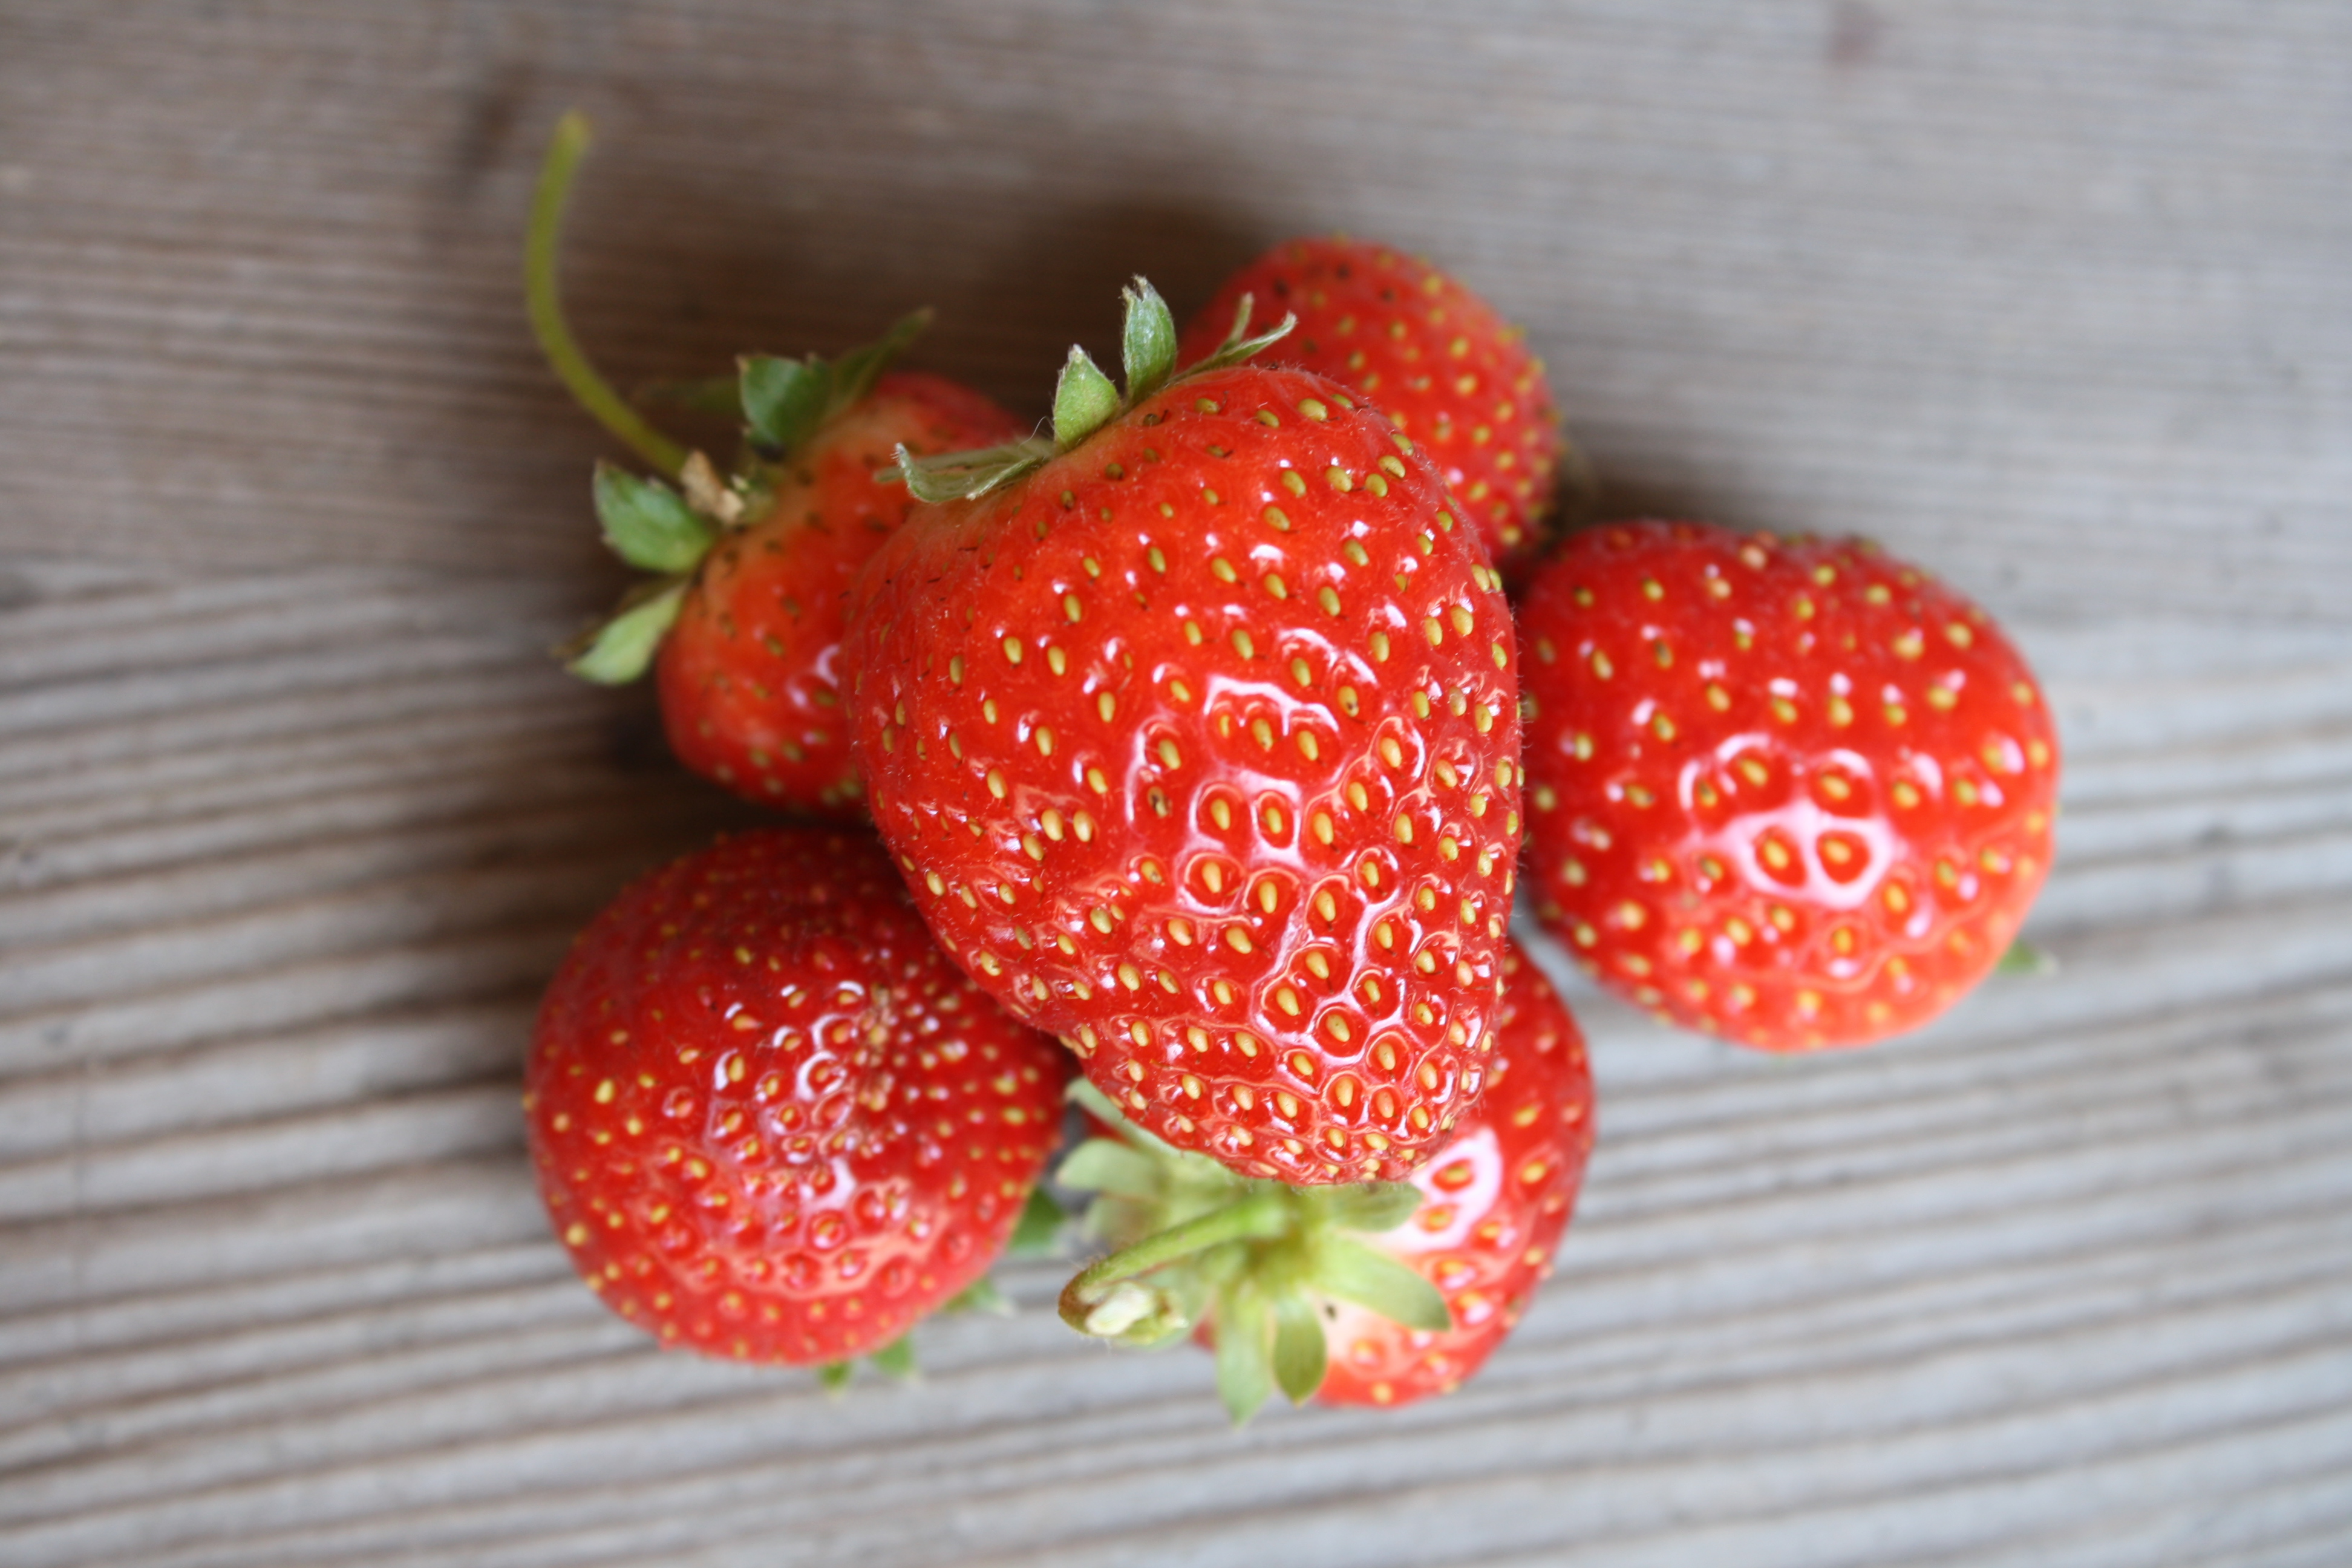

We are so incredibly fortunate to still be in the midst of our second round of berries. This has been a truly prolific year for us and berries. Yum.
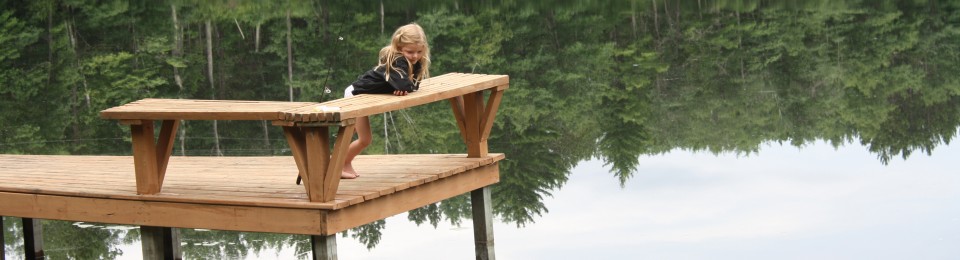
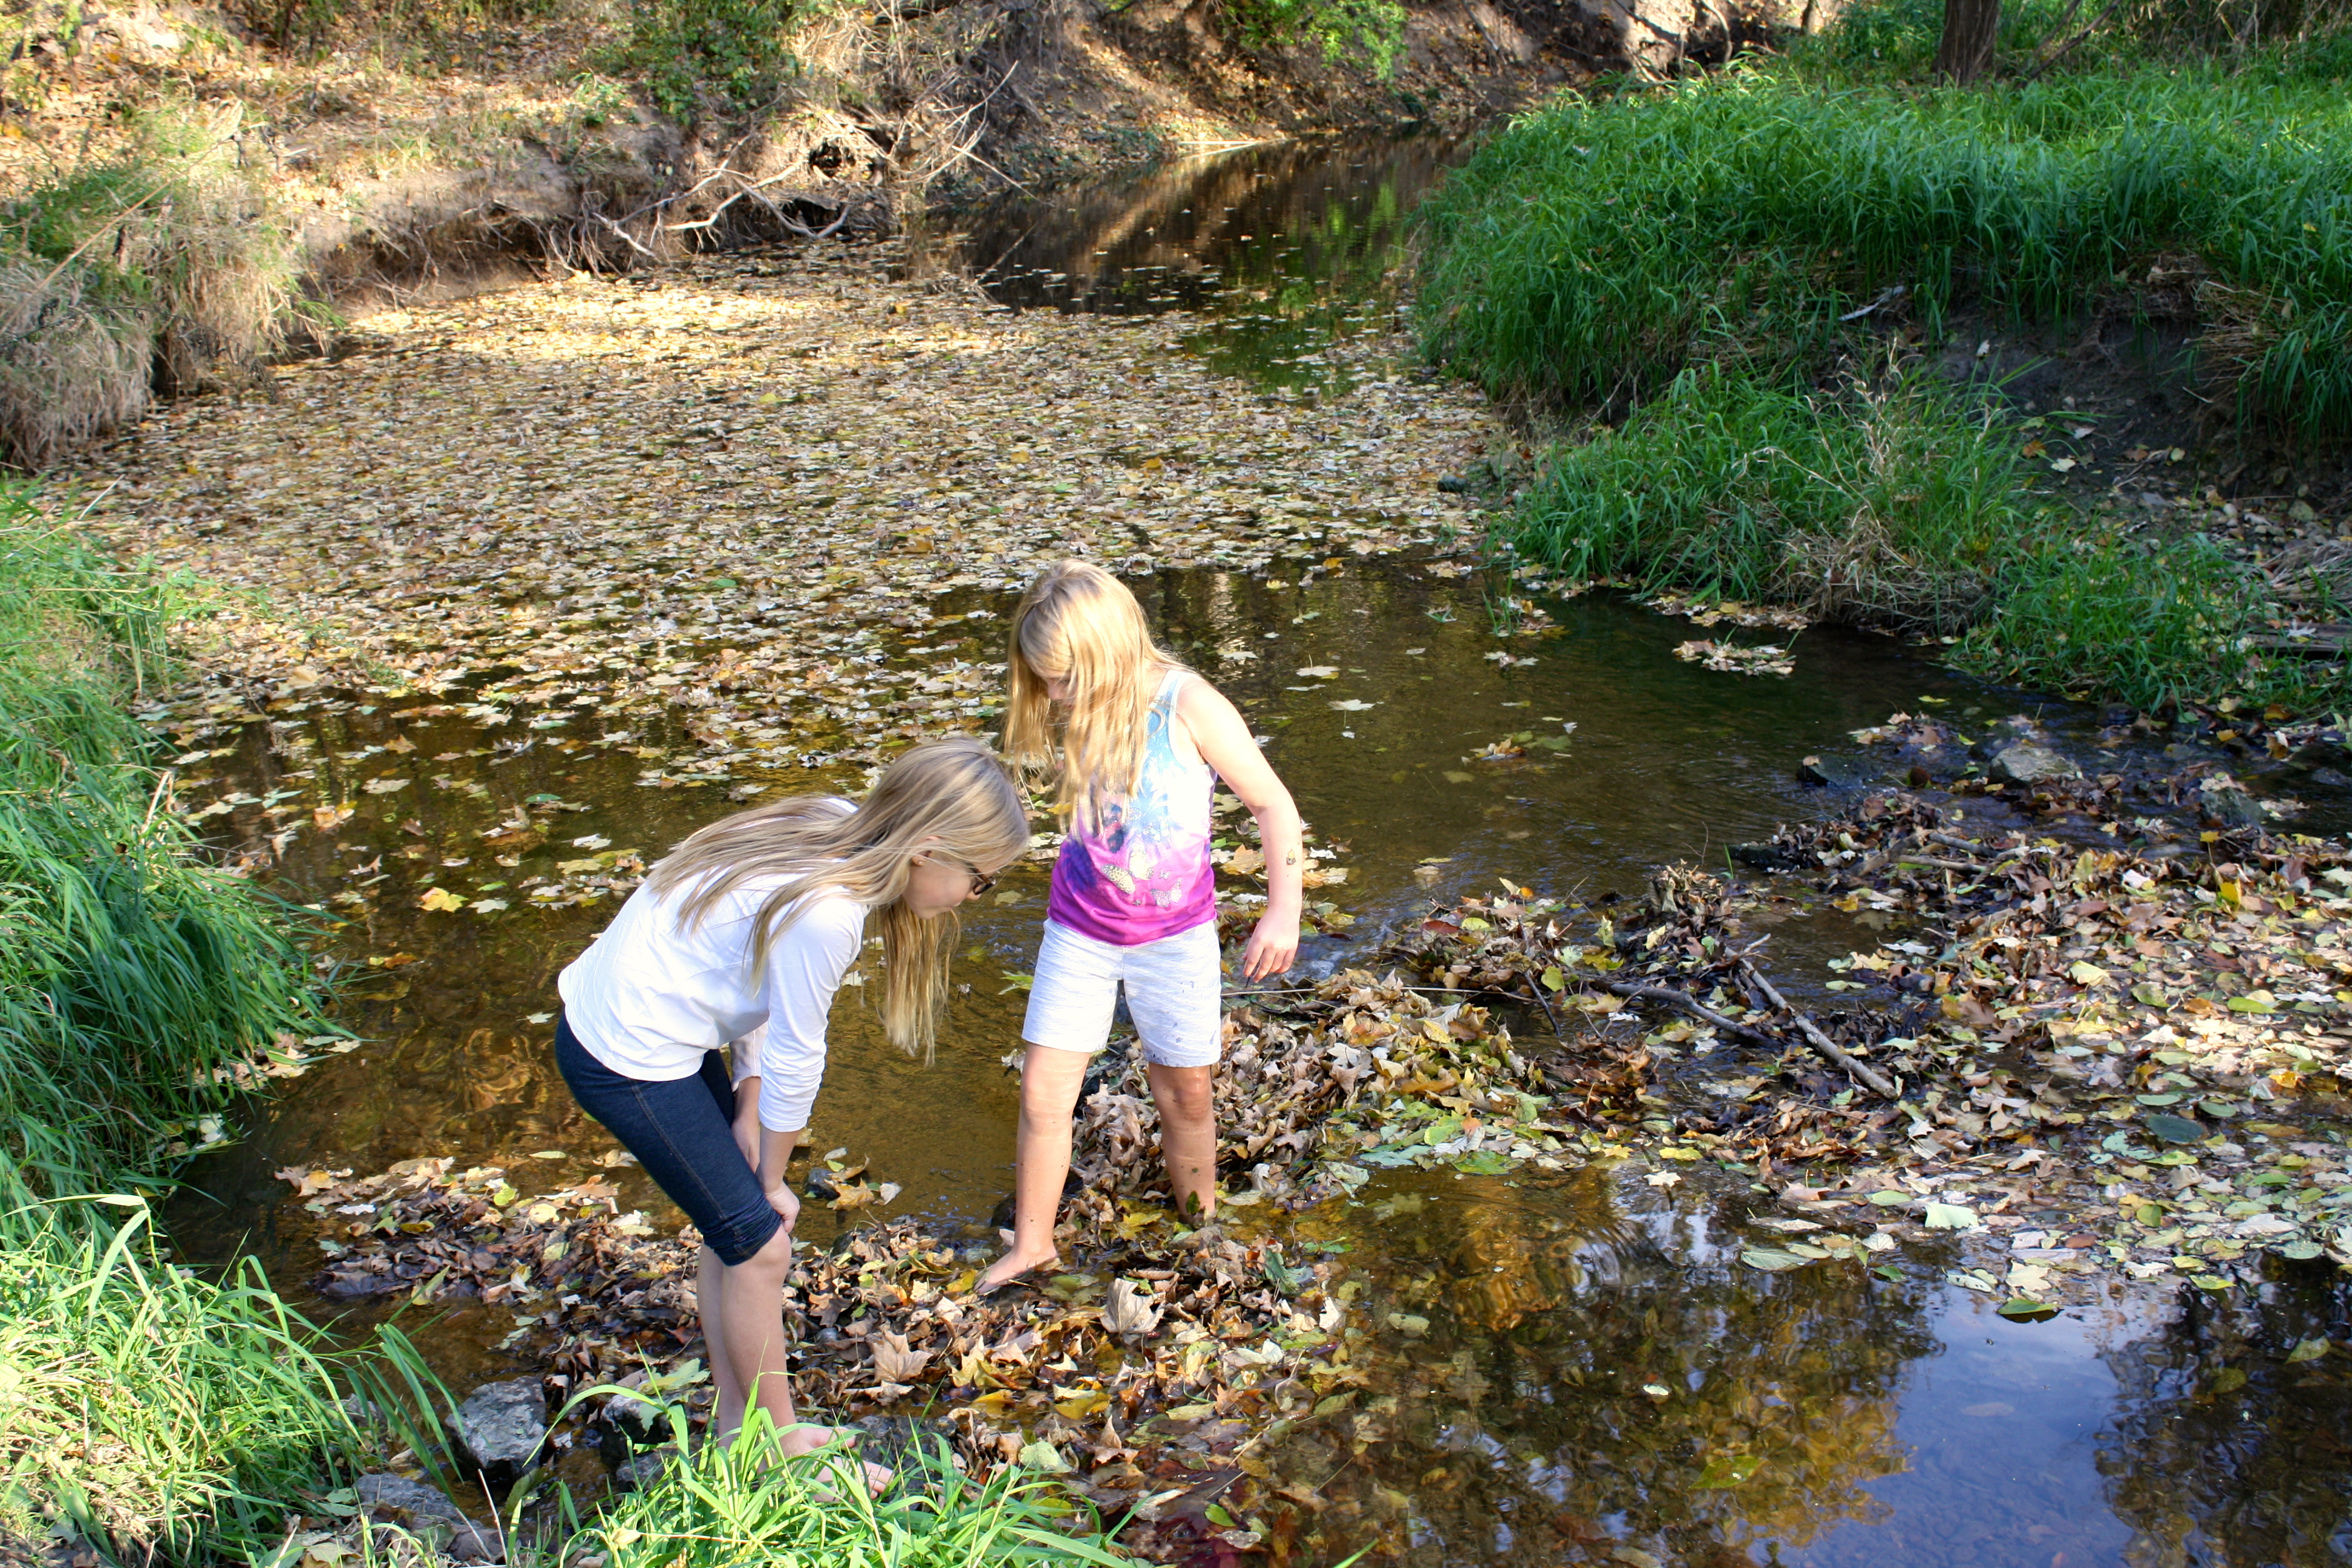
With all of the change in my family lately, I have tried to take a step back and really look at my life a bit more carefully. Time goes by in a simple blink doesn’t it? And when I really stopped to think about it, I have been writing this blog for almost four years now. And when I looked at the format of this space, and the picture that was its backdrop, I realized the little girl peering into the water has grown up. And my other daughter, who was too tiny to even be found on the dock in the picture, is now just as tall as my oldest, and she cannot be found anywhere else but beside her sister.
So, in keeping with my mantra to try new things, I hope you like the new format of Making of a Home. And I thank each of you for visiting this space, which I have come to hold so dear to my heart.
