Kairos—“a right, opportune, or supreme moment in which something special and unique happens”

If you are so inclined, share a link to your “Kairos Moment” in the comment section. I hope you all have a blessed weekend!
Kairos—“a right, opportune, or supreme moment in which something special and unique happens”
If you are so inclined, share a link to your “Kairos Moment” in the comment section. I hope you all have a blessed weekend!
Whew. It has been one of those weeks. I know you all understand what I’m talking about…One of those weeks where all of a sudden you look at the calendar and realize multiple days have gone by without your noticing. Yes. That has been my week.
I think one reason for the craziness is I seem to have had my hand in a bit of everything this week. So, with that said, here is what I’m into this week…
Kairos—“a right, opportune, or supreme moment in which something special and unique happens”
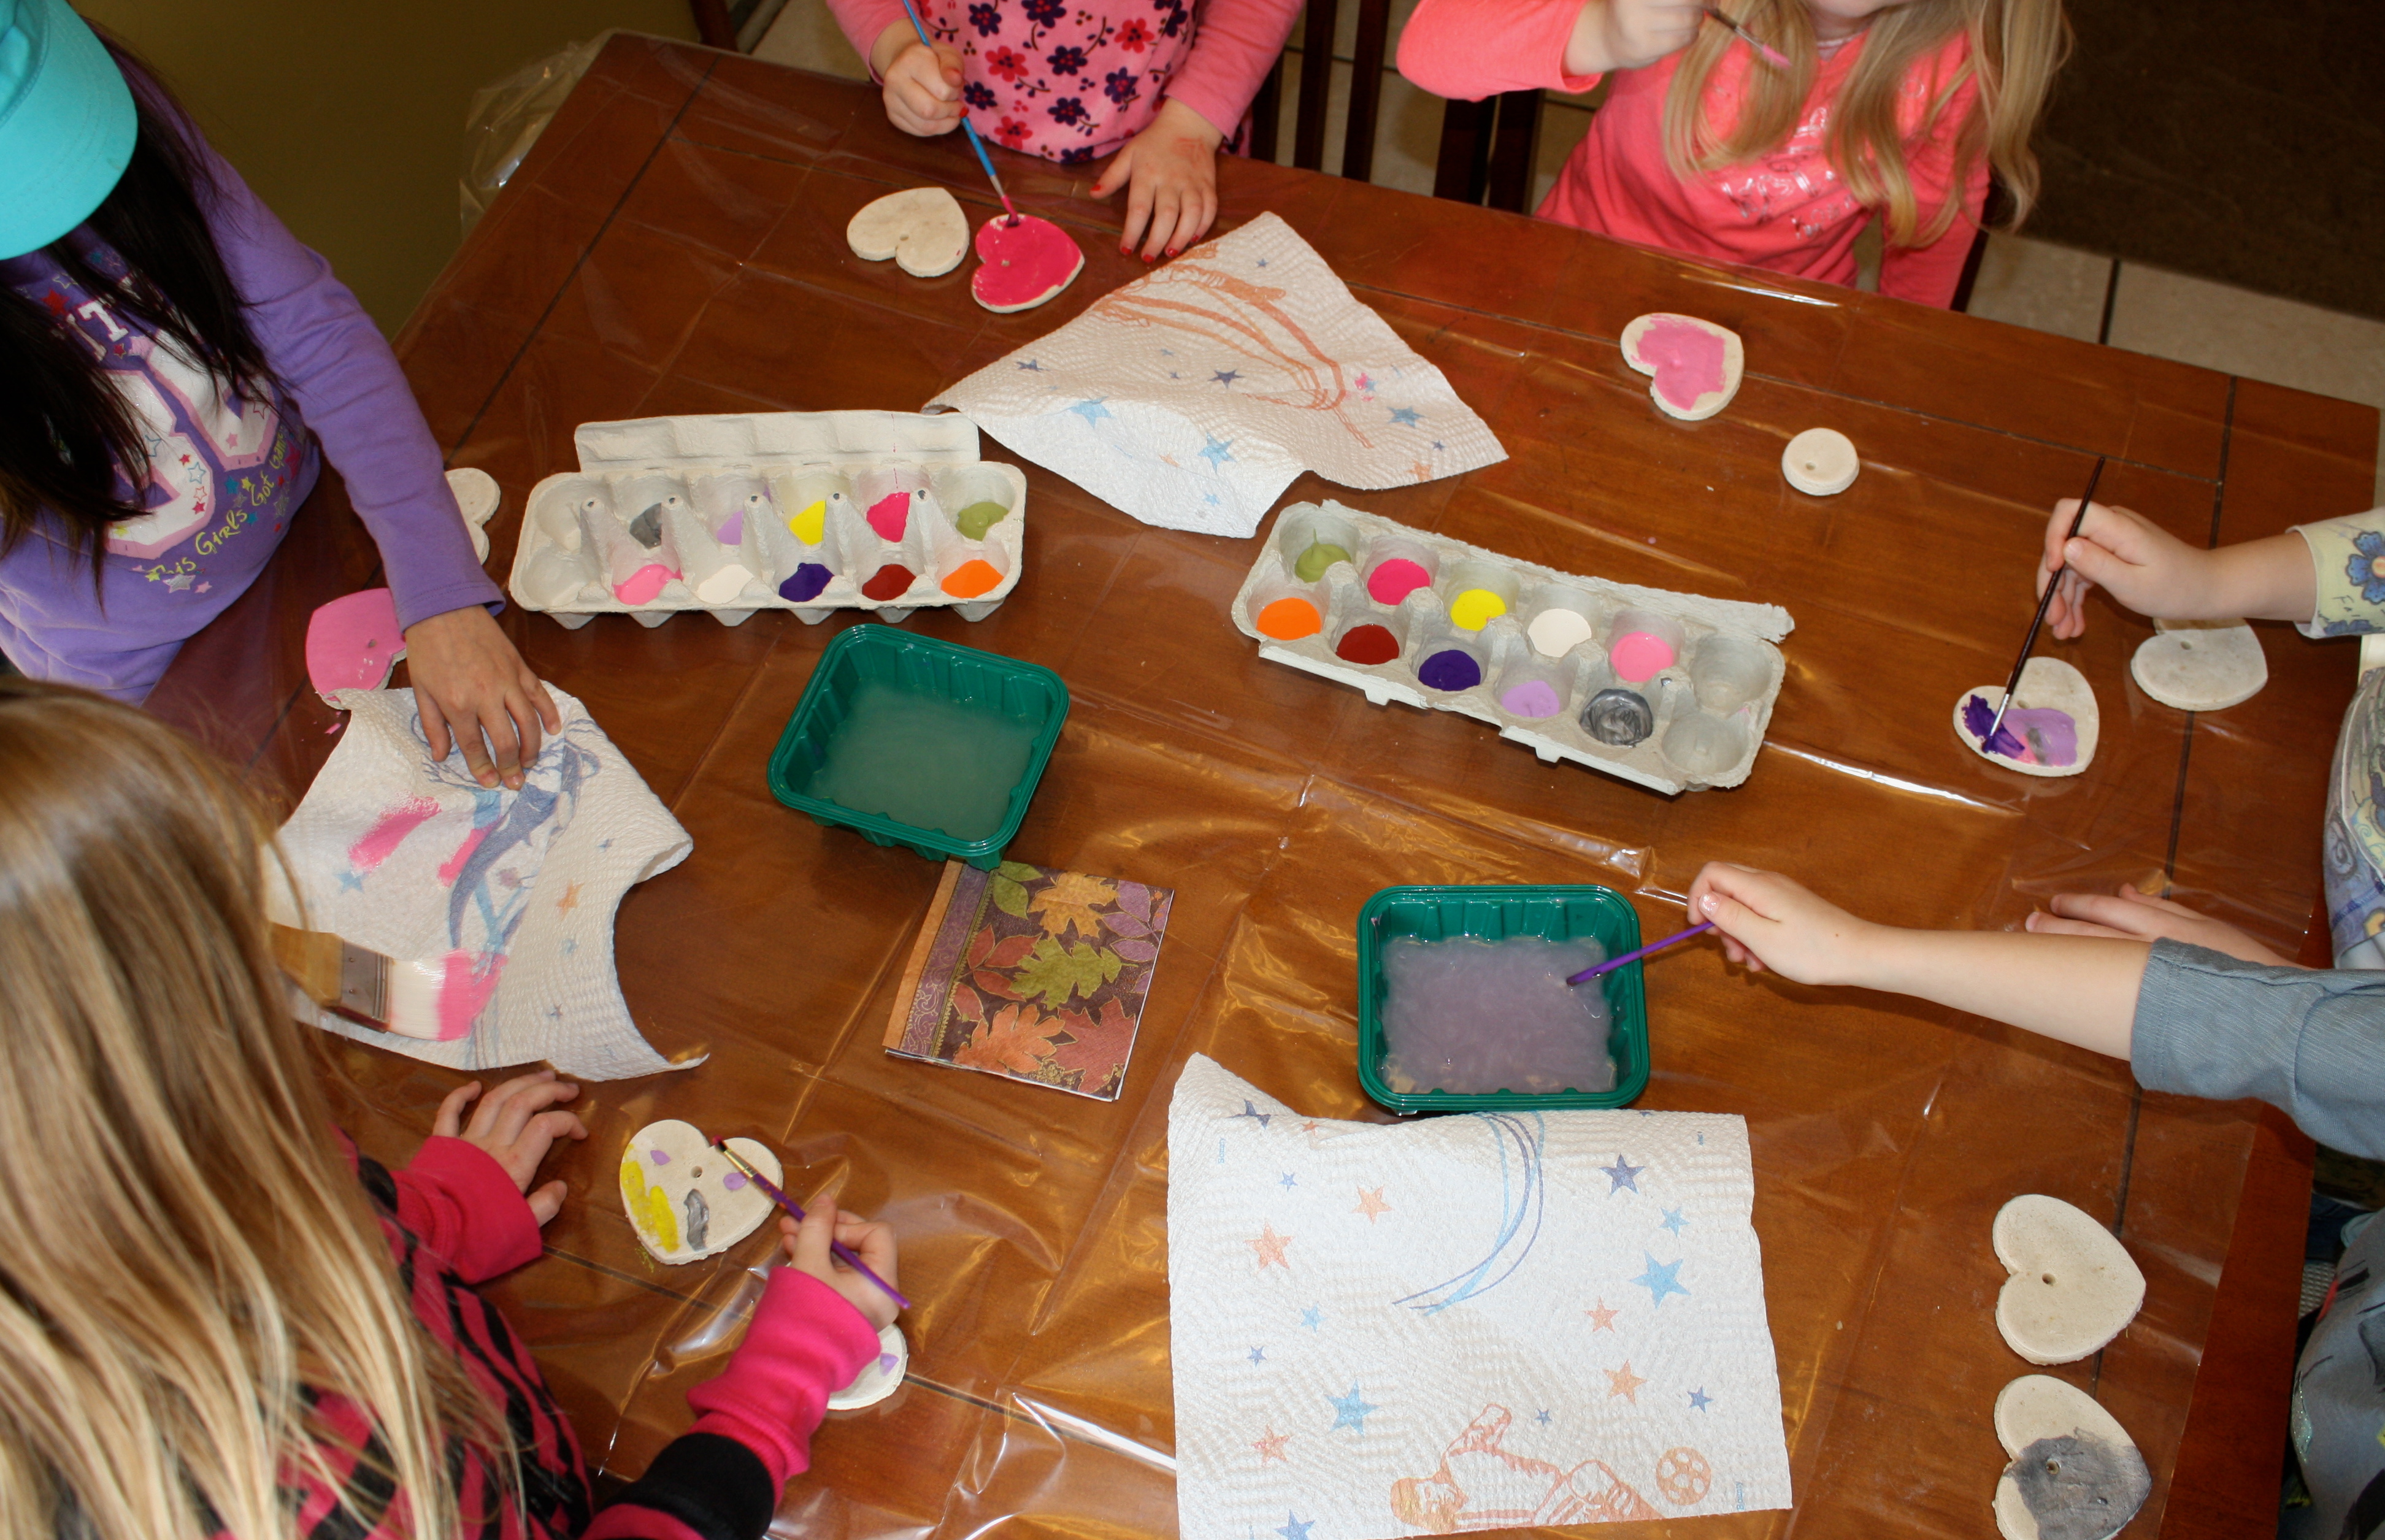
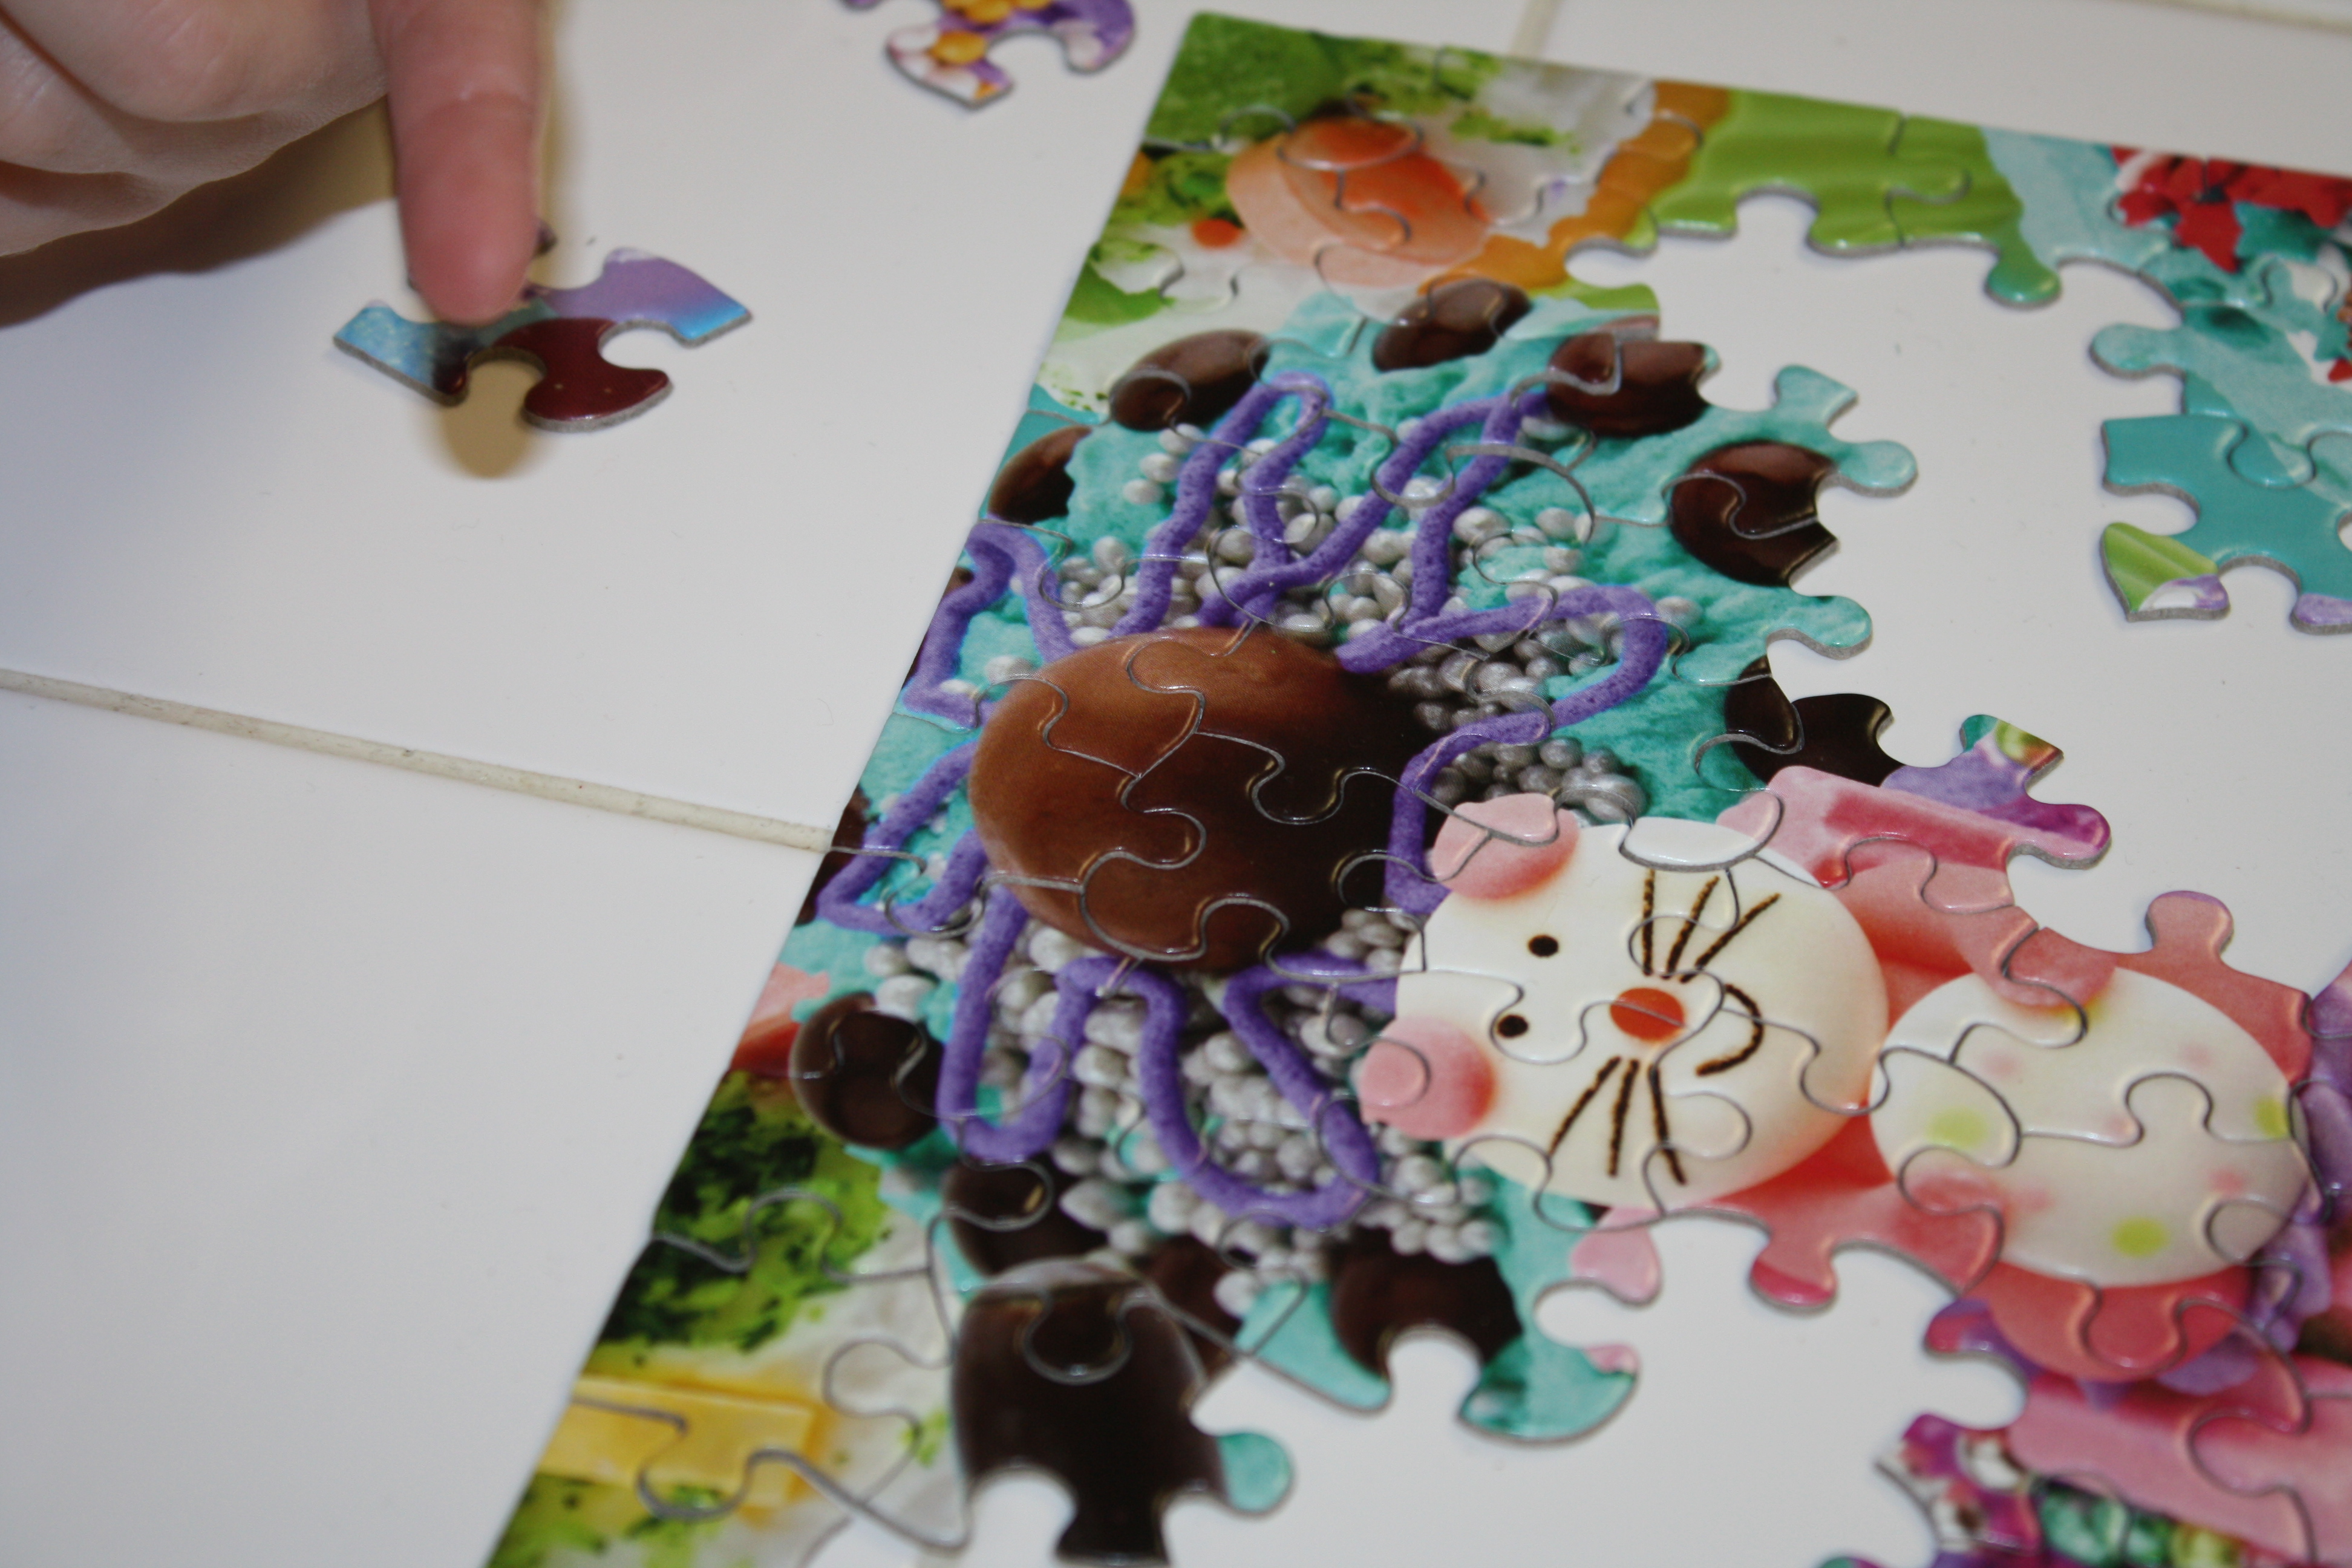
Just a bit of what we have been up to this week…

I hope all of you find a sense of calm as this week draws to a close.

My youngest daughter’s Valentine idea yesterday led me to another idea I could use for my oldest daughter’s Valentines. I used a similar play on words, changed sew to sow, and voila…2013 Valentines are done. Here’s how to do it…
Step 1: Cut a length of ribbon that will fit around your chosen seed pack. (I gave myself an extra inch.)
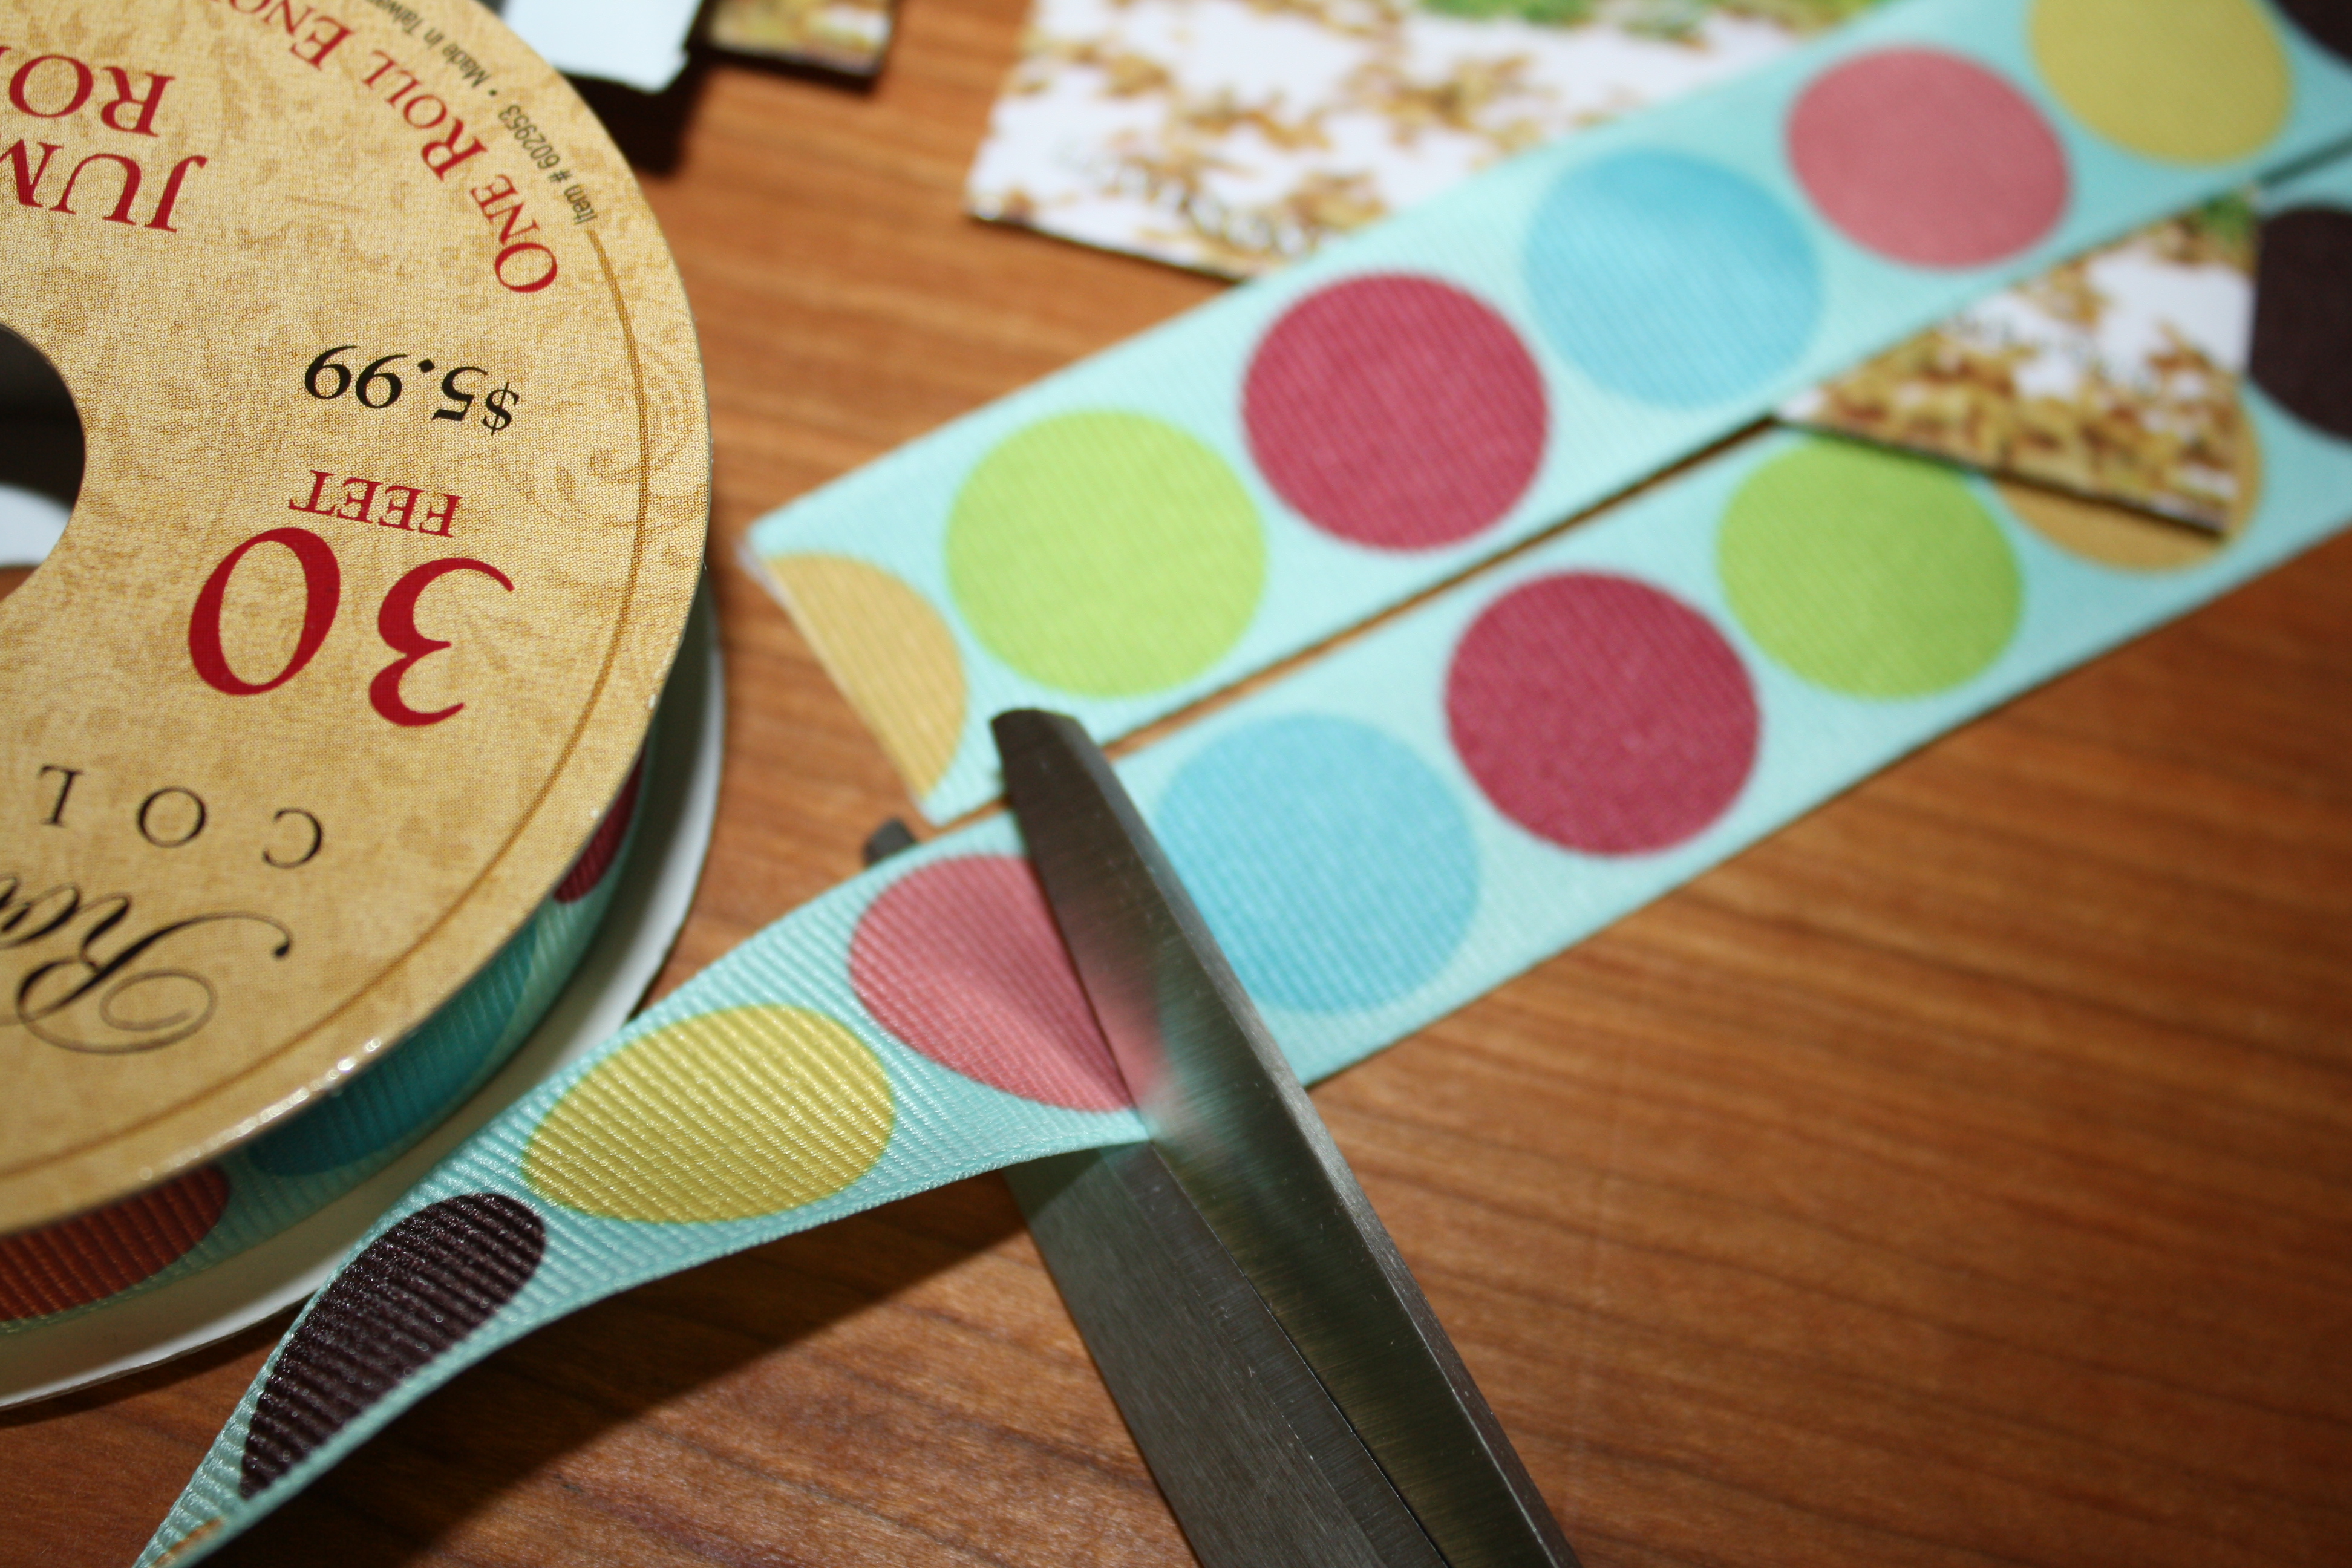
Step 2: Put a dot of hot glue on one end of the ribbon and attach it to the seed pack. Then use another dot of hot glue to attach the other end of the ribbon to itself. (This way the seed pack won’t slip out of the ribbon.)
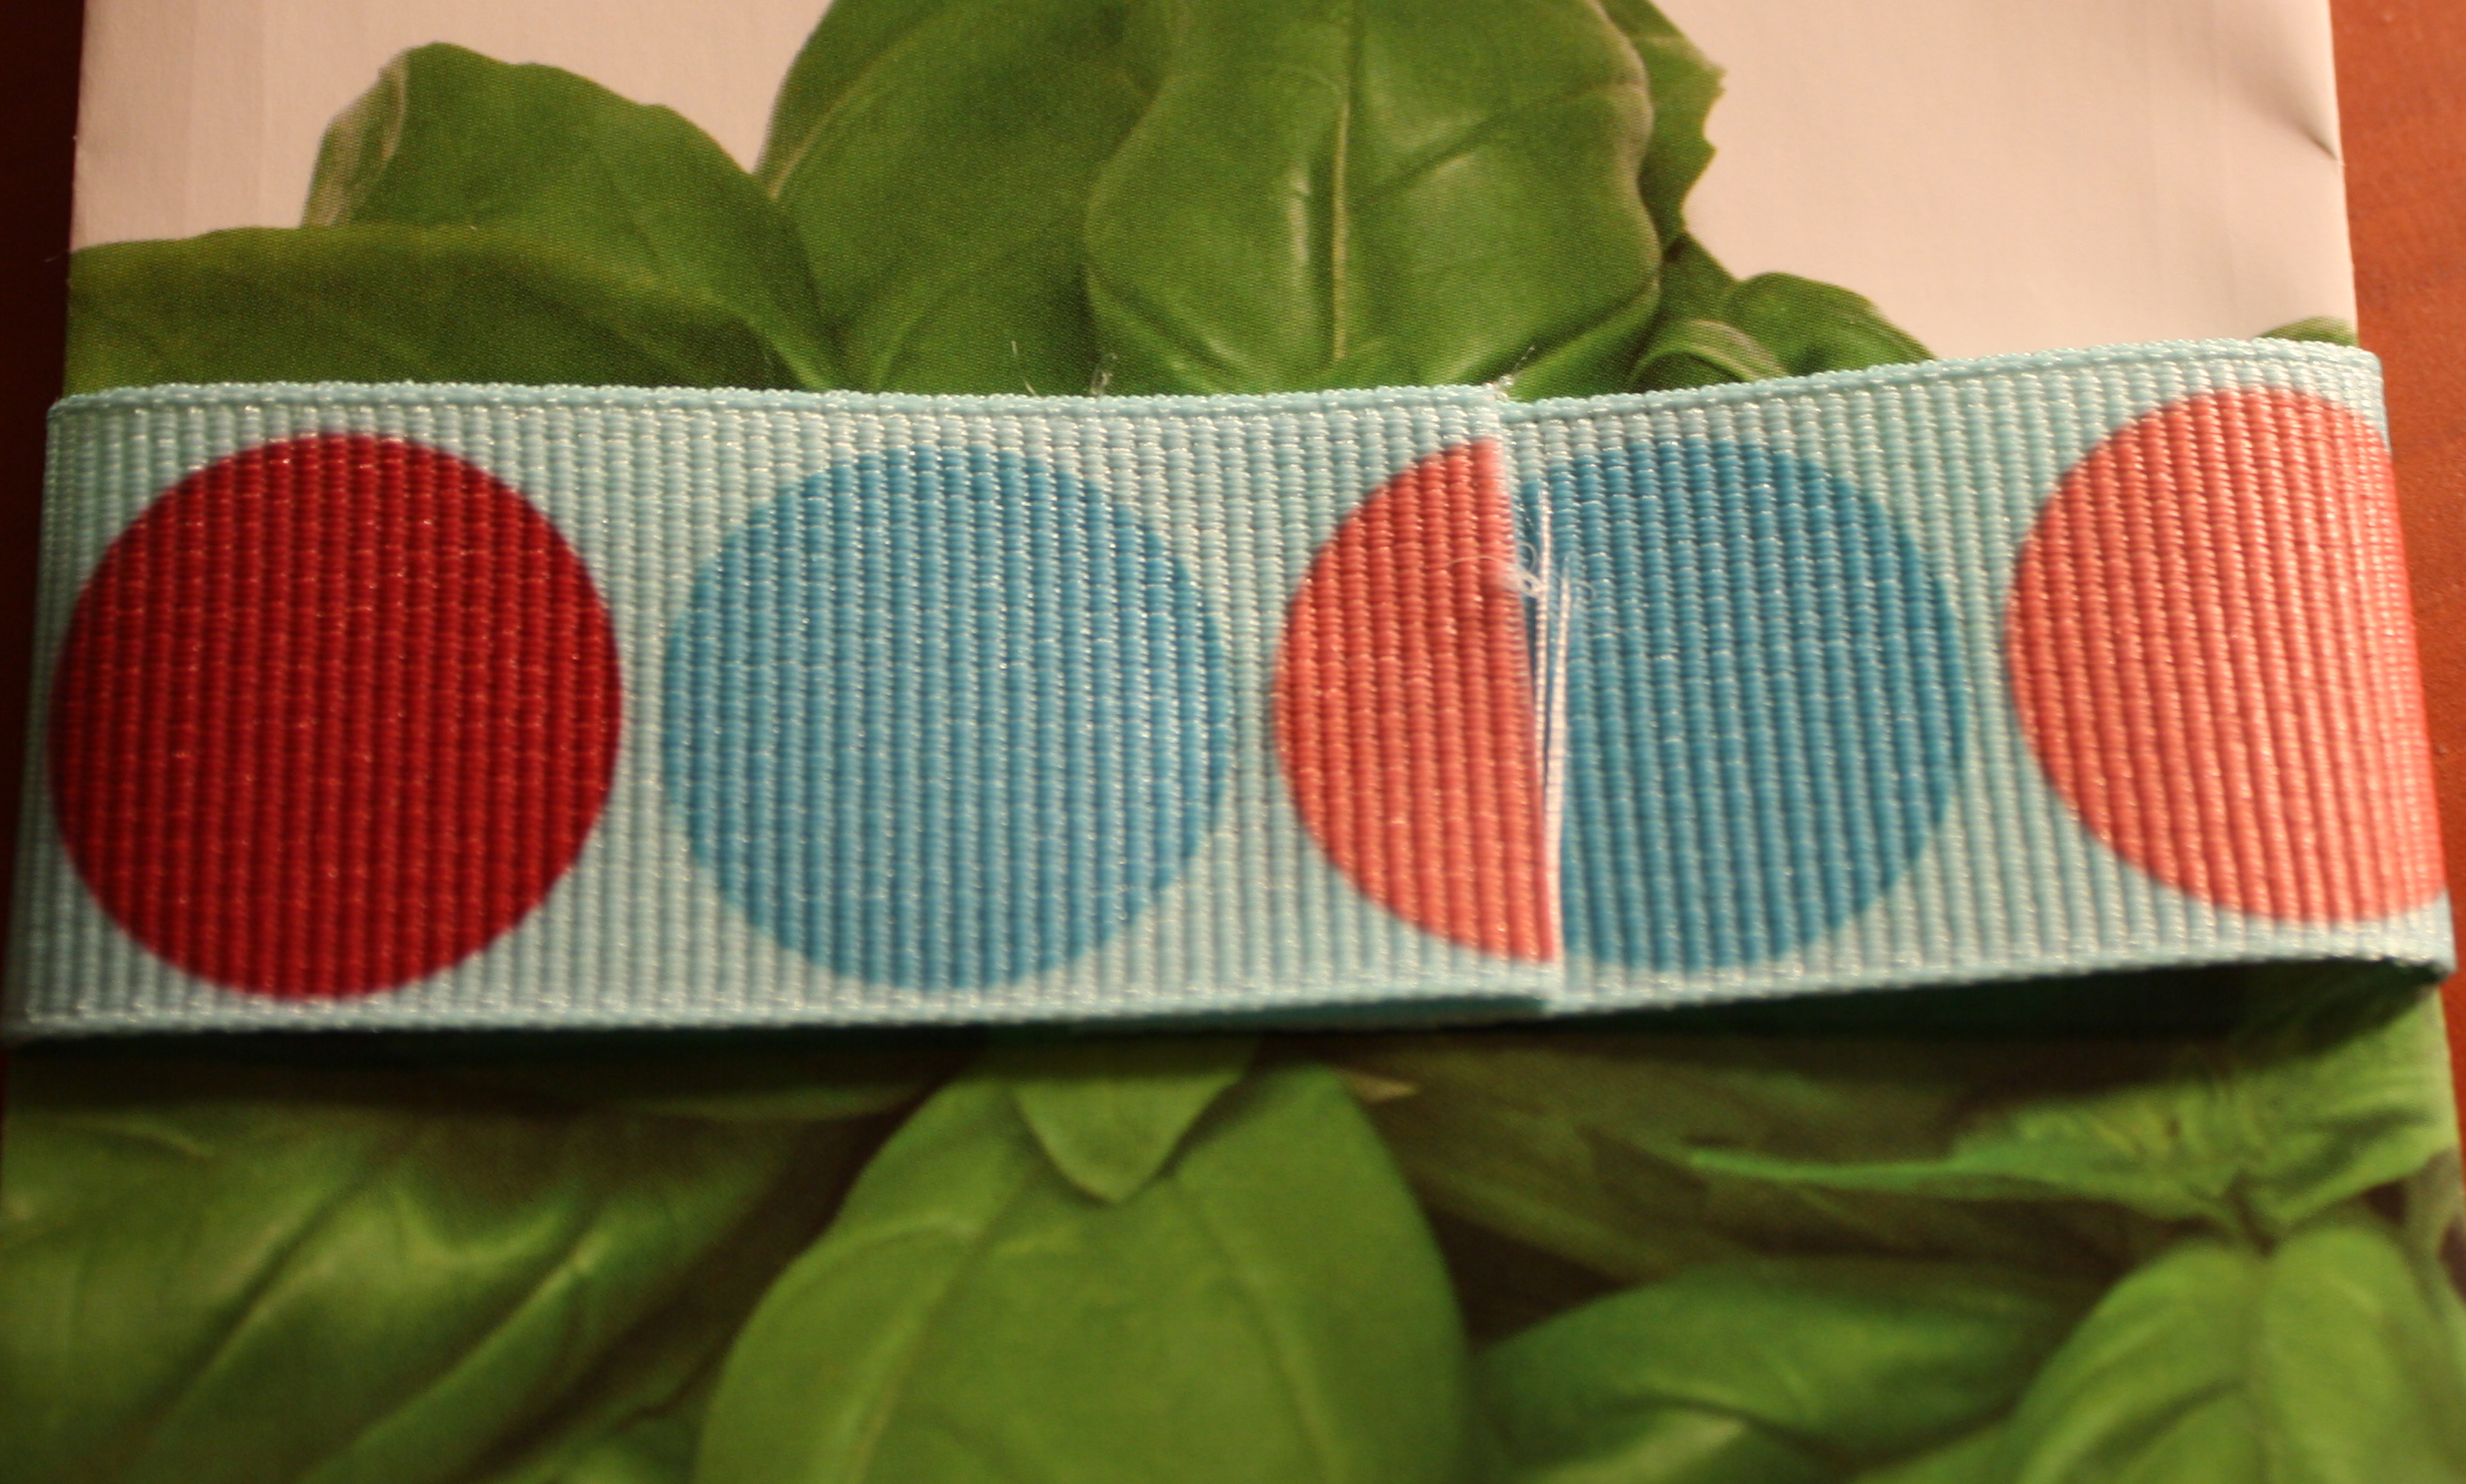
Step 3: Print your text I’m “SOW” happy you are my Valentine! onto these labels.
Step 5: Place one label on the seed pack, over the seam of the ribbon.
And that’s it!

Happy crafting!
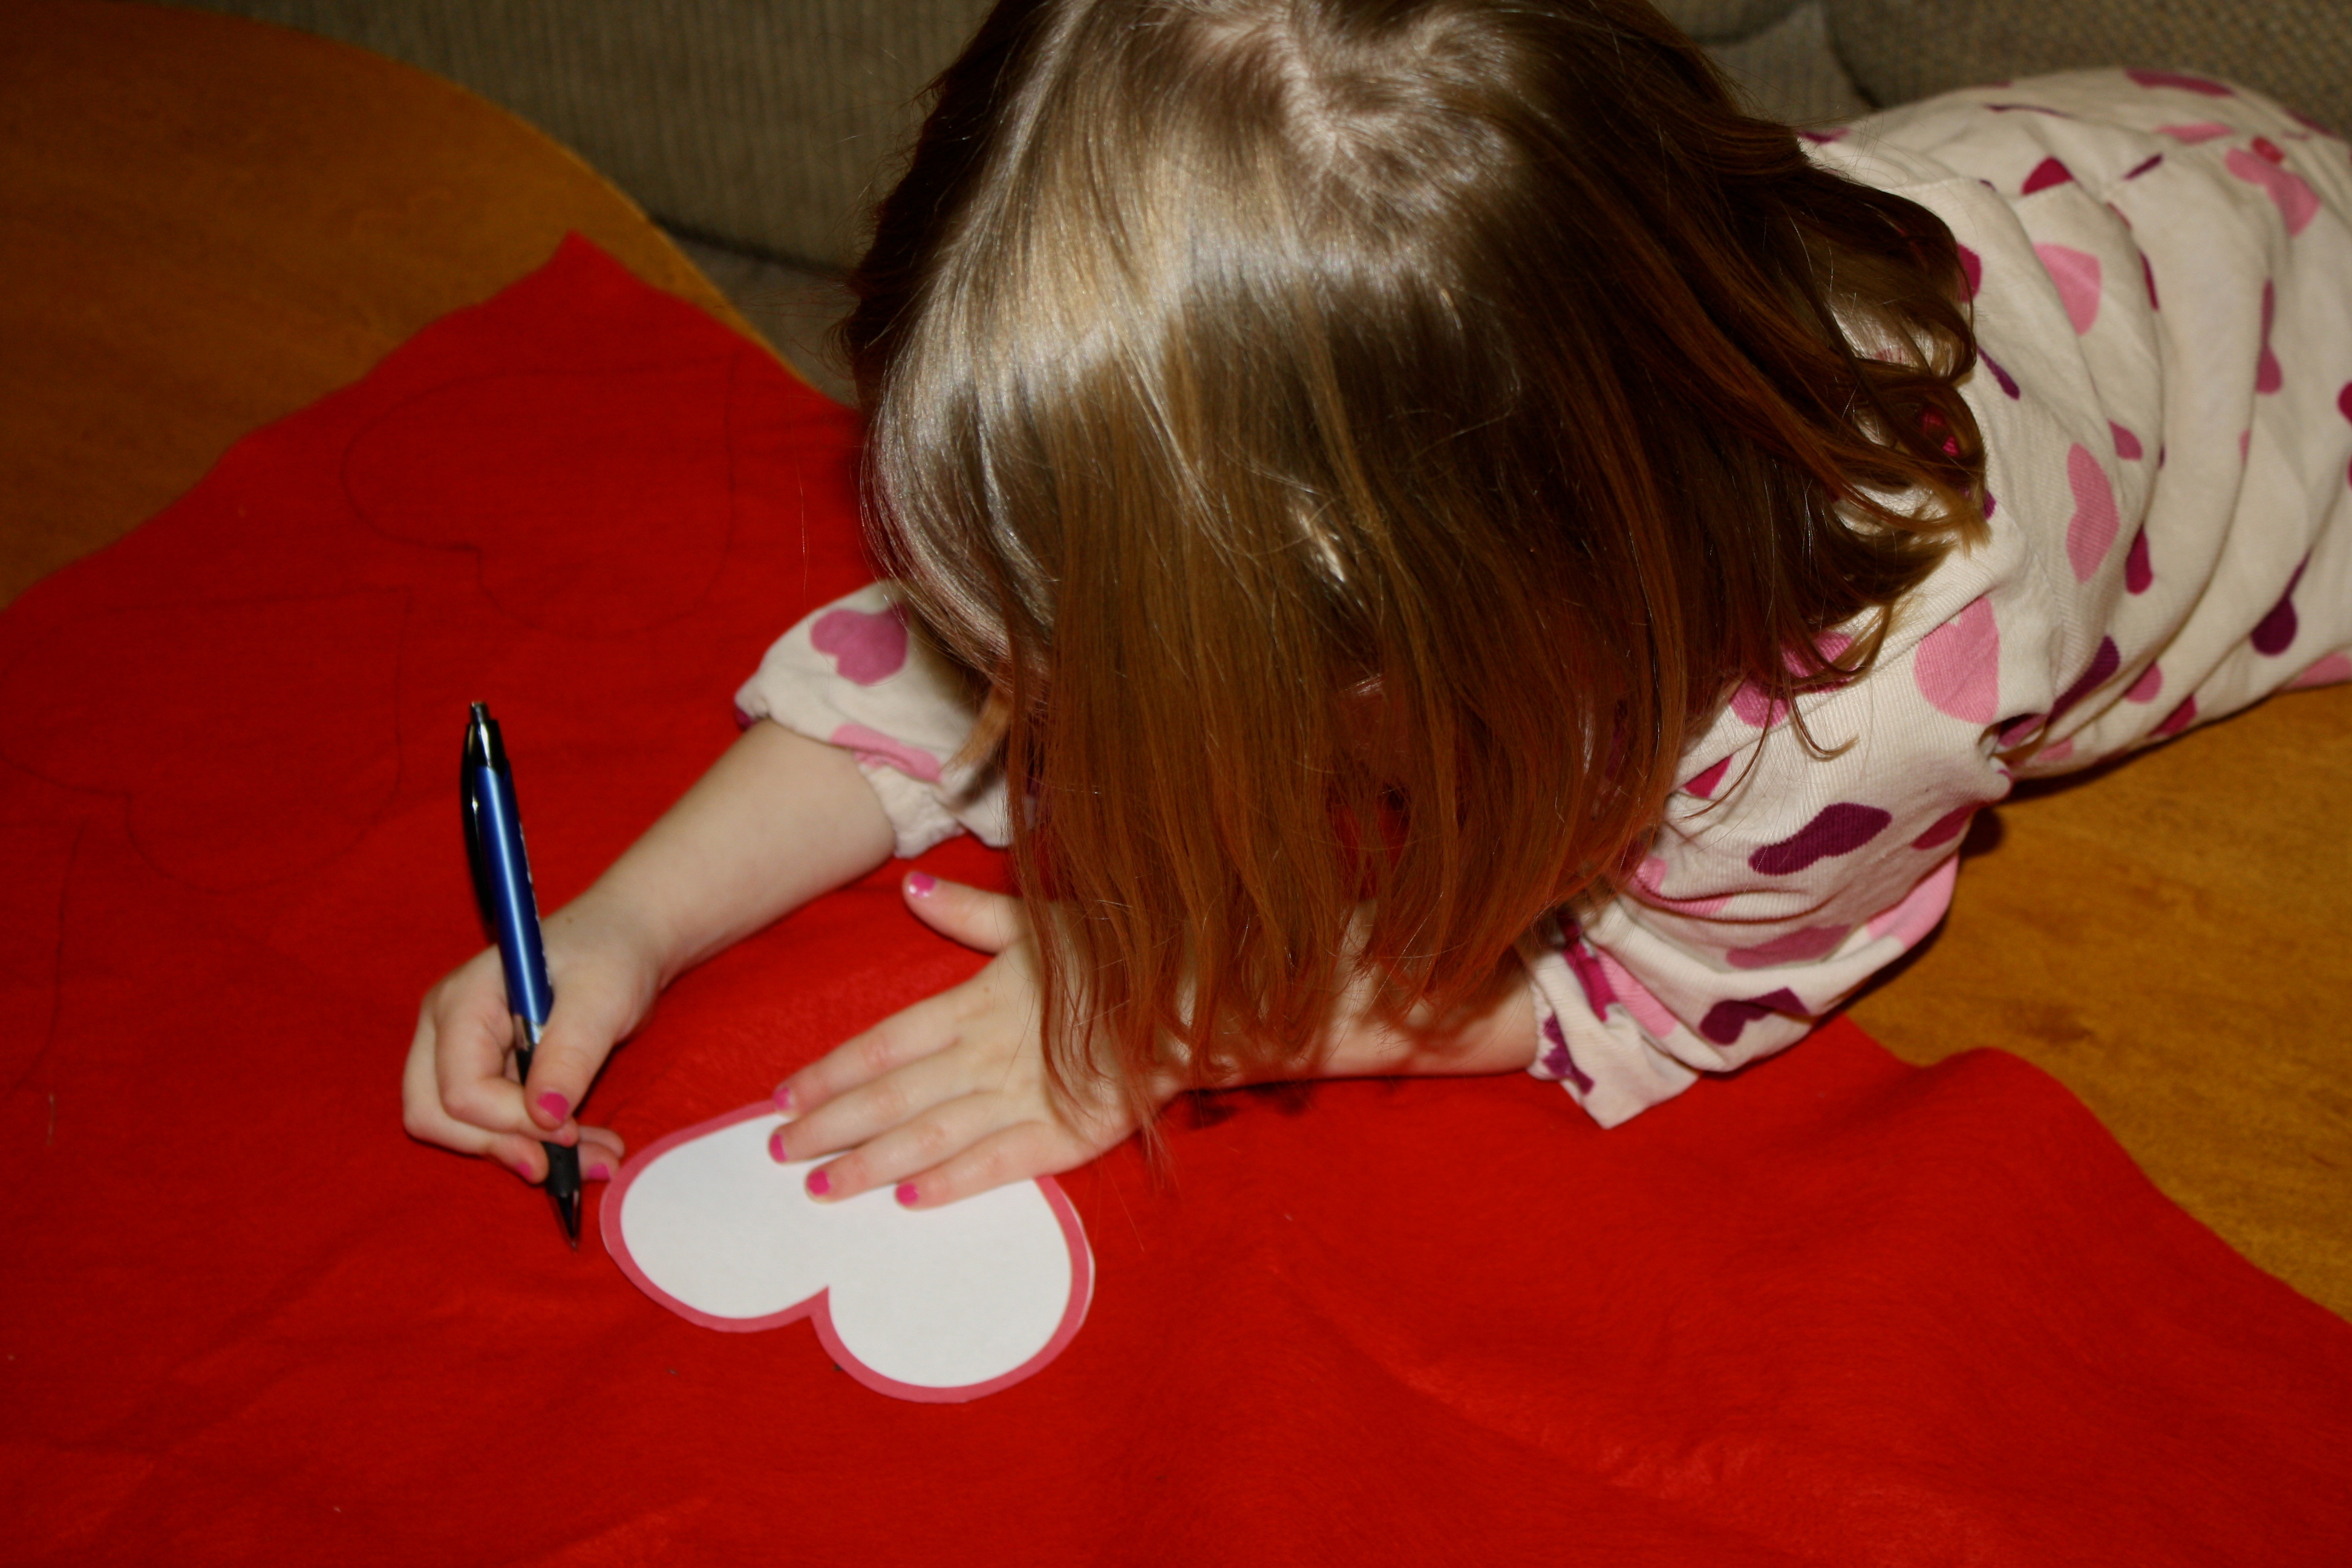
In yesterday’s post, I mentioned that I needed to peruse the internet for some fun, creative Valentine ideas. Well, before I ventured into cyberspace to find ideas, I first went to my three year-old who is never short on a few ideas of her own. Let me tell you, I’m so glad that I did. That little lady had such a cute idea, and I bring it to you here today.
She told me, “Mommy, I want to use my new sewing machine and sew hearts for my friends for Valentine’s Day.” And that’s just what we did…
Step 1: Trace heart shapes onto a piece of felt.
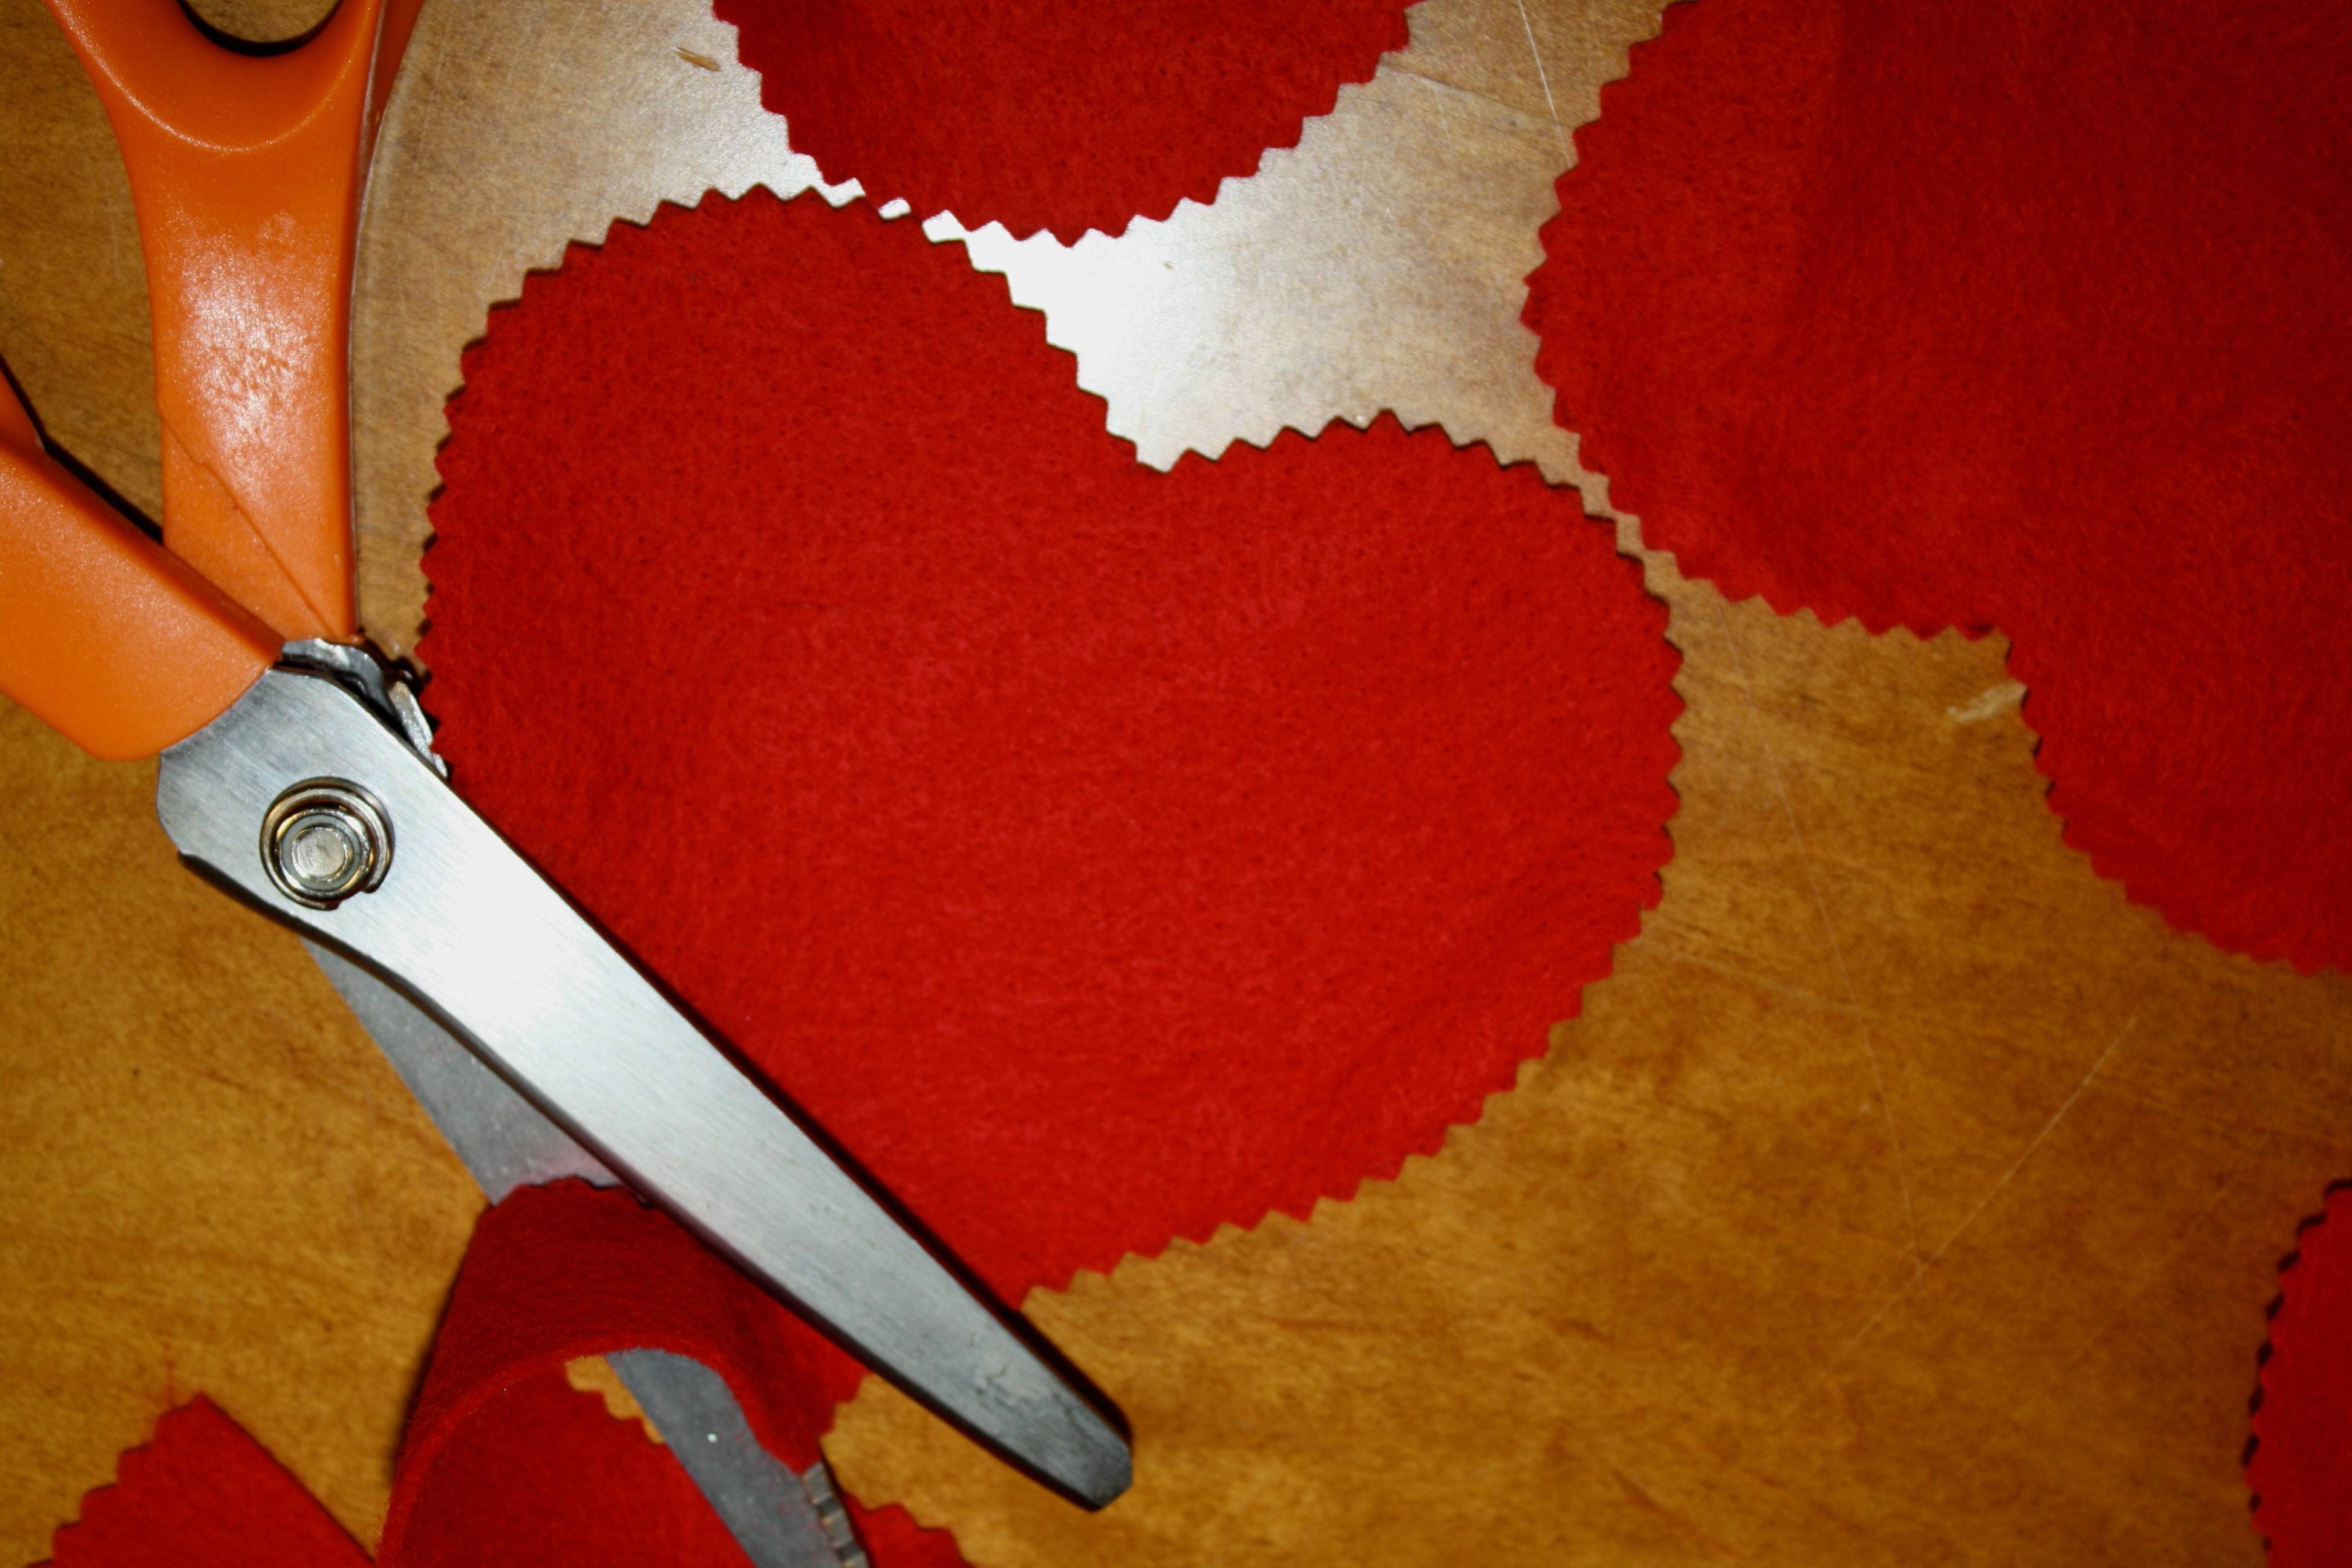
Step 2: Cut out the heart shapes using pinking shears.
Step 3: Sew a zig zag stitch along the outside edge of each heart.

Step 4: Print your text I’m “SEW” glad you are my Valentine! onto these labels.
Step 5: Place one label on each heart, reinforcing it with a brad of your choice.
And that’s it!
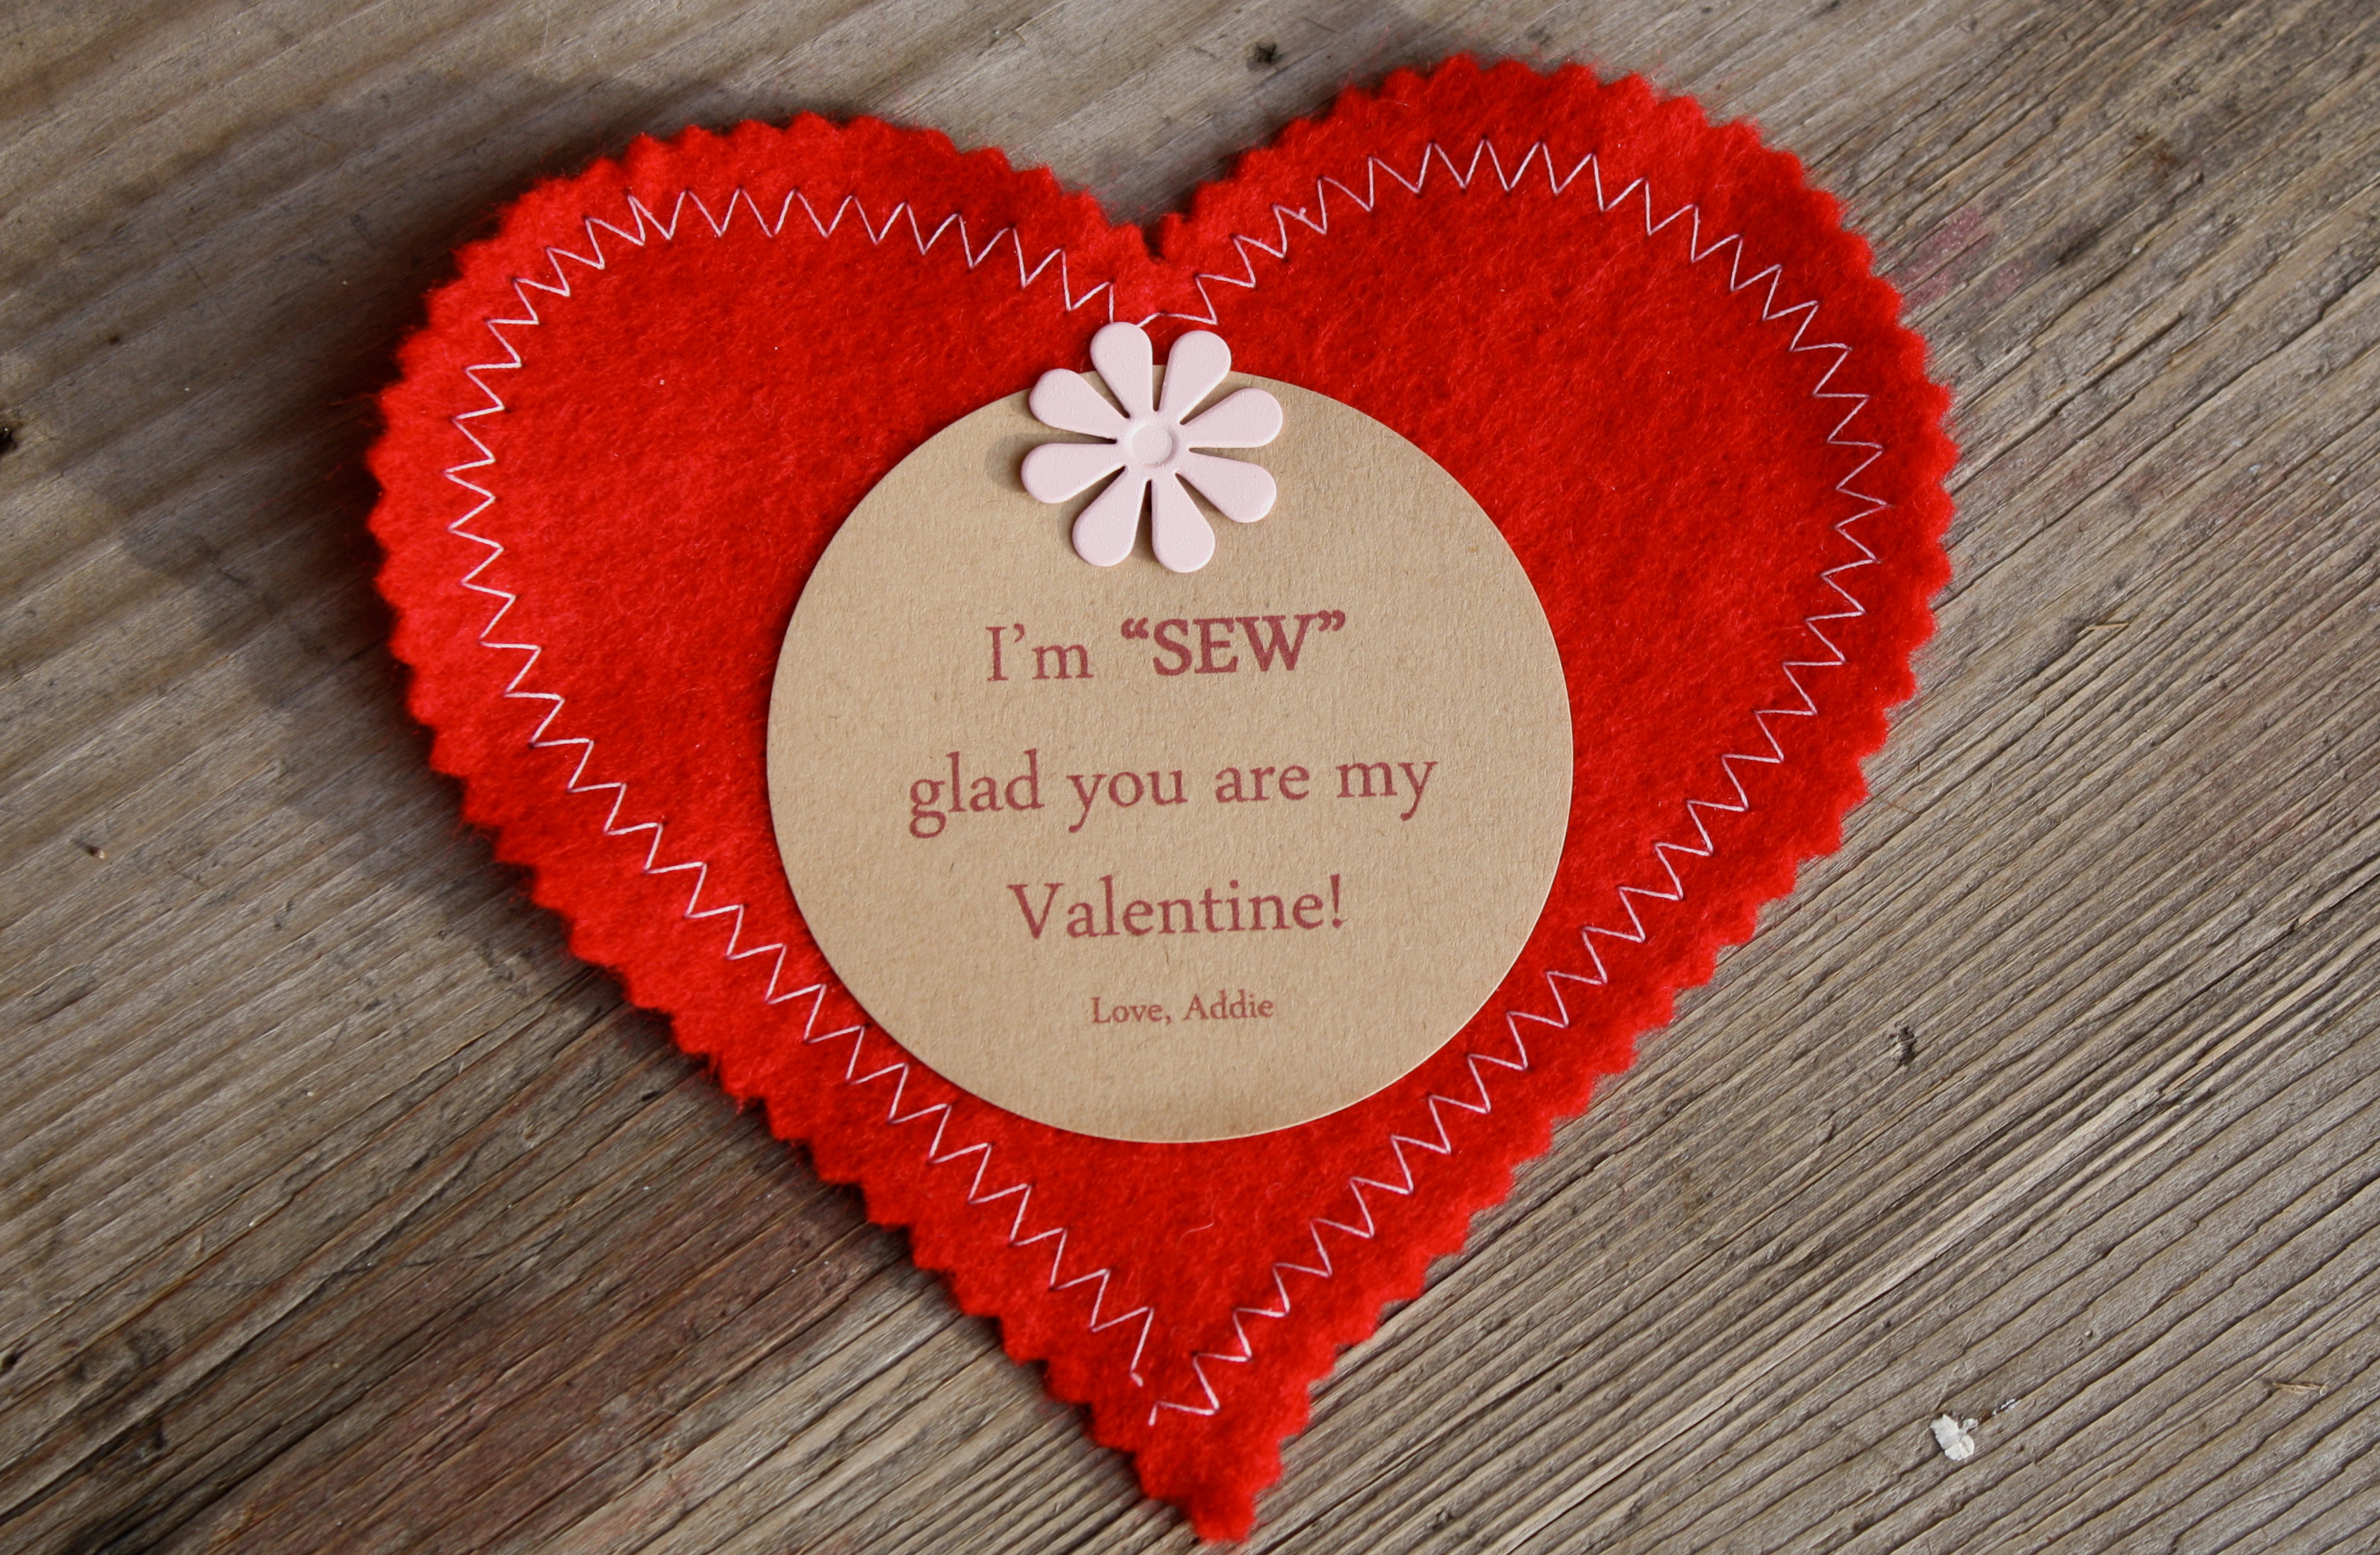
Happy crafting!
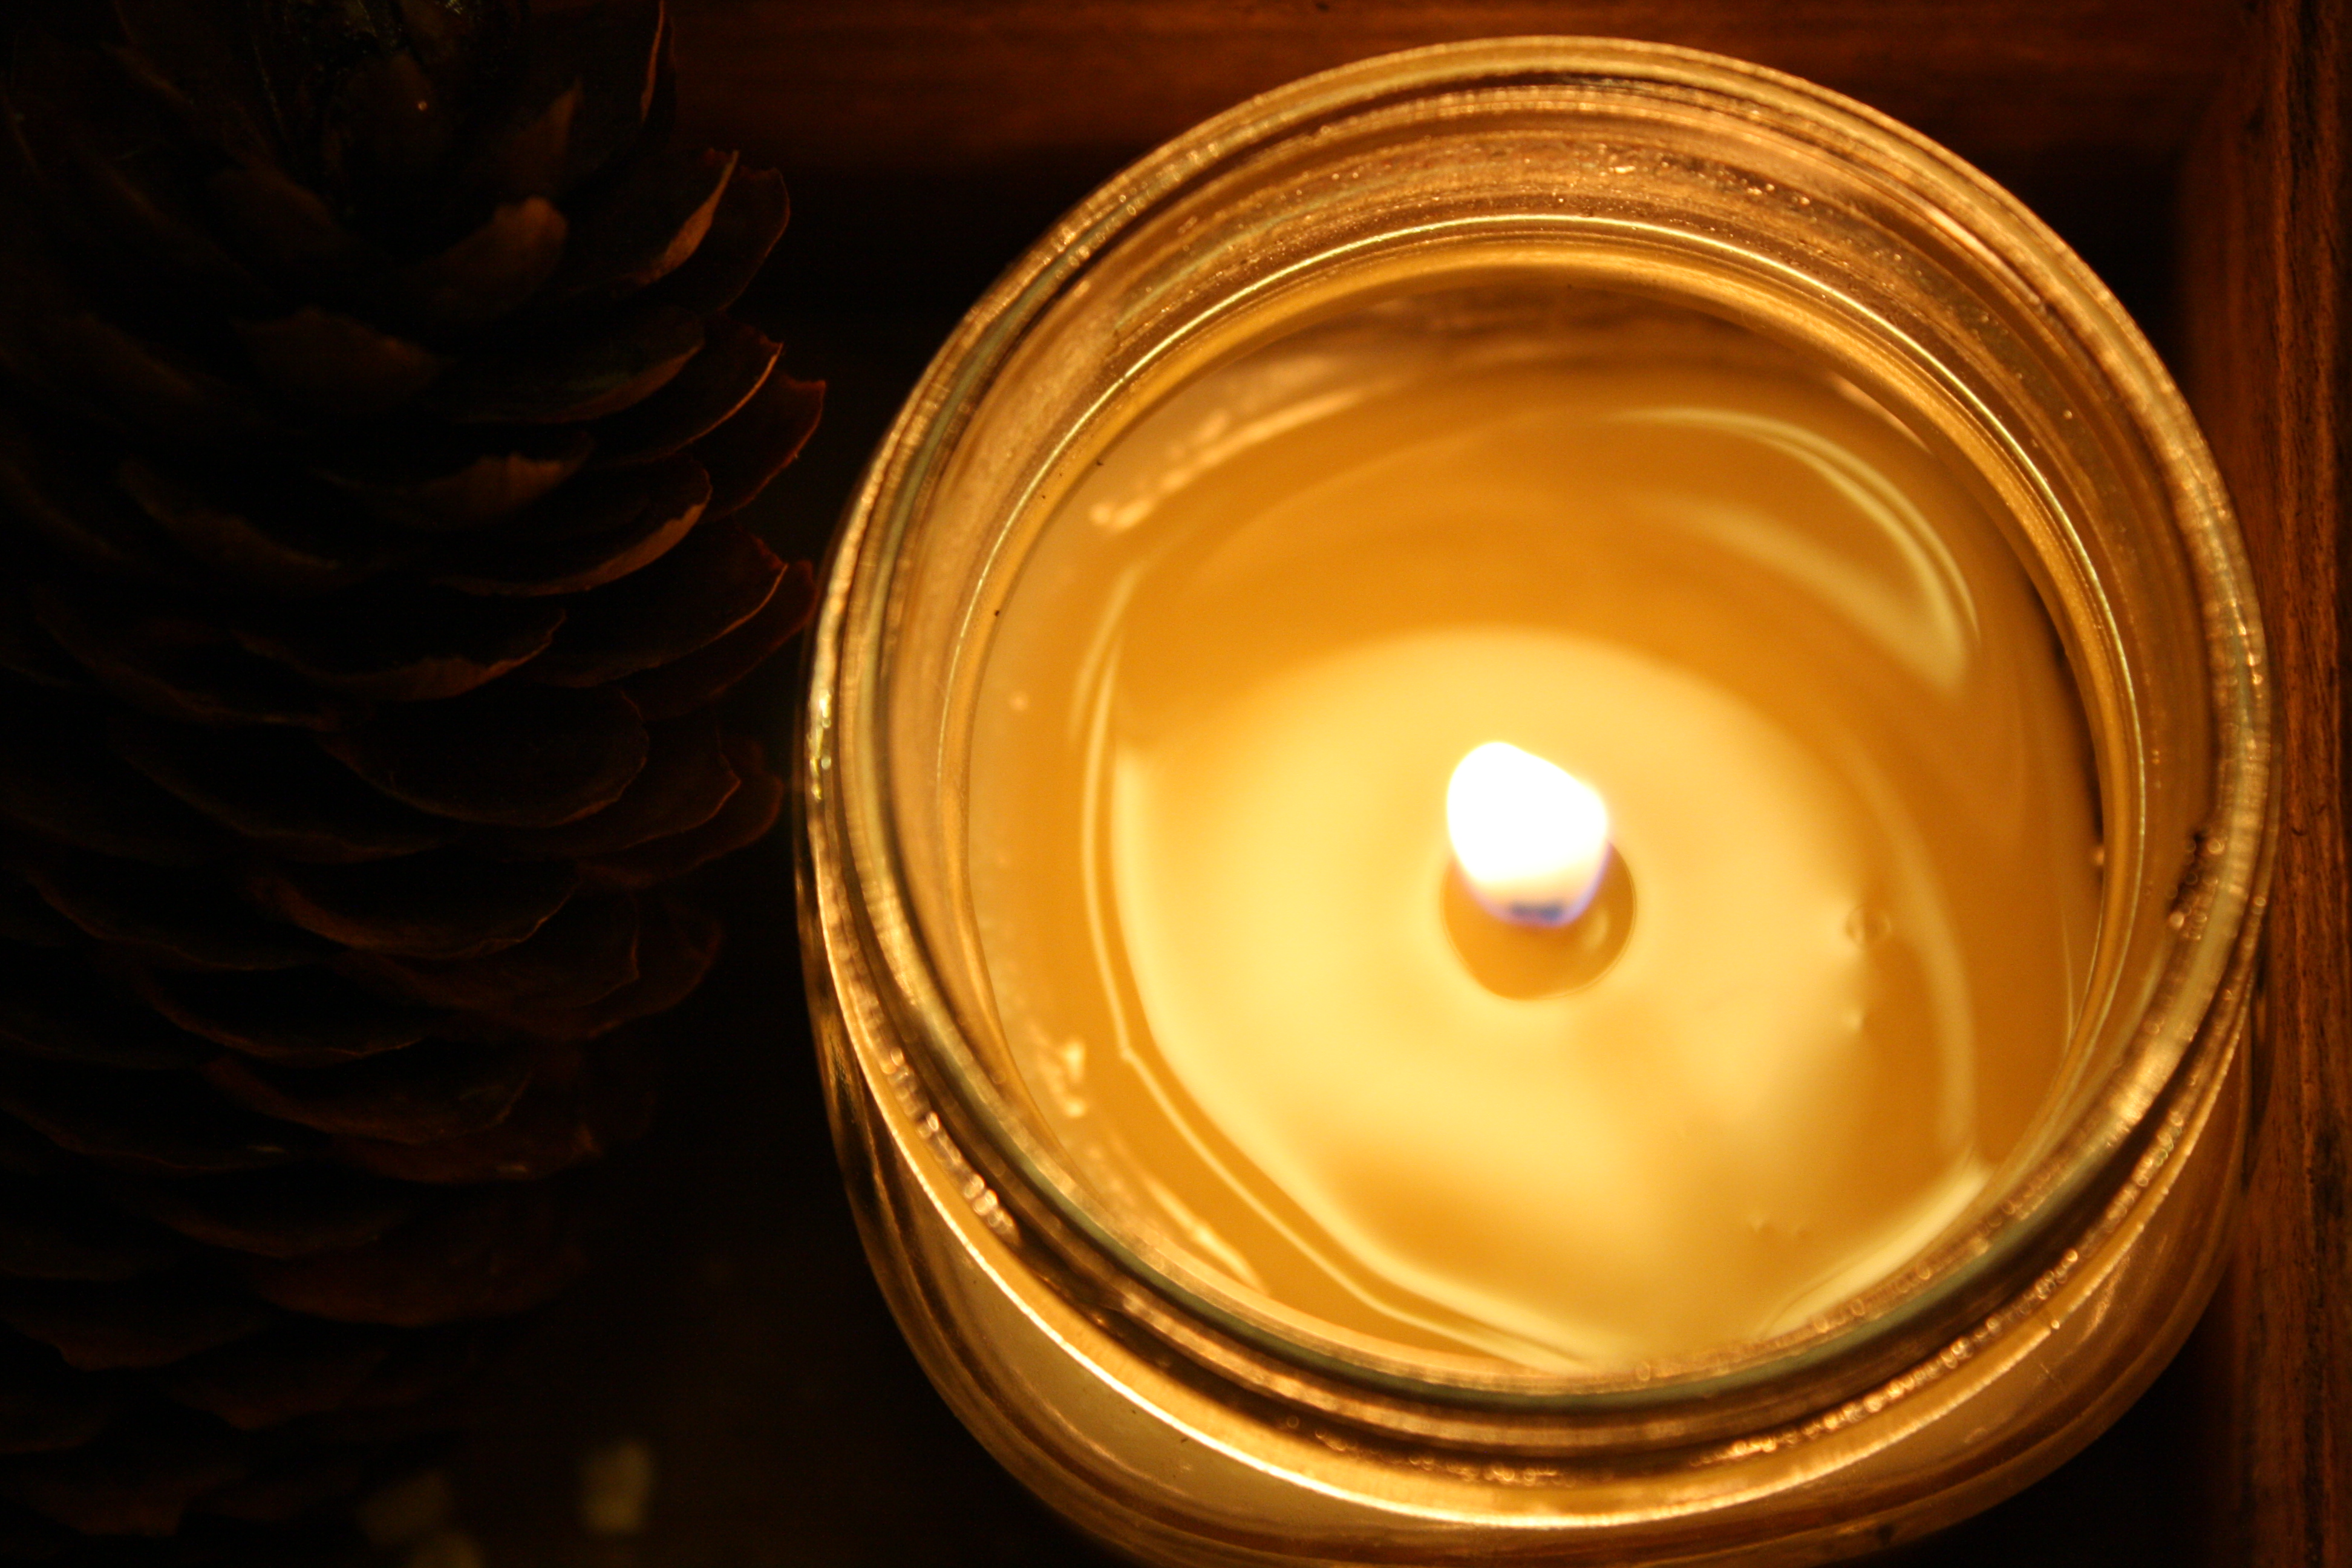
At this moment I am…
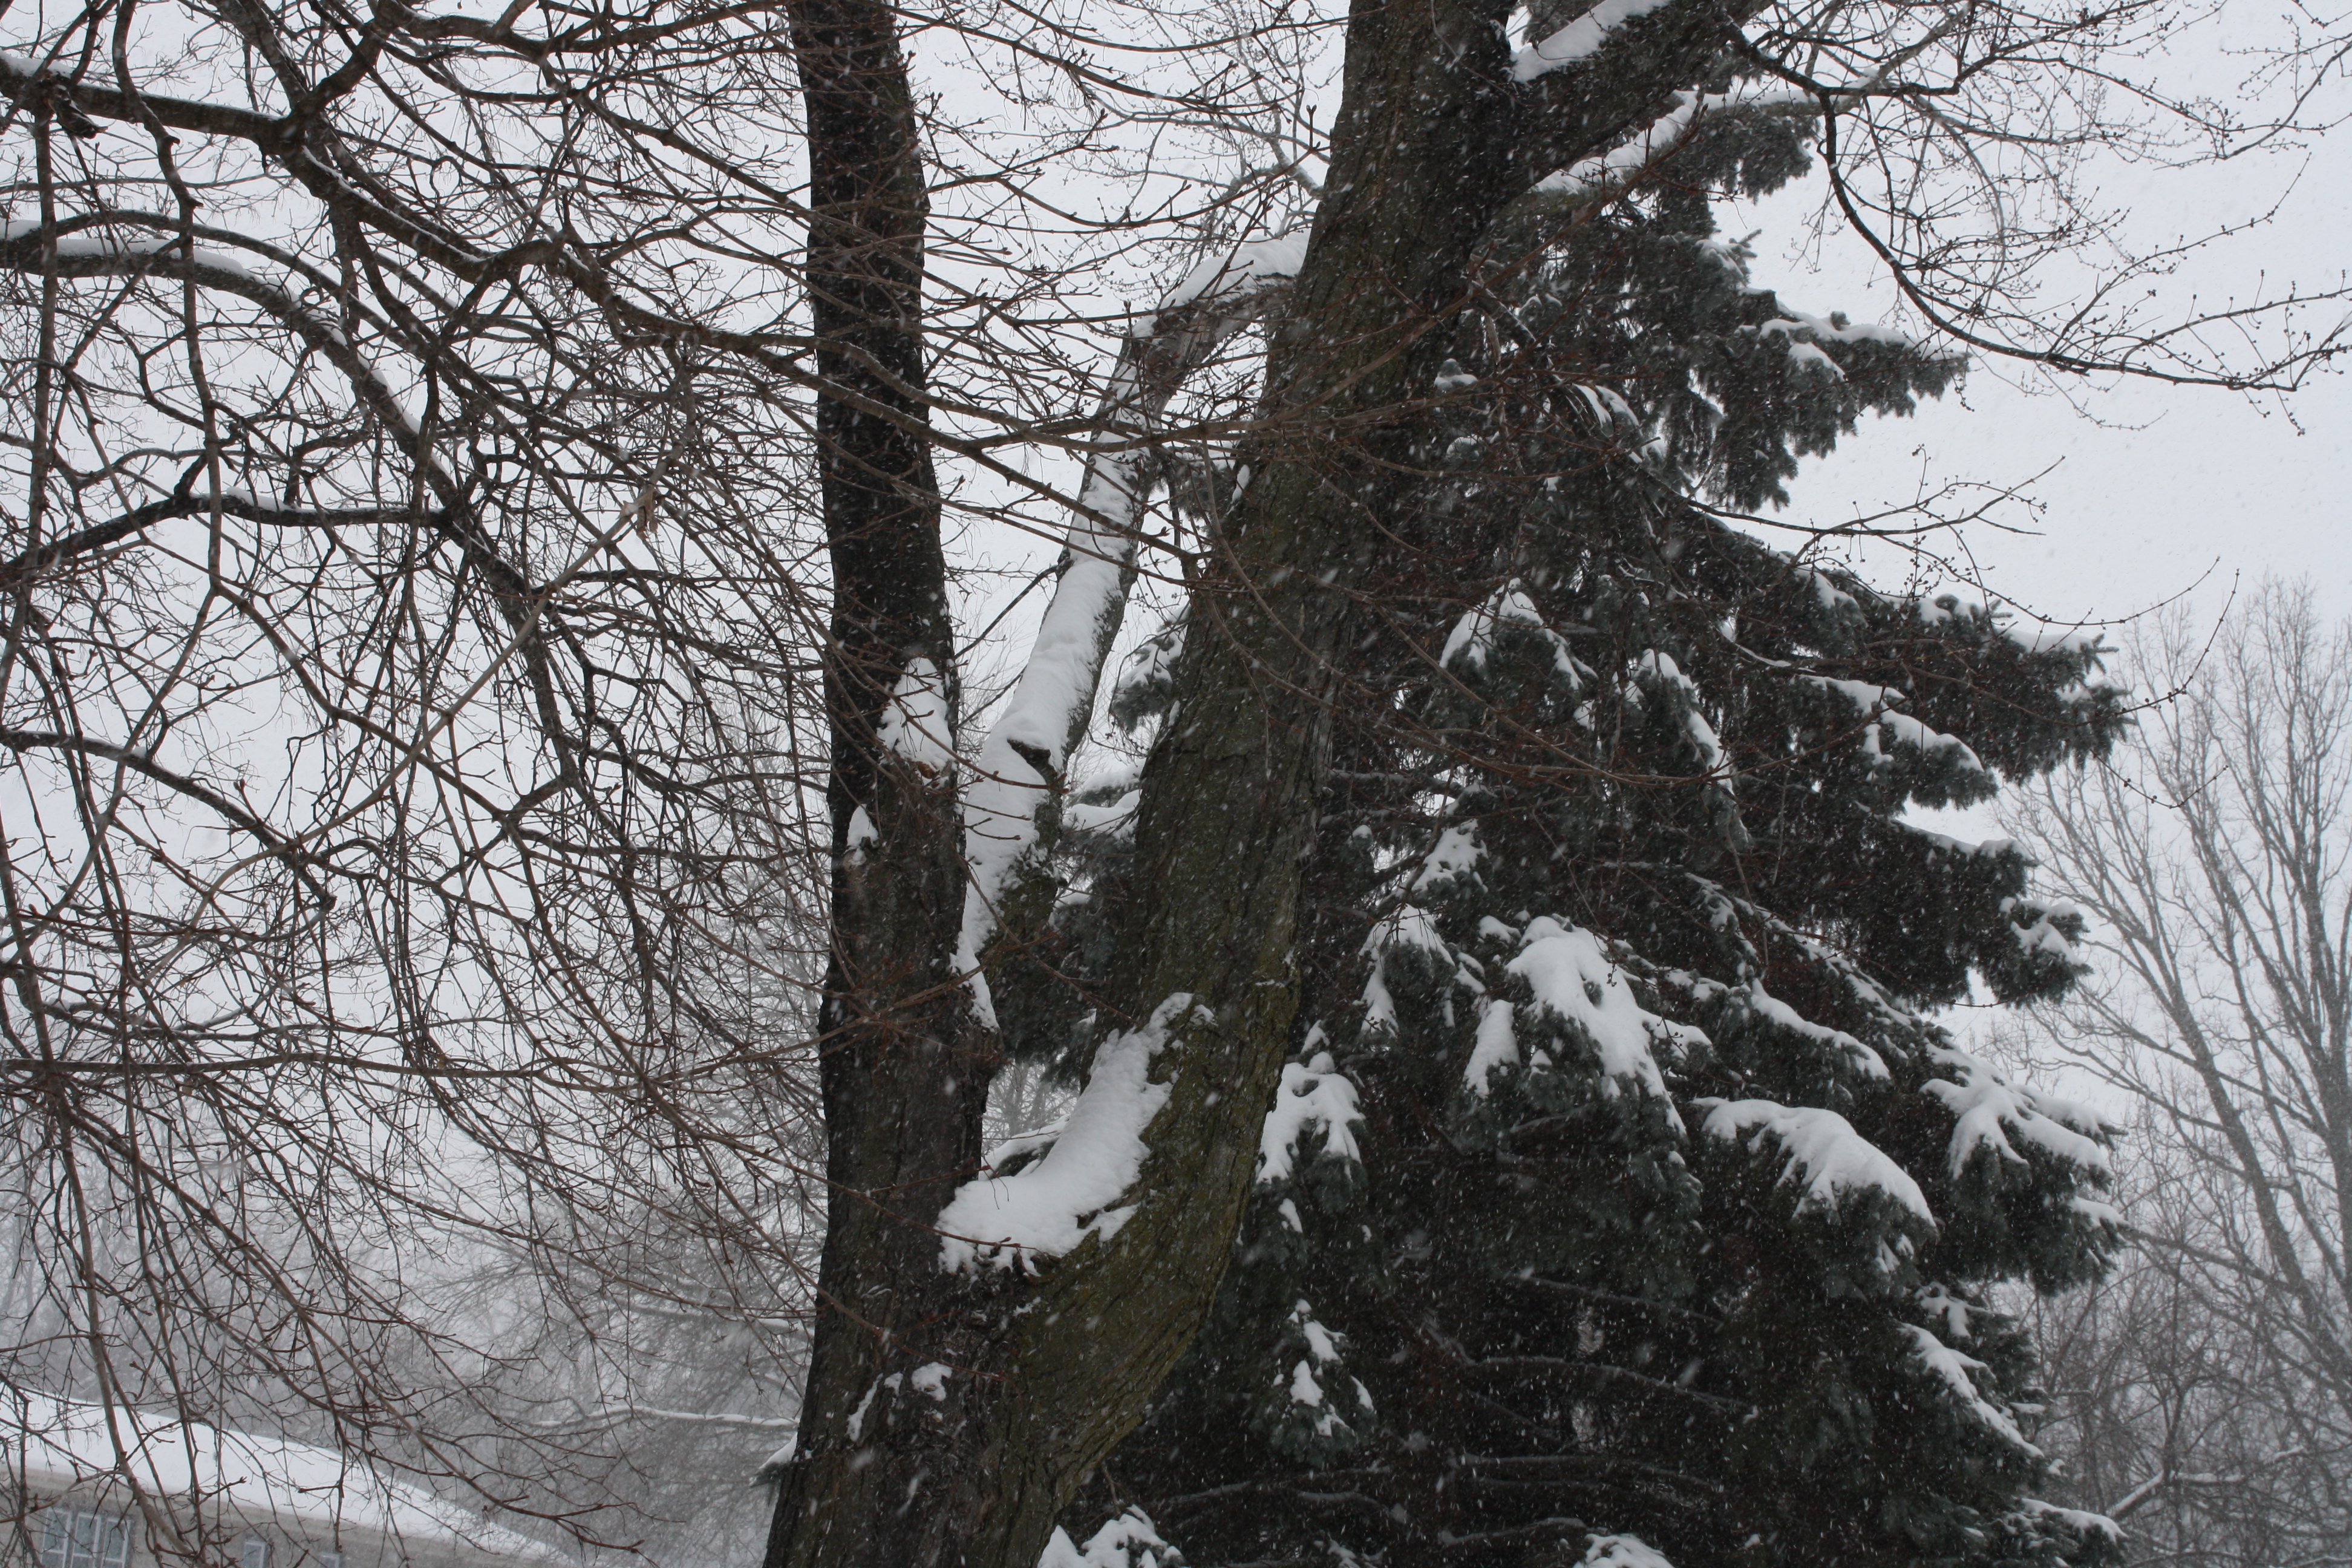
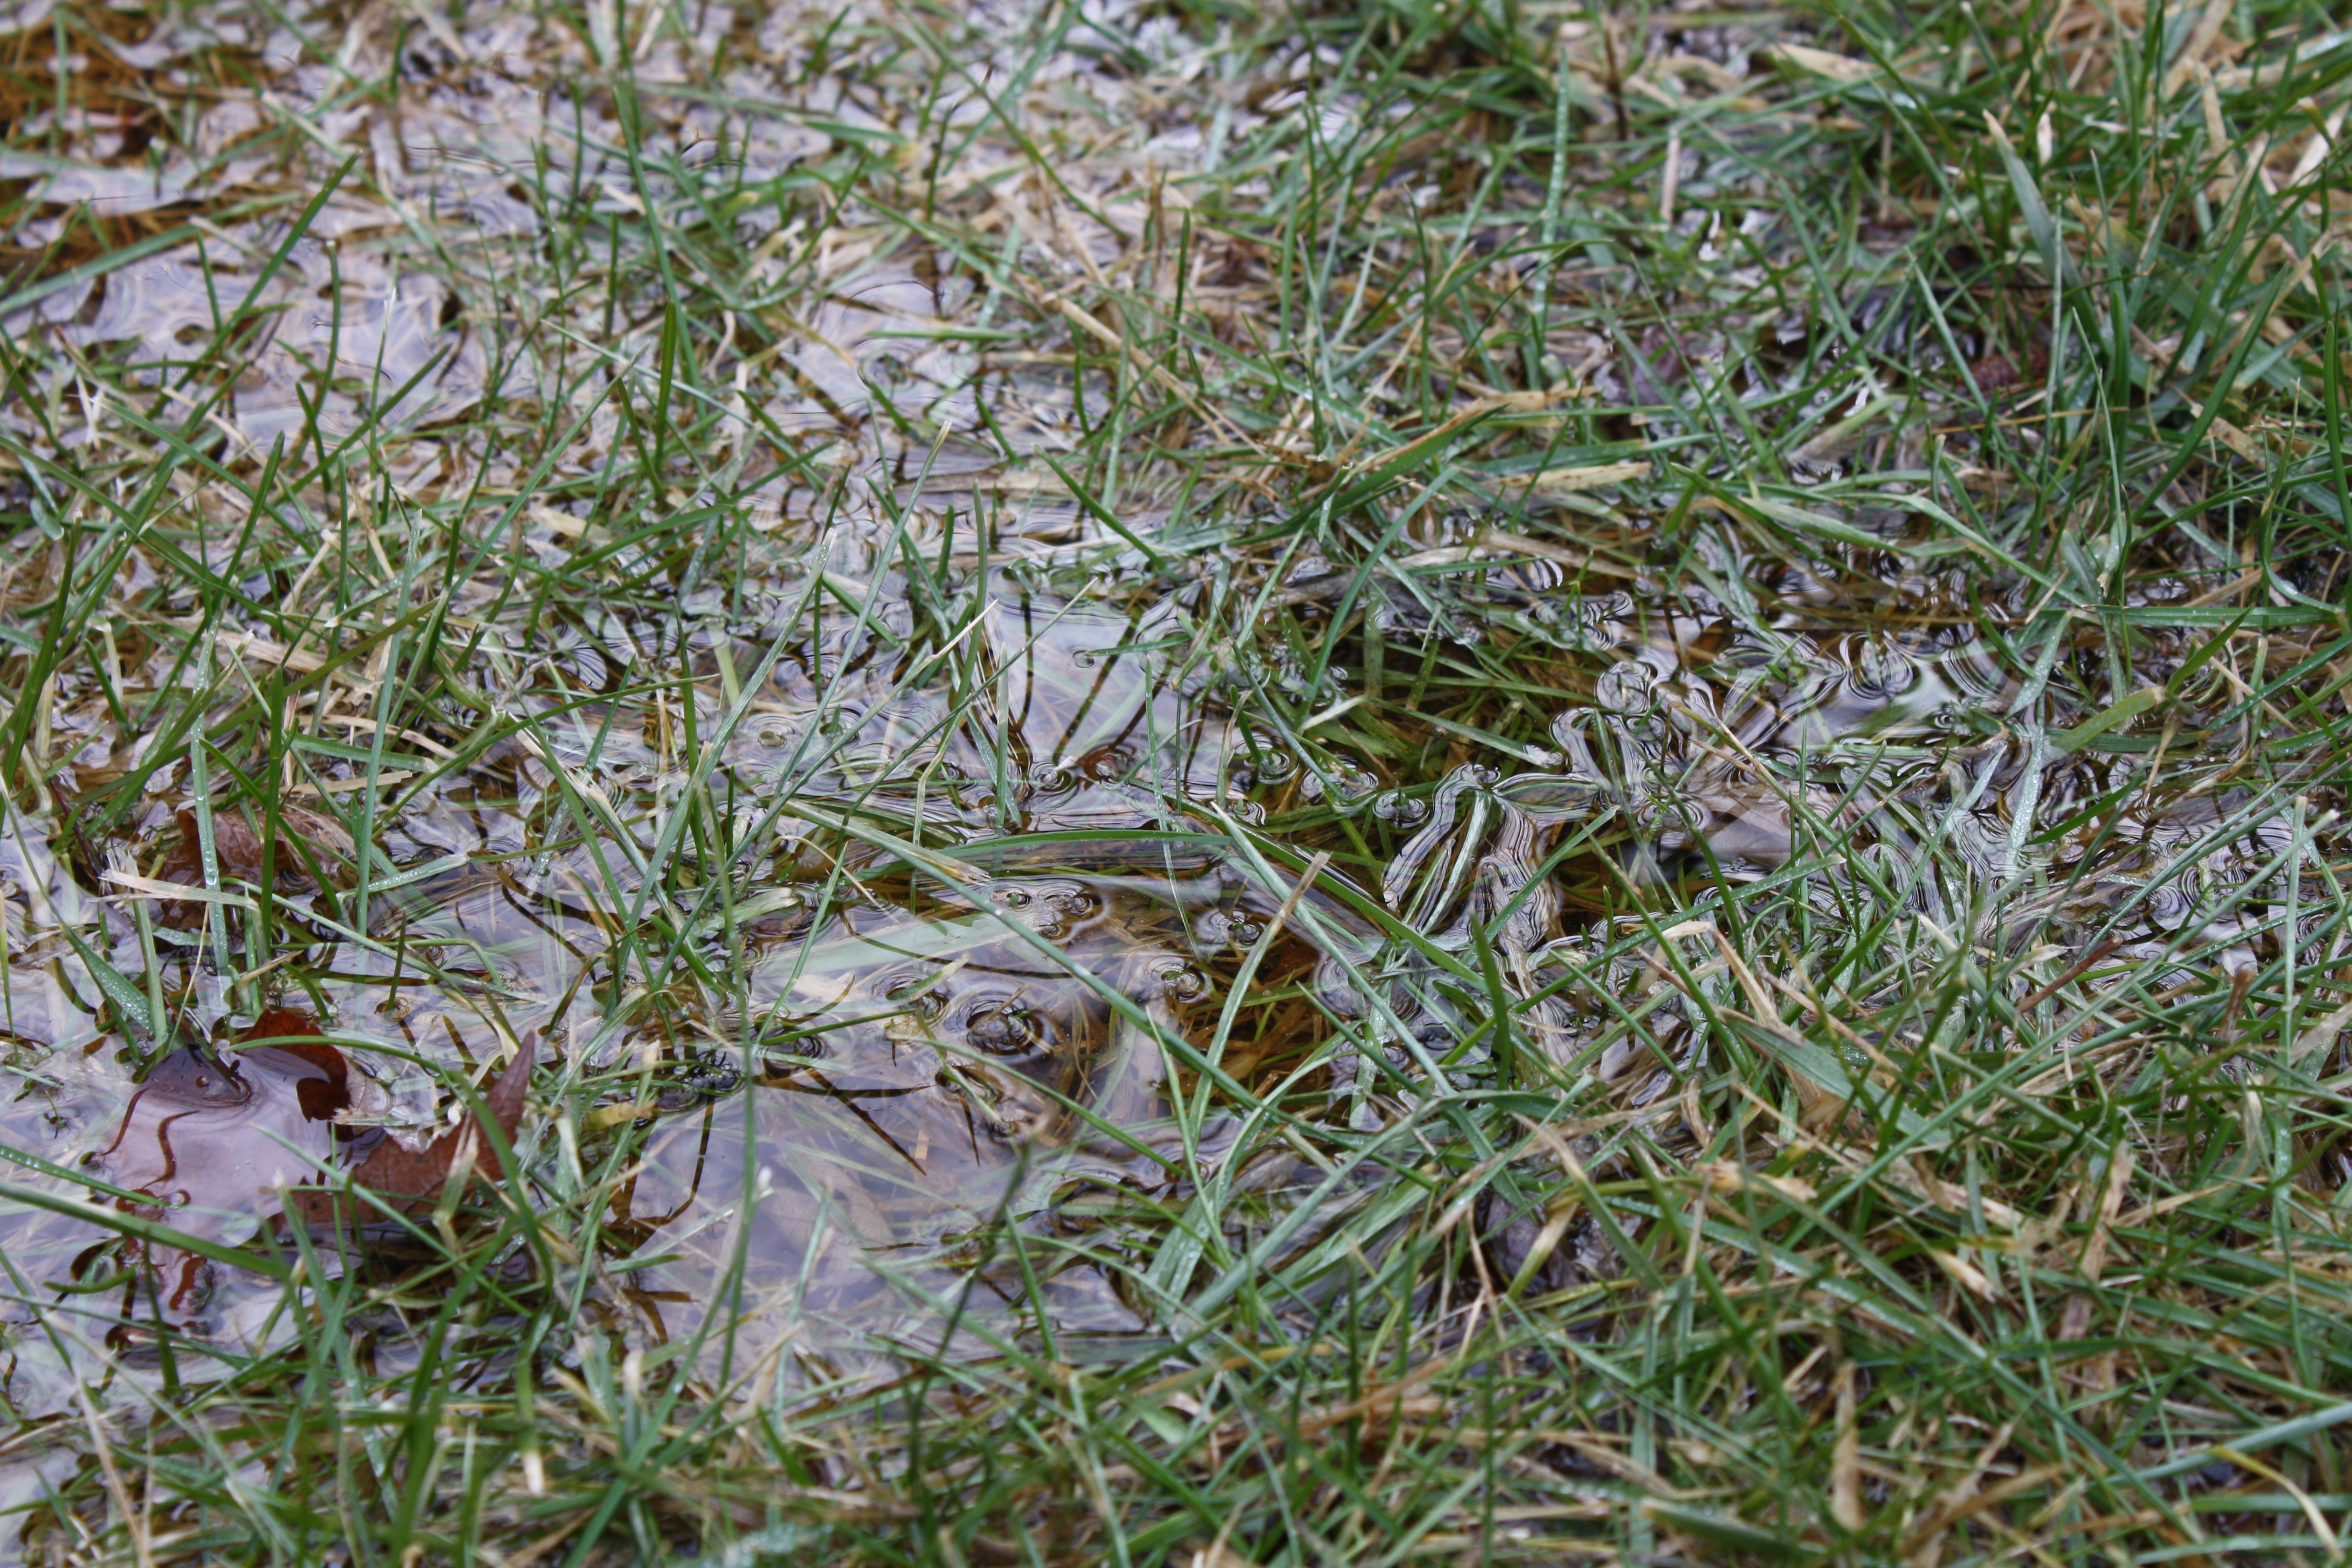
~looking out my kitchen window at our puddle-ladden yard from all of our rain last night.
~glad I made the decision to attend daily Mass this morning. This is something I need to start doing more often. It was such an uplifting way to start out my day.
~reveling in the fact that we were recipients of one of the Annie’s Homegrown Grants for Gardens.
~amazed and very thankful for the outpouring of support we have received in regard to our school garden project.
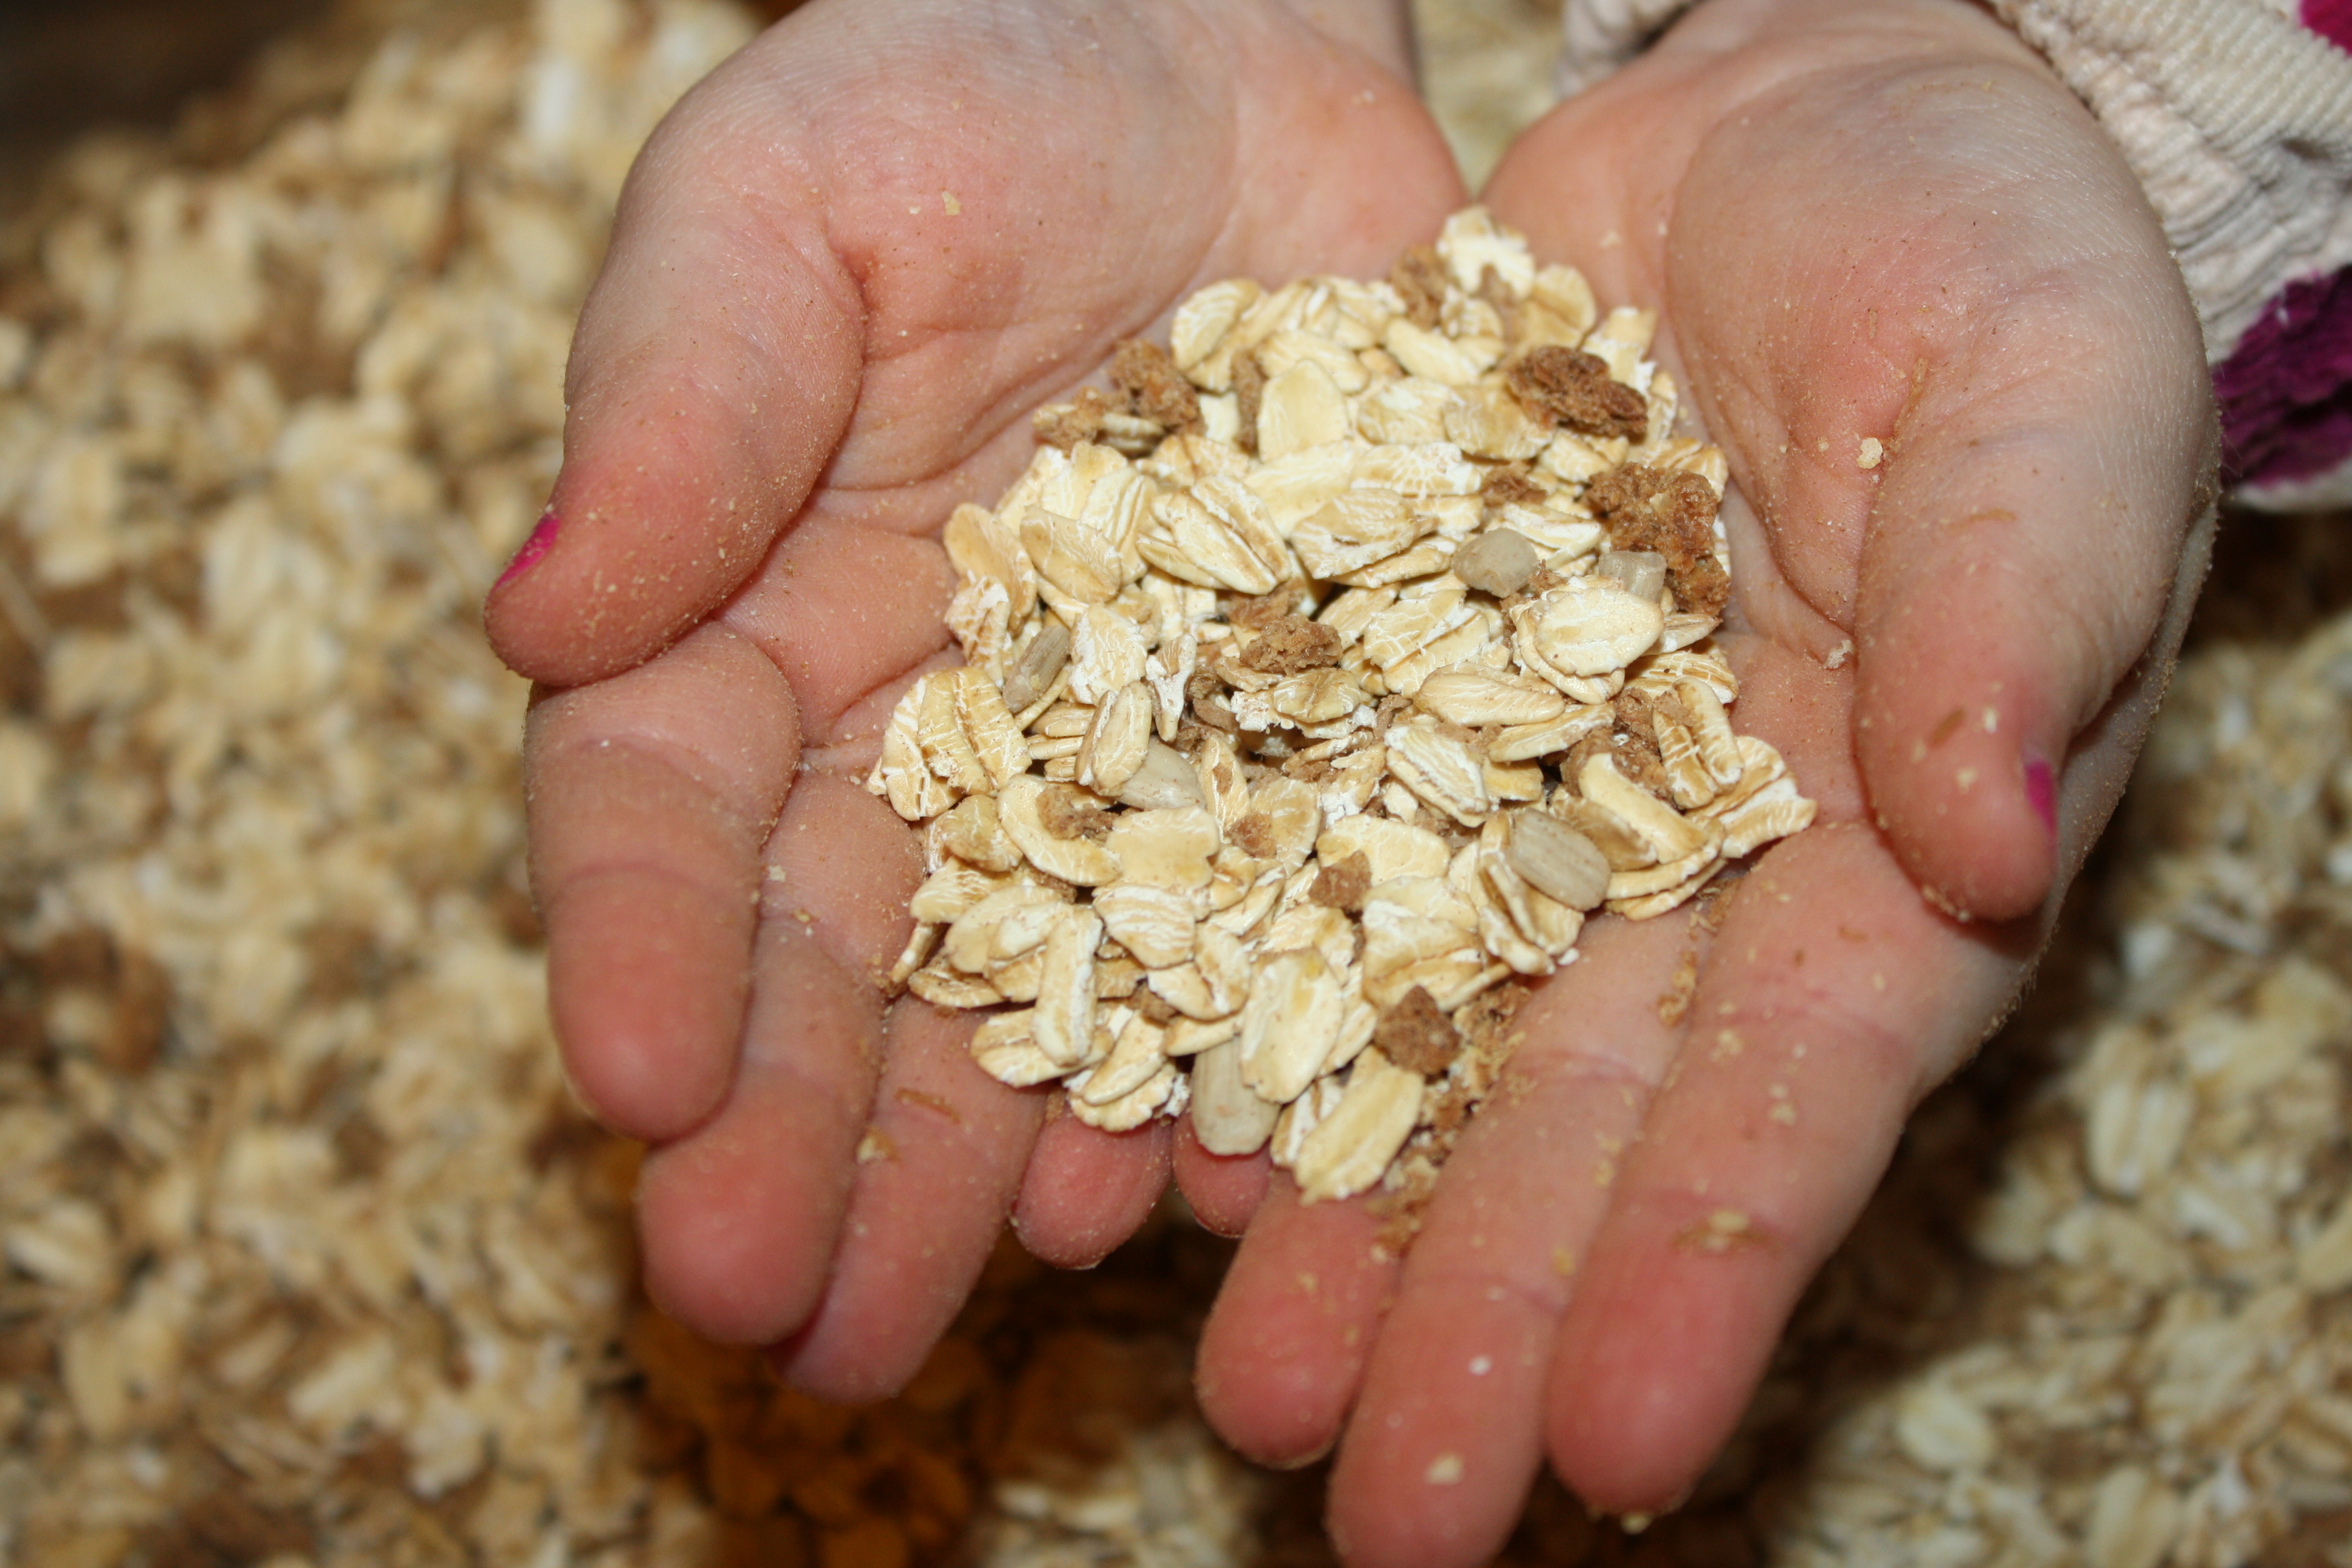
~preparing to make some more homemade granola.
~scouring the internet for cute Valentine ideas. If any of you crafting people out there have come upon any great ideas, please share them in the comment section.
~scanning the mess that has accumulated in each and every room of my house, and wondering whether or not I want to pick it up, or snuggle in and read a story with my youngest baby. I’m thinking the later sounds so much better 🙂
~wishing you all a fabulous Monday!
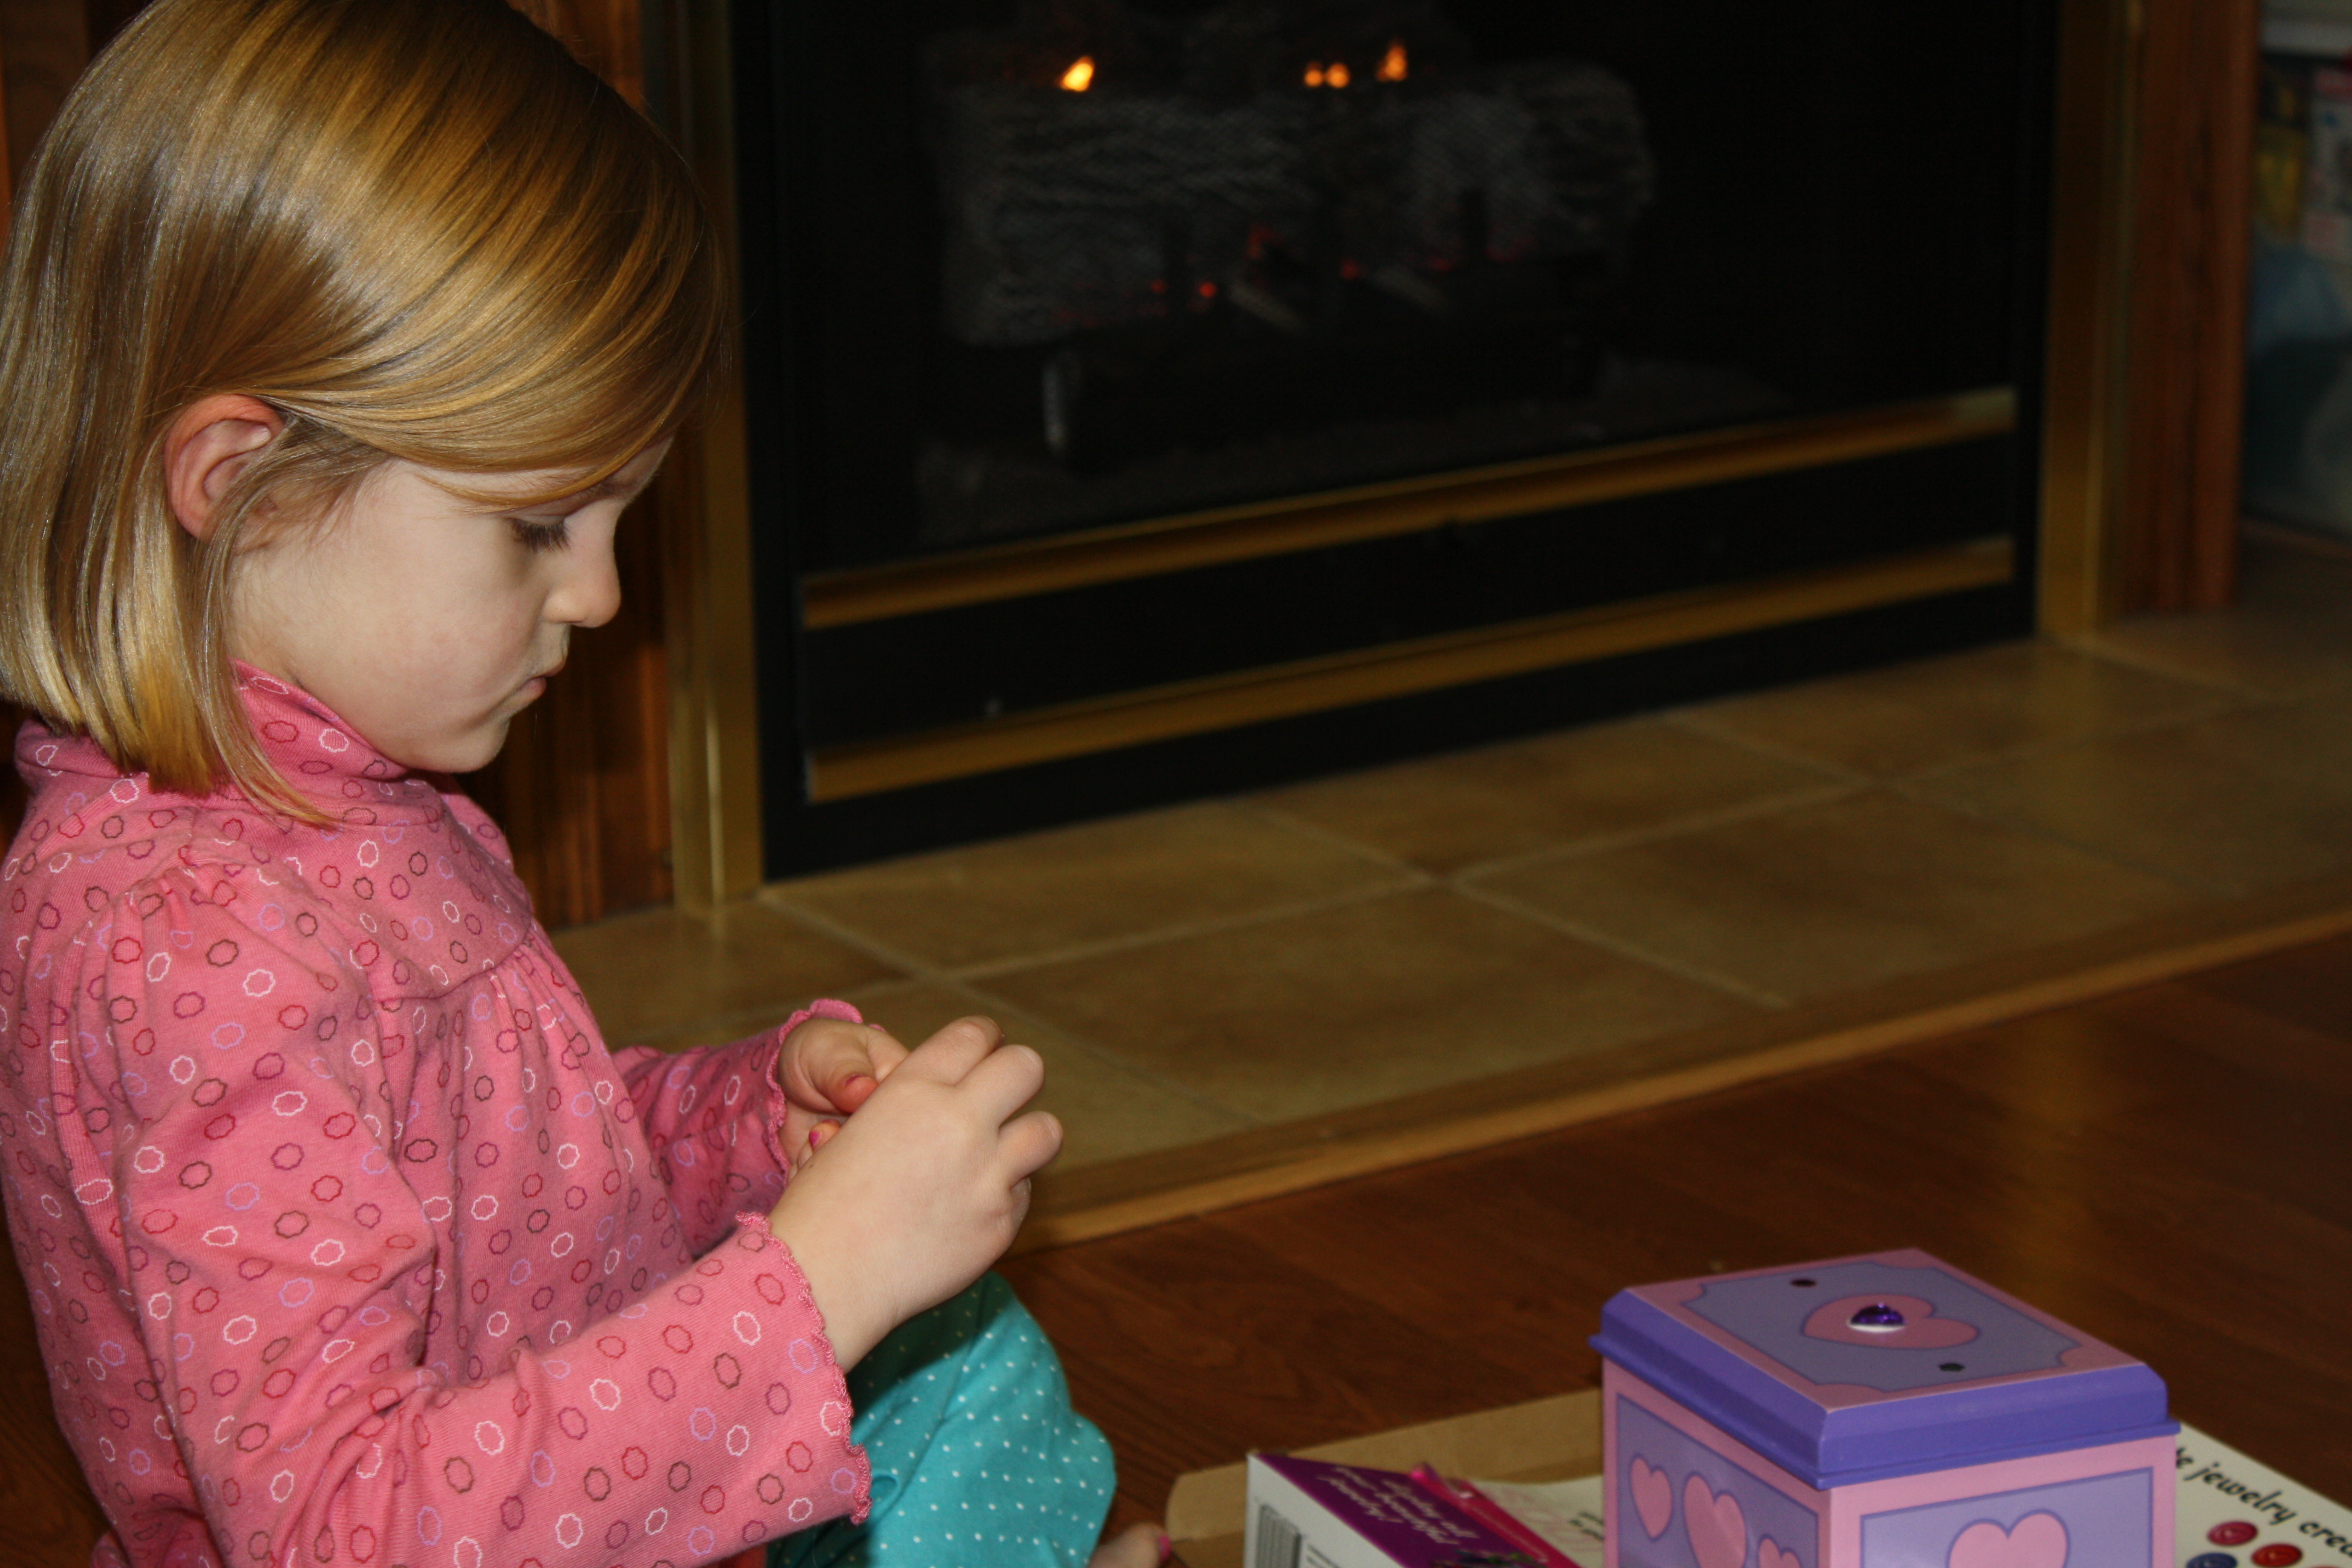
Well, if you can believe it, my family has found itself in the midst of yet another run with the flu. My youngest, who never got the brunt of the flu the first go-round, got slammed with it full go this week. Poor baby.
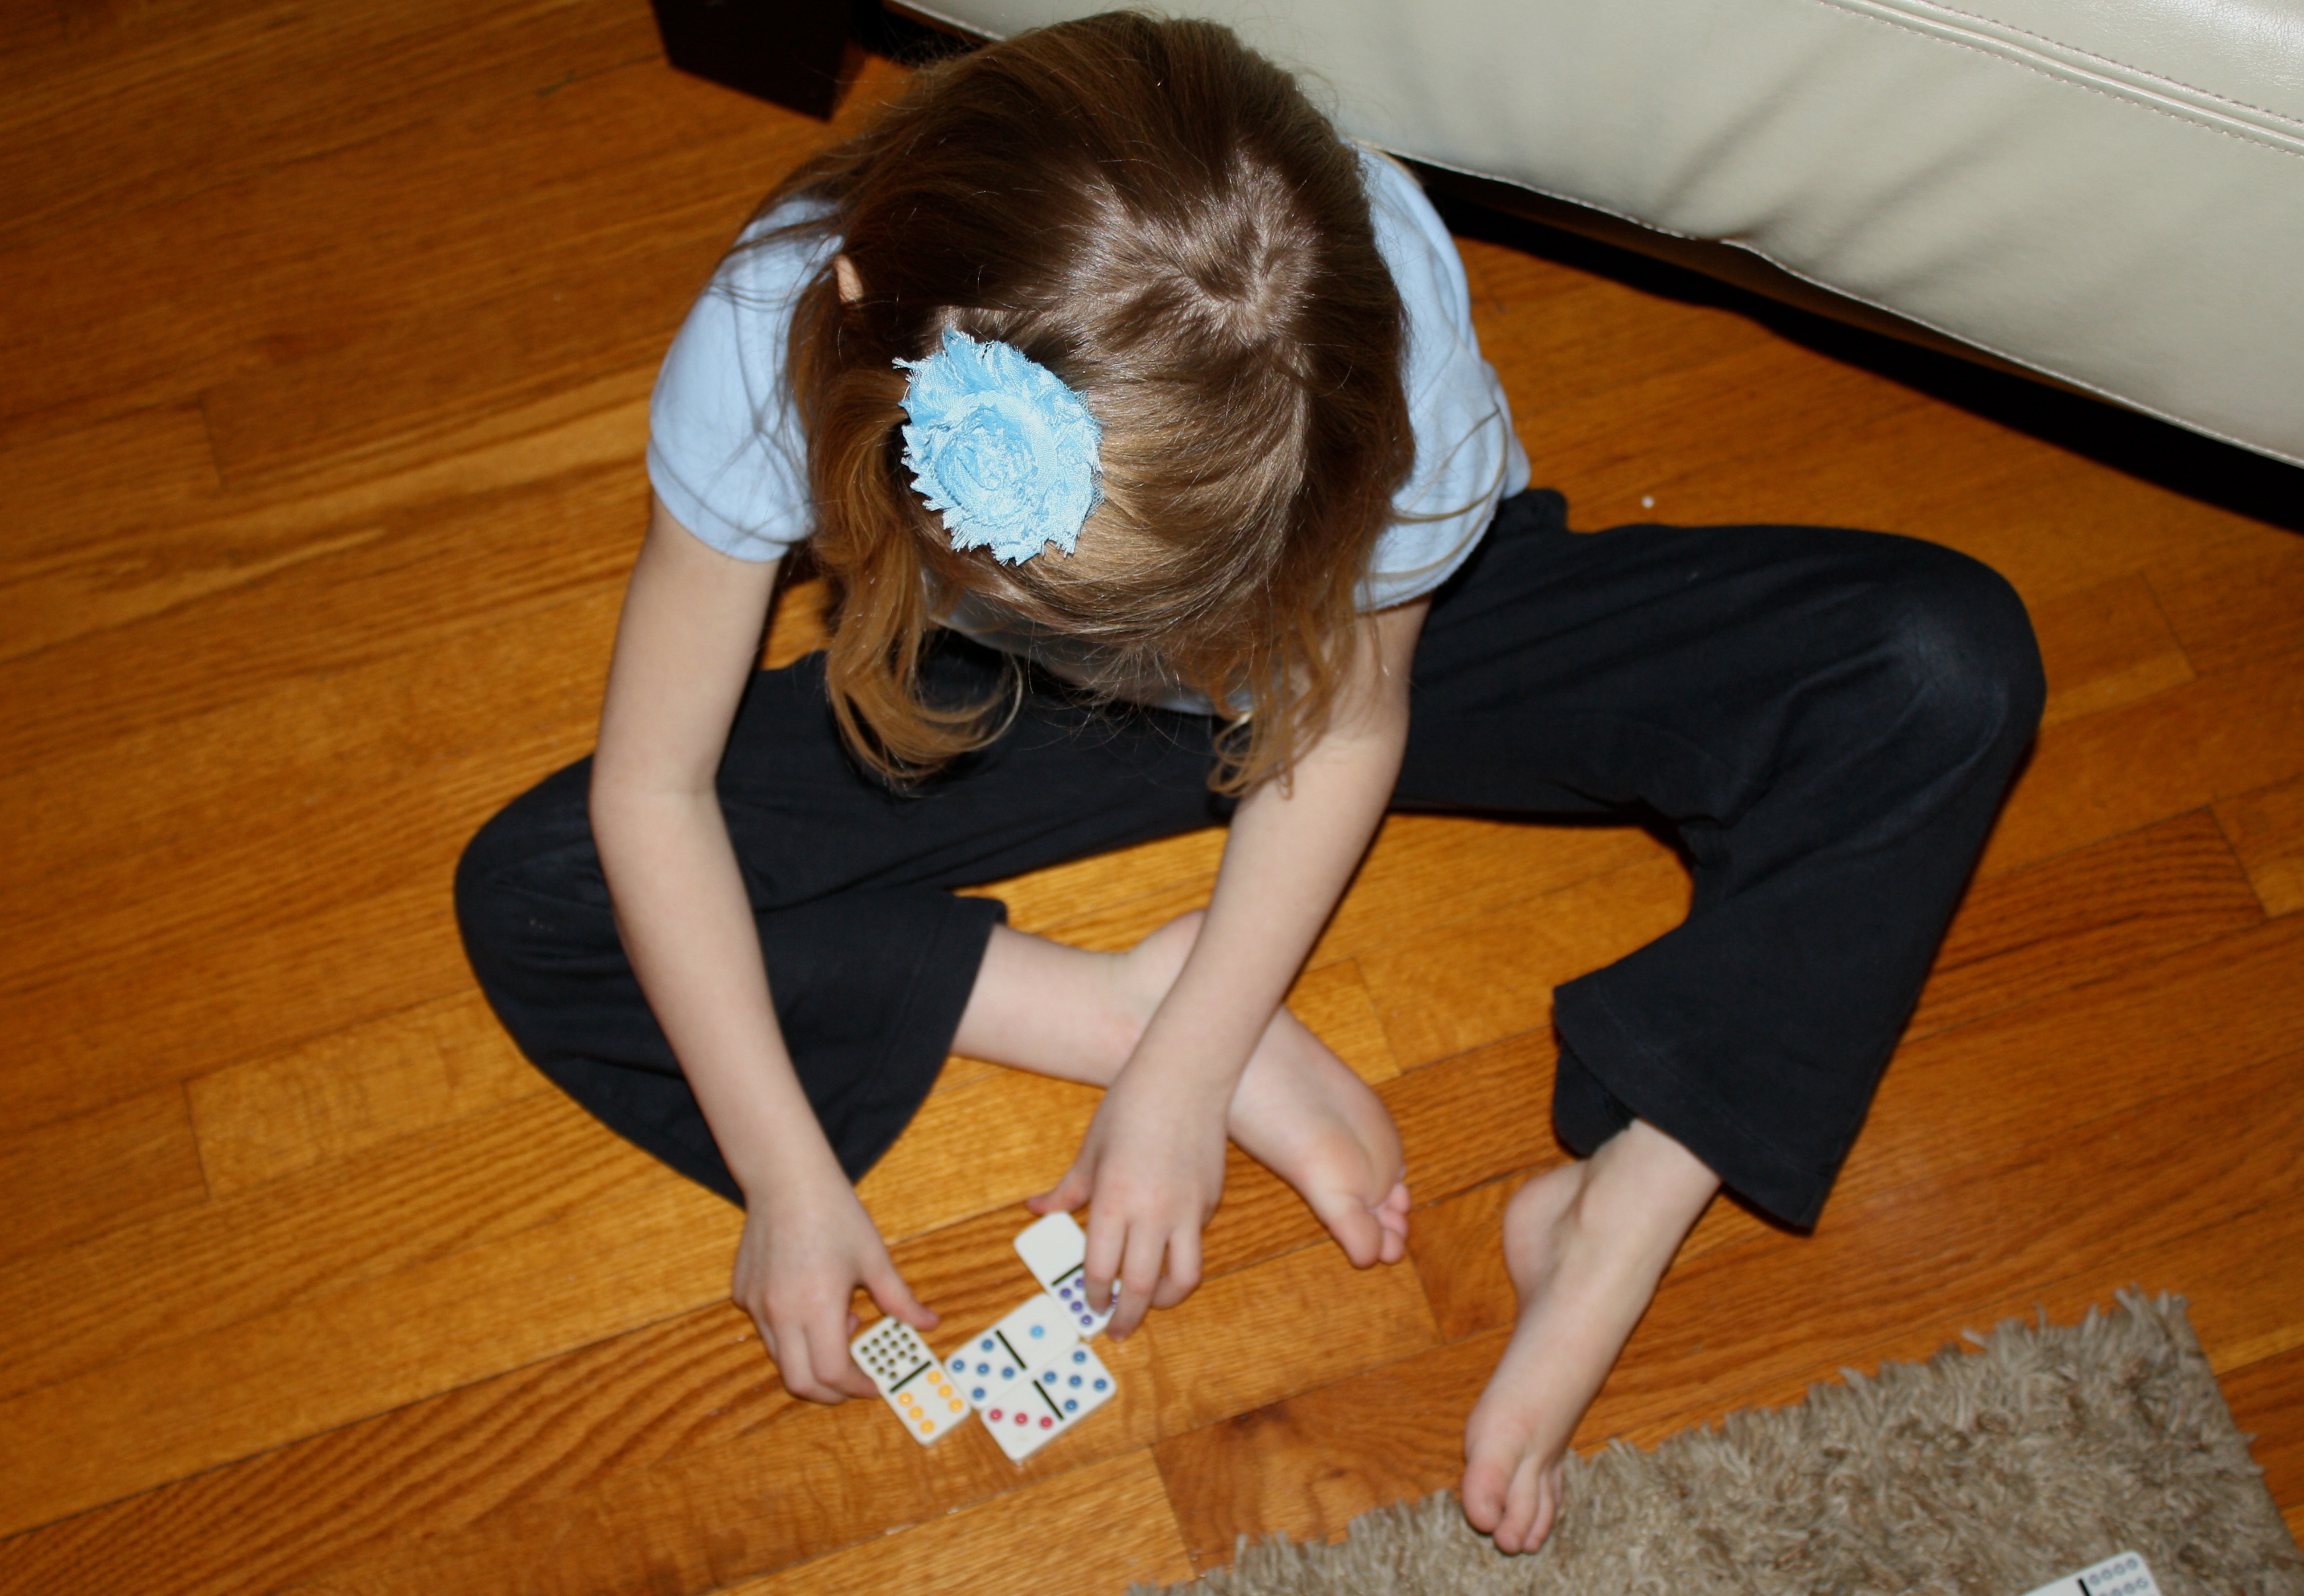
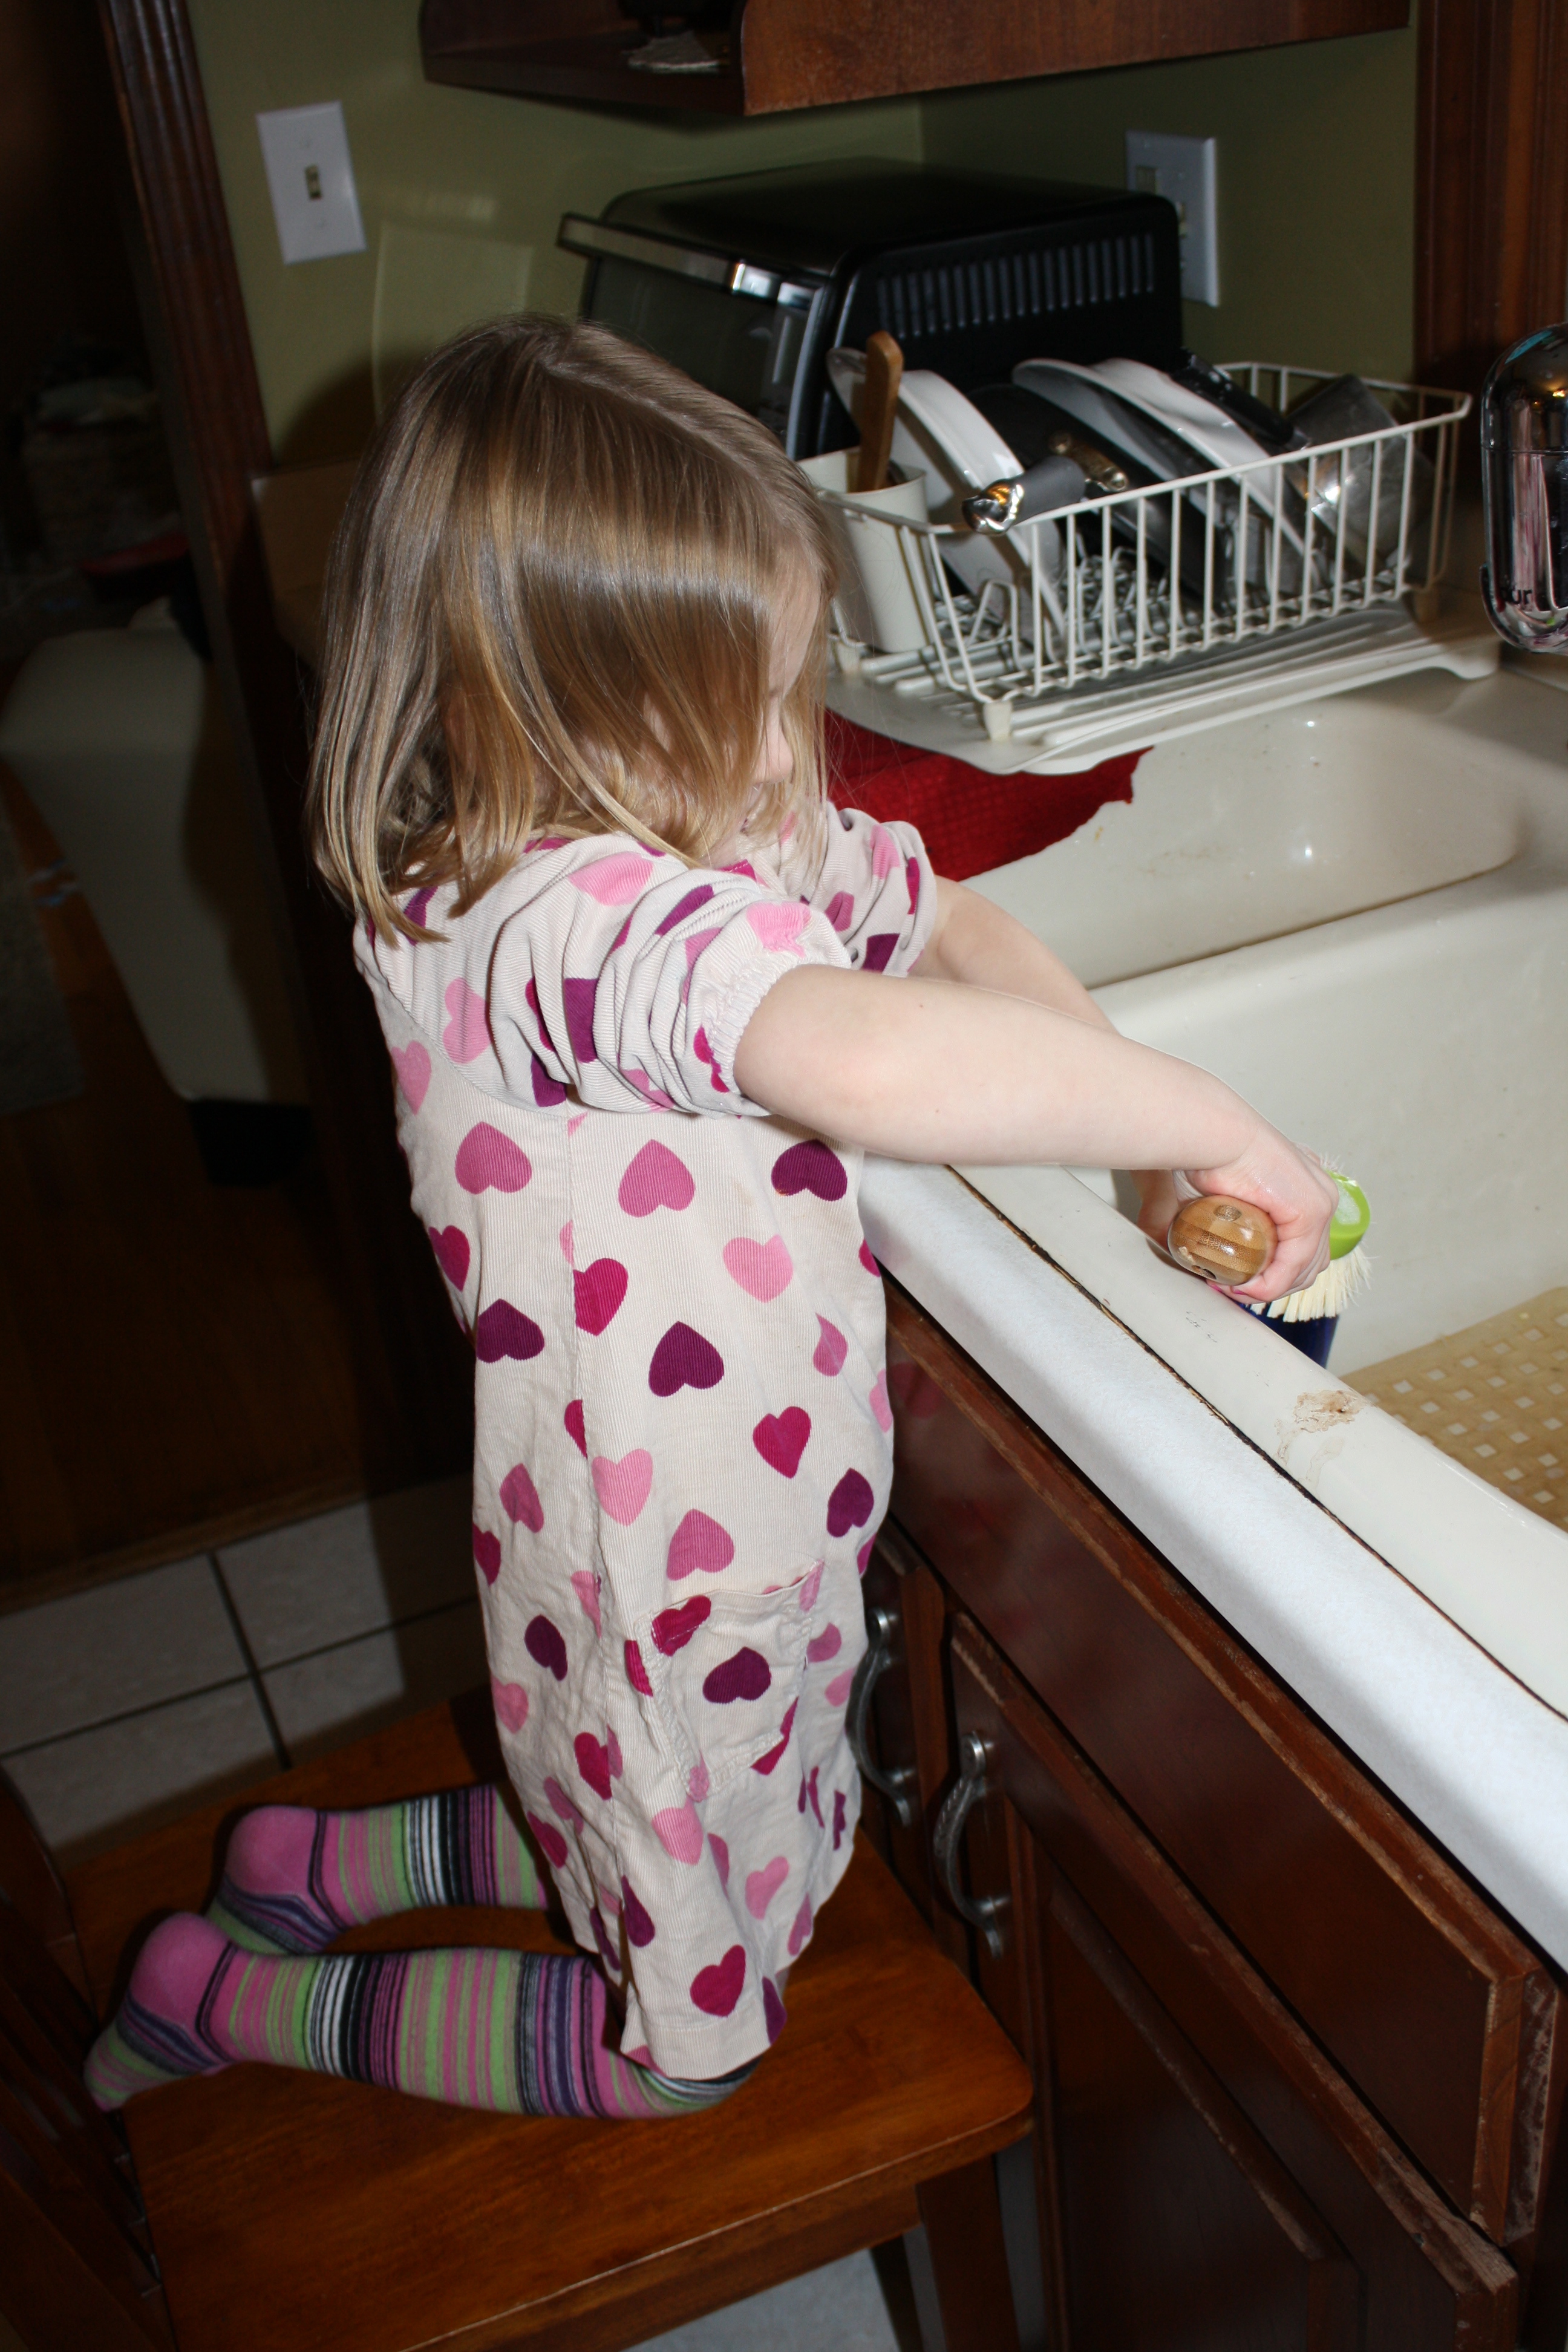
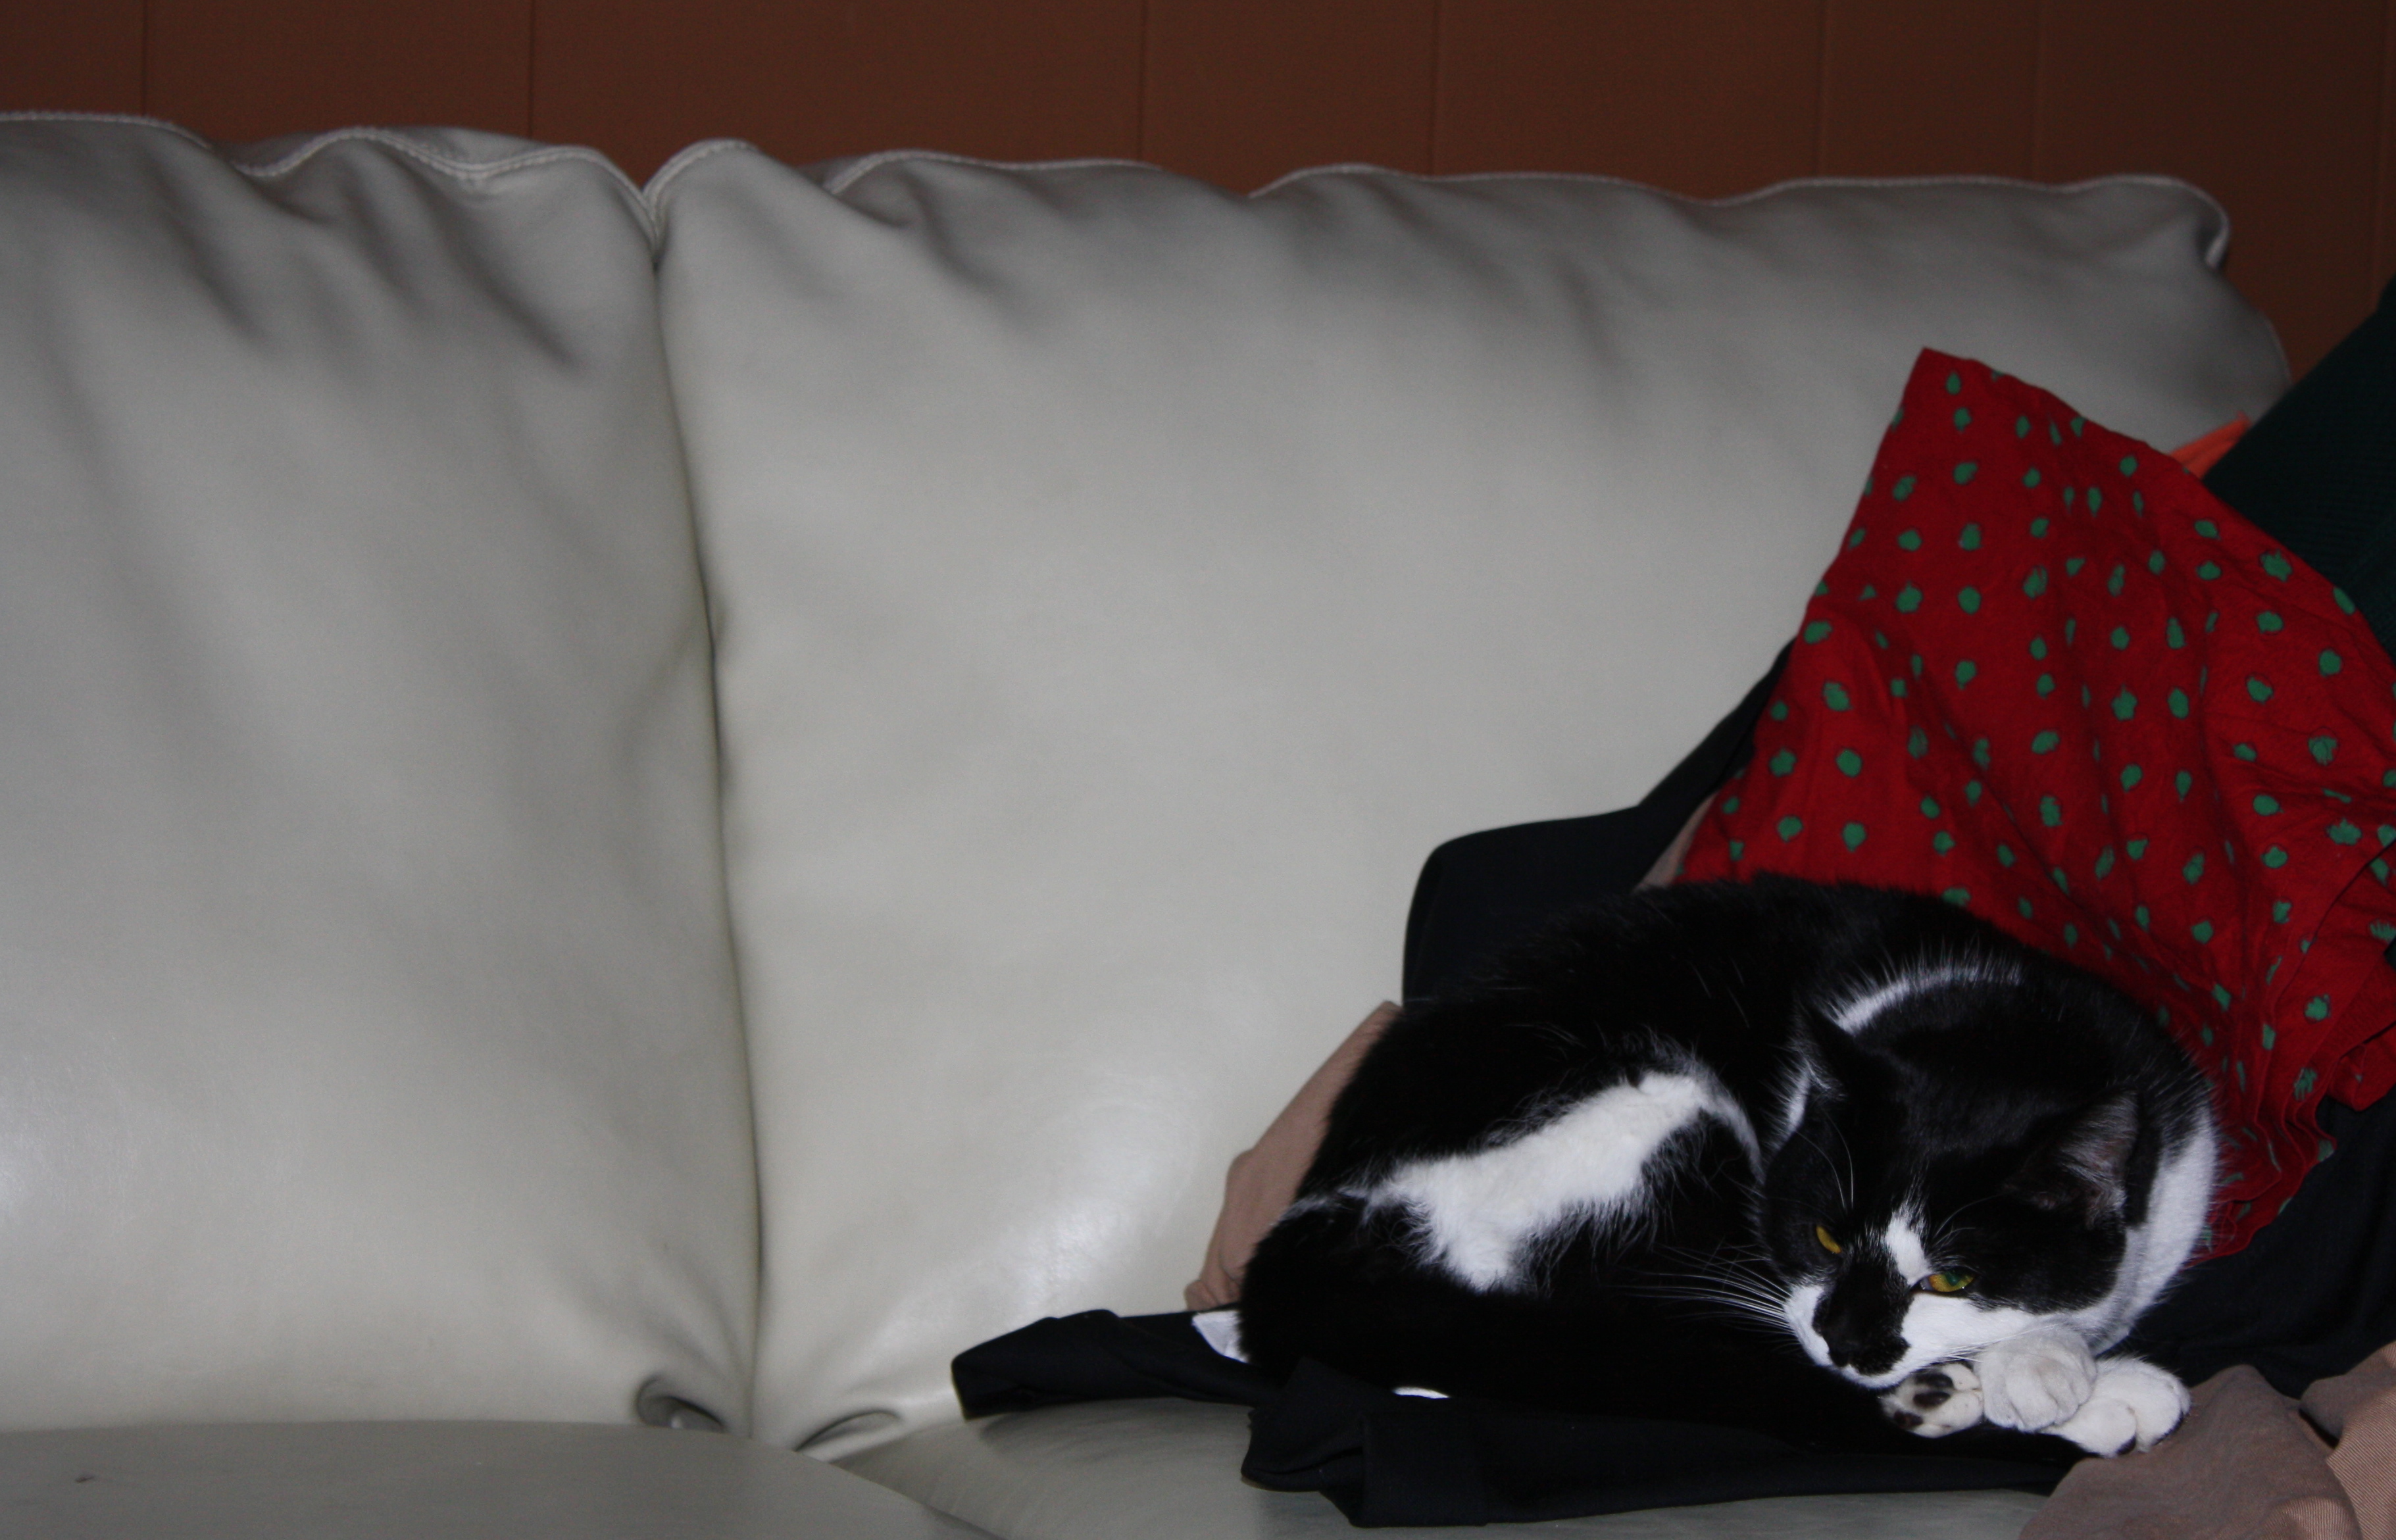
So, yet again, we have stayed close to home, passing the time near the fire, with those activities that make home-time so much fun.

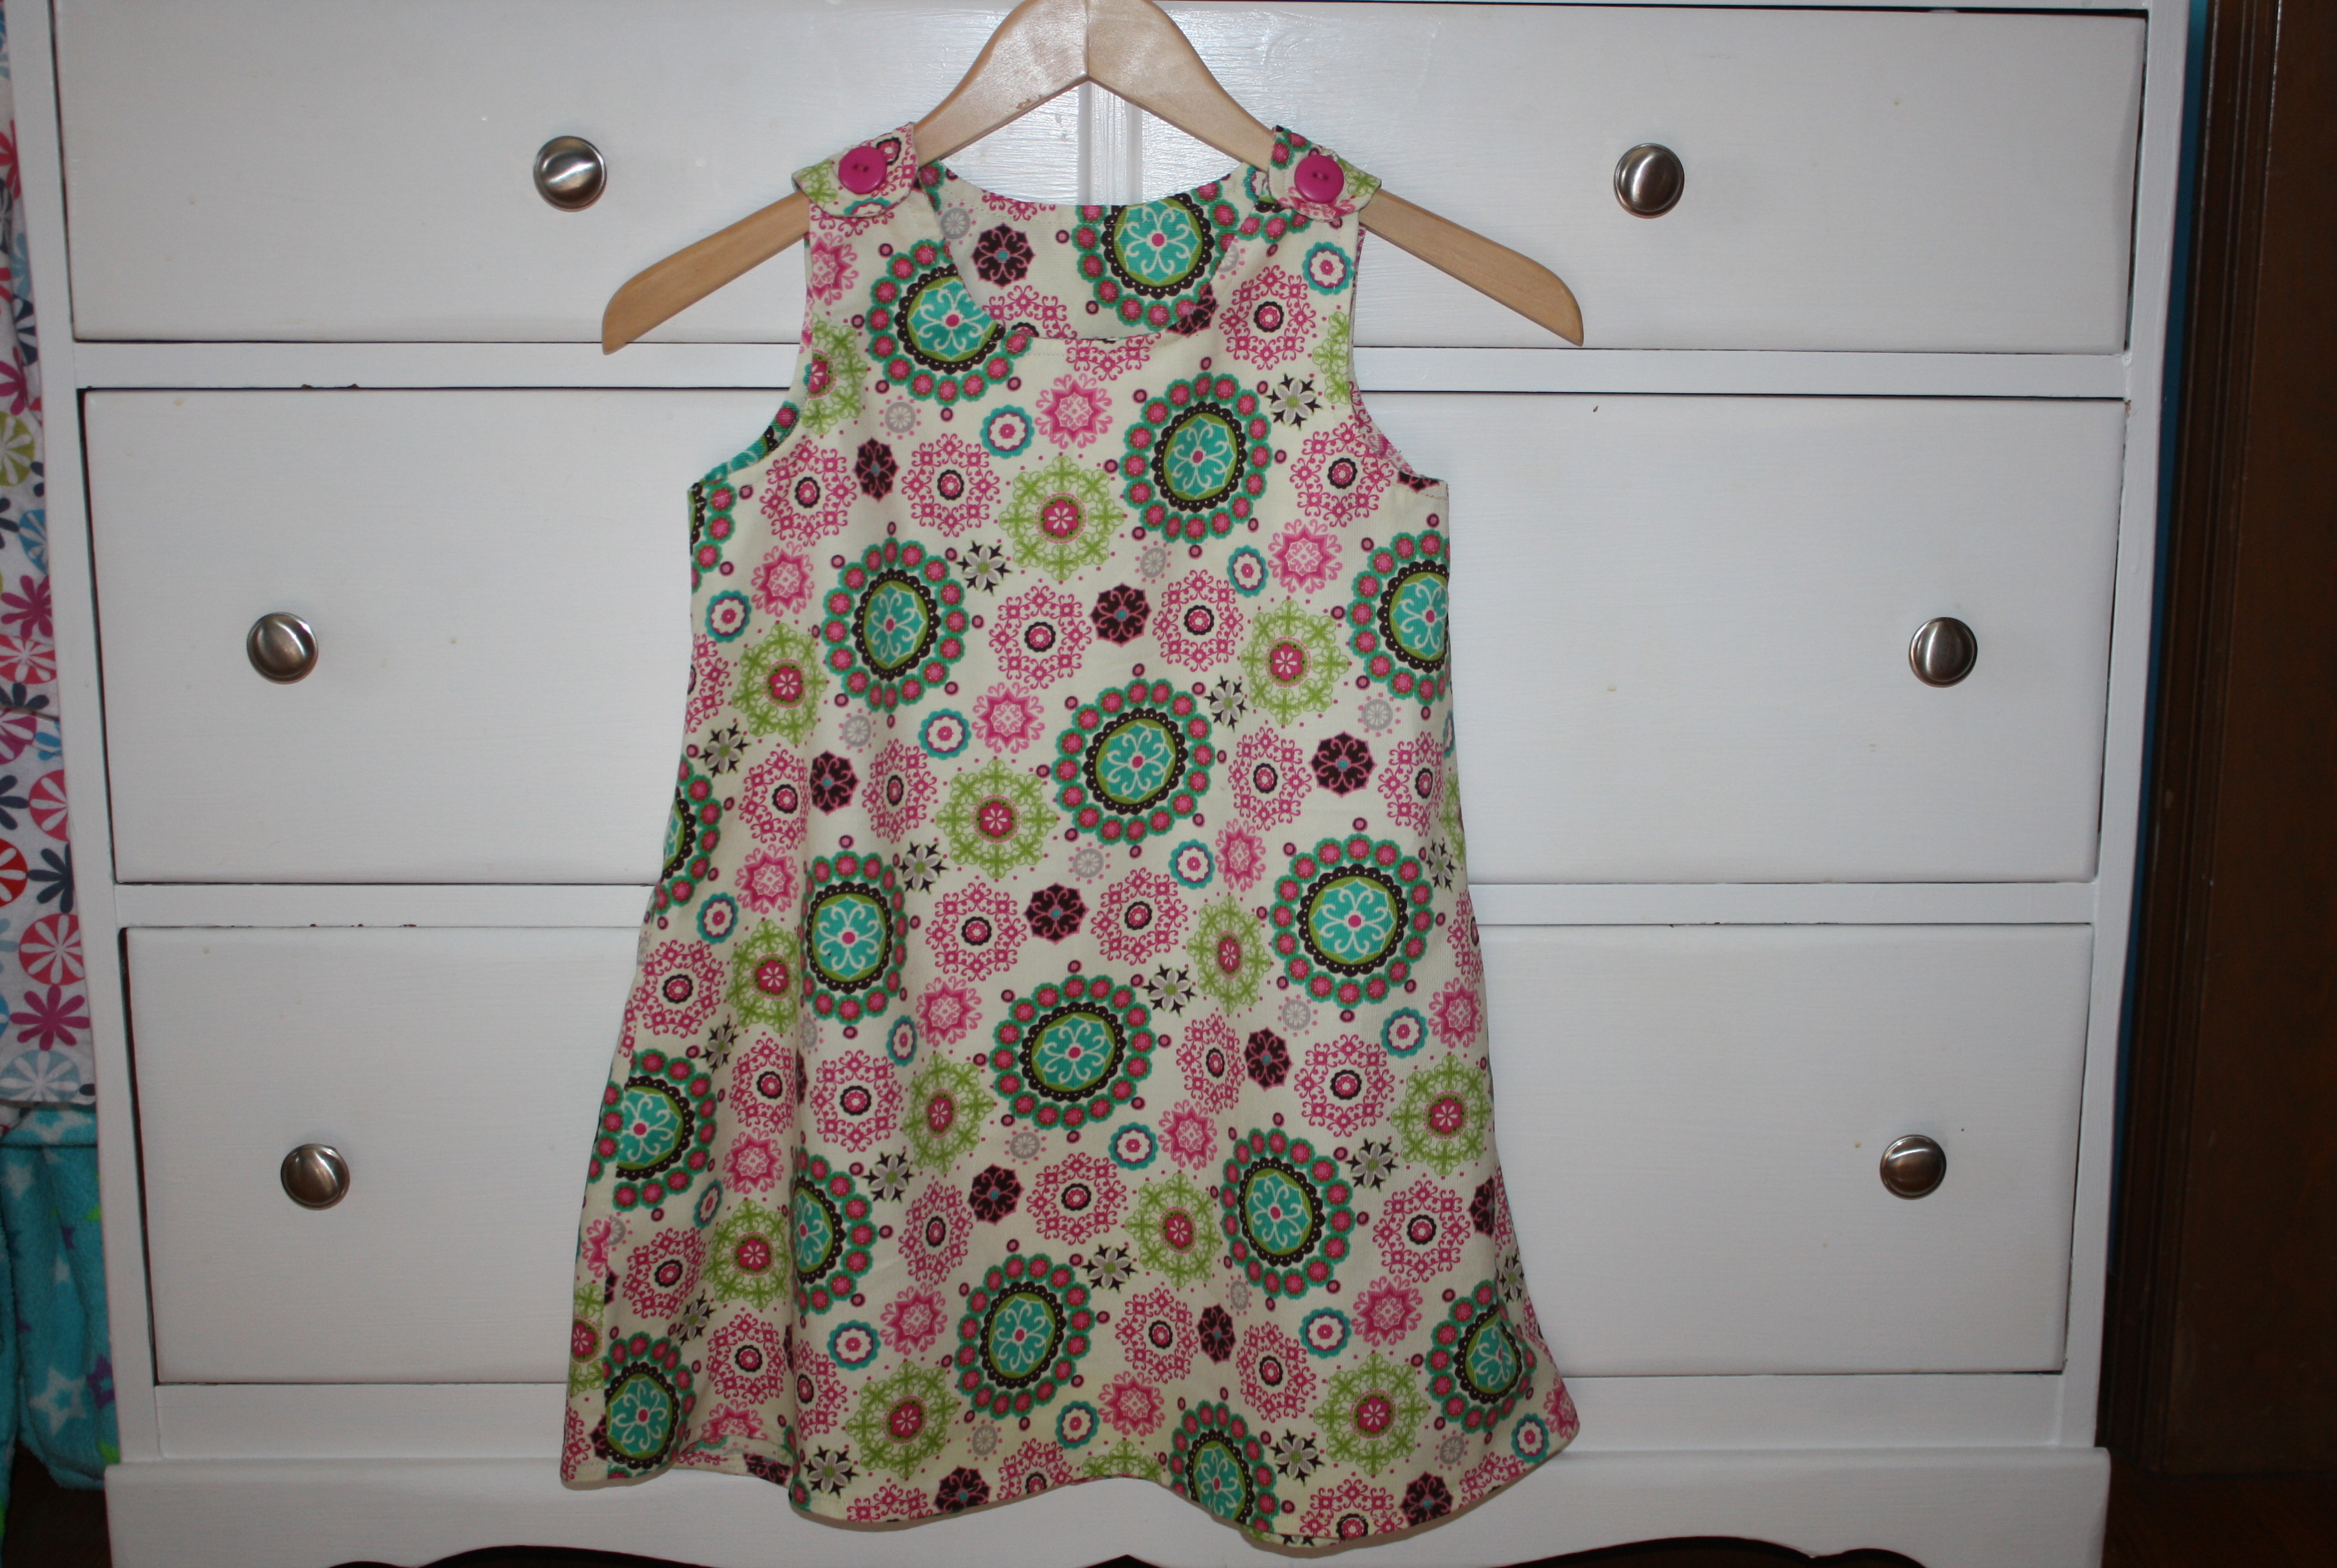
I did get in a bit of sewing while my little one napped this past week. I made this jumper for each of my gals. I’ve been referring to it as my first “real” outfit I’ve ever sewn 🙂 It is Butterick 3772. I would highly recommend it if you are a novice sewer like myself. It went together very nicely and fit the girls really well.

I hope all of you find yourselves enjoying your time indoors this winter as well!
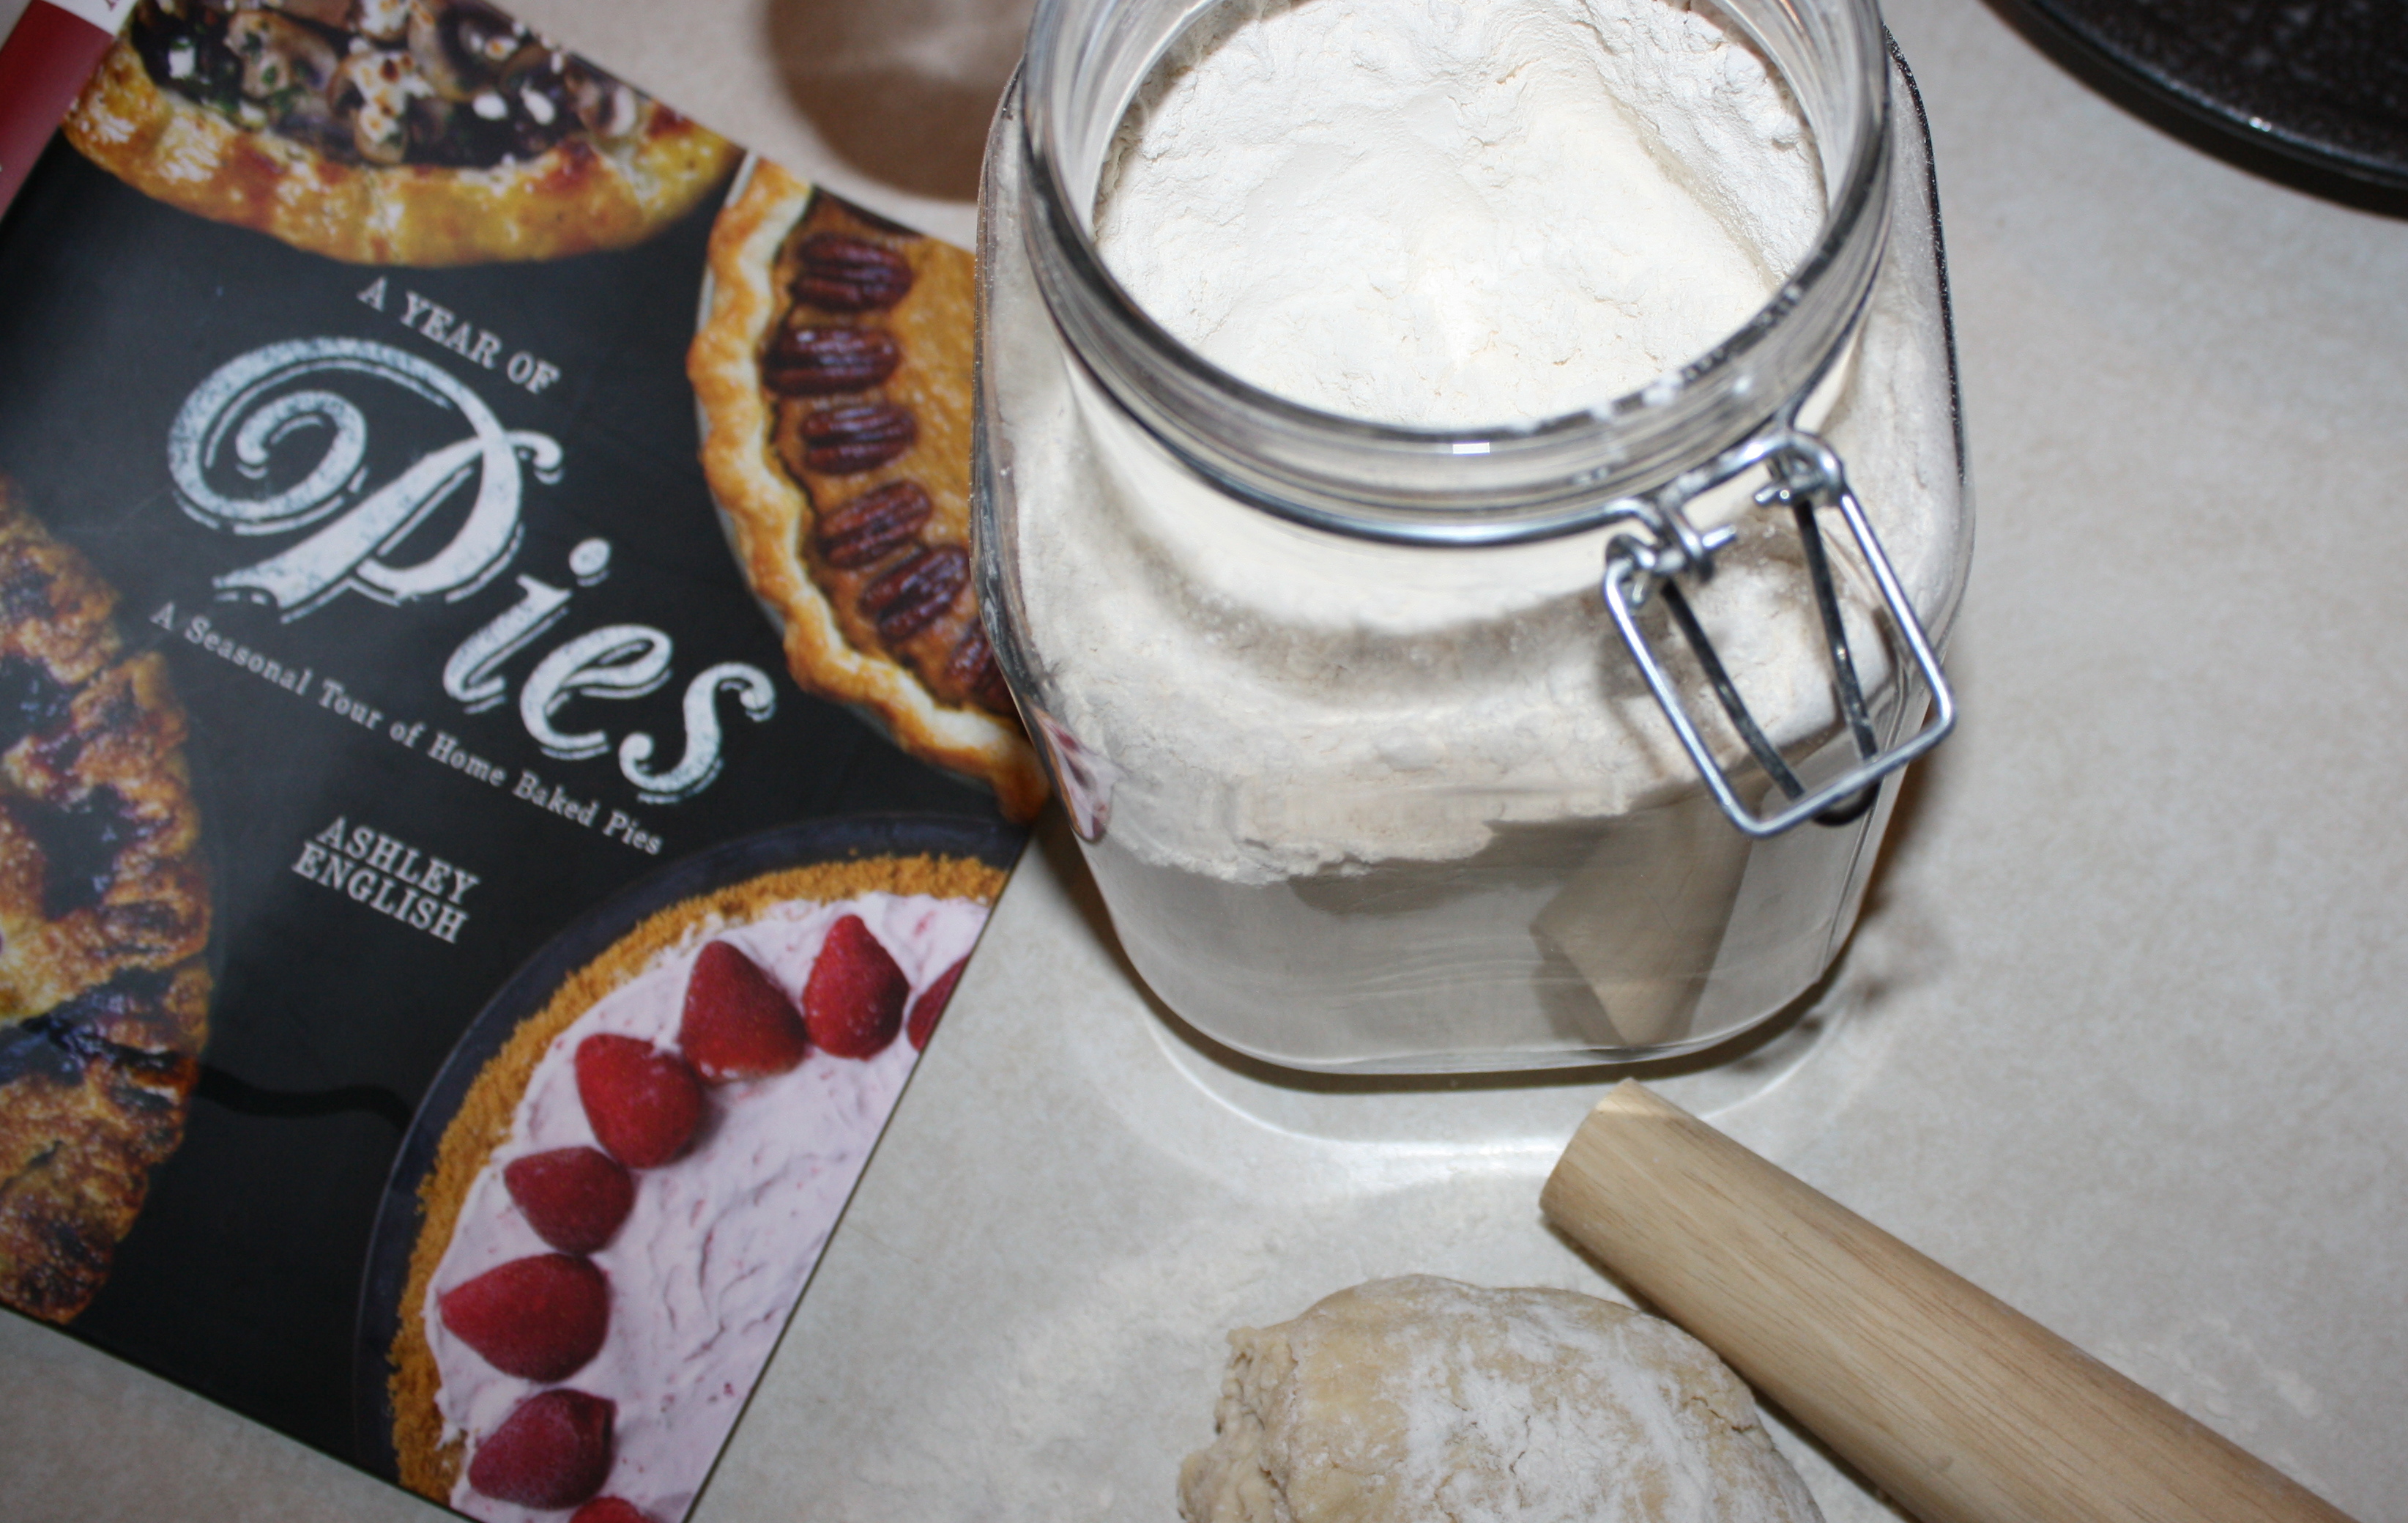
I am in love. I am in love with a book…all about pie. From as far back as I can remember, pies have donned the table of every family gathering. Whether it was Thanksgiving or Christmas, Easter or Mother’s Day, or even The Fourth of July, pie seemed to take the lead as the star of the dessert show.
My husband has long known of my self-admitted pie obsession, and gave me a fabulous birthday present this year: A Year of Pies: A Seasonal Tour of Home Baked Pies by one of my fav do-it-yourselfers Ashley English. After just one flip of the page I knew I was in love. Oh my. Each pie looks better than the last, and my girls and I found ourselves nestled on our couch, thumbing through the crisp pages, vowing to make each and every pie in the book by the end of 2013.
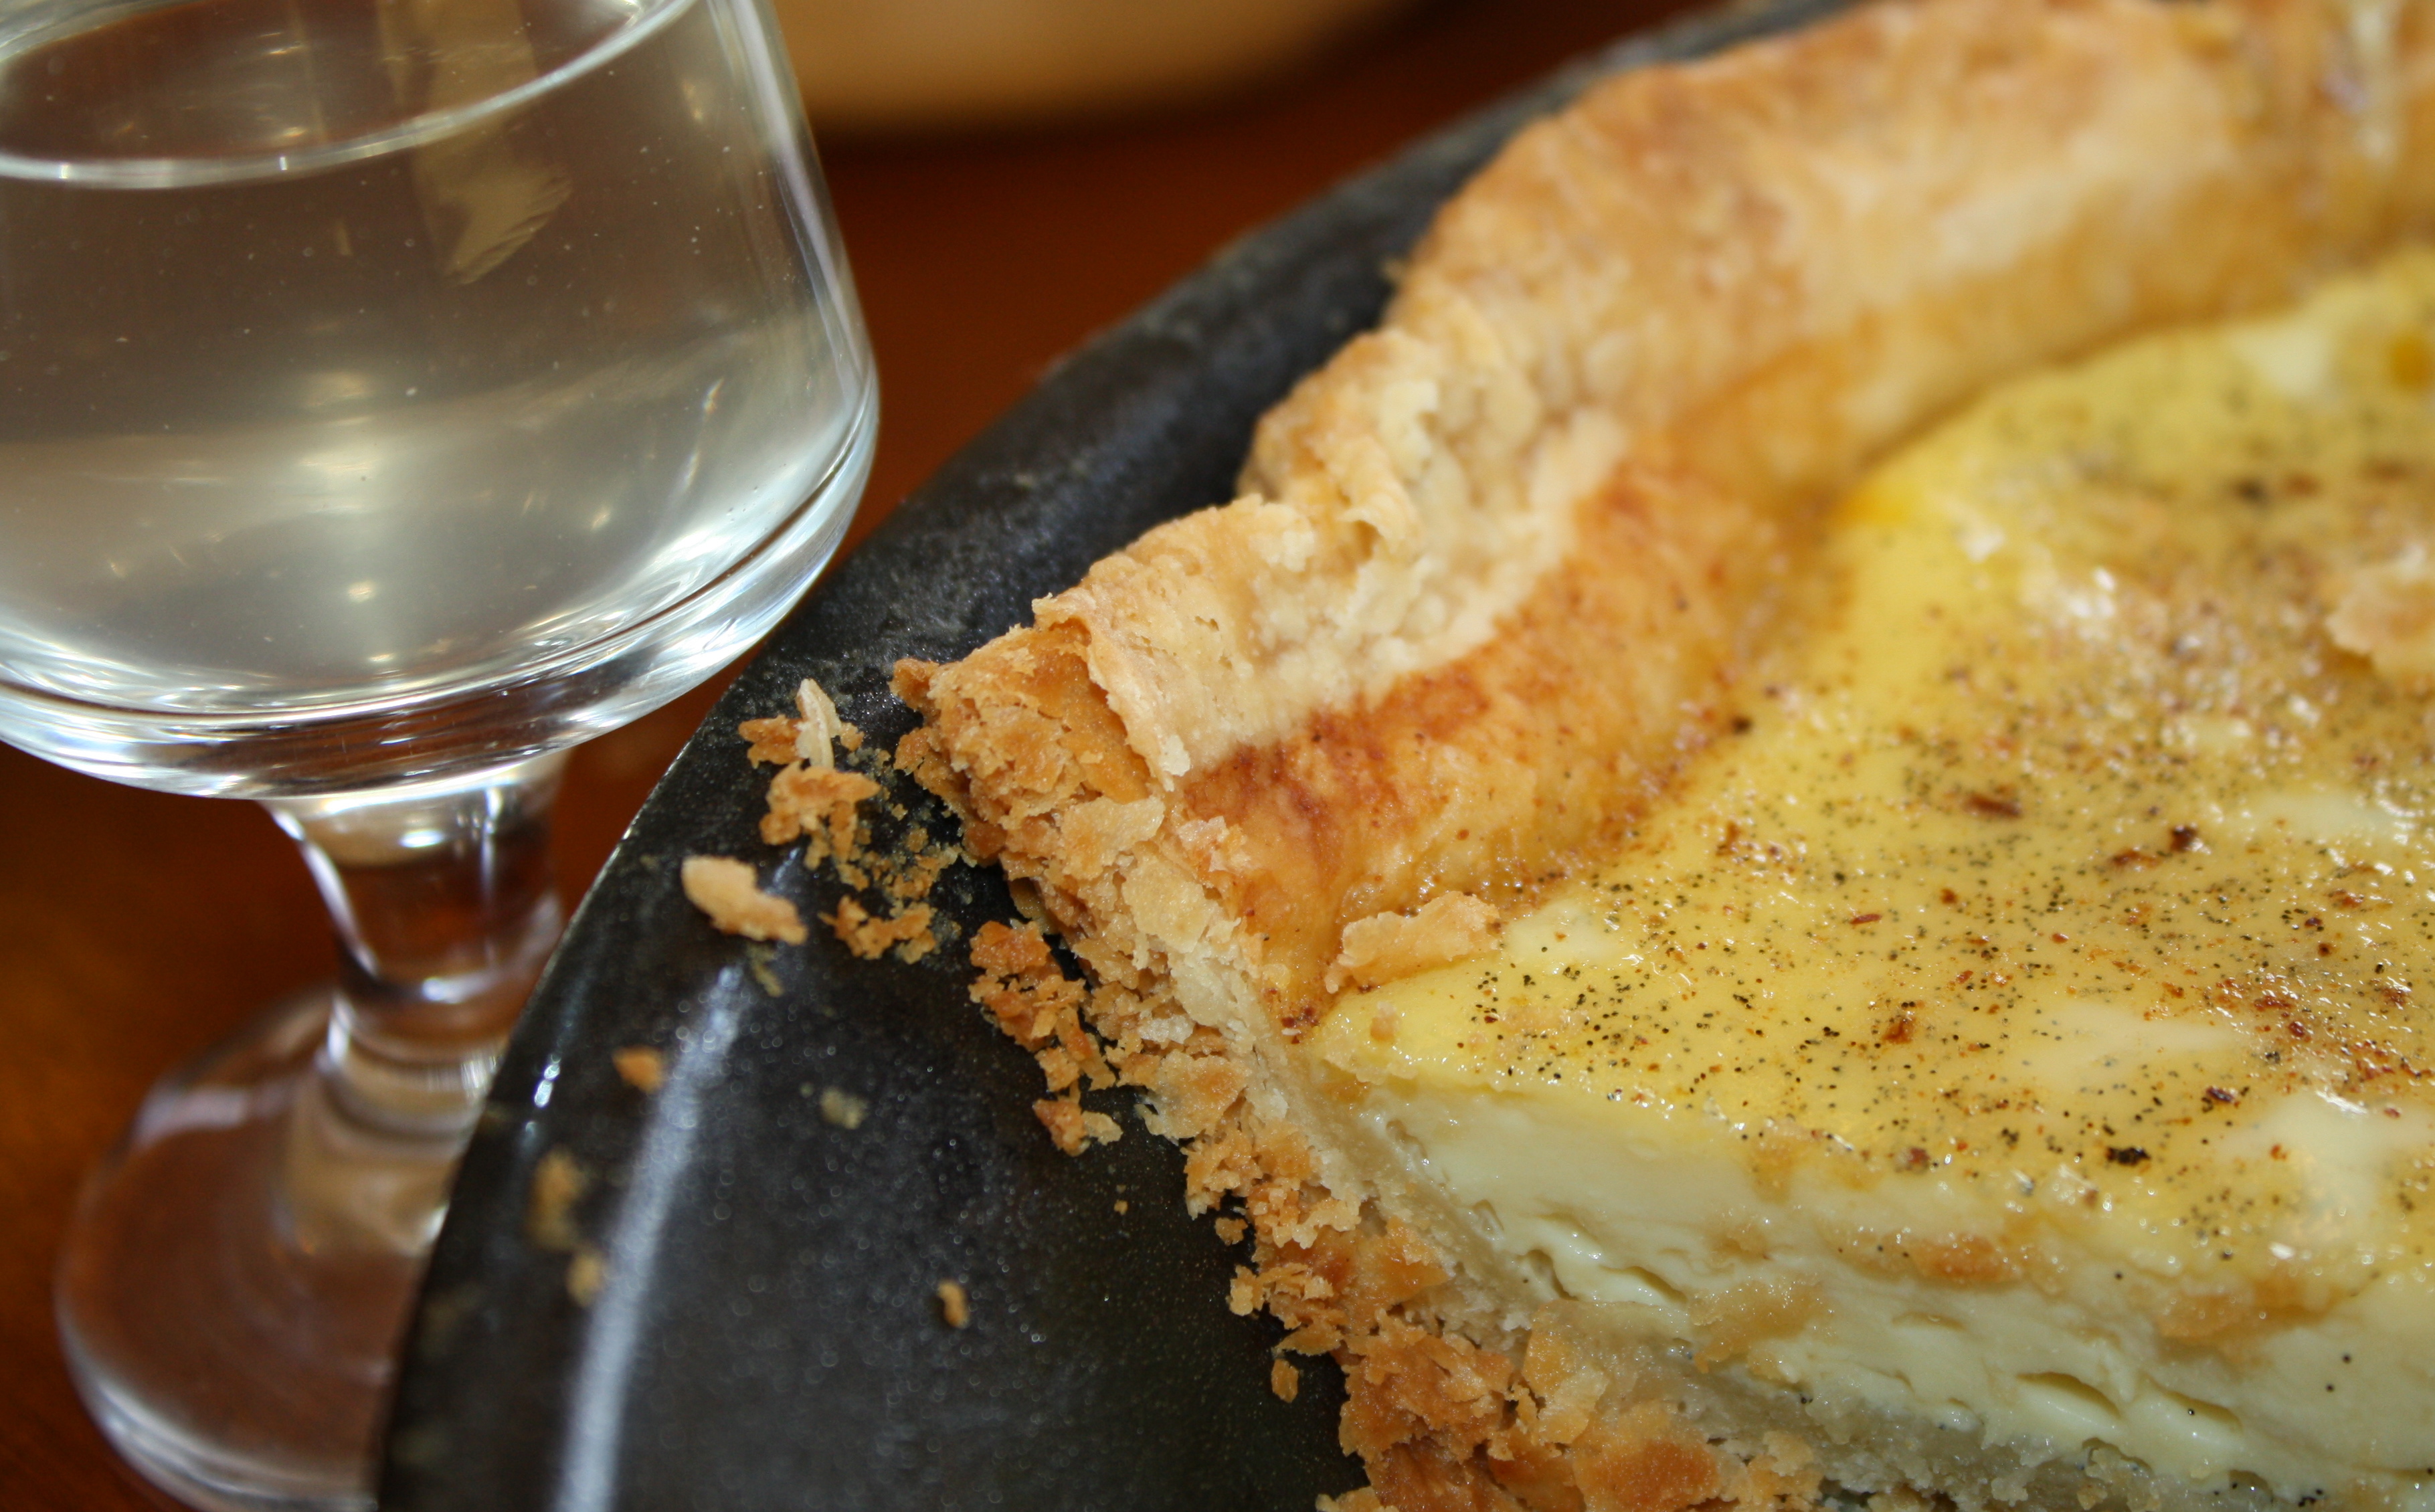
Inspired by the contents of this book, we decided to host an afternoon of pie tasting. Yes, you heard that correctly. We spent Monday afternoon, crowded in our warm kitchen with family and friends, eating nothing but pie and drinking mead and coffee. (I mean, you can’t very well eat a honey pie without honey mead to go with it now can you?) I think it was the tastiest afternoon I have enjoyed in some time. Yum.


When you peek at the back of a shaving cream can, you may notice a longer list of ingredients than the processed food in the grocery store. Almost all of the ingredients are unpronounceable, and really a bit scary when you think of what impact those ingredients have on our bodies once they are absorbed into our skin.
My husband has been searching for a good shave soap for years now and he continued to come up empty handed. He has very sensitive skin and couldn’t seem to locate anything that worked, didn’t contain a ton of chemicals, and didn’t irritate his skin.
So, like many other things in our life, we decided to try our hand at making our own. My hubby has been extremely happy with how these products turned out, and he uses them on a daily basis, confident in the fact that toxins are not leaching into his system, and he does’t have to worry about skin irritation issues.
Sandalwood, Cedarwood & Bay Shave Oil
(Apply a small amount of this Shave Oil prior to shaving. Follow with Shave Soap.)
1/2 cup organic extra virgin olive oil
1 cup castor oil
10 drops sandalwood essential oil
10 drop cedarwood essential oil
5 drops bay essential oil
4 oz. amber bottles with lids (I bought mine here.)
medium-sized bowl
metal spoon
funnel
Mix the olive oil and caster oil in a medium bowl. Then, slowly mix in the three essential oils. Using a funnel, pour the shave oil into the amber bottles. Cap. Enjoy.
Sandalwood, Cedarwood & Bay Shave Soap
(Place a bar of this soap in the bottom of a large mug. Thoroughly wet a shave brush and then vigorously rub it over the bar of shave soap. Lather the soap on your face and you are ready to begin shaving.)
1 pound Melt and Pour Soap Base (I use this Goat’s Milk Soap Base.)
2 teaspoons bentonite clay (I purchase mine from this local natural food store, but you can get it here.)
10 drops sandalwood essential oil
10 drops cedarwood essential oil
5 drops bay essential oil
a shallow pot or saucepan
a glass bowl
wooden spoon
soap molds (You can purchase these at your local craft store or here.)
Fill the pot or saucepan half full with water. Bring to a simmer. Place the glass bowl in the pot of water to create a double boiler of sorts. Place the melt and pour soap base in the glass bowl. Stir the base with a wooden spoon until it melts. Remove the bowl from the heat and quickly mix in the clay. Then add the three essential oils and stir. Allow the mixture to cool just slightly (enough to thicken the mixture just a bit). Pour into your molds. Allow to rest until completely cool. Remove the soap from the molds. Enjoy.

