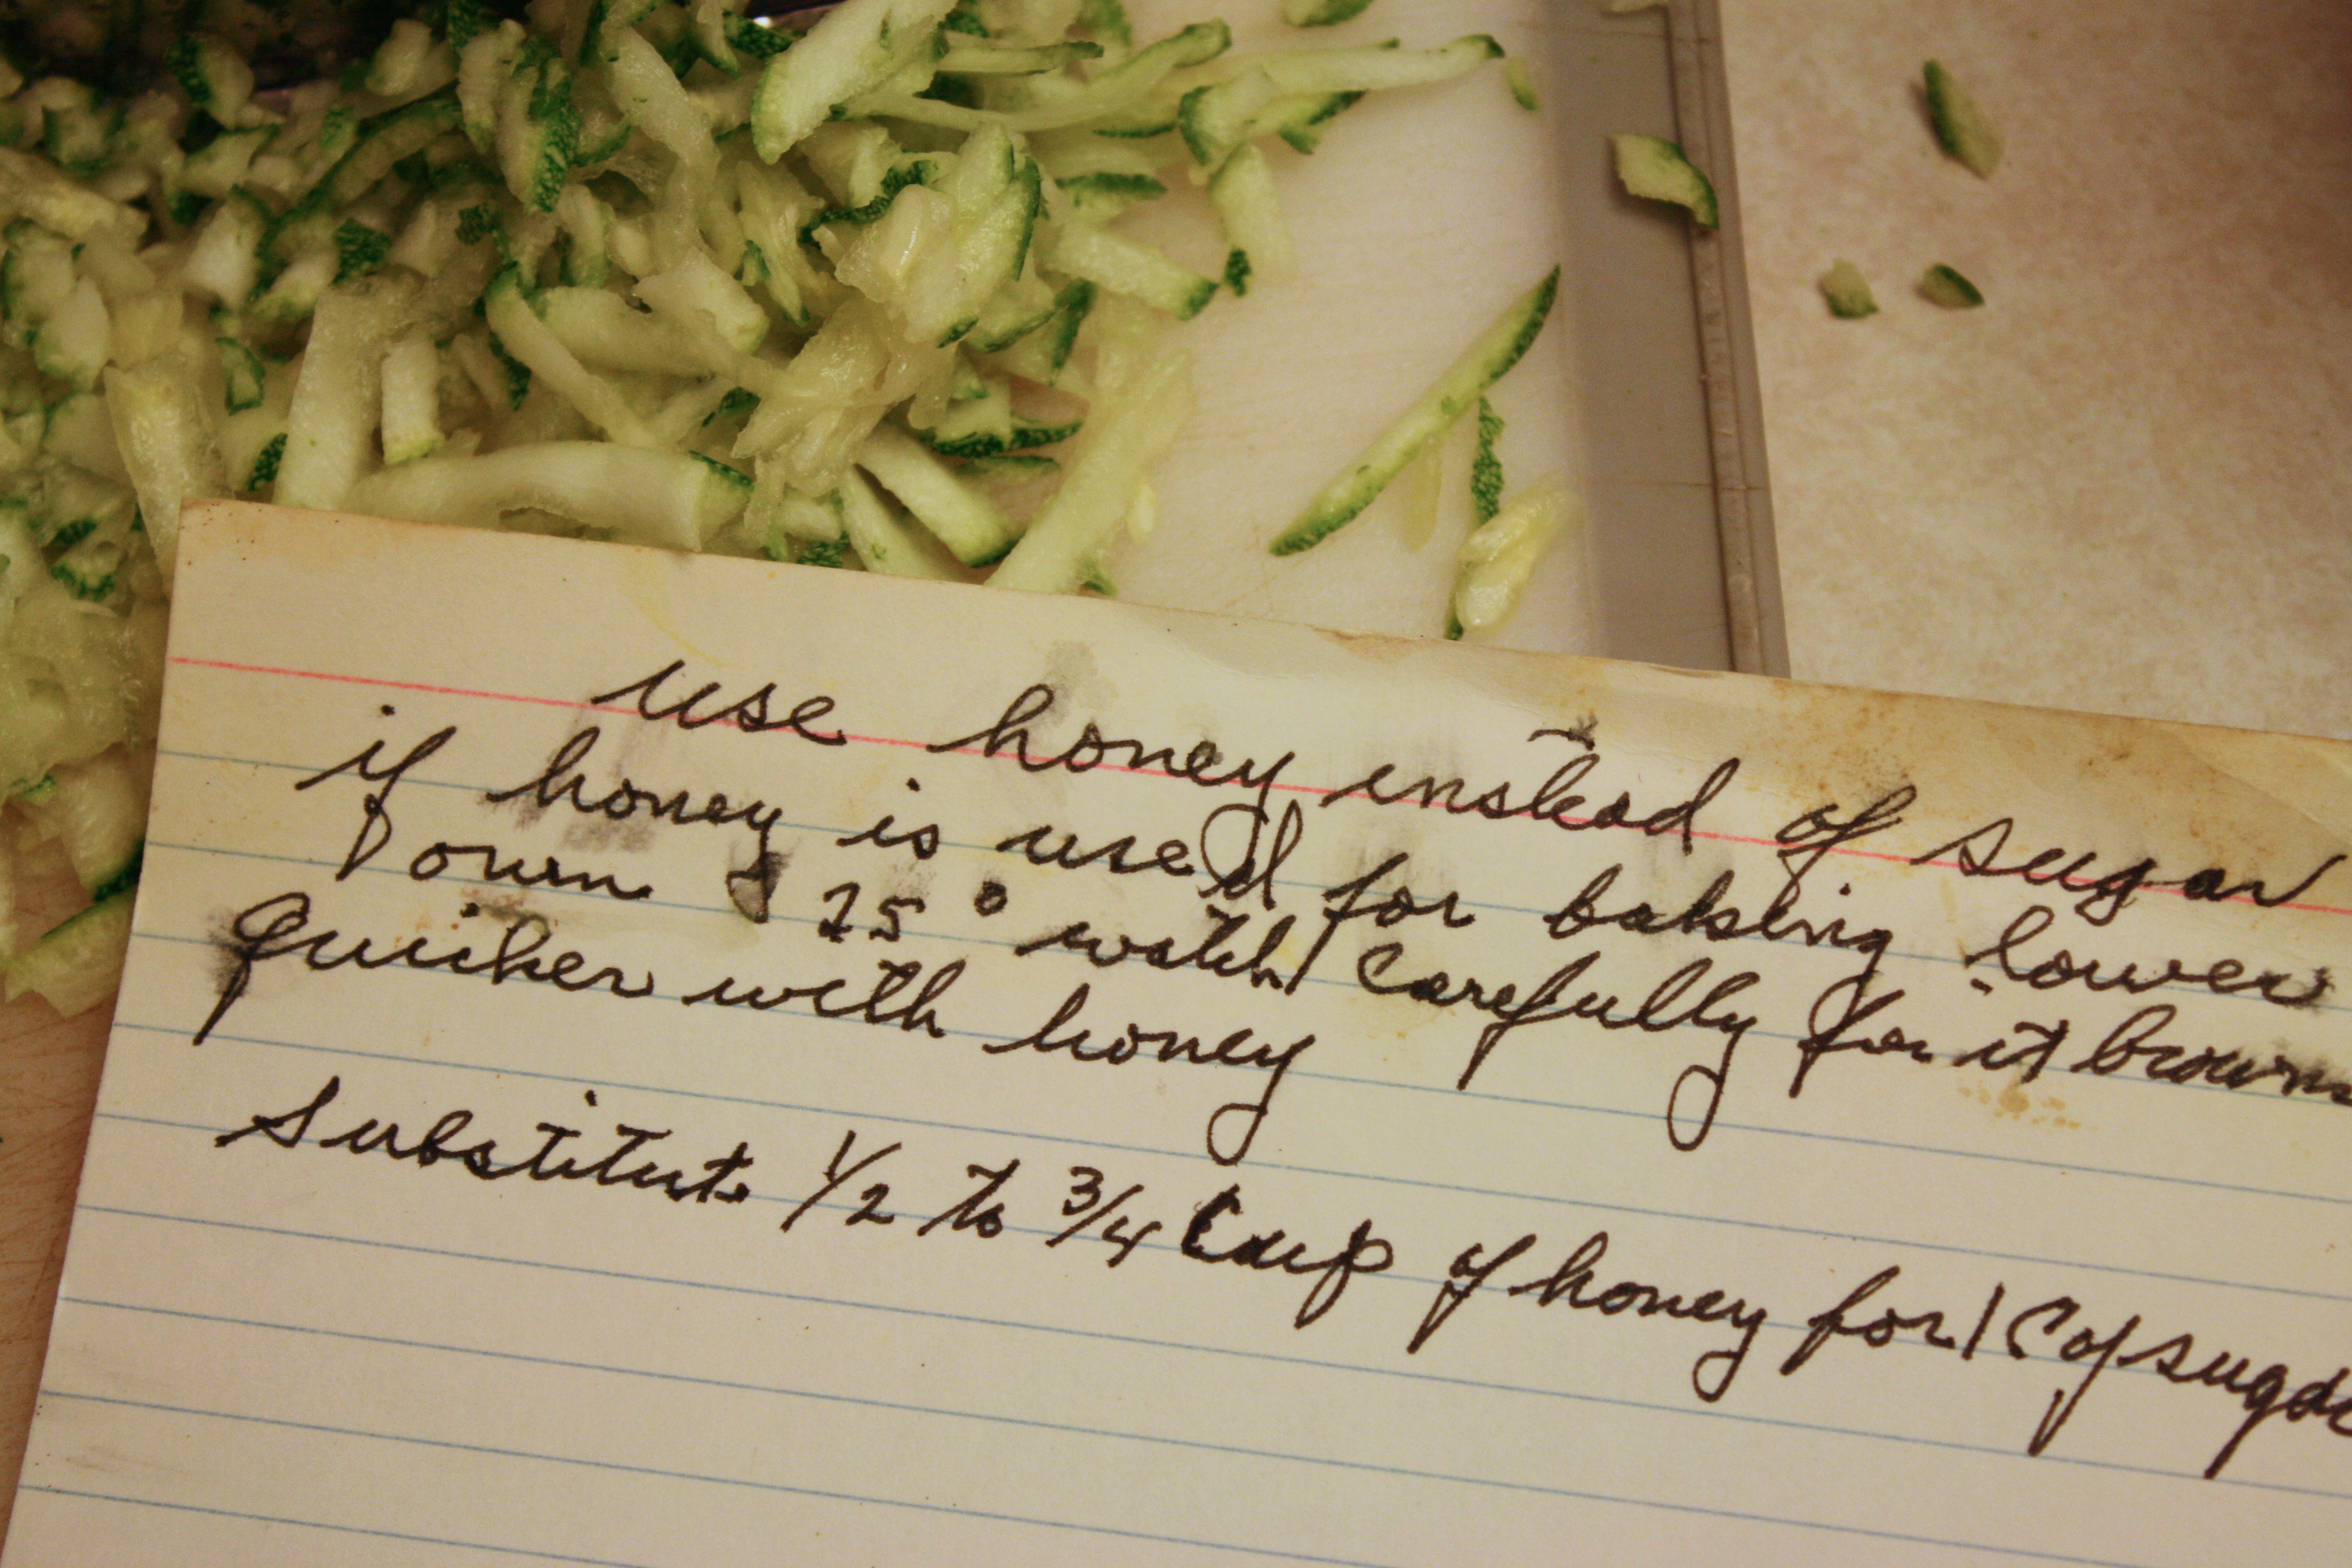
I have been playing around with local honey yet again (as I did in this post), and I am happy to say I have worked out a delicious, ambrosial zucchini bread made with no refined sugar. A while back I shared with you that I discovered my grandpa’s old recipe box and, tucked beneath oh so many recipe cards, I found one card explaining how to replace refined sugar with honey in baking recipes. Ever since this card’s discovery, I enjoy playing around with recipes to try to make them free of any type of refined sugars. Sometimes the recipes work great, other times, not so much. But I am happy to share with you today a recipe in which the sugar-replacement worked, and I think it’s pretty darn tasty! I hope you enjoy.
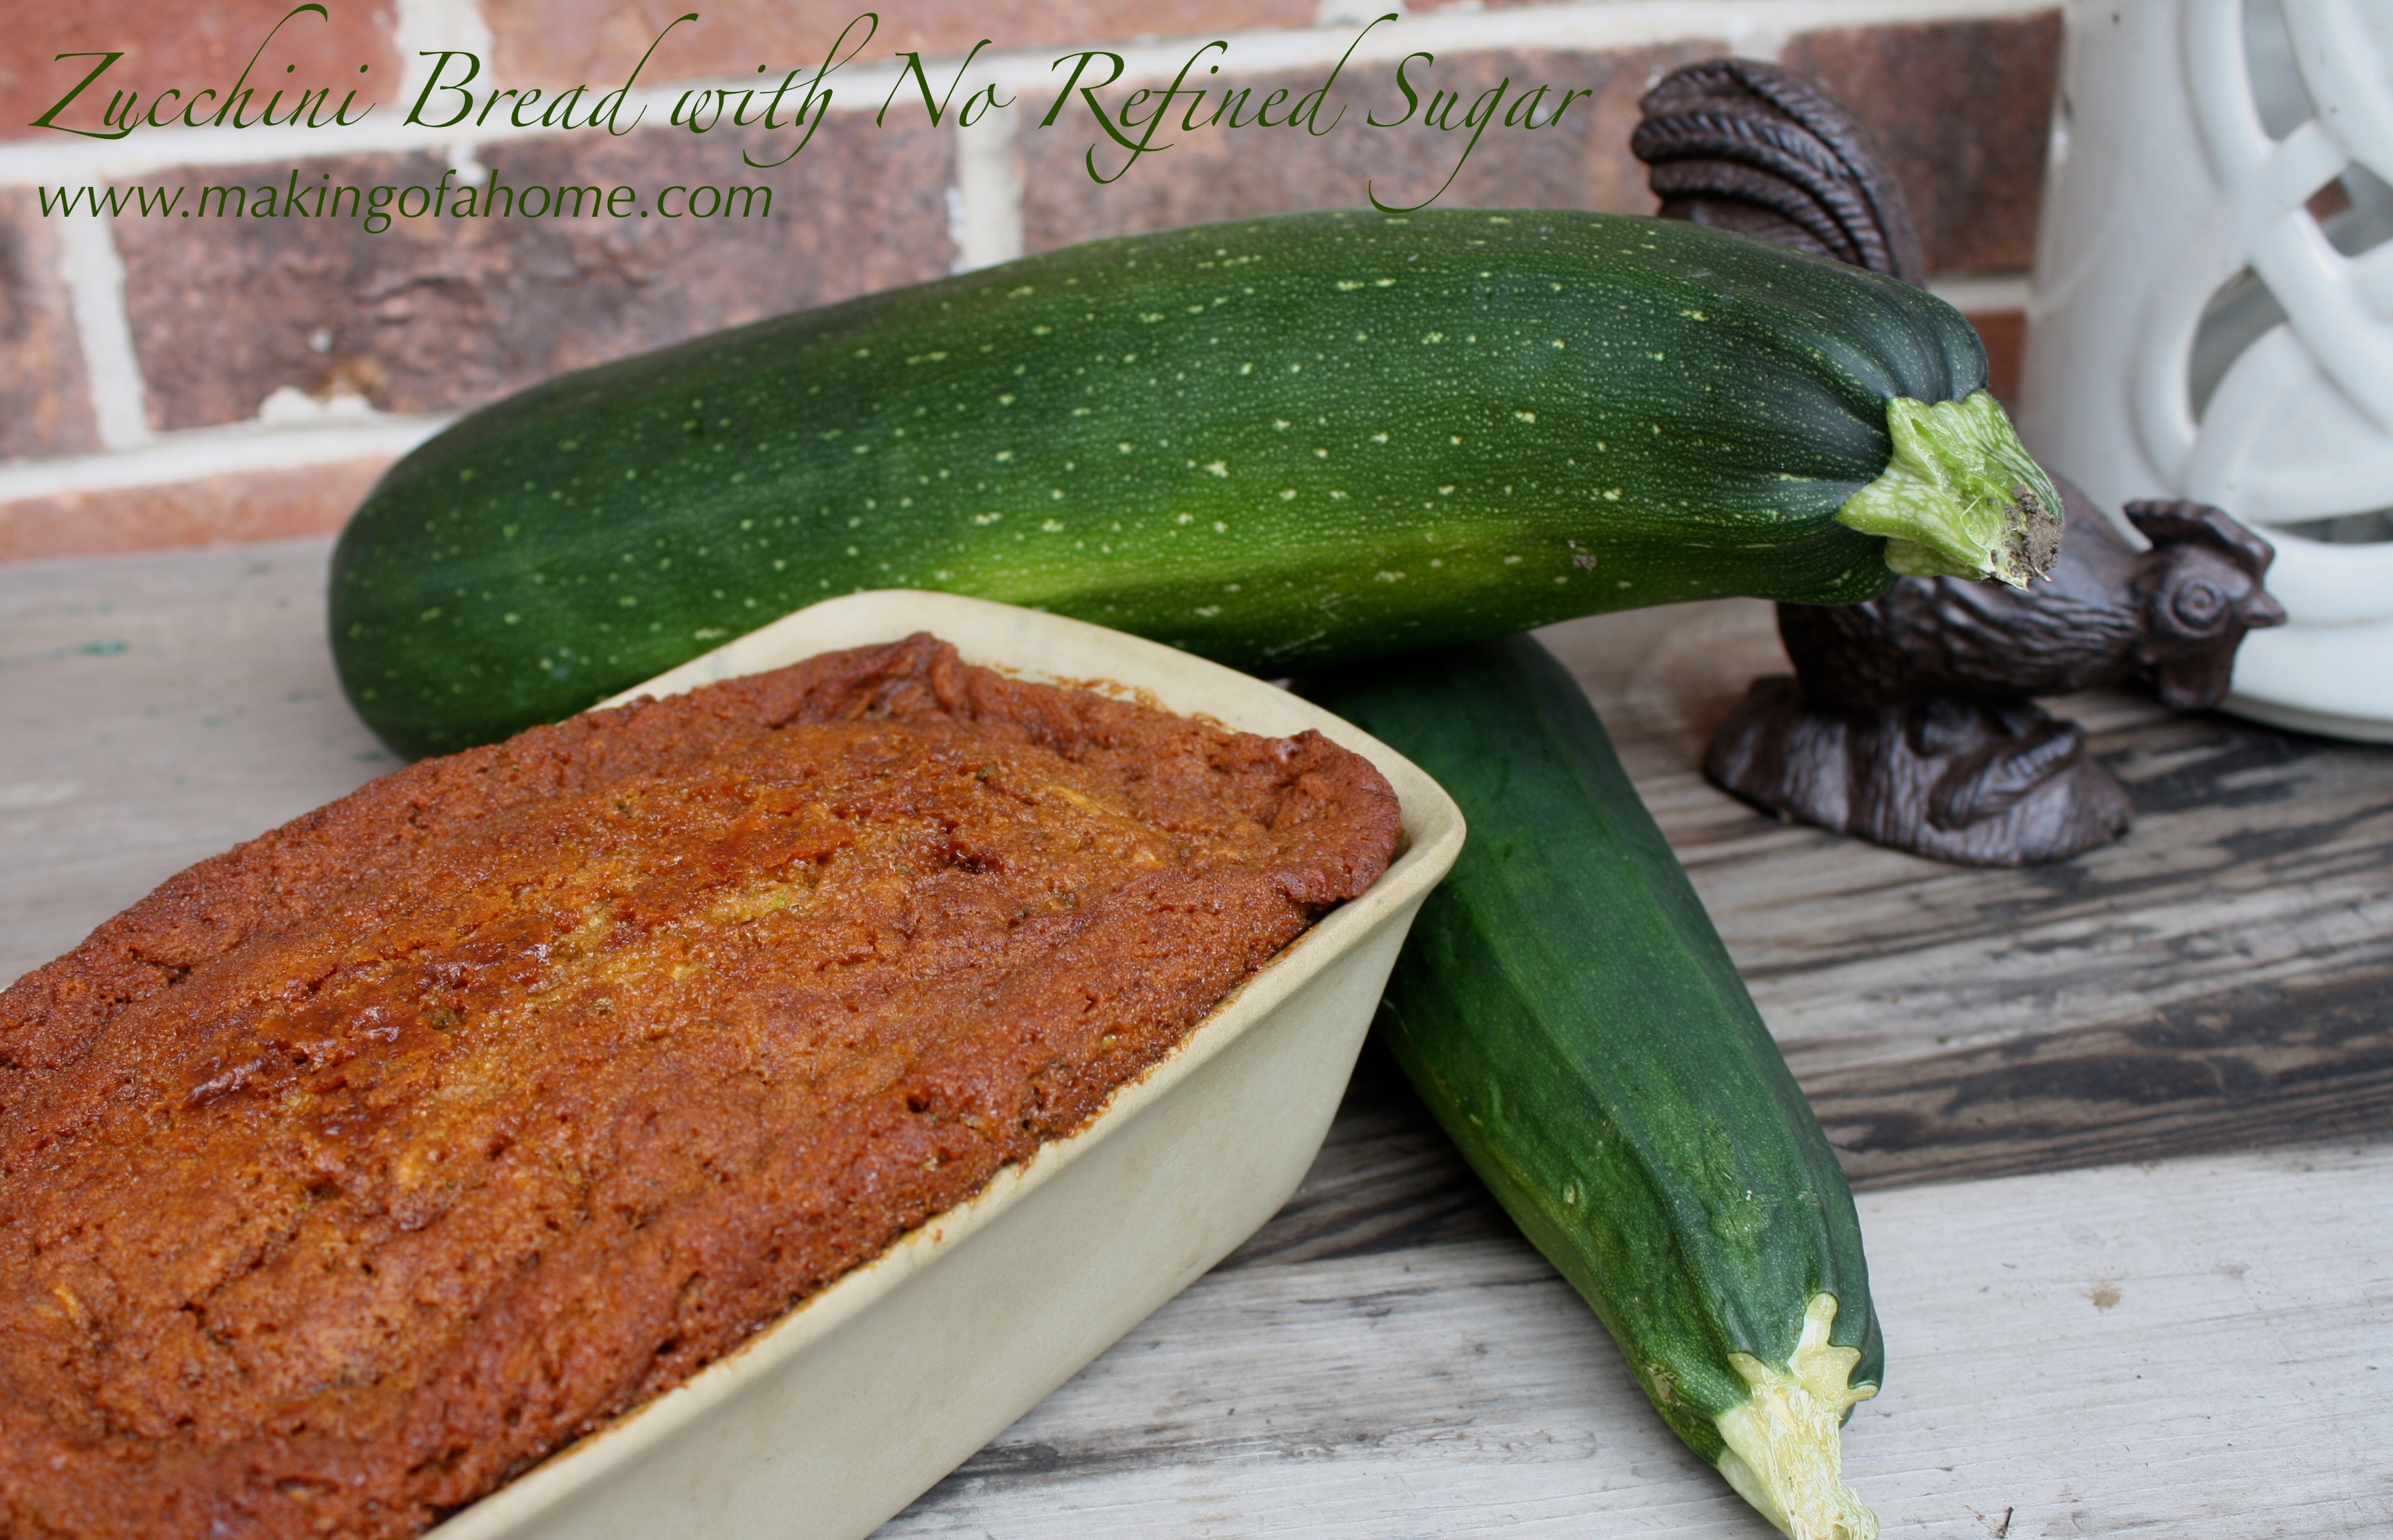
Zucchini Bread with No Refined Sugar
In a medium bowl, mix together:
1 3/4 cups flour
1/2 teaspoon nutmeg
1 teaspoon baking soda
1/2 teaspoon cinnamon
Set this dry mixture aside. Then in a large bowl, whisk together:
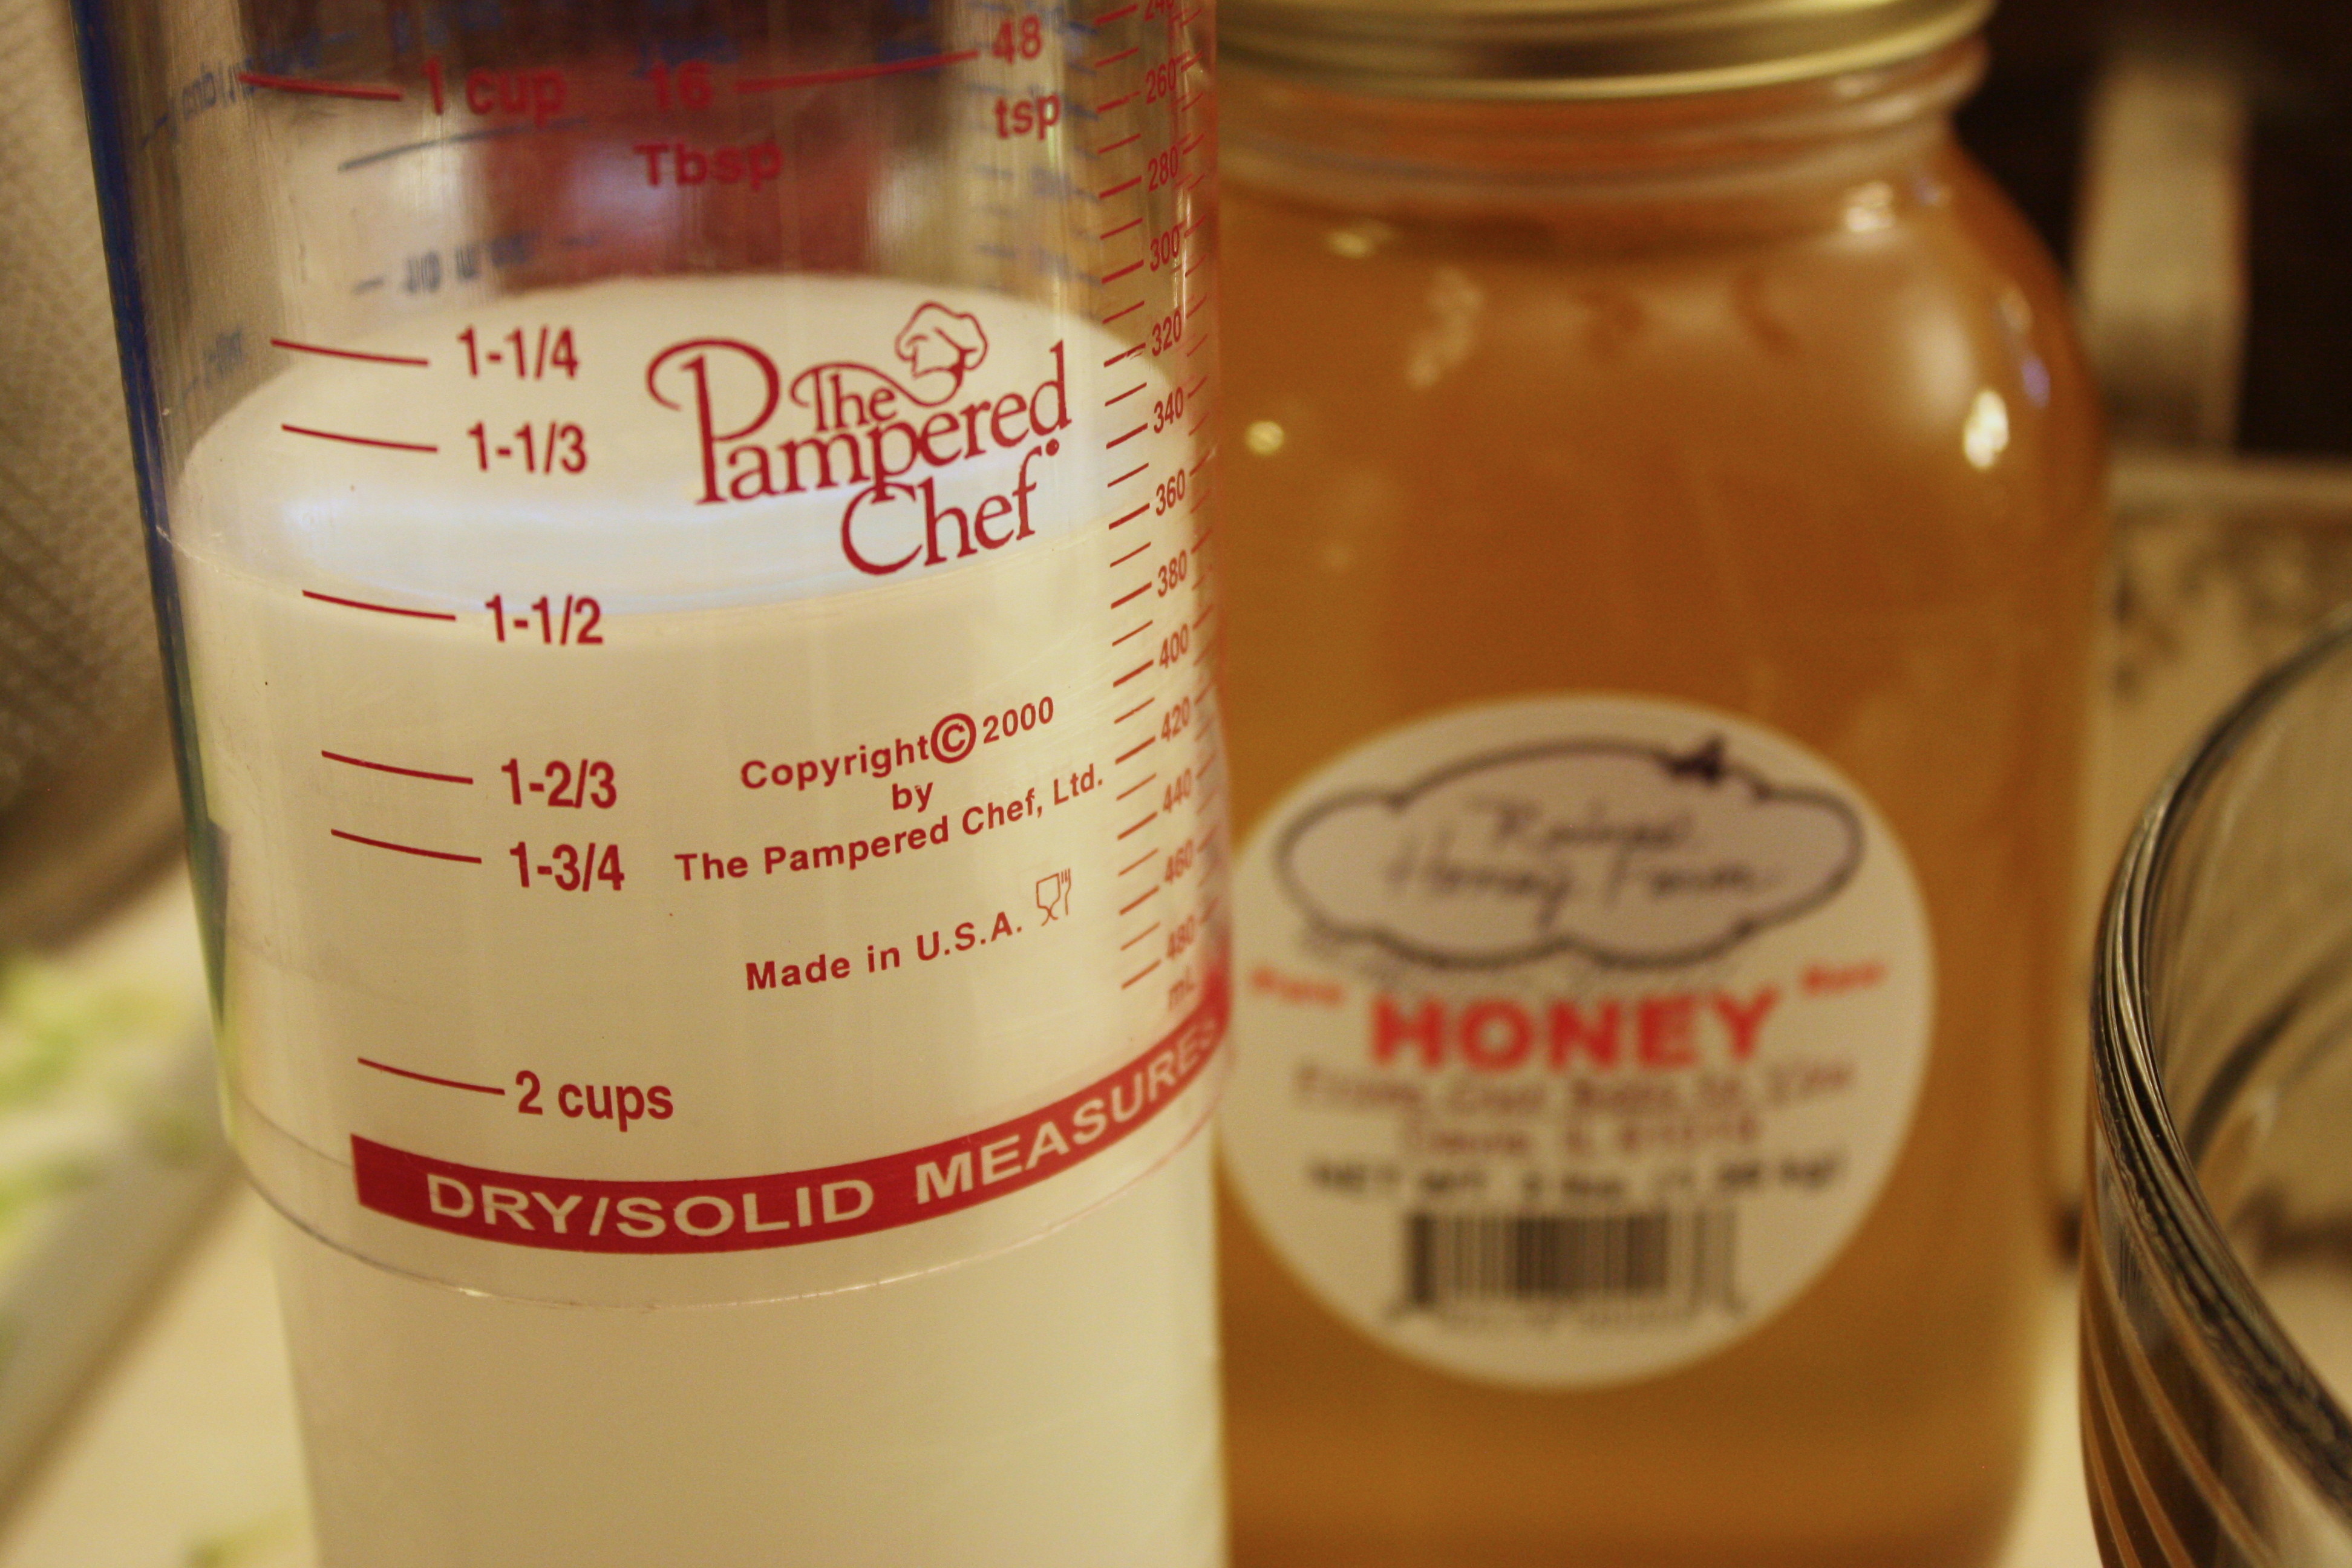
1 1/4 cups honey (I love using this great measuring cup when baking with honey because it allows me to use honey, but not have the sticky mess that normally results when doing so.)
1/2 cup canola oil
2 eggs
1 teaspoon lemon juice
1 to 1 1/2 cup(s) grated zucchini
Next, mix the dry mixture into the wet mixture. Pour into a greased loaf pan. (For baked goods like breads and muffins I love using the Pampered Chef Stoneware because the yummies not only bake up great, but it allows for toxin-free baking and the pieces are made in America. For this recipe, I use this Stoneware Loaf Pan.) Bake in a 325 degree oven for about one hour, or until a toothpick inserted into the center of the loaf comes out clean.
*Honey tends to burn faster than refined sugar. For this reason, your bread may brown on the top before the inside is fully cooked. If you notice this happening, simply cover the top of the bread with foil and then continue to bake. This will help to prevent further browning on the bread’s top.
Enjoy!
*A note about all my recipes: I use all organic ingredients, local when available. I use non-homogenized milk, and all of the dairy we use is from animals raised on pasture. I also use oils that are non-GMO verified. All our meat is raised locally on organic feed, and our beef is grass-fed, grass-finished. All our spices and cane sugar are fair-trade certified and purchased through a cooperative.