Cherry Crisp

FullSizeRender-5 FullSizeRender-6 FullSizeRender-3

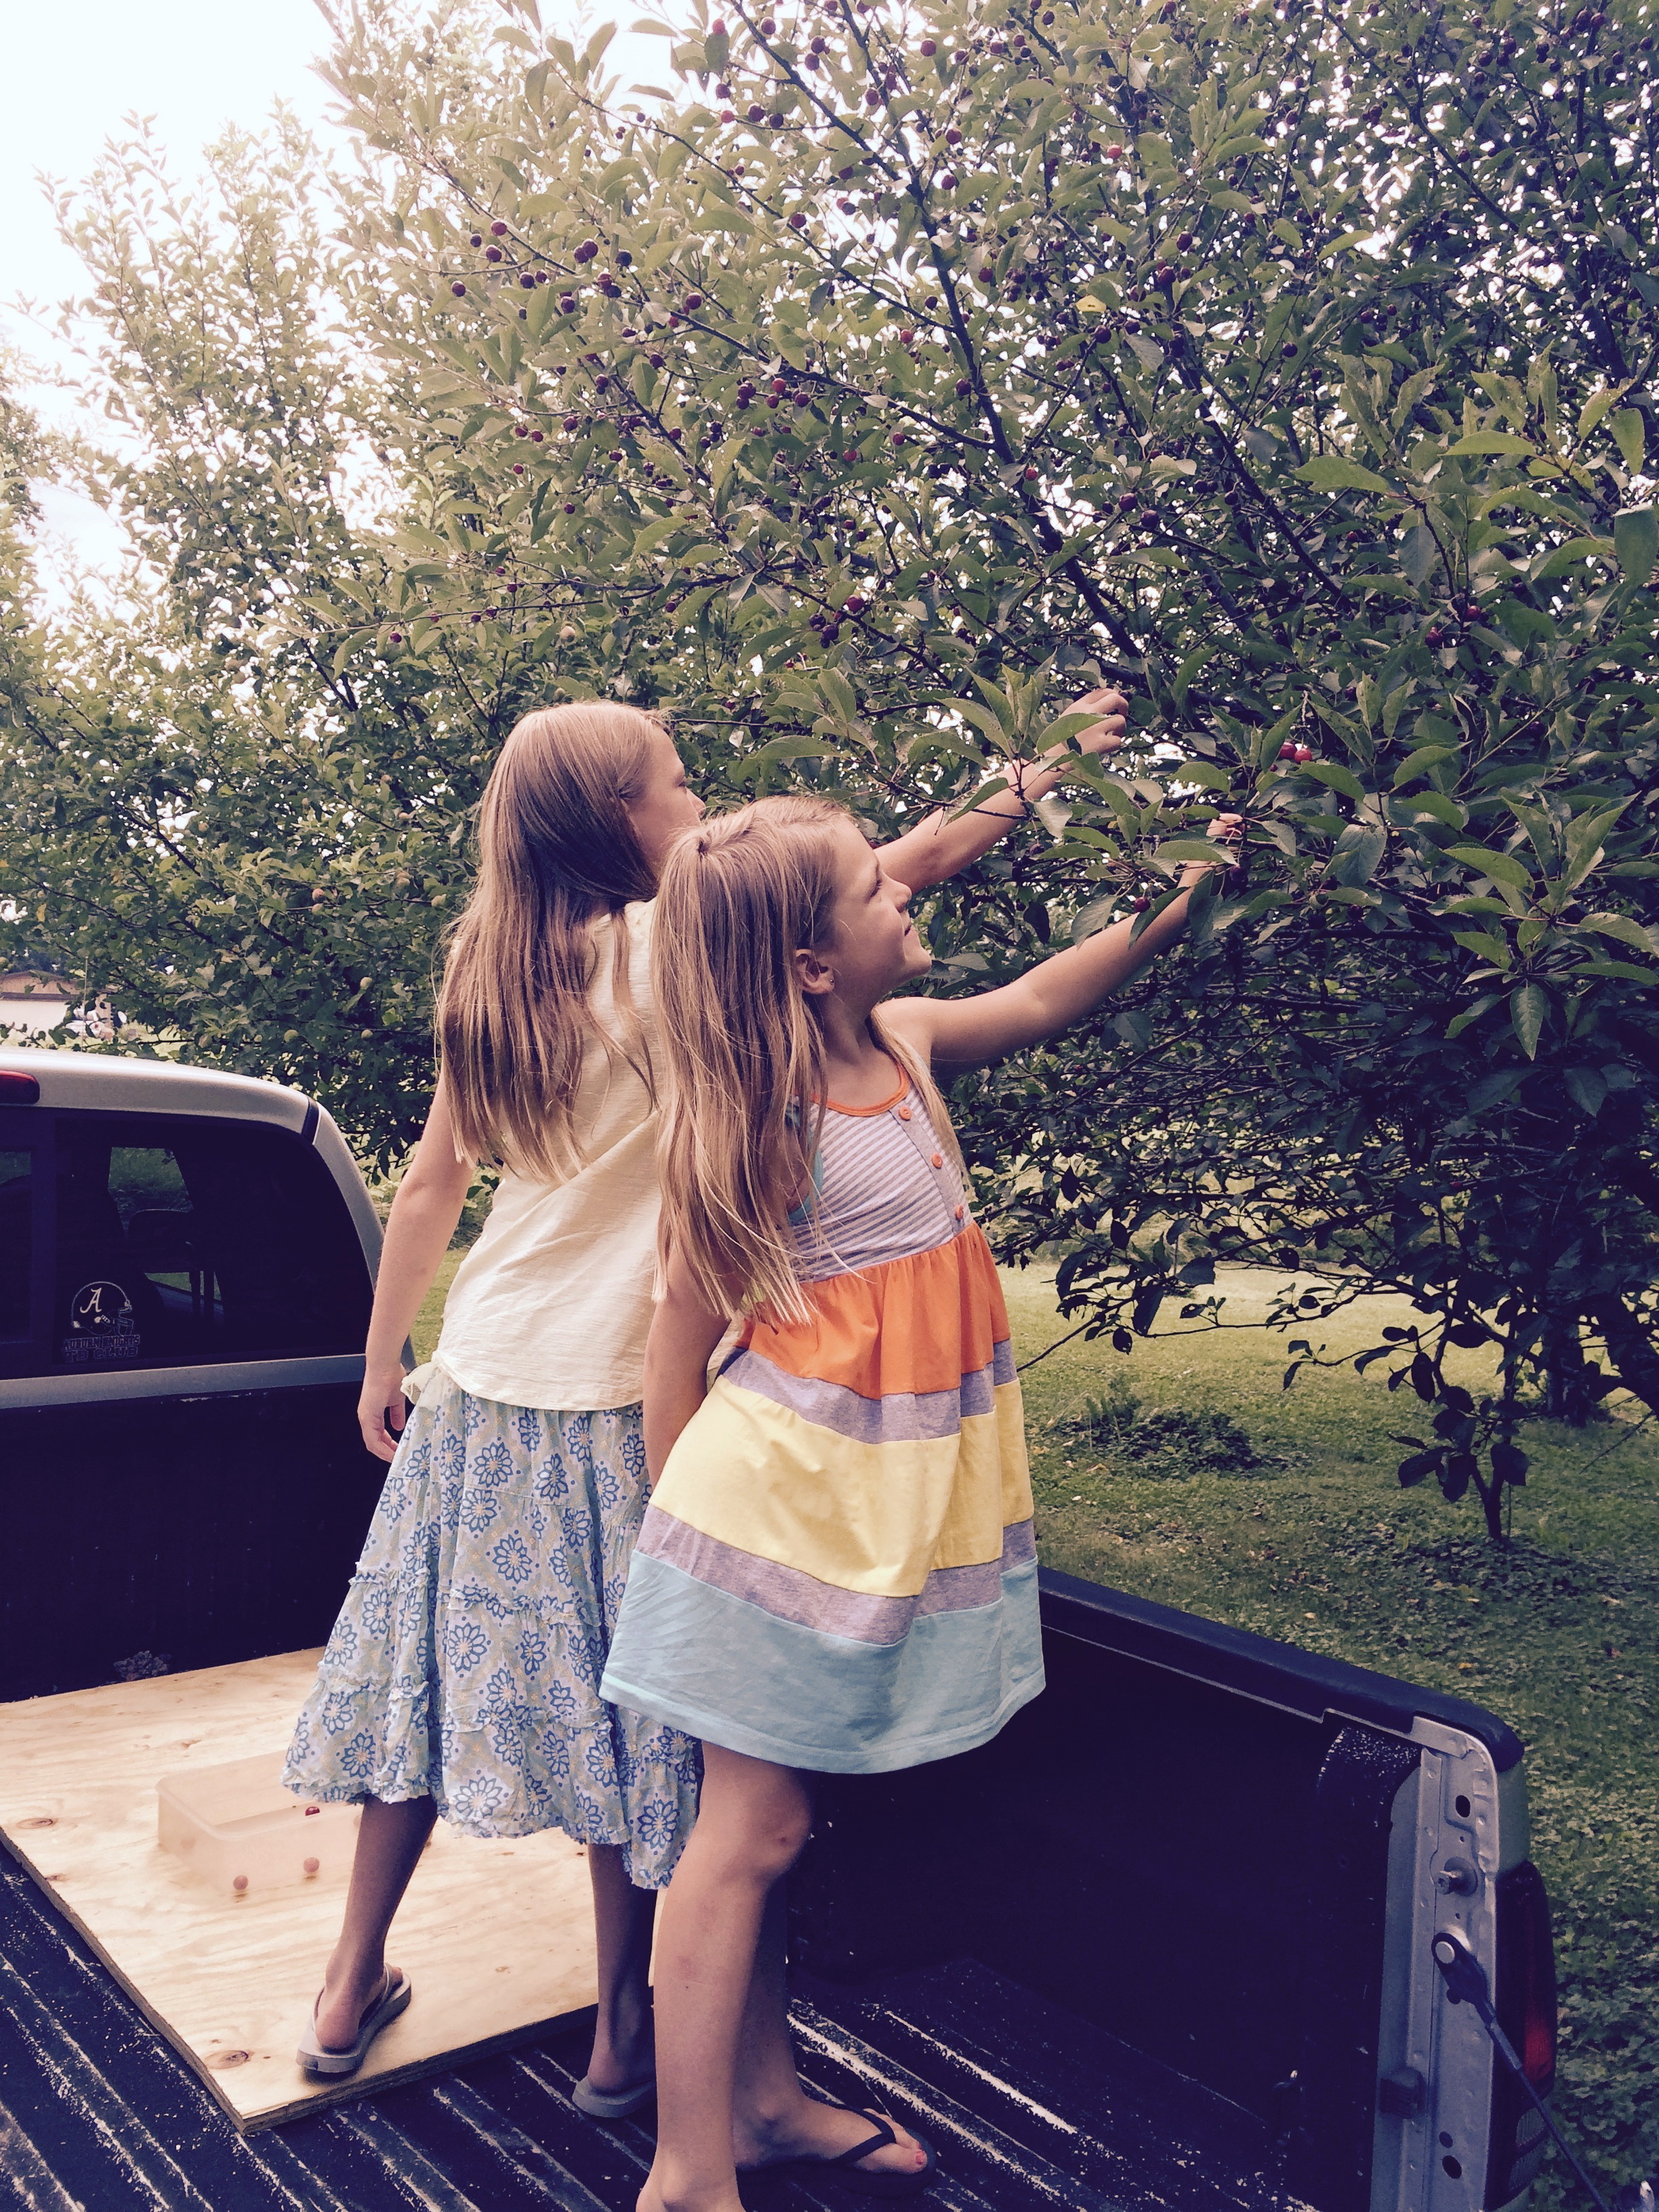
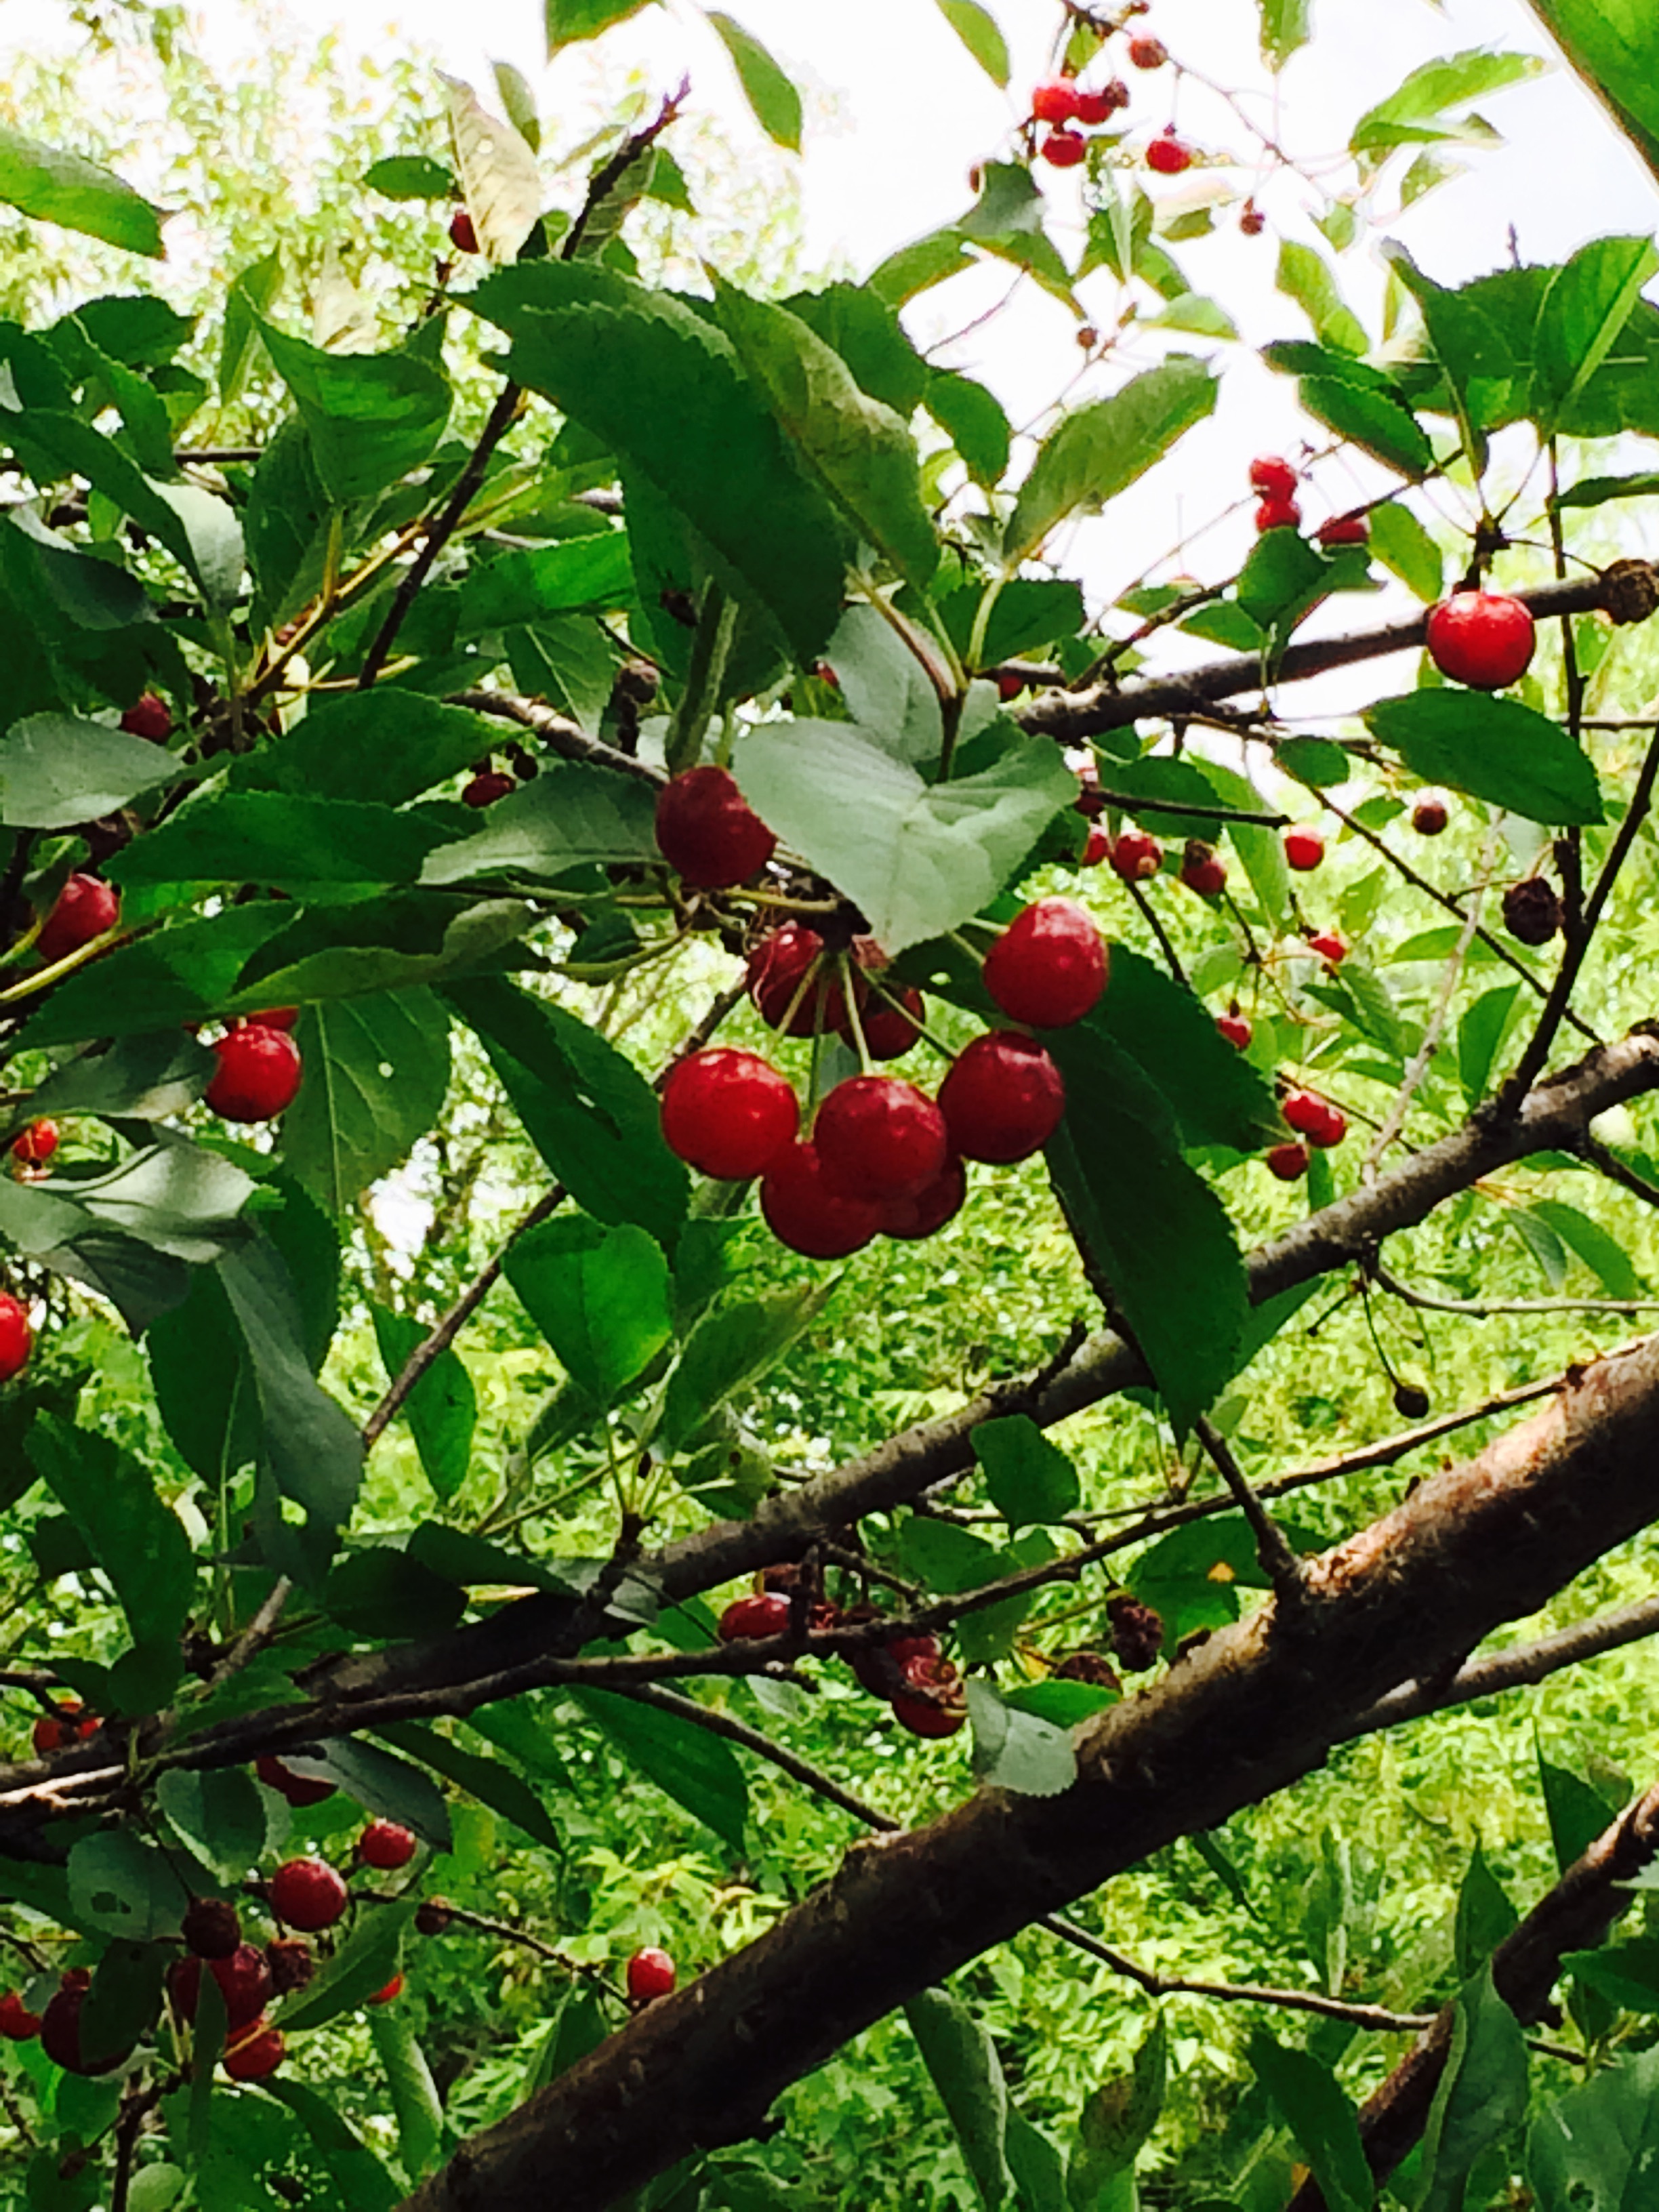
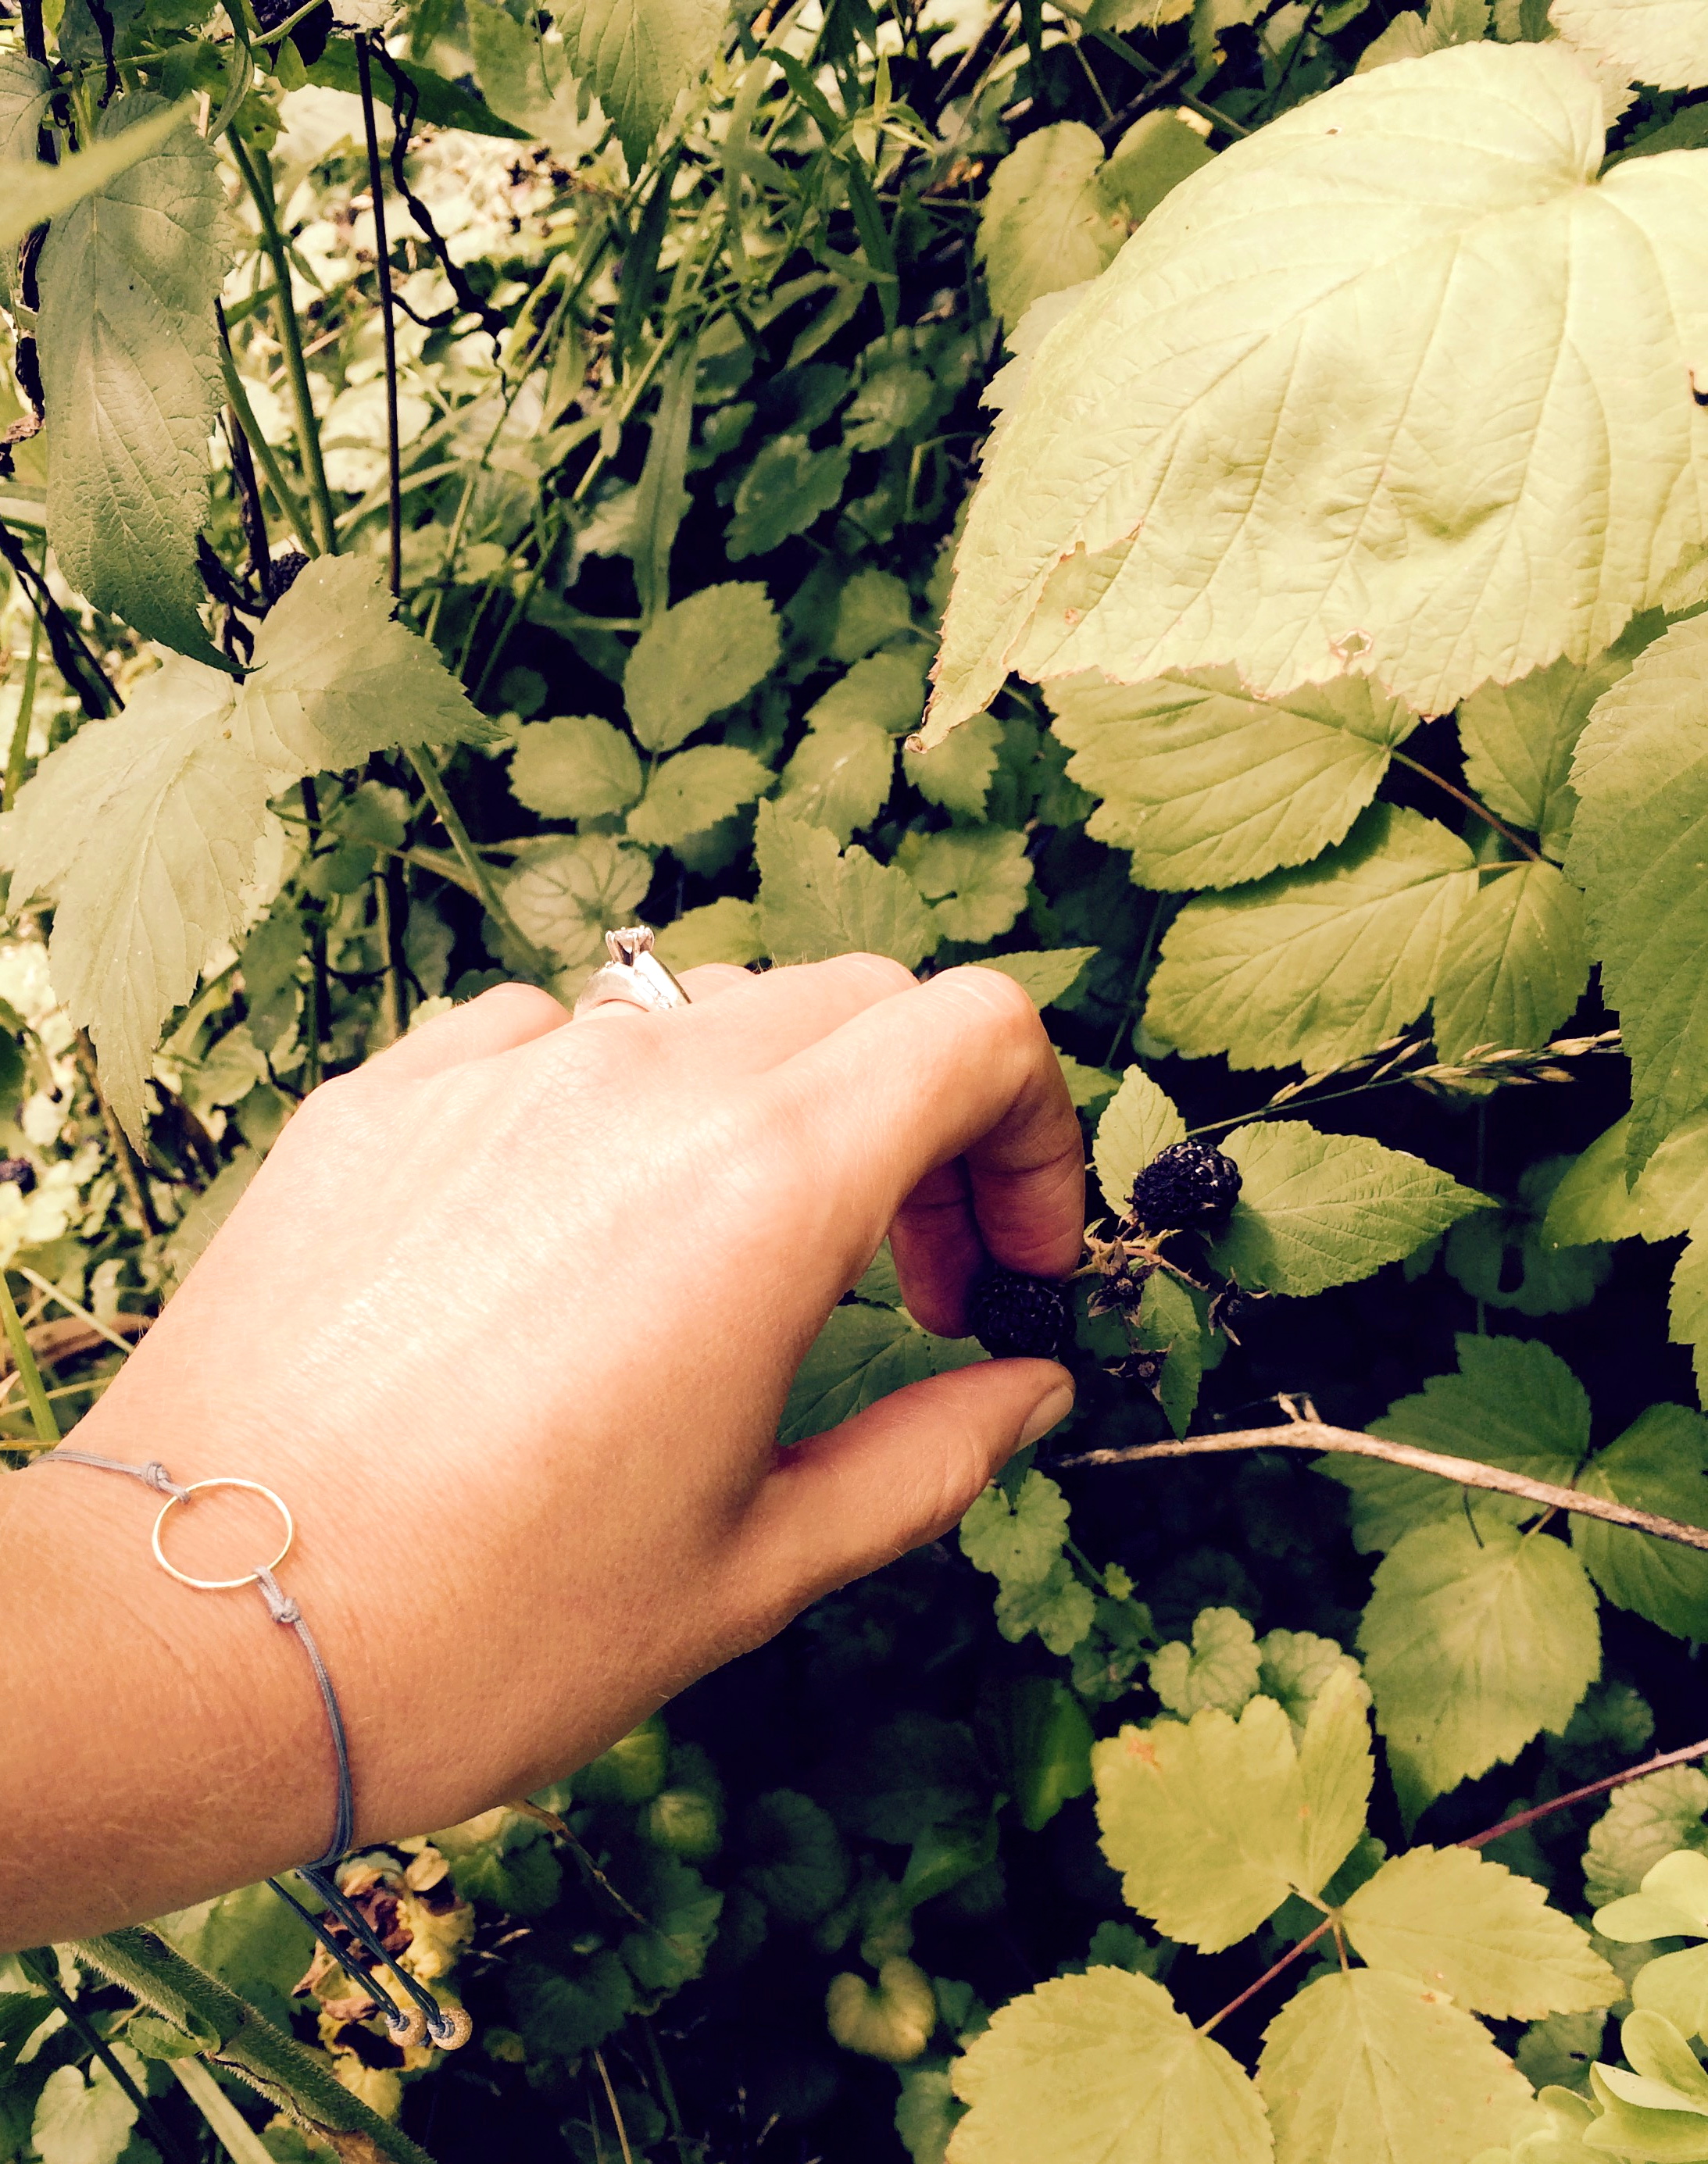
Last week my girls and I, along with my sister, ventured to my in-law’s home and spent the afternoon tangled up in branches and brambles.  It was picking’ time!  By the time the day was done, we ended up with two giant bowls of tart cherries and black raspberries.  Simply marvelous!

FullSizeRender-2 IMG_0663

The black raspberries quickly became freezer jam, with the help of my six and eight-year old sous chefs.  And the cherries, well, the cherries ended up going into an absolutely amazing cherry tart.  I don’t often like to toot my own horn, but friends, it was good.  Very good.  Let me share the recipe…
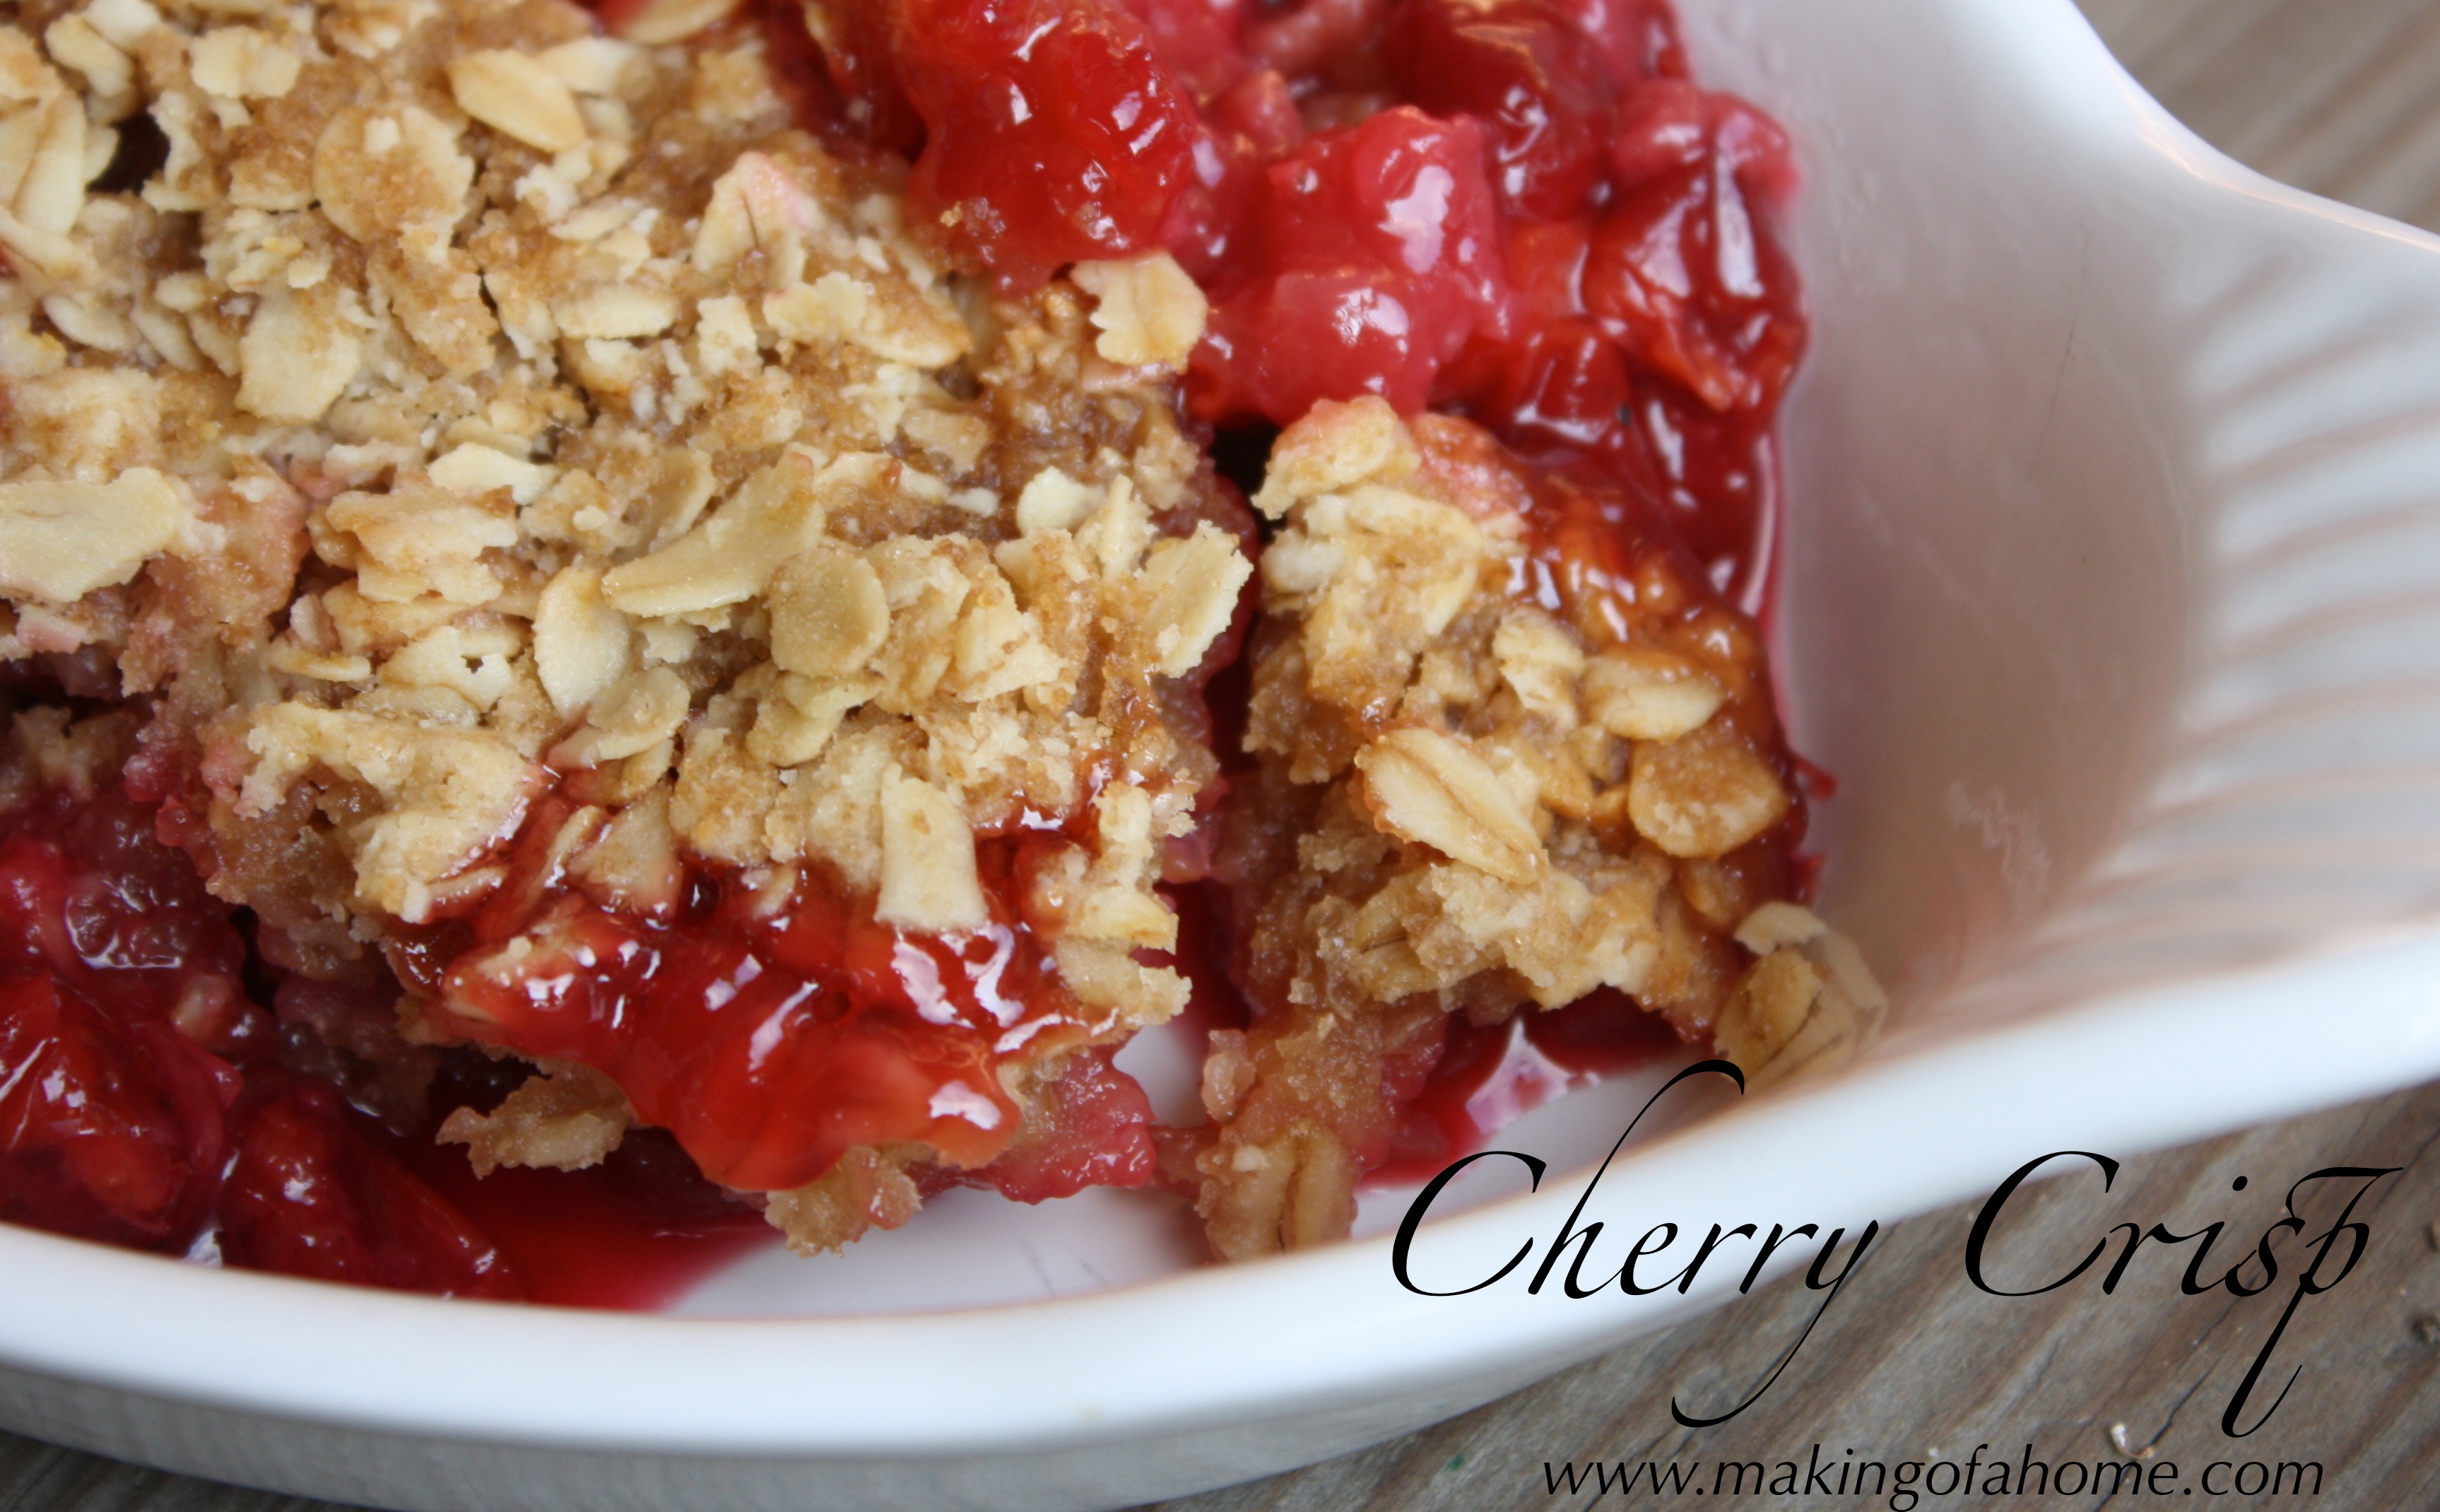
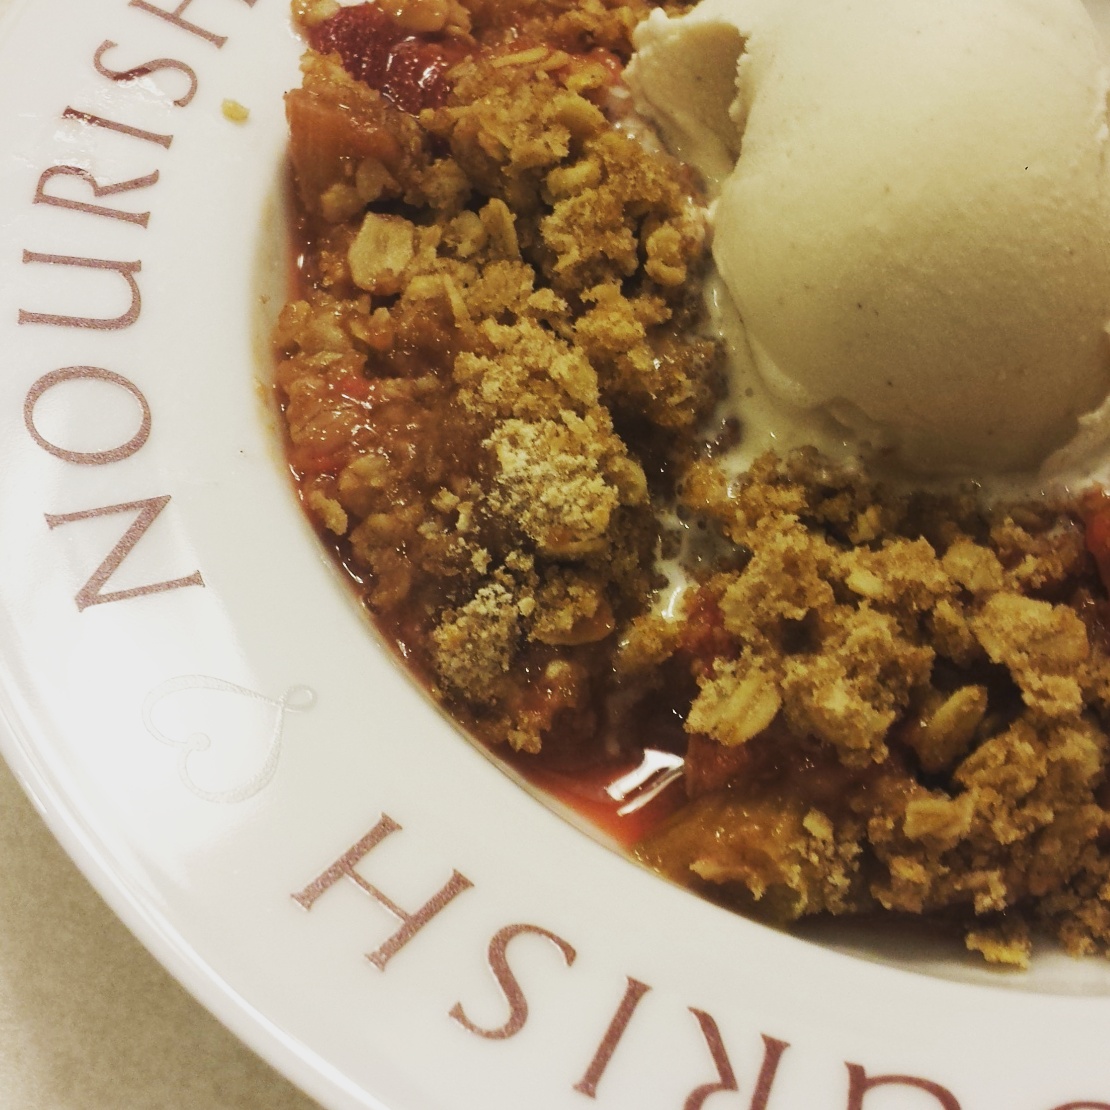
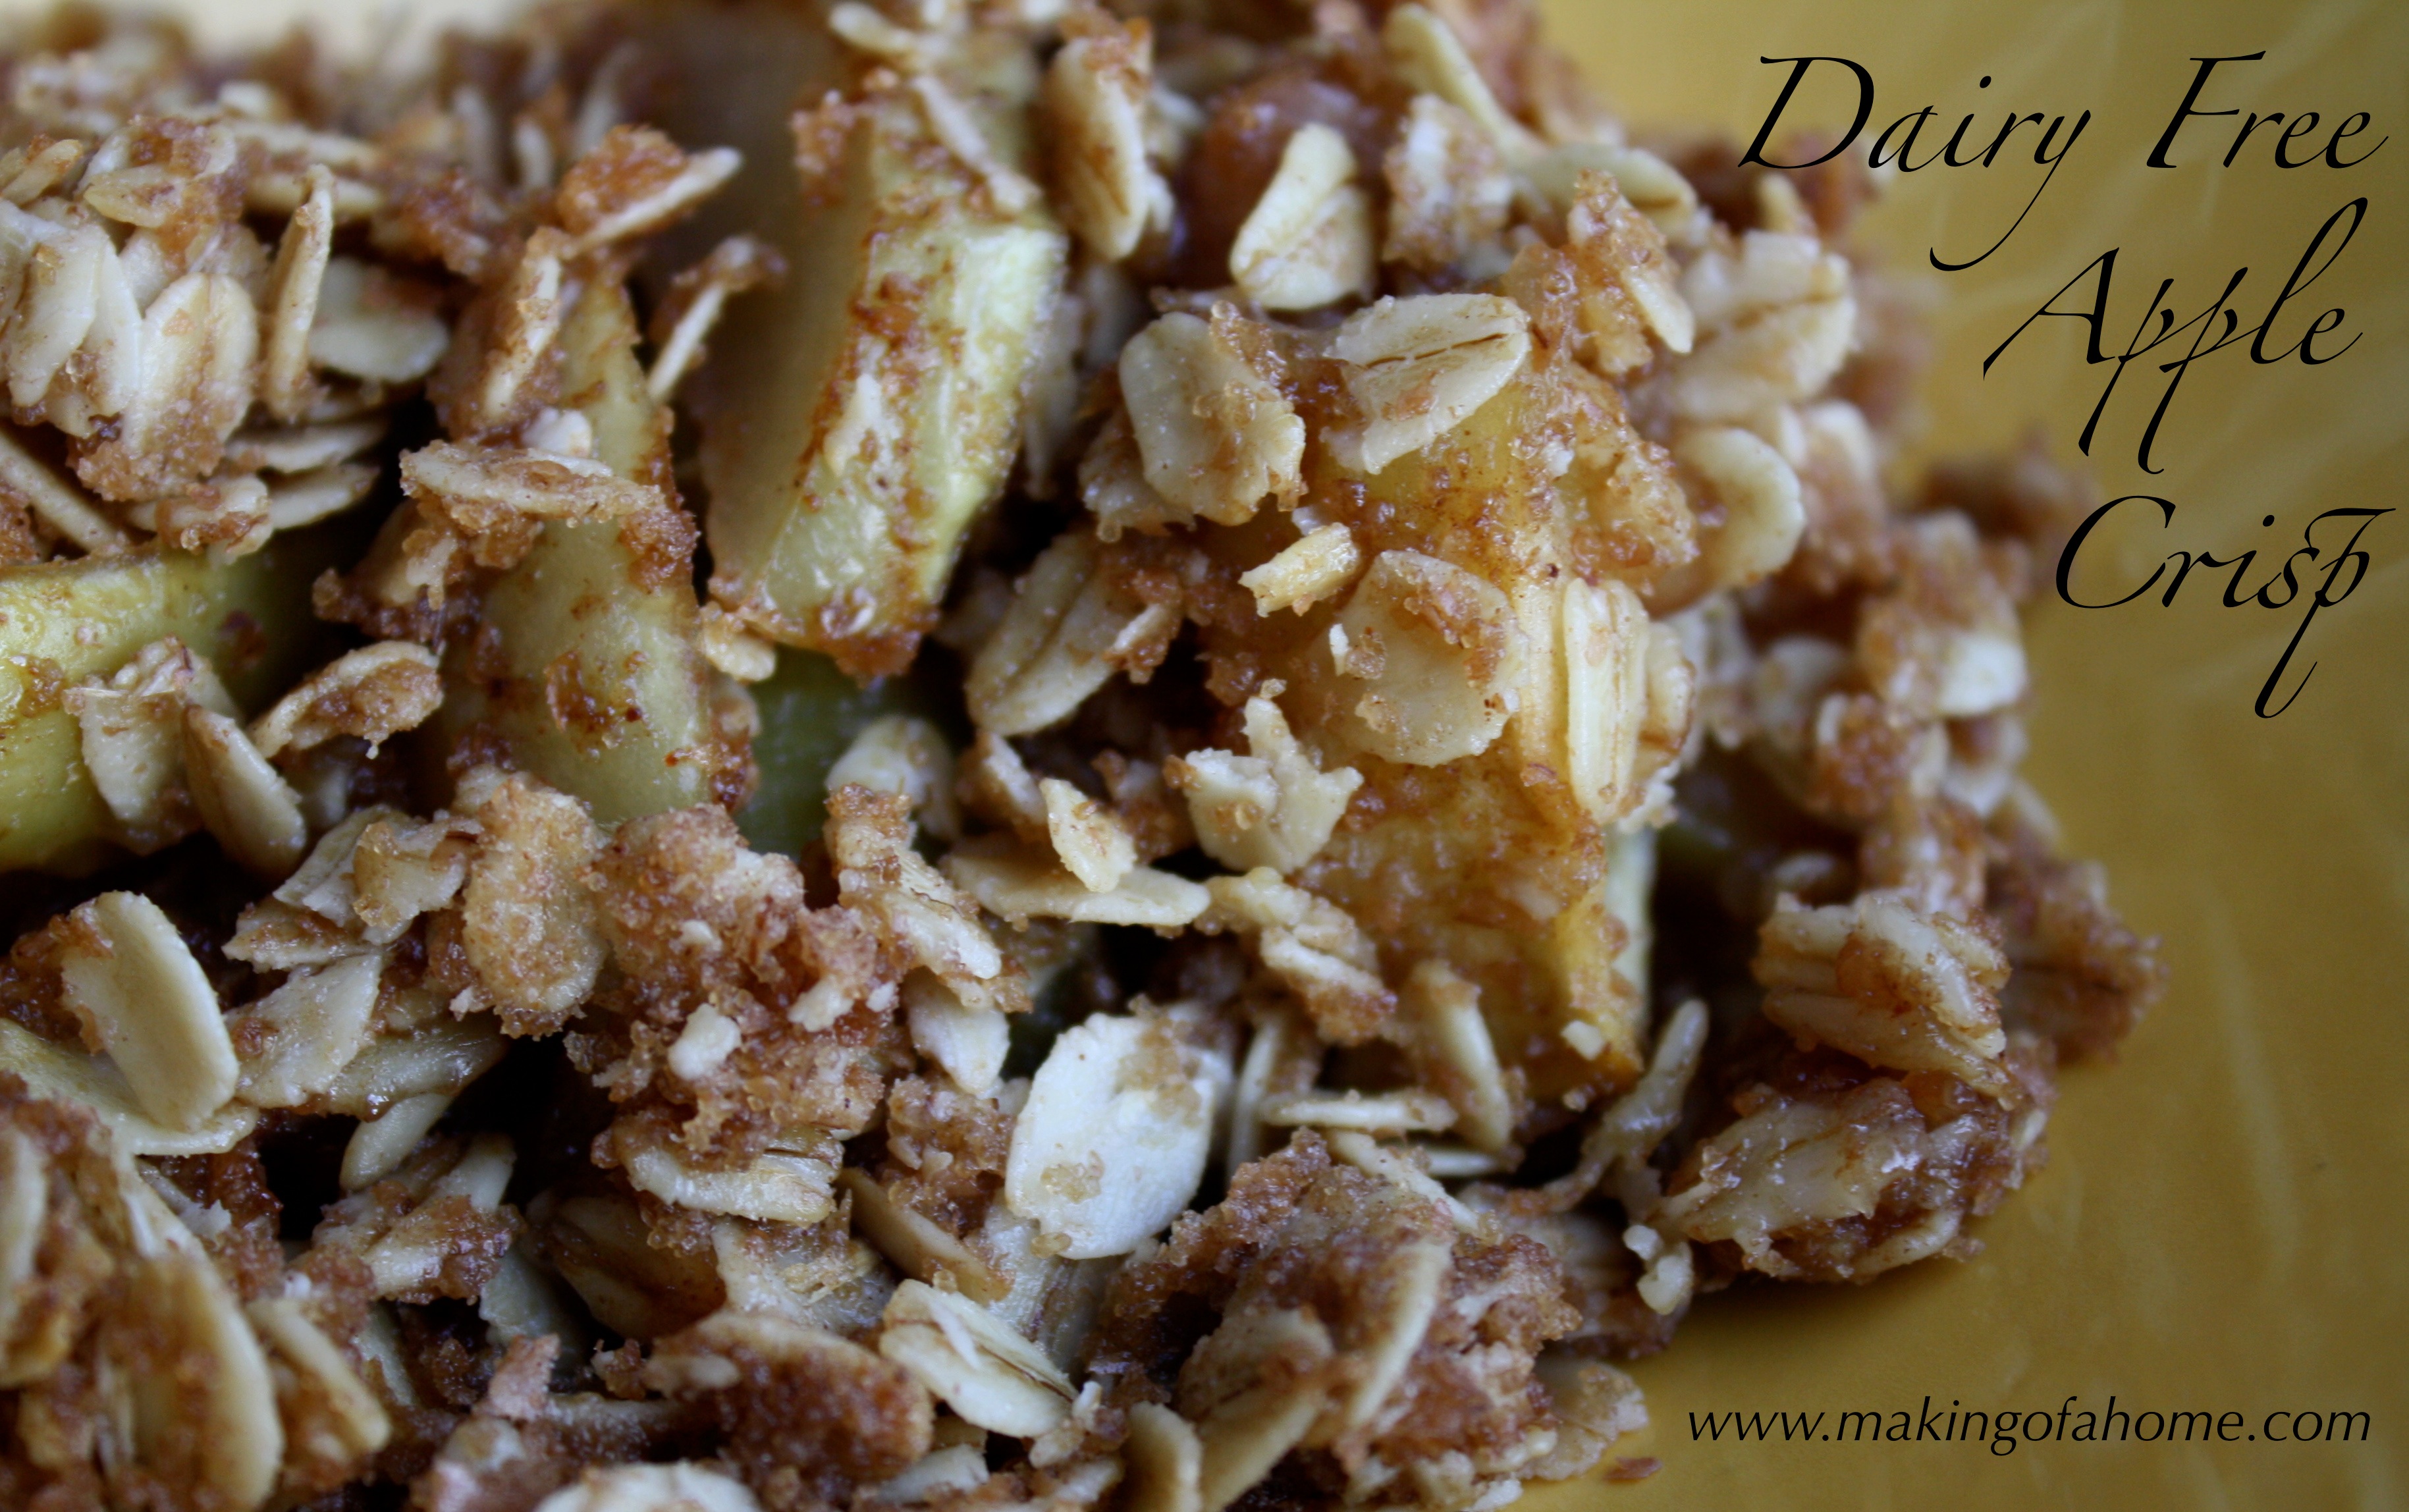
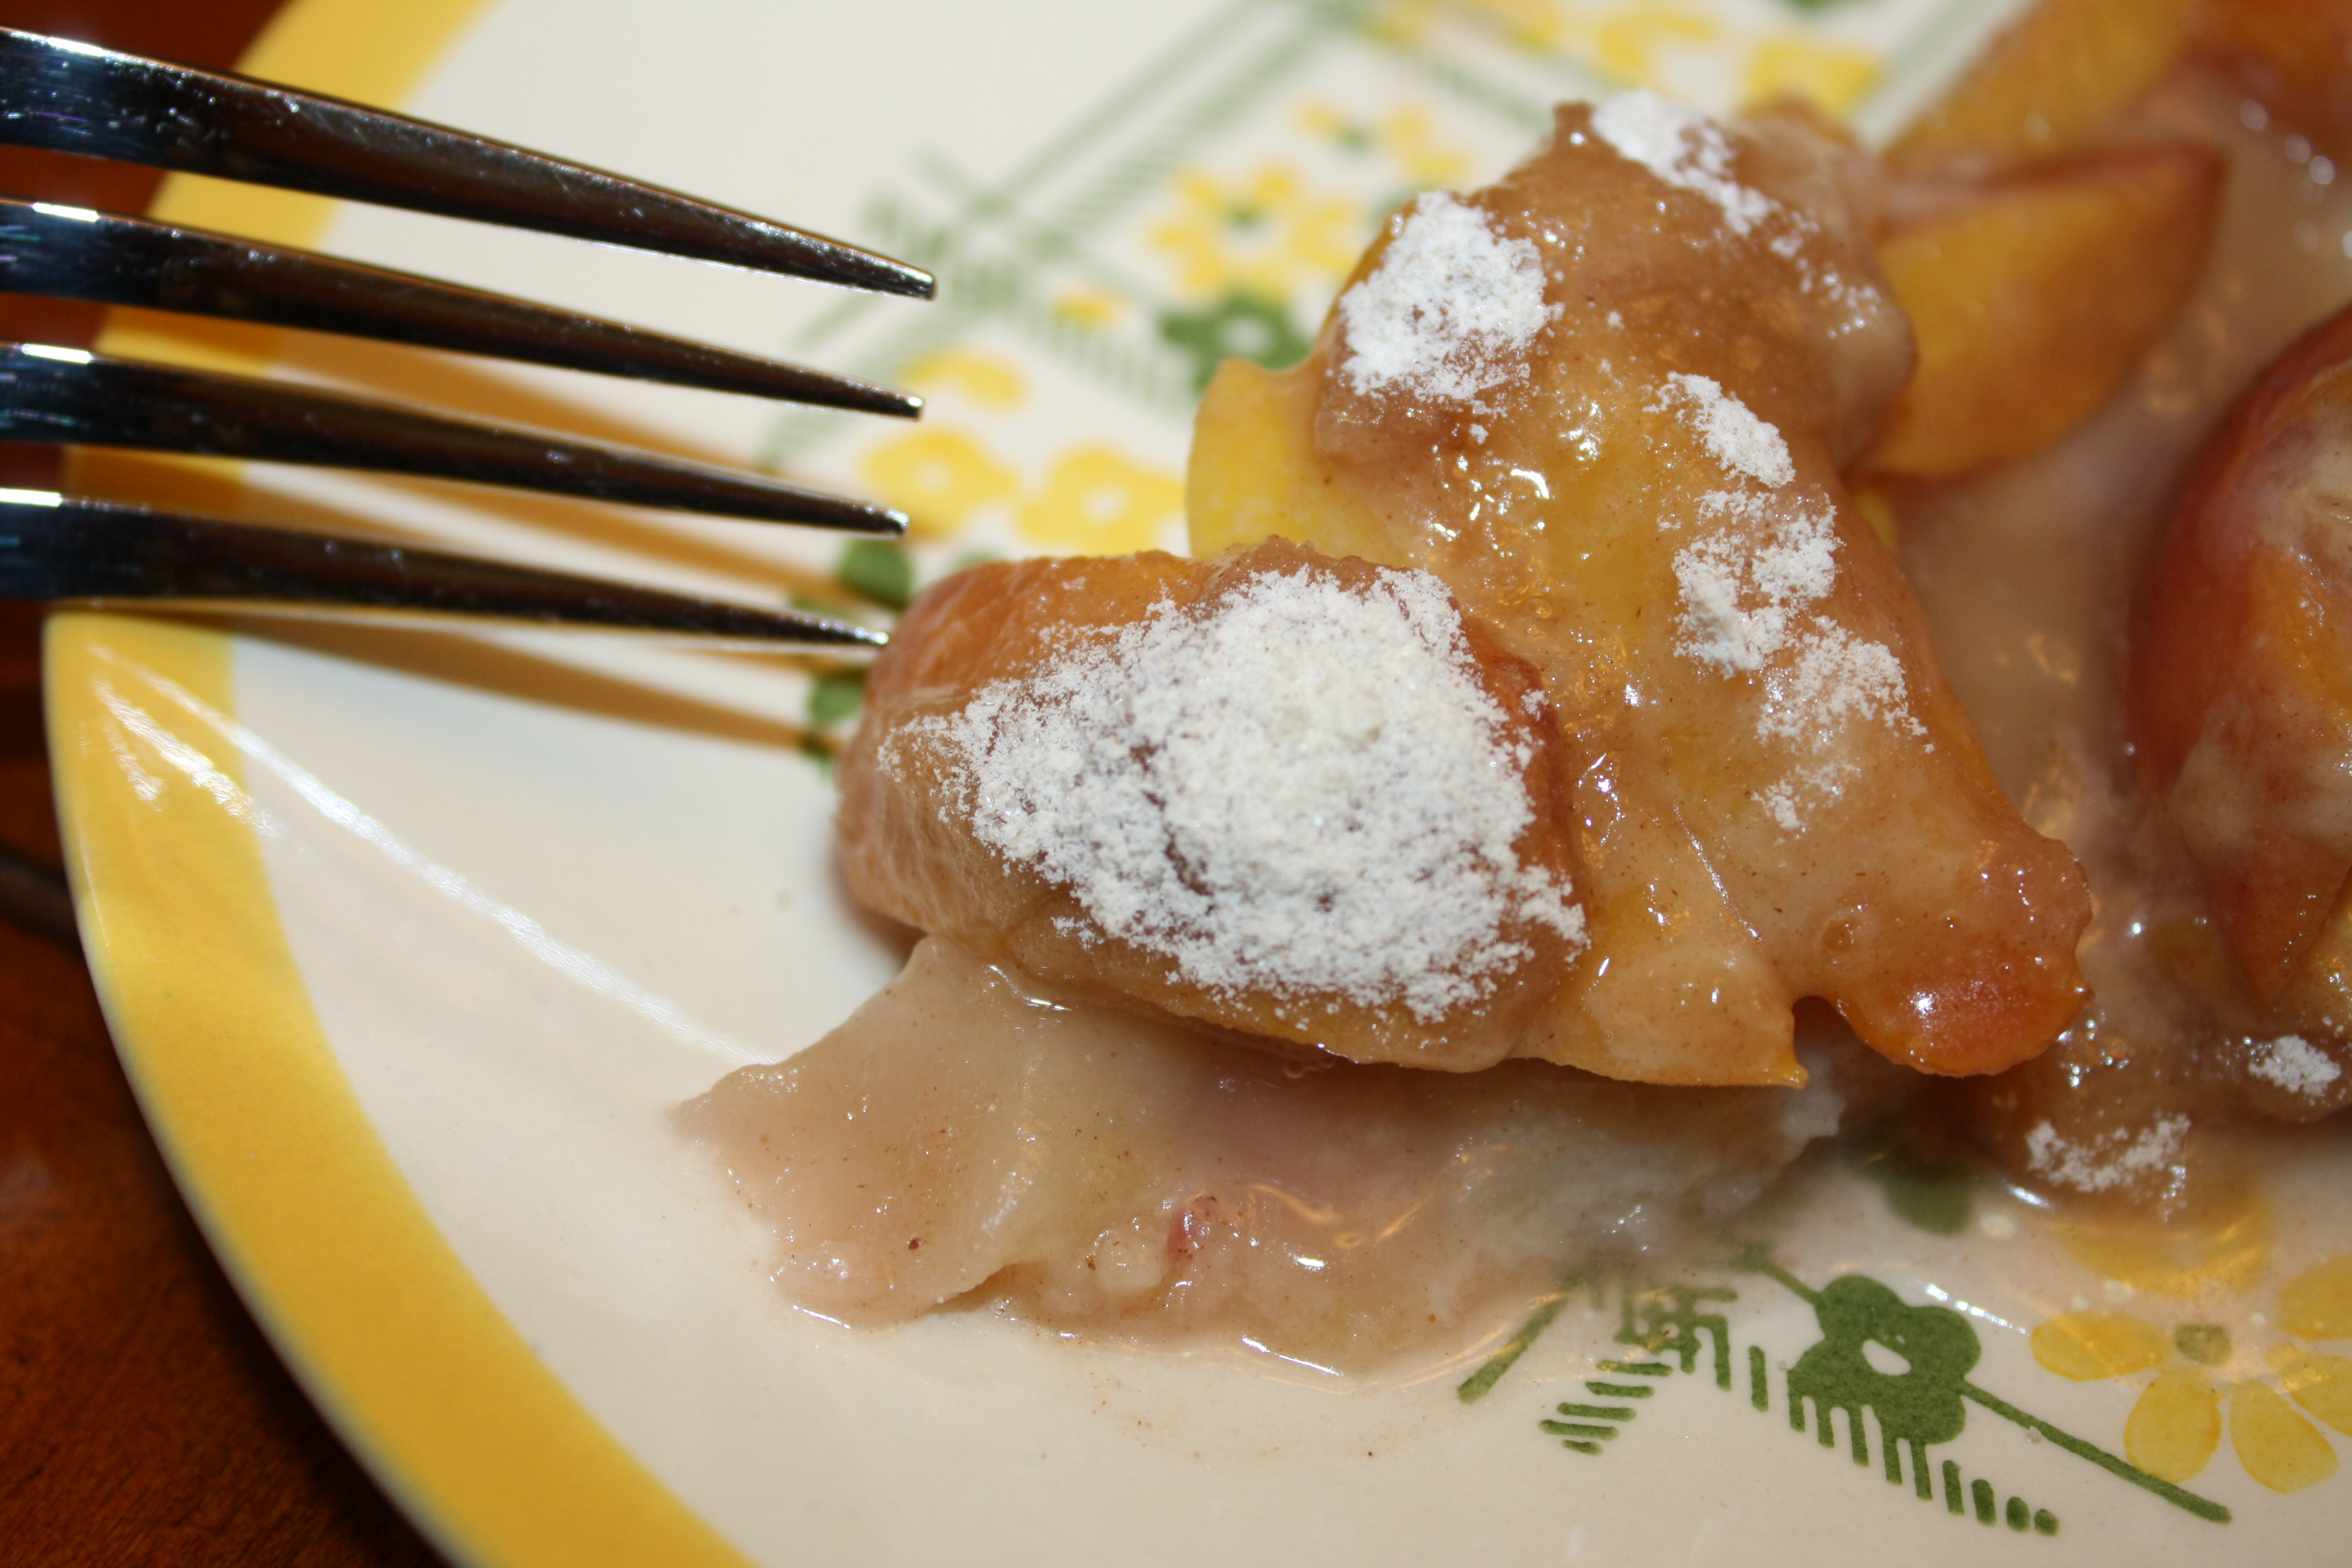
IMG_0677

Cherry Crisp

6 cups pitted tart cherries (This measurement was taken AFTER the cherries were pitted.)

1 cup local honey

2 T Non-GMO corn starch

Mix these ingredients in a large bowl and pour them into a 9×9 baking dish.  (I use this baking dish because then I can serve the crisp table-side and it looks as good as it tastes.)

2 cups oats

1 cup flour

1/2 teaspoon salt

1/2 cup packed brown sugar

1 stick cold butter cut into cubes

Mix all these ingredients together in a large bowl (such as one of these sustainably harvested bamboo bowls) using a pastry blender.  Pour the crumbled mixture onto the cherry mixture.

Bake at 375 degrees for one hour.  Allow 20 minutes to cool before serving.  Enjoy!

*A note about all my recipes: I use all organic ingredients, local when available. I use non-homogenized milk, and all of the dairy we use is from animals raised on pasture. I also use oils that are non-GMO verified. All our meat is raised locally on organic feed, and our beef is grass-fed, grass-finished. All our spices and cane sugar are fair-trade certified and purchased through a cooperative.

Pesto with a Kick

IMG_0381

I love making pesto with early summer greens.  It just makes me feel good.  It’s green. It’s a great way to pack tons of vitamins and minerals in my kids’ bodies.  And, there is cheese in it, and anything with cheese is a must have in my book.

I have written about making pesto before, like in this post, where I also discuss how I preserve my pesto for those Midwestern days when there is no green growing outside.  This pesto is a bit different in that I didn’t use any herbs to impart flavor.  This time I used kale and mustard greens.  If you have never had mustard greens, they are amazing.  They are incredibly earthy tasting, but very spicy.  They are also another one of those cruciferous vegetables that have fabulous health benefits.  I like to think of this pesto recipe as a cruciferous cancer-fighting bomb of deliciousness 🙂

This recipe made a giant batch of pesto, so feel free to adjust as needed.  You may also need to make it in batches, depending upon the size of your food processor.

Here’s what to do:

1.  Wash and spin dry (I adore my salad and berry spinner.  Summer would not be the same without it.  I use it Every. Single. Day.) 5 cups of kale and 3 cups of mustard greens.  (Fyi…I jam packed the greens in the cups when measuring.) Set aside.

2.  In a food processor, combine 1 cup raw walnuts and 6 cloves of garlic.  Pulse them in the processor.

3.  Add the washed greens to the food processor.  (Again, you may need to do this in batches.)

4.  Slowly add in 1/2 cups olive oil while the food processor is running.

5.  Add 1/2 pound good shredded Parmesan cheese to the food processor.

6.  Slowly add an additional 1/2 cup to 1 cup of olive oil depending on the consistency you would like.

7.  Add salt, pepper and lemon juice to taste.

Enjoy!

Culinary Inspirations

IMG_0356

Just to give some forewarning, today’s post is going to be Monday-ish.  You know how Mondays are?  It’s the day when you wake up and have a million thoughts, plans and lists going all at the same time–that’s this post.  Monday-ish.

So, here we go…Give me a good book and an even better piece of produce and I am a happy camper.  Last week, I reached for two of my favorite books and some of my favorite spring-time produce, and I was off.  I have often talked about this book before in past posts, but Animal, Vegetable, Miracle by Barbara Kingsolver is a book that will change your world.  Not only is it a beautifully crafted piece about Kingsolver and her family’s journey toward eating locally, but it is also filled with the most delicious recipes! I looked out my kitchen window to find our strawberry and rhubarb bed was overflowing with goodness, so I knew this was the book I needed.  I went with one of my favorite recipes in that book: the strawberry rhubarb crisp.  This recipe is a family favorite, using very little refined sugar, and I love cooking it up in my small stoneware baker because I can cook in it and serve from it.  This time, I chose to dish up this gooey creation in our nourish soup bowls, which I thought looked just lovely because of the matching color profiles.  The other reason I have so many of these bowls on hand is because $2 of every bowl is donated to Feeding America.

IMG_0375 IMG_0368IMG_20150612_185005

Also growing in our strawberry and rhubarb bed is asparagus.  We didn’t have a great crop of asparagus this year, so we supplemented our own with some from the farmers’ market.  I tried a new recipe, pistachio-crusted asparagus with feta vinaigrette, from Ashley English’s Handmade Gatherings to showcase this delicious perennial.  It was absolutely divine.  In fact, every recipe I have tried from this book has been a crowd pleaser.

IMG_0374

Now you may have noticed that when discussing the strawberry rhubarb crisp, I mentioned (and linked to) a few of my favorite kitchen essentials.  Please understand, it is not my intention to lure you to my blog with discussions of holistic living and sustainability and then try to sell you something.  Instead, I would love to share some of the kitchen items I use every day, because they help to make my life easier.  My hope is that in sharing this information, I can also help to make your meal preparation easier.

The other reason in sharing this information with you is to provide a means to contribute to my family financially.  After 3 years of debate, I have decided to leave teaching for good and homeschool my daughters.  I have wanted to homeschool ever since my eldest went off to kindergarten, but always held back because homeschooling was just too very far outside the box at that time in my life.  But as I mentioned last week, I need to do what I believe is best for my family, and for us, homeschooling is where it’s at 🙂  I have never beed more sure of a decision in my life, but the fact of the matter is that there will be a gap in our income.  I have worked (or maybe I should say dabbled) as an independent consultant with Pampered Chef for over five years, and I believe it’s business model is one that is keeping with my family’s belief structure.  It is based in Illinois (where we live), many of the products are made in the U.S., they provide funding to Feeding America and the American Cancer Society, and they allow women and men to work from home and put their families first.  So, from time to time, I will share some products that I use, and it is up to you whether or not you would like to link to them and find out more information.  I hope you understand my reasoning in doing this.

Well, if you have followed me through to this point, you have made it thought my Monday stream-of-conciousness post.  Books.  Produce.  Recipes.  Pampered Chef.  Homeschooling.  Lots of Action.

I wish you all a wonderful week, in which you can work through all those thoughts, follow through on all those plans, and check off all those items on your lists.  Happy Monday, friends.

Christmas Morning Monkey Bread

IMG_6508

Beginning in December 2006, our first Christmas with children, we started a Christmas morning tradition in our household.  Each Christmas morning, after all of the gifts have been unwrapped, we indulge in a gooey and glorious breakfast: monkey bread.  I have been making little adjustments to my recipe each year, and I think this year I have finally perfected it.  This year’s monkey bread came out with the perfect balance of butter and sugar, wonderfully flakey yet still sticky, and dripping with the perfect amount of sweet glaze.  I hope your family enjoys this recipe as much as mine.

Christmas Morning Monkey Bread

(I normally do the following the day before I plan to serve the monkey bread.)

Dissolve 2 tablespoons dry yeast in 1 1/4 cup warm milk.

Beat two eggs in a large bowl, and then add milk/yeast mixture to the beaten eggs.  Next add 3 tablespoons sugar, 1 teaspoon salt, and 4 1/2 cups all-purpose flour.

Then cut up 6 ounces of softened butter and add it to the bowl.  Using your hands, work the butter into the above mixture of ingredients.

Place the dough in a greased bowl, cover with a damp dish towel and allow it to rest until double in size.

After the dough has risen, melt one stick of butter and place the butter into a shallow dish.  In another shallow dish, mix together 1 cup brown sugar and 1 tablespoon cinnamon.  Roll the dough into 2 tablespoon-sized balls.  Dip each ball in the melted butter, then into the sugar and cinnamon mixture.  Then place the buttered and sugared balls into a greased and floured bunt pan.  Once all the dough balls are in the bunt pan, cover with a damp dish towel and allow to rise until double in size.

(On the day you plan to serve the monkey bread.)

Bake your monkey bread in a 350 degree oven for about 35 minutes.  (The time will vary slightly depending on whether or not you are using a ceramic or metal bunt pan.)

While the bread is baking, heat 4 tablespoons butter, 1/2 cup brown sugar, 1/3 cup real maple syrup, 1 tablespoon water and 1 teaspoon cinnamon in a small saucepan over medium heat.  Bring the mixture to a boil and allow to boil for one minute.  Remove from the heat.

Once you remove the monkey bread from the oven, allow it to cool for about 5 minutes.  Then invert the pan onto a serving plate to remove the monkey bread.  Pour the glaze over the bread.  Serve warm.  Enjoy!

IMG_6507

*A note about all my recipes:  I use all organic ingredients, local when available.  I use non-homogenized milk, and all of the dairy we use is from animals raised on pasture. I also use oils that are non-GMO verified.  All our meat is raised locally on organic feed, and our beef is grass-fed, grass-finished.  All our spices and cane sugar are fair-trade certified and purchased through a cooperative.

Nona’s Biscotti

IMG_6378

Nona Zanocco’s Biscotti has become a staple around our house each Christmas.  This buttery crisp cookie is perfect for a morning coffee with friends around the holidays, and also a wonderful additional to the cookie platter at a holiday party.  The word biscotti means “twice baked,” so although they do take a bit of time to make, these treats are worth the wait it takes to prepare them.

Nona’s Biscotti

Using a stand mixer, place 3 sticks of room temperature butter in the mixing bowl.  Mix until the butter is creamy and smooth.

Add 2 cups of sugar and cream the butter and sugar.

While the mixer is running, add 6 eggs (one at a time).  Then add 1 tablespoon vanilla and 1 tablespoon almond extract.

In a separate bowl, mix together 6 cups flour and 2 tablespoon baking powder.

Add the flour mixture to the butter/sugar/egg mixture.  Run the mixer until completely combined.

Form logs of dough (roughly 2 inches wide by 12 inches long by 1 inch tall) and place on a greased cookie sheet.

IMG_6352

Bake the logs in a 350 degree oven for 20 minutes.

Remove the logs from the oven and allow to cool for about 5 minutes.  Then, slice the logs into one inch slices.  Spread the slices out and re-bake for 15-20 minutes, or until the slices are just starting to turn golden.

You can serve the cookies as is, or you can drizzle them with a glaze.  (I like to mix a bit of powdered sugar with a touch of almond extract and some milk to make a glaze that I then drizzle over top.  I then top with naturally-colored sprinkles, or lemon or orange zest.)

Enjoy!

IMG_6377

*A note about all my recipes:  I use all organic ingredients, local when available.  I use non-homogenized milk, and all of the dairy we use is from animals raised on pasture. I also use oils that are non-GMO verified.  All our meat is raised locally on organic feed, and our beef is grass-fed, grass-finished.  All our spices and cane sugar are fair-trade certified and purchased through a cooperative.

Grandma’s Three Bean Salad

IMG_5612

Isn’t it just fascinating how food memories work?  One morsel of food touches your tongue and you are whisked away to times gone by, to the exact moment when you consumed that particular piece of goodness.  That’s why each time I task three bean salad, I am brought back to Zanocco family 4th of July celebrations.  With this annual celebration always came laughing children singing (and yelling) the words to “Miss Mary Mack”, throw-and-pop firecrackers and sparklers, olive dip, and of course, three bean salad.

I dug through my recipe box last week and found Grandma Zanocco’s three bean salad recipe.  Looking over the hand-written recipe card, I wondered if I could perhaps make it a bit healthier, while maintaining the integrity of the dish.  With a bit of tasting here, and help from my sous-chef there, I think I’ve done it.  I hope you enjoy this dish as much as we did, and I hope it helps to create some wonderful new food memories for all of you 🙂

IMG_5605

Grandma’s Three Bean Salad

(You can use canned beans, or dried beans.  Just be sure that if you use dried beans, they have already been soaked and are fork tender.)

4 cups kidney beans

4 cups pinto beans

4 cups black beans

Pour all of your beans in a large bowl and set aside.

In a food processor, pulse 1 cup diced yellow onions.  Then add 1 cup olive oil, 1 cup Bragg’s Apple Cider Vinegar, 2 teaspoons salt, 1 teaspoon pepper and 3/4 cup raw agave syrup.  Pulse the mixture a few times in your food processor until you have a reasonably smooth dressing.

Pour your dressing over your bean mixture, and allow to sit at room temperature for about an hour before serving.  You can garnish your salad with a little oregano or parsley if you wish.  Enjoy!

IMG_5610

*A note about all my recipes:  I use all organic ingredients, local when available.  I use non-homogenized milk, and all of the dairy we use is from animals raised on pasture. I also use oils that are non-GMO verified.  All our meat is raised locally on organic feed, and our beef is grass-fed, grass-finished.  All our spices and cane sugar are fair-trade certified and purchased through a cooperative.

Basil Lime Gimlet

IMG_4980

Date nights do not often happen these days.  Crazy schedules, shifting demands of the workplace and caring for two young children make it difficult for this mom and dad to have a few spare moments alone.  That is why this past weekend was quite a celebration.  We enjoyed a date night.  With just the two of us.  Alone.

We spent our time at an early evening movie, followed by wonderful Vietnemese food, and all wrapped up with homemade garden-inspired cocktails.  It was a perfectly wonderful evening.

We wanted to incorporate our garden bounty in our cocktails in some way, so here is our best attempt to embody late summer garden freshness in a glass.  We hope you enjoy this little treat as much as we did!

Basil Lime Gimlet

1 cup lime juice

1/2 cup water

7 fresh basil leaves

1/2 cup sugar

Place the above ingredients in a small saucepan over medium heat.  Stir the mixture constantly until the sugar is dissolved and begins to bubble.  Turn off the heat, and allow the mixture to steep with the lid on for at least an hour.  Remove the wilted basil leaves and pour into a glass container and place in the refrigerator until chilled.

When you are ready to enjoy your cocktail, fill a pint-sized Mason jar with ice.  Add 1 oz. vodka, 2/3 cup of the basil lime simple syrup above, and 2 fresh basil leaves.  Now, for that rustic chic charm, attach a lid and rim to your Mason jar and shake away.  I’m telling you, it’s the coolest martini shaker on the market these days 🙂  Once your cocktail is properly shaken, remove the rim and lid, serve and enjoy!

IMG_4981

*A note about all my recipes:  I use all organic ingredients, local when available.  I use non-homogenized milk, and all of the dairy we use is from animals raised on pasture. I also use oils that are non-GMO verified.  All our meat is raised locally on organic feed, and our beef is grass-fed, grass-finished.  All our spices and cane sugar are fair-trade certified and purchased through a cooperative.

Dairy Free Apple Crisp

IMG_4957

Despite the fact the mercury is reading 85 degrees tonight as I write this, I am thinking Fall.  To help force my most-loved season along, the girls and I decided to pick our first-ever crop of apples from two of our apple trees and enjoy them for dinner in our favorite  baked apple form:  a crisp.

Because my youngest is still on a non-dairy diet, I continue striving to find new ways of tweaking our favorite recipes to make them dairy-free.  This recipe is one of those such experiments.  I wanted to substitute the butter in a traditional crisp, without losing the earthy, creamy flavor I think butter brings to the table.  I ended up using a combination of coconut oil, for the fat content, and whole wheat flour for the earthiness factor.  The crisp turned out quite nicely, without any hint of a coconut flavor that sometimes makes its way into recipes where I substitute butter with coconut oil.

I hope you enjoy this yummy fall treat!

IMG_4952

Dairy Free Apple Crisp

1/4 cup honey

1 teaspoon cinnamon

1/2 teaspoon nutmeg

Heat the above ingredients in a small saucepan until the honey becomes runny.  Pour this mixture over 6 cups of sliced, fresh apples.

Pour the apple honey mixture into a 9X9 baking pan.

In a separate bowl, mix together:

2 cups rolled oats

1/2 cup whole wheat flour

1 teaspoon cinnamon

1/4 teaspoon salt

Cut in 5 tablespoons of coconut oil.  Crumble the oat mixture over the apple mixture.  Bake in a 350 degree oven for 45 minutes, or until the top is crunchy and golden brown.  Enjoy!

IMG_4958

*A note about all my recipes:  I use all organic ingredients, local when available.  I use non-homogenized milk, and all of the dairy we use is from animals raised on pasture. I also use oils that are non-GMO verified.  All our meat is raised locally on organic feed, and our beef is grass-fed, grass-finished.  All our spices and cane sugar are fair-trade certified and purchased through a cooperative.

Cherry Pomegranate Frozen Yogurt

IMG_4065

It seems that it has been some time since I have shared one of my recipes in this space, so today is the day my friends.  Today I bring you yet another of our family’s experiments with a cow’s milk dairy free recipe.  My girls just love this frozen yogurt recipe I concocted, and I hope you and your family enjoy it as well.  It is incredibly simple, so you can whip it up on no time for a fun, summer snack.

Cherry Pomegranate Frozen Yogurt

10 oz dark sweet cherries (these can be fresh or frozen and thawed)

1/2 cup honey

1 cup 100% juice pomegranate juice

1 cup yogurt (We use goat’s milk yogurt, but any yogurt would work great.)

Add the cherries and honey to a blender.  Blend until smooth.  Next add the juice and the yogurt.  Pulse a few times in the blender until combined.  Pour the mixture into your ice cream maker and follow the manufacturer’s instructions.  Enjoy!

*A note about all my recipes:  I use all organic ingredients, local when available.  I use non-homogenized milk, and all of the dairy we use is from animals raised on pasture. I also use oils that are non-GMO verified.  All our meat is raised locally on organic feed, and our beef is grass-fed, grass-finished.  All our spices and cane sugar are fair-trade certified and purchased through a cooperative.

Just Peachy

IMG_3593

The time has arrived again.  My favorite food time of the year.  Peach season.  There is nothing that ignites more excitement in my taste buds than those handheld orbs of deliciousness.  We are extremely fortunate that my in-laws have a beautiful peach tree on their property that has produced a record number of peaches this year.

So, it has been all things peaches in these parts, my favorite of all being peach pie.  If you are interested in my Grandma Dit’s peach pie recipe, you can find it here.  Enjoy!

IMG_3601 IMG_3606