At This Moment

20140123_063729_resized

At this moment I am…

~continuing to stitch away at some new dish wash cloths.

~very thankful I got caught up on all things school yesterday.  I feel that I can take a big breath and a sigh of relief.

~even more thrilled I got all of the above mentioned work-type items done yesterday, because we have a day off of school today because of the frigid temperatures.  Hooray for snow days (Well, cold days) 🙂

~checking on my curing soap I have stowed away in my basement.  More on this adventure in next week’s posts.

~preparing to ferment a new batch of kombucha.  The cold weather has really slowed down my kombucha brewing, but I’m hoping I can get a new batch up and running today.

~reading Michael Pollan’s newest book, Cooked:  A Natural History of Transformation.  As with all of his texts, this one does not disappoint.  It is truly captivating, and also so informative and inspiring at the same time.

~organizing craft supplies.  My little ones mentioned before their heads hit the pillow last night: “Mommy, if we don’t have school tomorrow, can it be Valentine-making Day?”  Well gals, Valentine-making Day it is!

~flipping through Ashley English’s A Year of Pies.  I feel as if a day off school warrants a day of eating pie, right?

~wishing you all a warm Thursday, friends.

Christmas Morning Monkey Bread

IMG_6508

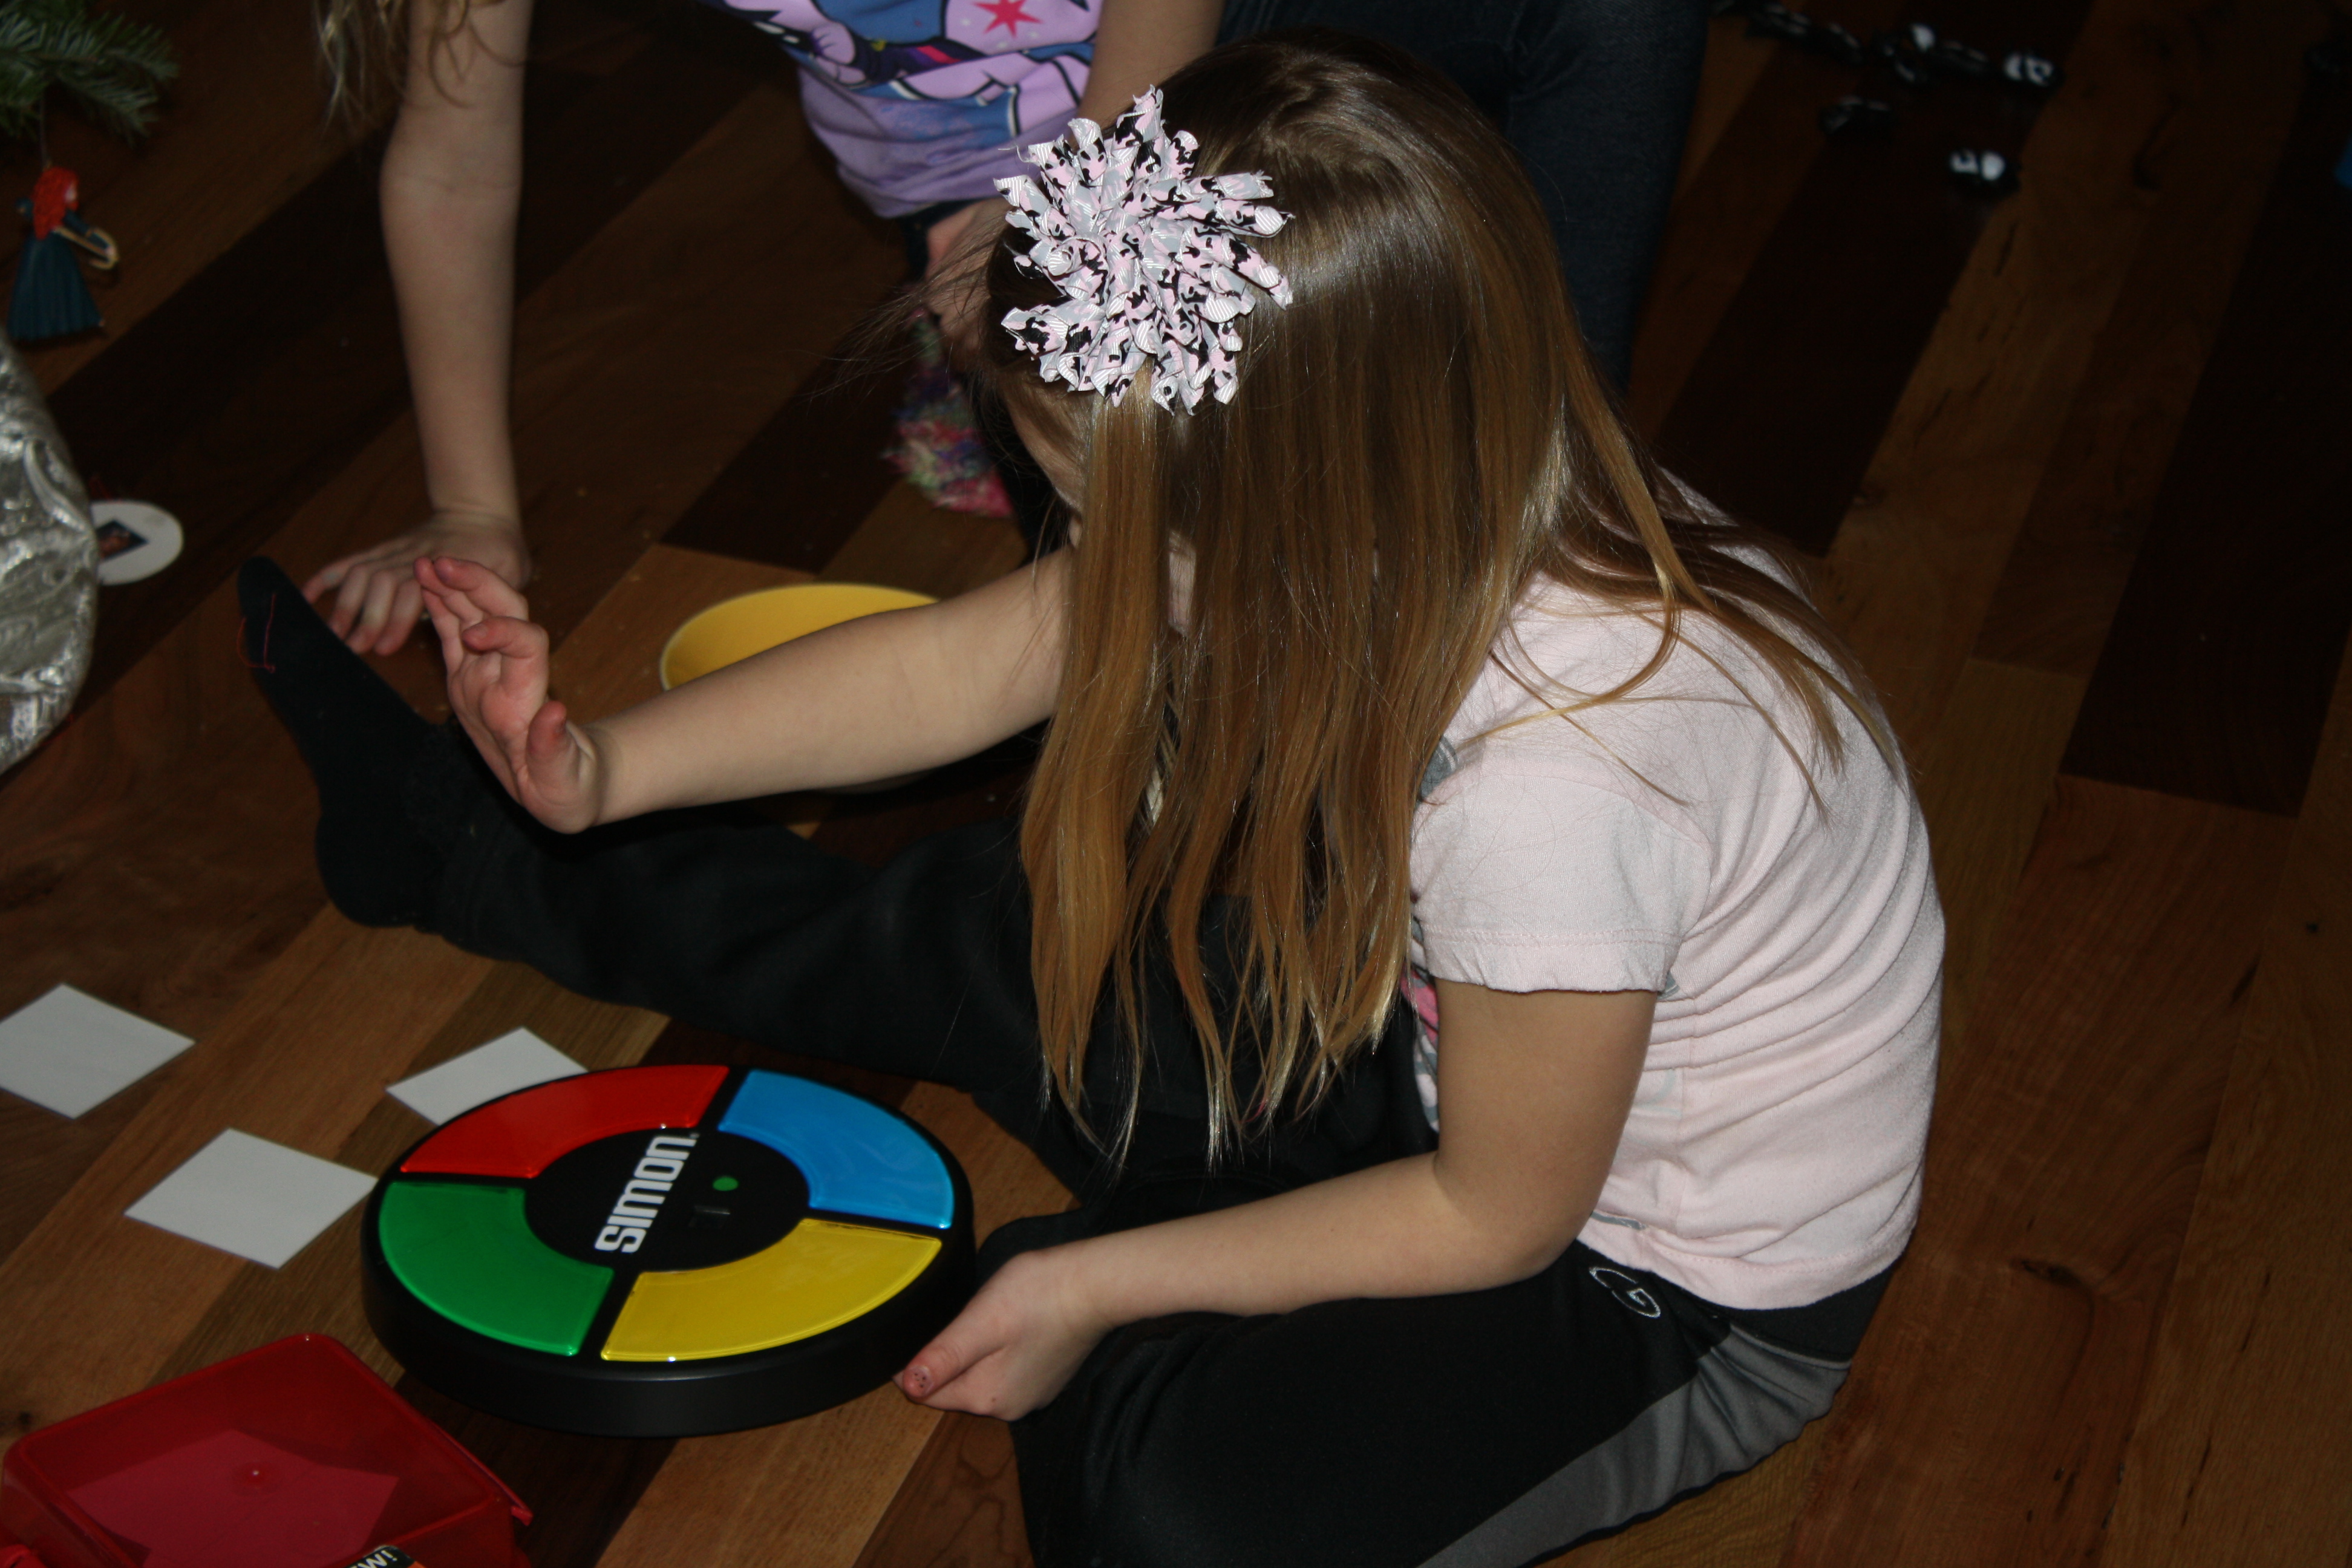
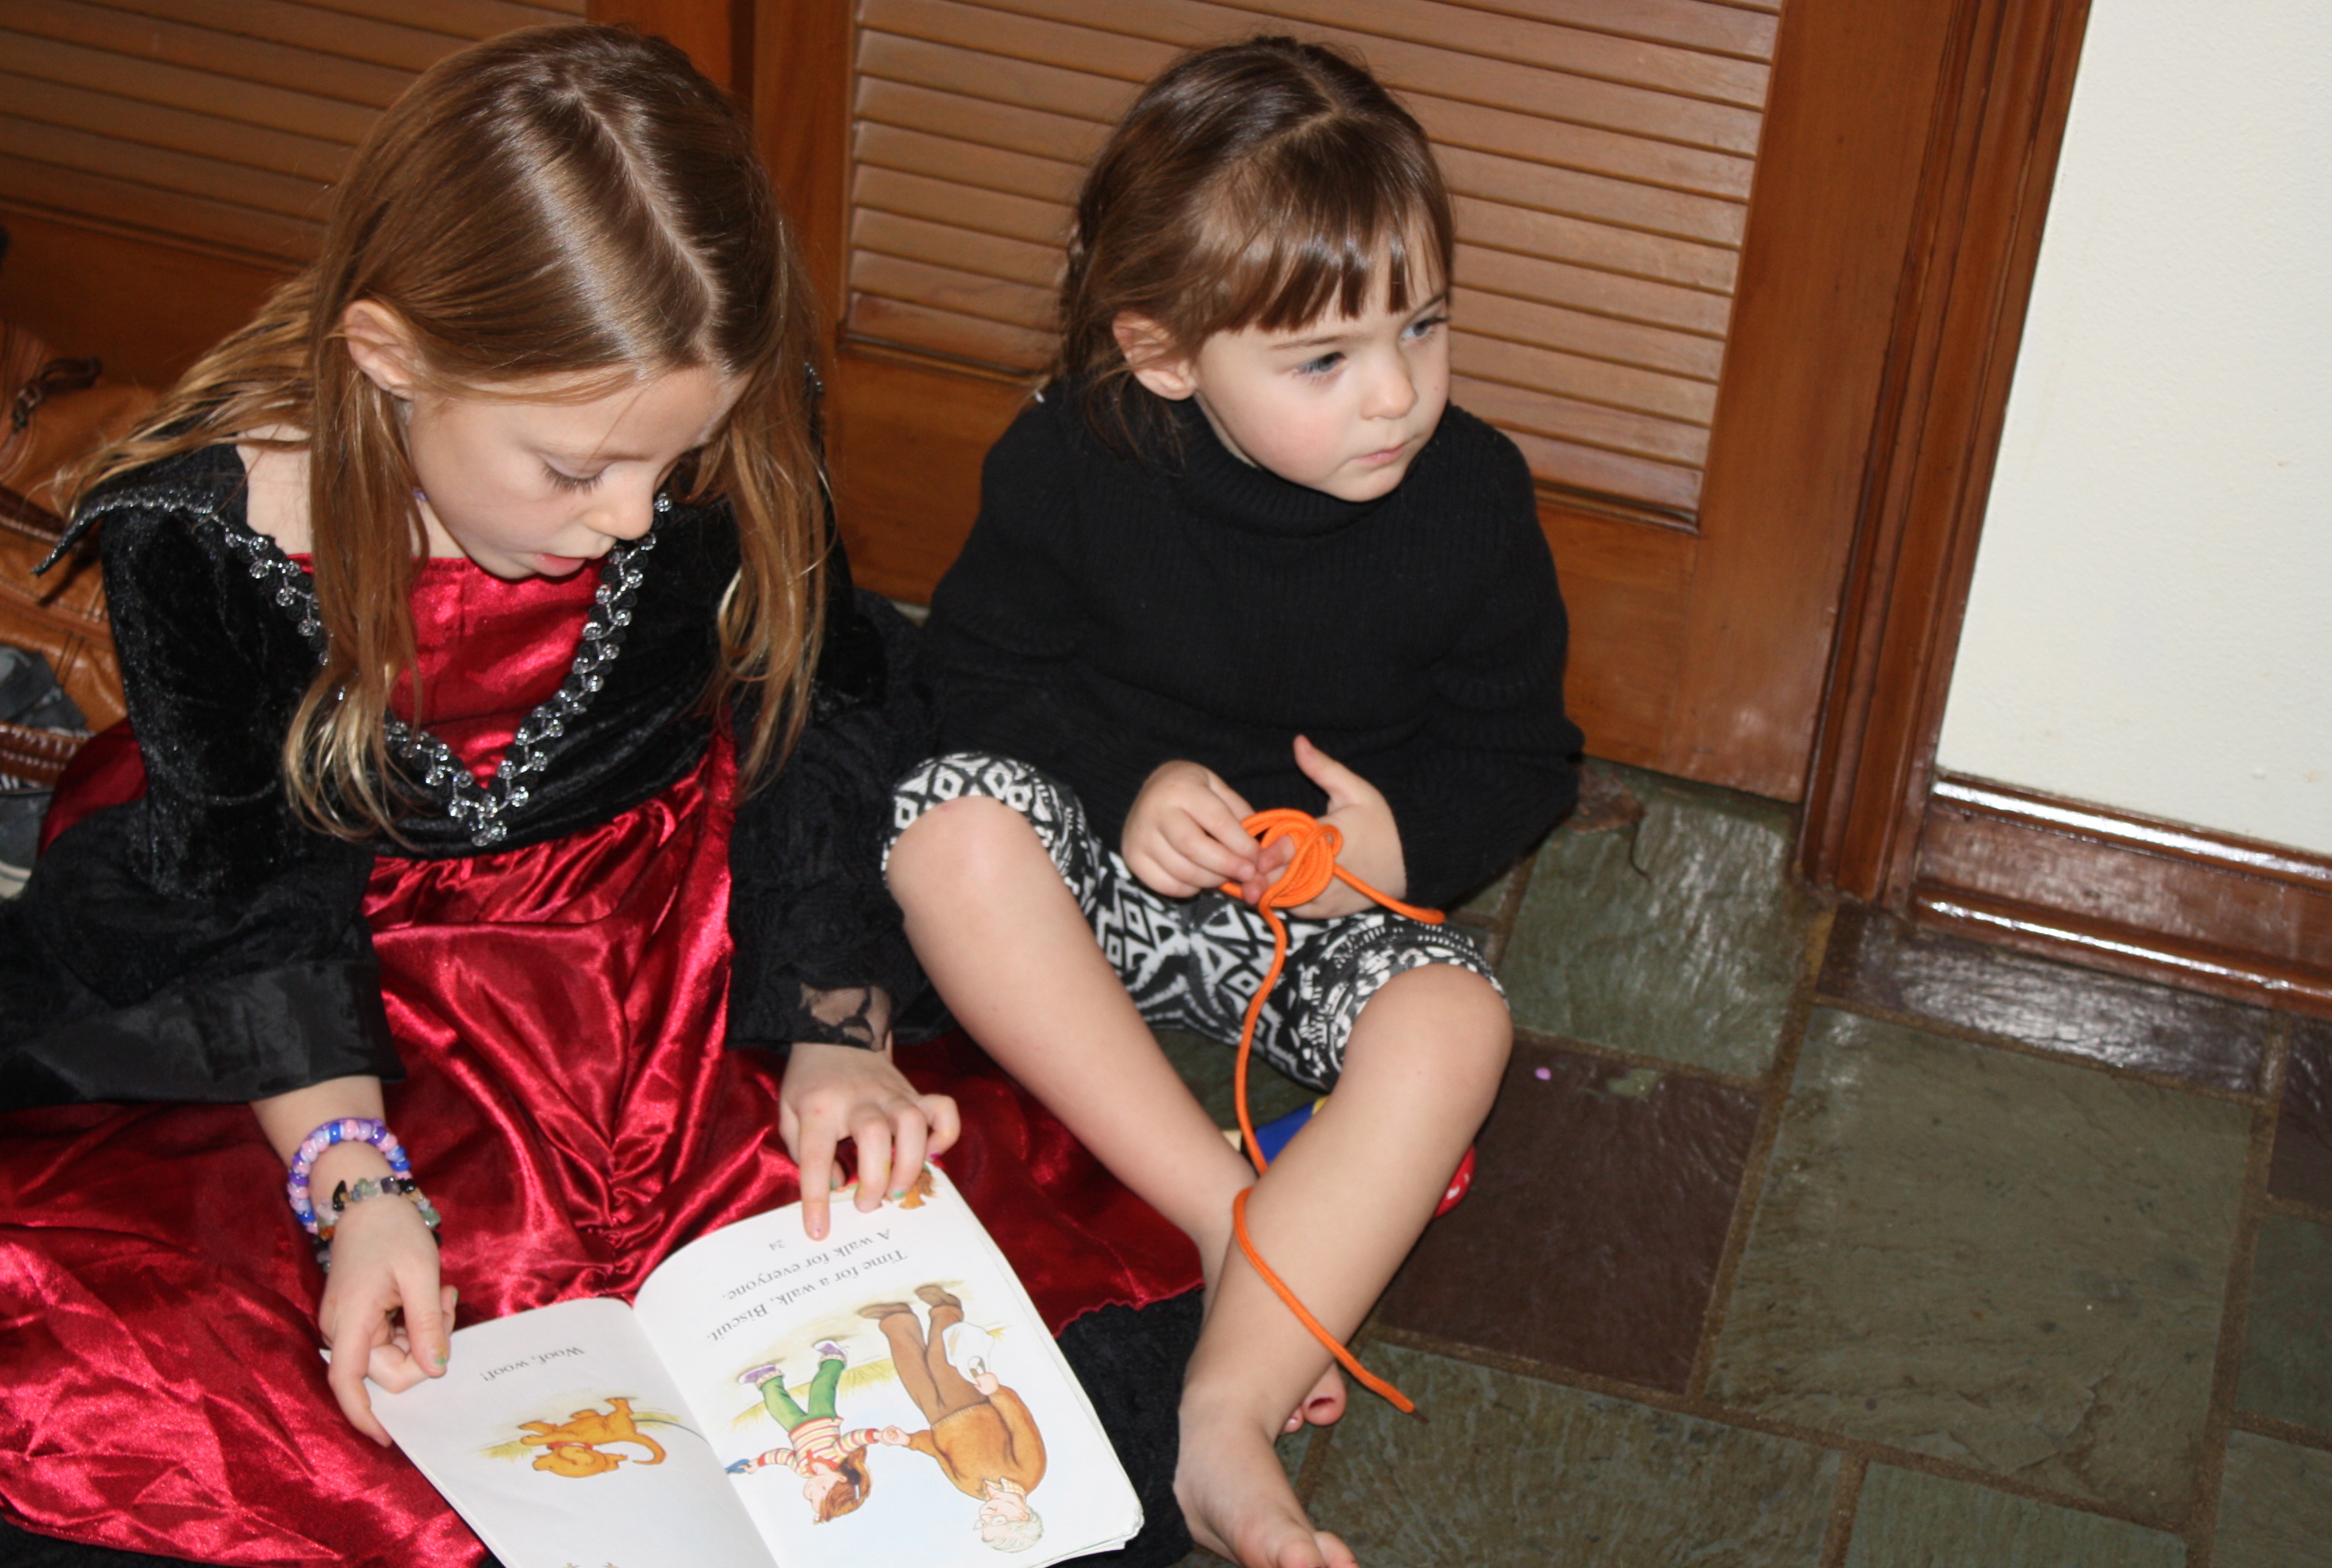
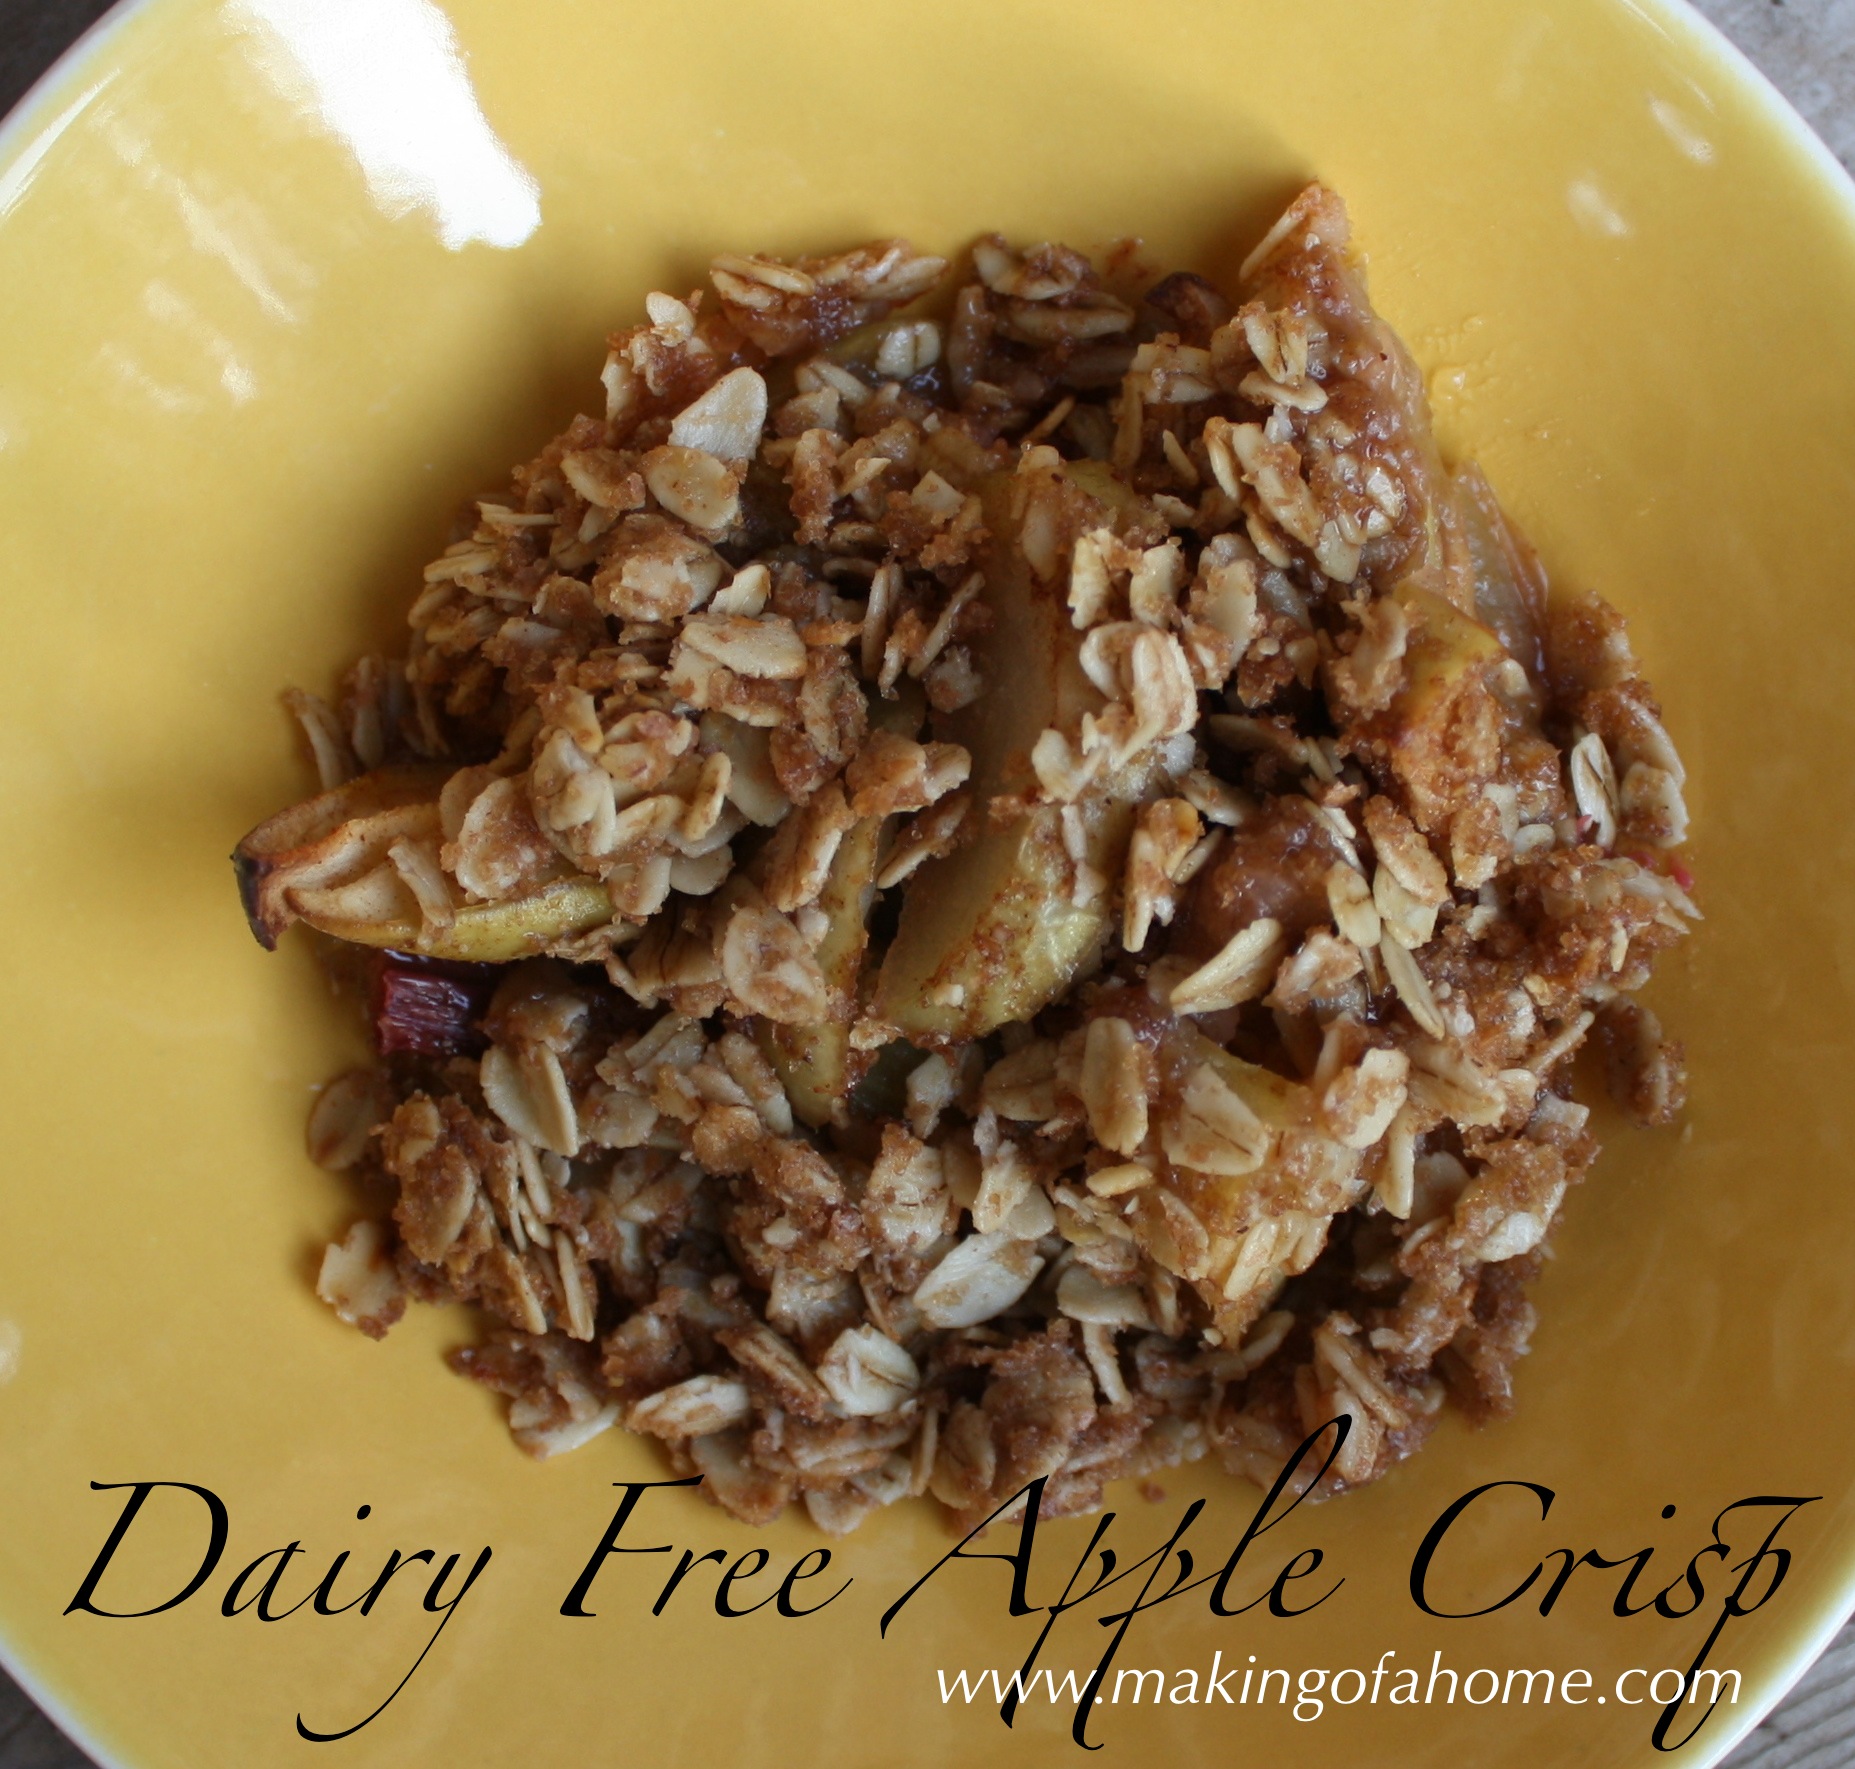
Beginning in December 2006, our first Christmas with children, we started a Christmas morning tradition in our household.  Each Christmas morning, after all of the gifts have been unwrapped, we indulge in a gooey and glorious breakfast: monkey bread.  I have been making little adjustments to my recipe each year, and I think this year I have finally perfected it.  This year’s monkey bread came out with the perfect balance of butter and sugar, wonderfully flakey yet still sticky, and dripping with the perfect amount of sweet glaze.  I hope your family enjoys this recipe as much as mine.

Christmas Morning Monkey Bread

(I normally do the following the day before I plan to serve the monkey bread.)

Dissolve 2 tablespoons dry yeast in 1 1/4 cup warm milk.

Beat two eggs in a large bowl, and then add milk/yeast mixture to the beaten eggs.  Next add 3 tablespoons sugar, 1 teaspoon salt, and 4 1/2 cups all-purpose flour.

Then cut up 6 ounces of softened butter and add it to the bowl.  Using your hands, work the butter into the above mixture of ingredients.

Place the dough in a greased bowl, cover with a damp dish towel and allow it to rest until double in size.

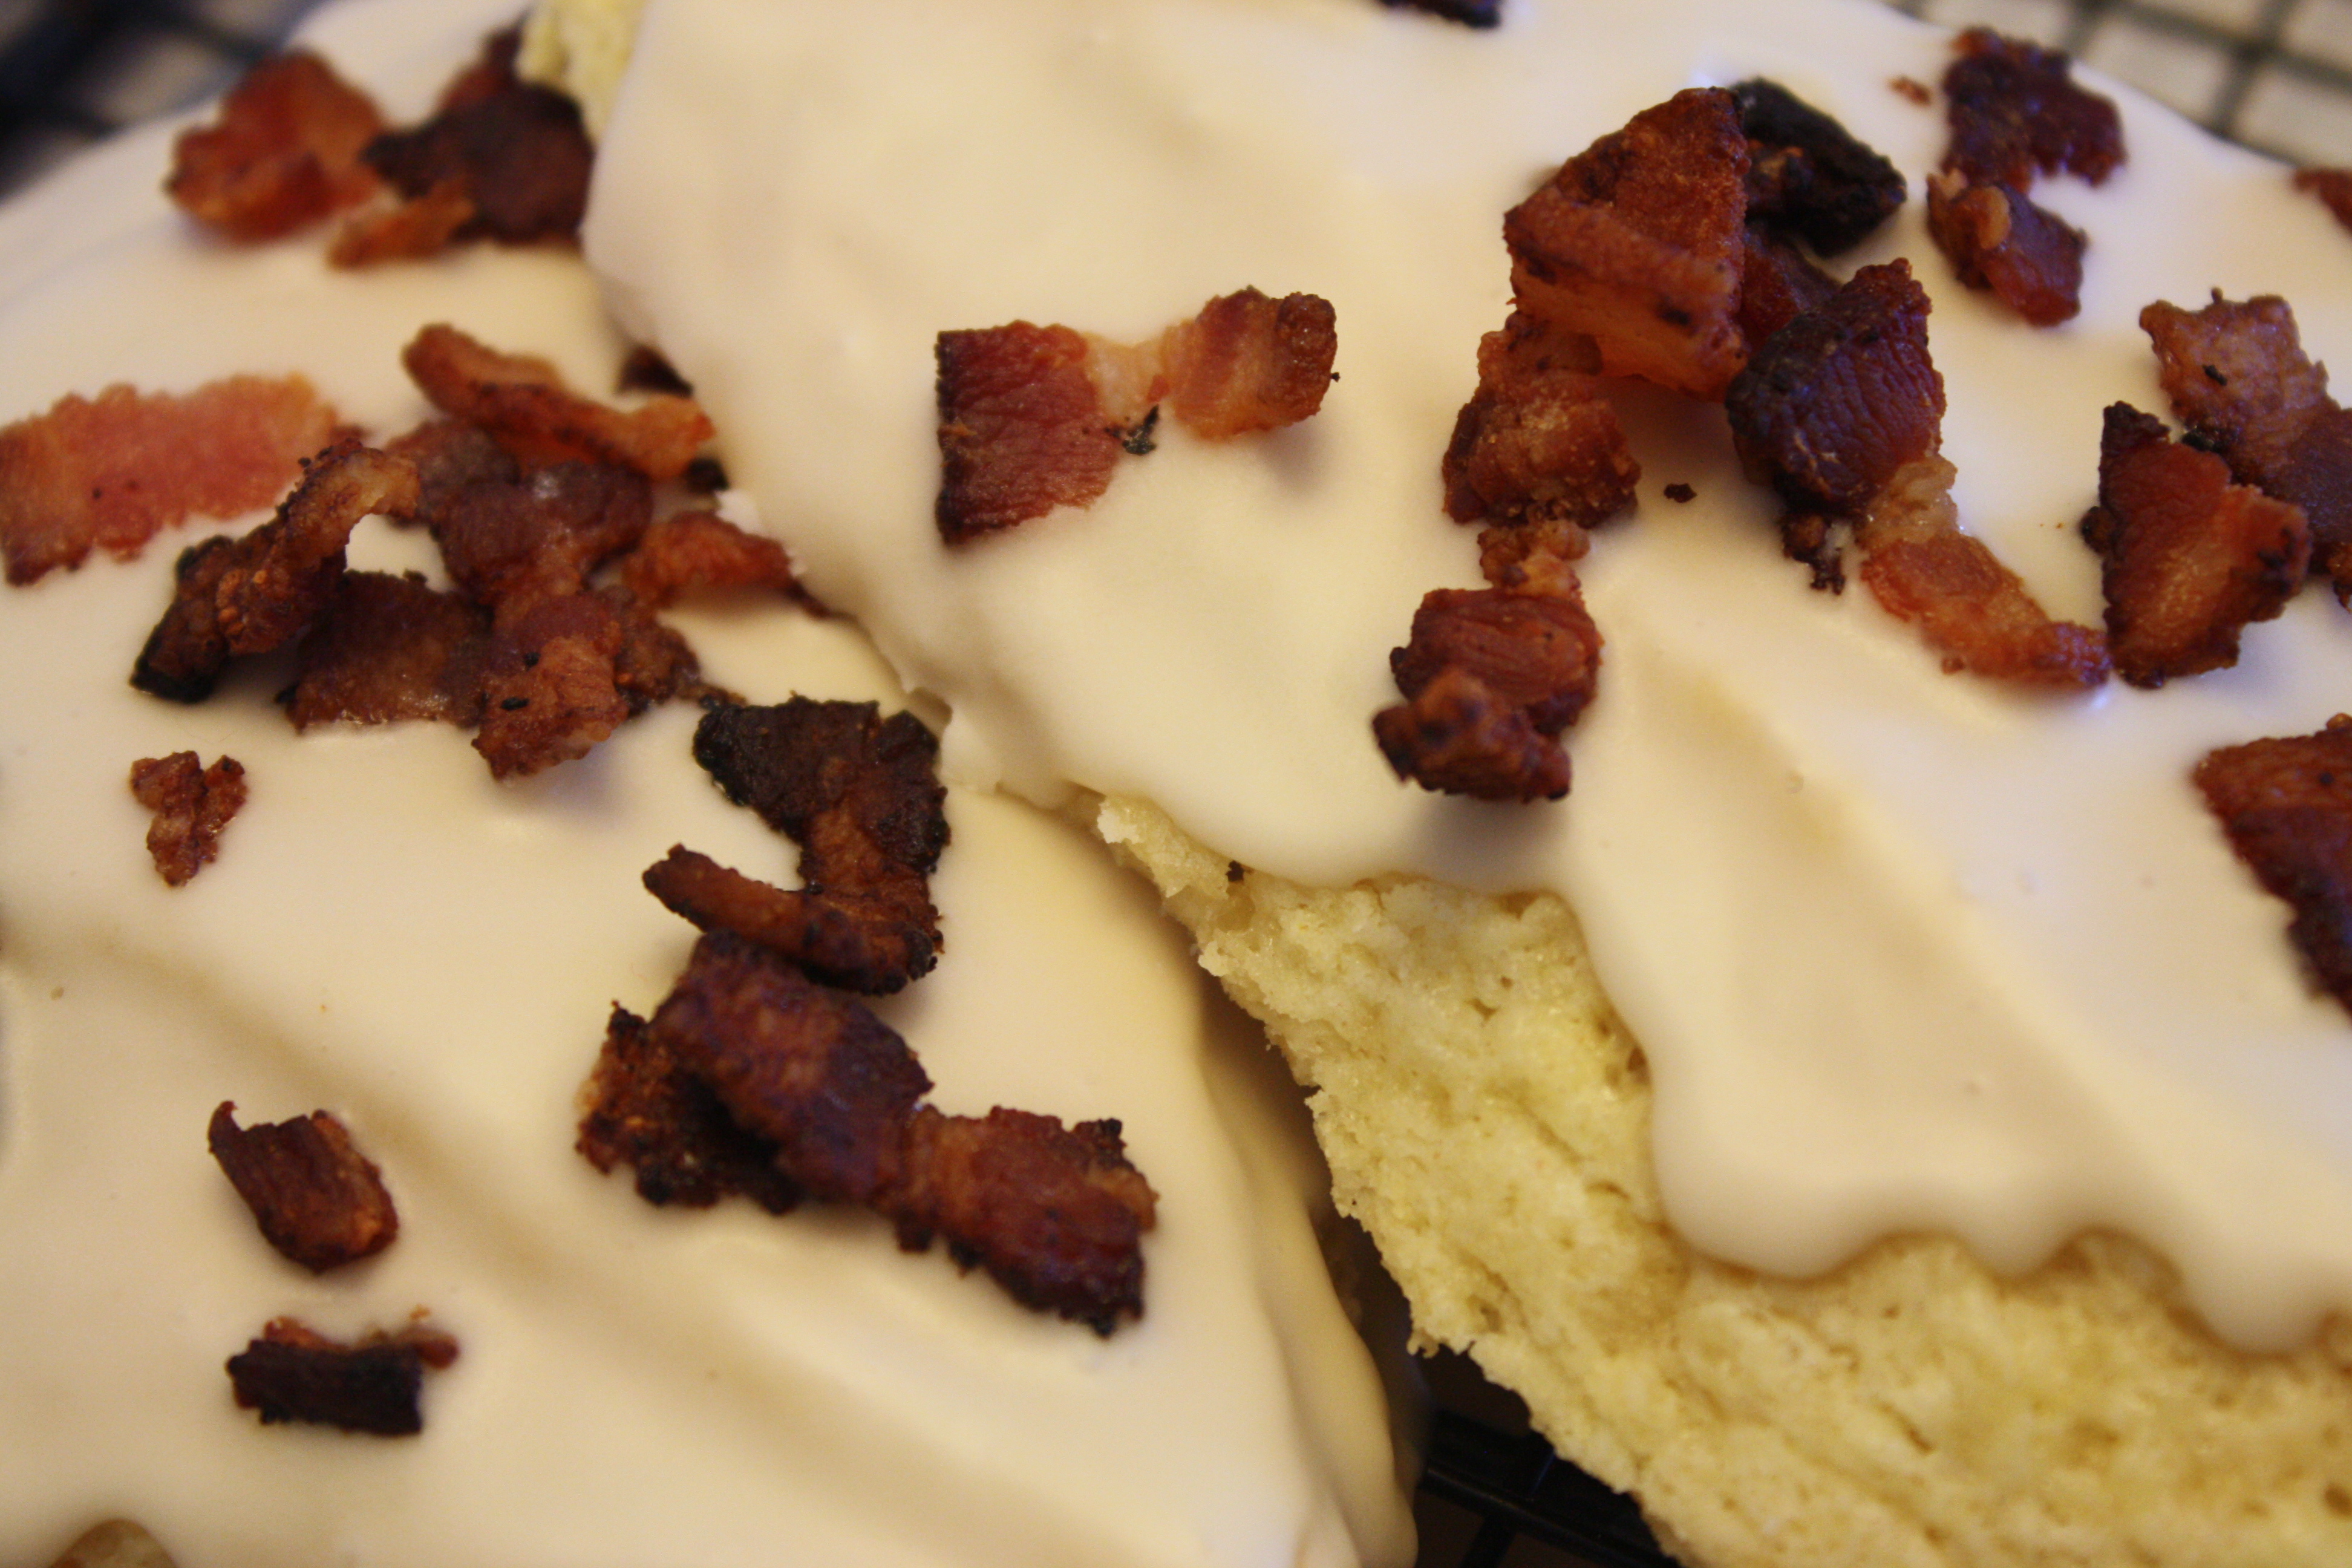
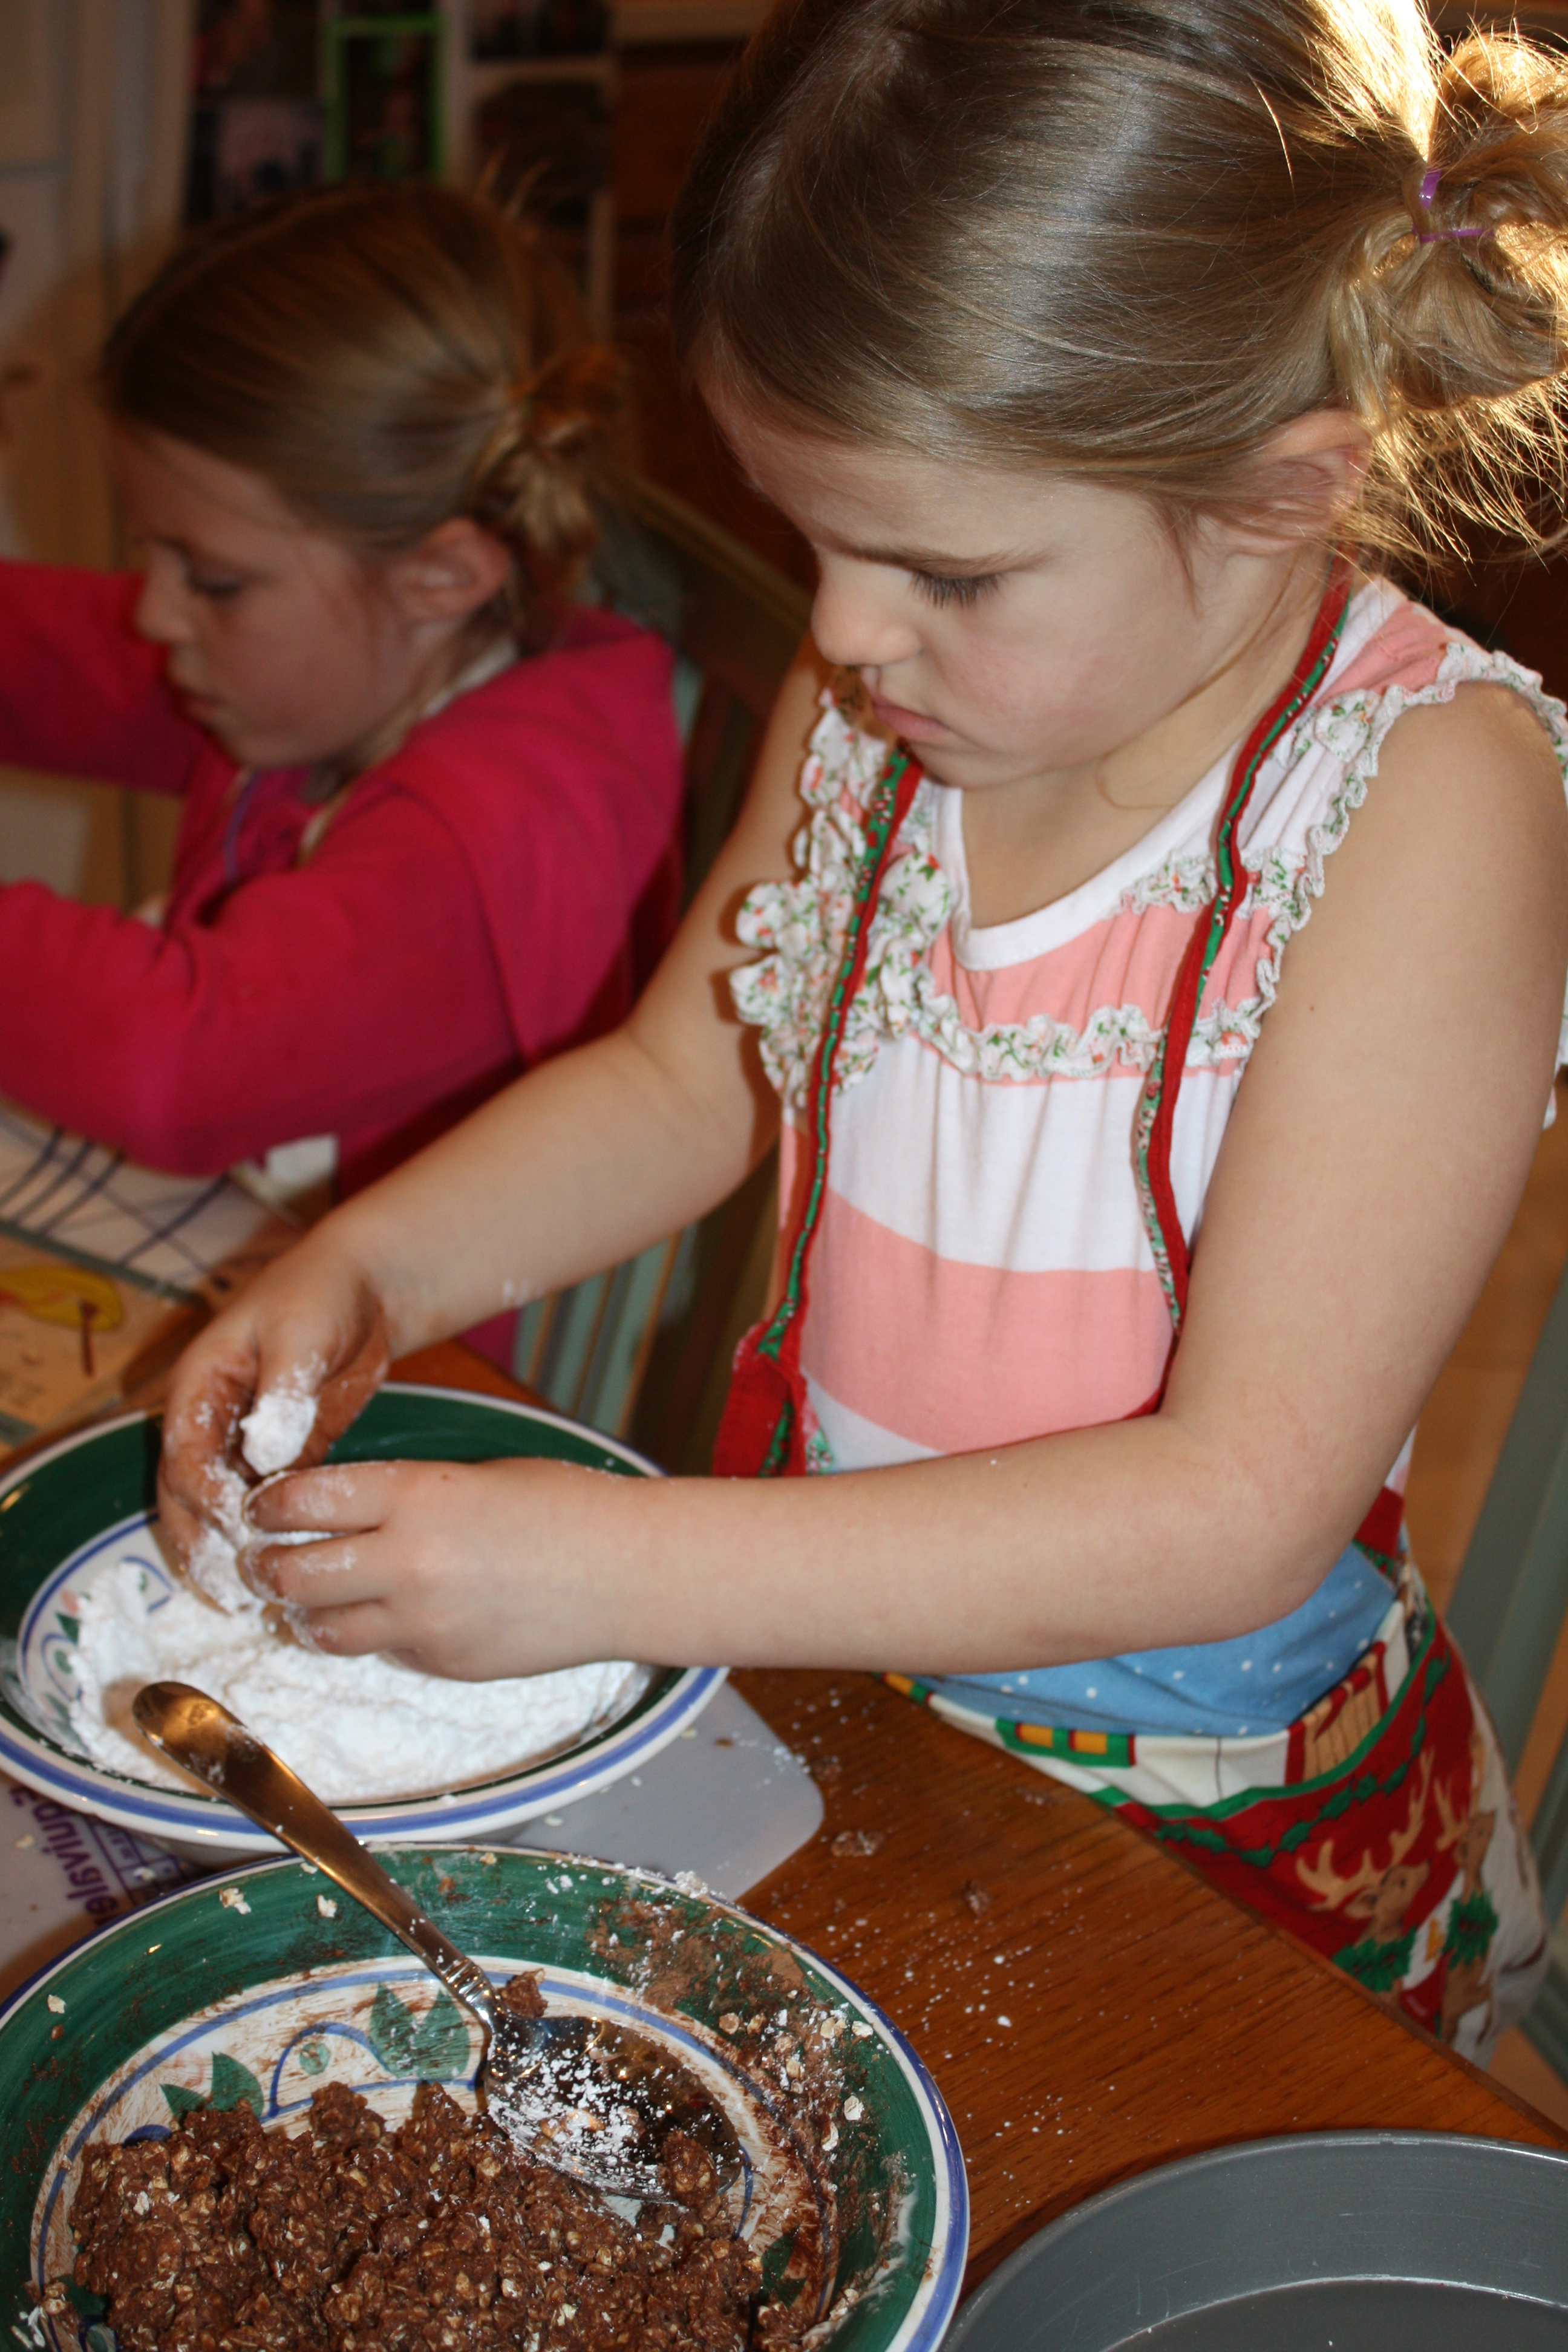
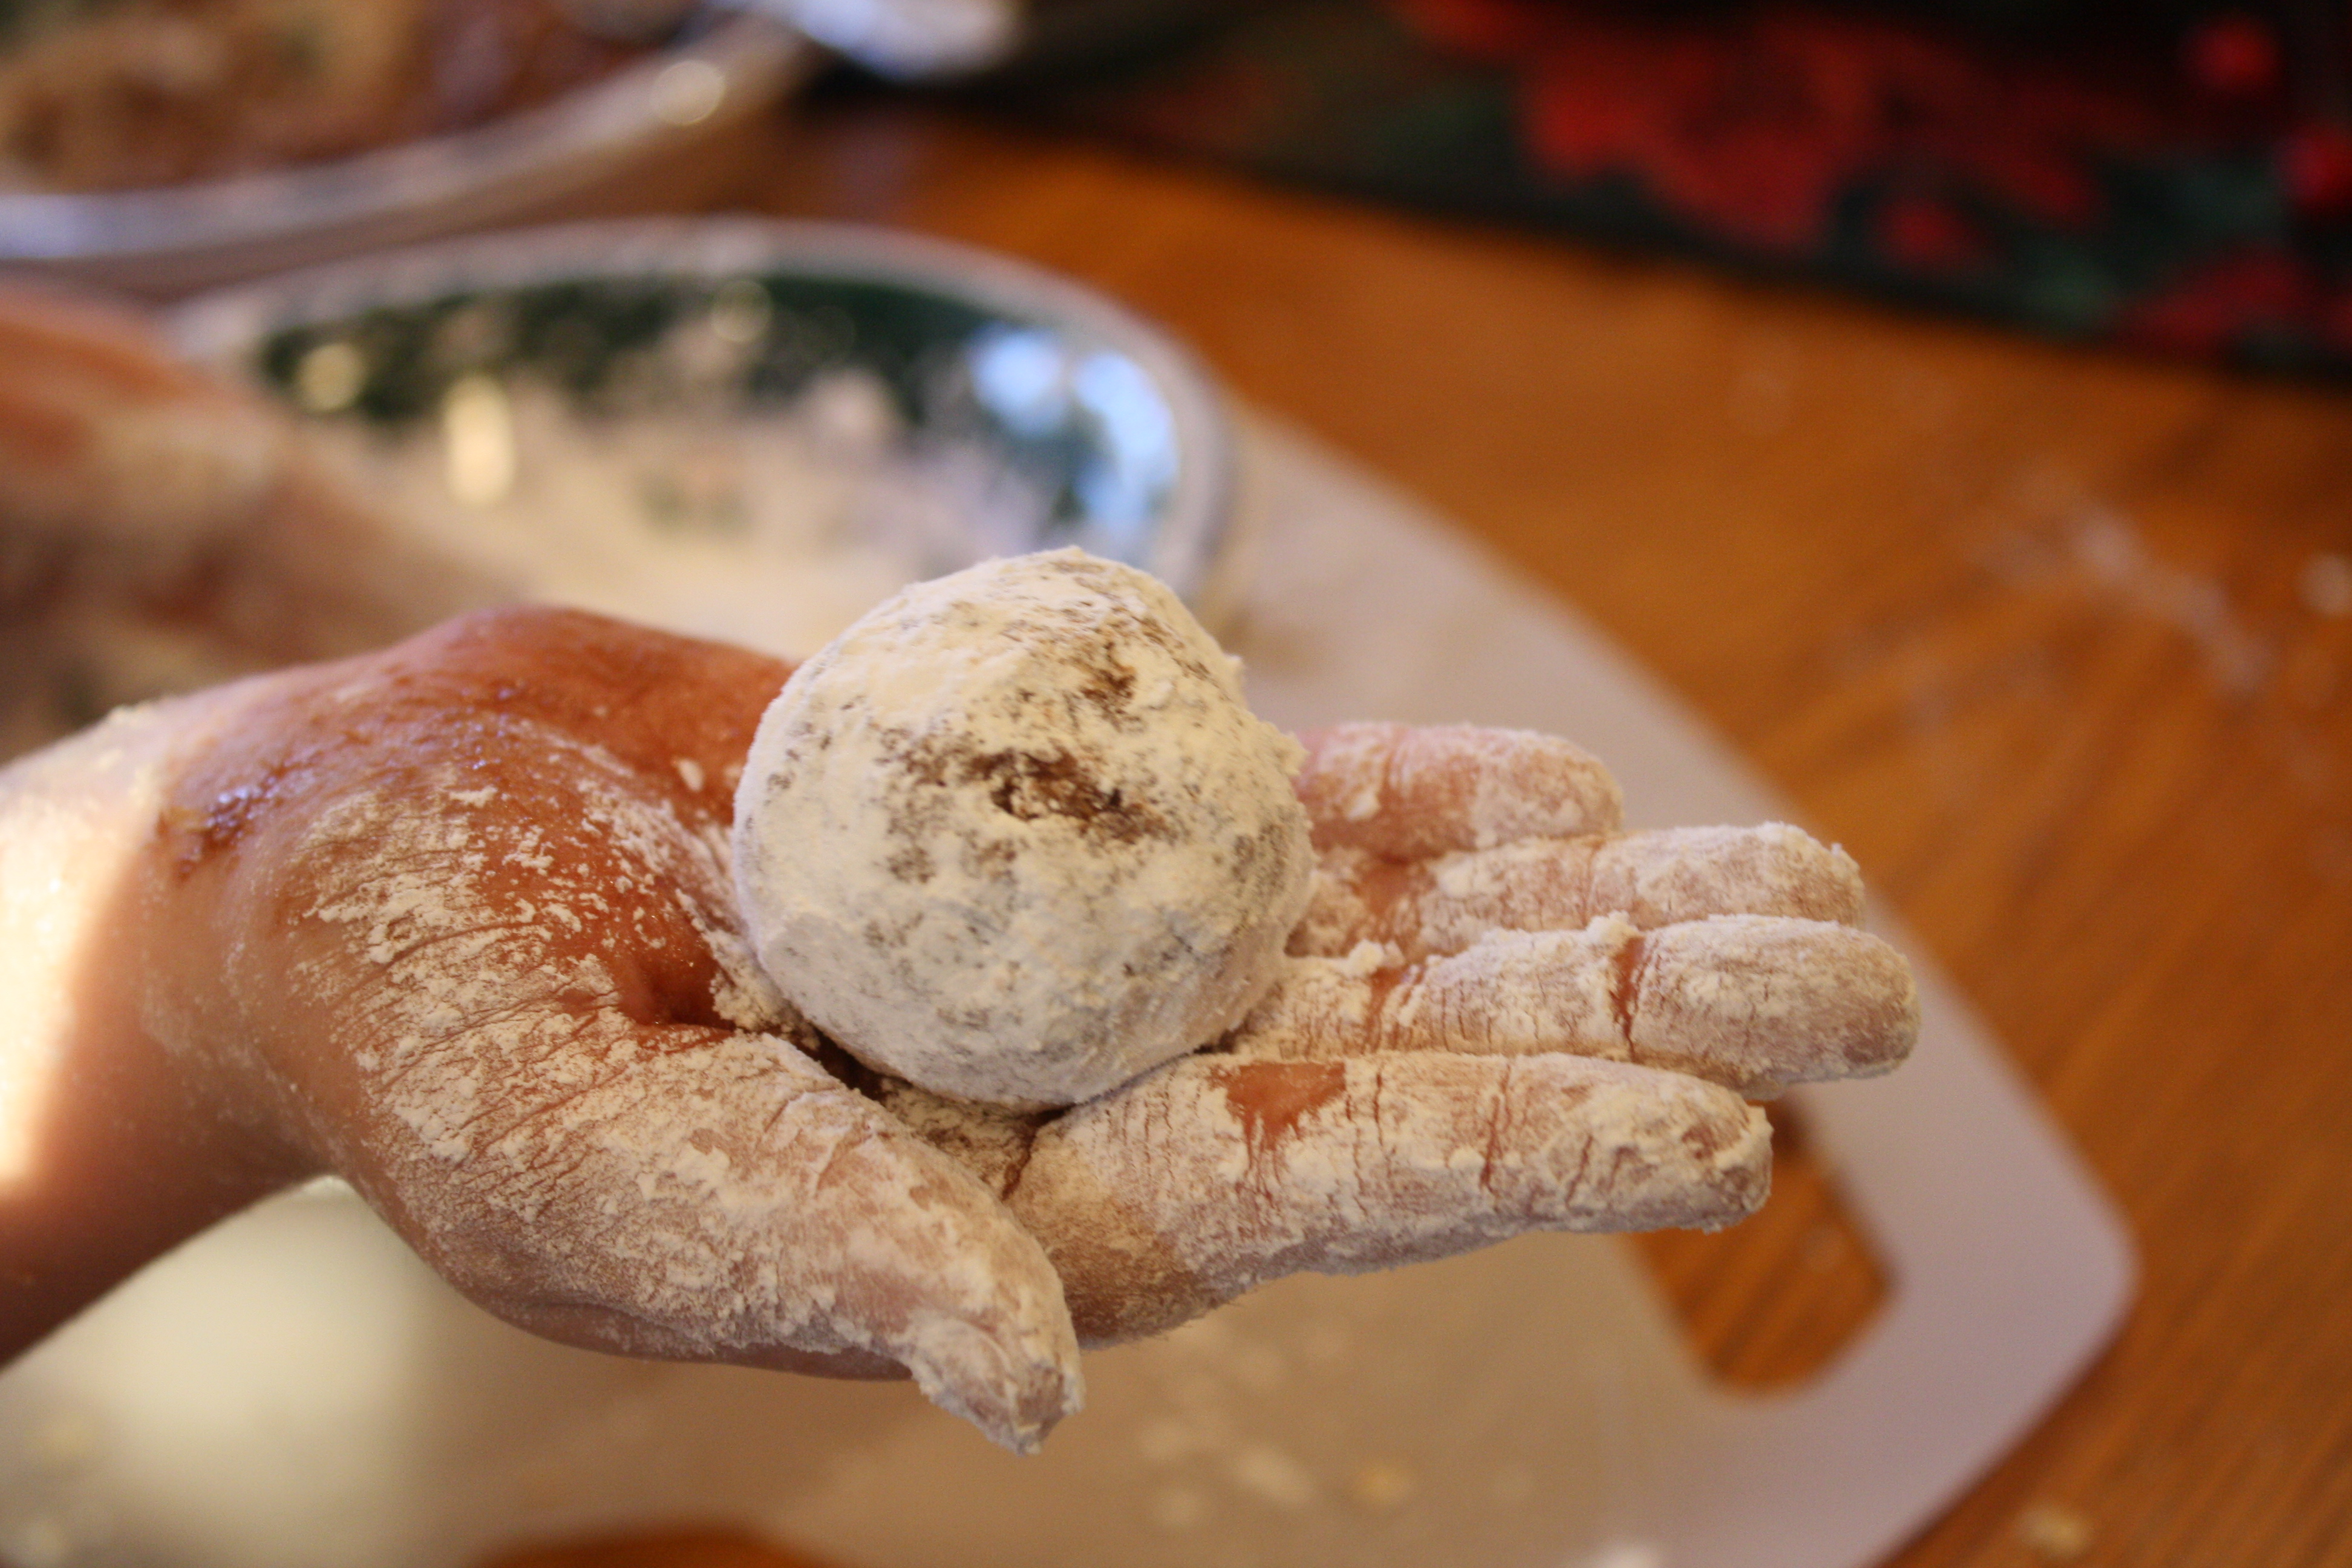
After the dough has risen, melt one stick of butter and place the butter into a shallow dish.  In another shallow dish, mix together 1 cup brown sugar and 1 tablespoon cinnamon.  Roll the dough into 2 tablespoon-sized balls.  Dip each ball in the melted butter, then into the sugar and cinnamon mixture.  Then place the buttered and sugared balls into a greased and floured bunt pan.  Once all the dough balls are in the bunt pan, cover with a damp dish towel and allow to rise until double in size.

(On the day you plan to serve the monkey bread.)

Bake your monkey bread in a 350 degree oven for about 35 minutes.  (The time will vary slightly depending on whether or not you are using a ceramic or metal bunt pan.)

While the bread is baking, heat 4 tablespoons butter, 1/2 cup brown sugar, 1/3 cup real maple syrup, 1 tablespoon water and 1 teaspoon cinnamon in a small saucepan over medium heat.  Bring the mixture to a boil and allow to boil for one minute.  Remove from the heat.

Once you remove the monkey bread from the oven, allow it to cool for about 5 minutes.  Then invert the pan onto a serving plate to remove the monkey bread.  Pour the glaze over the bread.  Serve warm.  Enjoy!

IMG_6507

*A note about all my recipes:  I use all organic ingredients, local when available.  I use non-homogenized milk, and all of the dairy we use is from animals raised on pasture. I also use oils that are non-GMO verified.  All our meat is raised locally on organic feed, and our beef is grass-fed, grass-finished.  All our spices and cane sugar are fair-trade certified and purchased through a cooperative.

Our Holiday

I hope this past holiday season found you all well, and in a state of food, fun and family bliss.  Happily, all our family members remained healthy for the duration of our holiday break, enabling us to truly enjoy each moment of these past two weeks.  Here is a bit of those things we enjoyed as 2013 exited, and 2014 began.

20131228_150549_resized_2Sledding at one of our favorite parks–Rockford Park District’s Aldeen Park.

IMG_6441Enjoying this amazing egg nog hot chocolate recipe by Ashley English.

IMG_6476 IMG_6482Taking in the majesty that was our church on Christmas Eve.

IMG_6506 IMG_6529Engaging in some fabulous retro games and projects.  Can you believe they are now selling these oldies but goodies again?  Love it.

IMG_6443Indulging in Ree Drumond’s bacon maple scones from this wonderful cookbook.

IMG_6540

Playing in the magical fairy tree house built by Santa’s elves.

IMG_6555 IMG_6560Taking in the silence of our backyard on a snowy New Year’s Eve.

Happy New Year, friends.  I hope 2014 brings much peace and happiness to all of you.

Nona’s Biscotti

IMG_6378

Nona Zanocco’s Biscotti has become a staple around our house each Christmas.  This buttery crisp cookie is perfect for a morning coffee with friends around the holidays, and also a wonderful additional to the cookie platter at a holiday party.  The word biscotti means “twice baked,” so although they do take a bit of time to make, these treats are worth the wait it takes to prepare them.

Nona’s Biscotti

Using a stand mixer, place 3 sticks of room temperature butter in the mixing bowl.  Mix until the butter is creamy and smooth.

Add 2 cups of sugar and cream the butter and sugar.

While the mixer is running, add 6 eggs (one at a time).  Then add 1 tablespoon vanilla and 1 tablespoon almond extract.

In a separate bowl, mix together 6 cups flour and 2 tablespoon baking powder.

Add the flour mixture to the butter/sugar/egg mixture.  Run the mixer until completely combined.

Form logs of dough (roughly 2 inches wide by 12 inches long by 1 inch tall) and place on a greased cookie sheet.

IMG_6352

Bake the logs in a 350 degree oven for 20 minutes.

Remove the logs from the oven and allow to cool for about 5 minutes.  Then, slice the logs into one inch slices.  Spread the slices out and re-bake for 15-20 minutes, or until the slices are just starting to turn golden.

You can serve the cookies as is, or you can drizzle them with a glaze.  (I like to mix a bit of powdered sugar with a touch of almond extract and some milk to make a glaze that I then drizzle over top.  I then top with naturally-colored sprinkles, or lemon or orange zest.)

Enjoy!

IMG_6377

*A note about all my recipes:  I use all organic ingredients, local when available.  I use non-homogenized milk, and all of the dairy we use is from animals raised on pasture. I also use oils that are non-GMO verified.  All our meat is raised locally on organic feed, and our beef is grass-fed, grass-finished.  All our spices and cane sugar are fair-trade certified and purchased through a cooperative.

Celebrating

IMG_6172

As I so often say in this space, Thanksgiving through the New Year is my favorite time of the year.  I love the decedent foods that warm your soul, the many adornments that work to embellish even the most drab of locales, and the melodies that seem to interweave their way into my thoughts.  But most of all, I cherish the quality time spent in celebration with family and friends that this time of year brings to our lives.

This Thanksgiving was a true celebration of family, which was a much welcomed change over last year’s cold and flu-filled Thanksgiving celebration.  And I must say, my favorite part of the day was the spontaneous dance party that broke out in the garage while our frogmore stew was cooking away.

Here is a peak into our weekend of celebrating…

IMG_6176IMG_6174IMG_6170IMG_6183 IMG_6197 IMG_6199 IMG_6205 IMG_6207 IMG_6254 IMG_6257 IMG_6260 IMG_6245 IMG_6229

I hope you all had a wonderful weekend, and I wish you a very happy Monday!

Grandma’s Three Bean Salad

IMG_5612

Isn’t it just fascinating how food memories work?  One morsel of food touches your tongue and you are whisked away to times gone by, to the exact moment when you consumed that particular piece of goodness.  That’s why each time I task three bean salad, I am brought back to Zanocco family 4th of July celebrations.  With this annual celebration always came laughing children singing (and yelling) the words to “Miss Mary Mack”, throw-and-pop firecrackers and sparklers, olive dip, and of course, three bean salad.

I dug through my recipe box last week and found Grandma Zanocco’s three bean salad recipe.  Looking over the hand-written recipe card, I wondered if I could perhaps make it a bit healthier, while maintaining the integrity of the dish.  With a bit of tasting here, and help from my sous-chef there, I think I’ve done it.  I hope you enjoy this dish as much as we did, and I hope it helps to create some wonderful new food memories for all of you 🙂

IMG_5605

Grandma’s Three Bean Salad

(You can use canned beans, or dried beans.  Just be sure that if you use dried beans, they have already been soaked and are fork tender.)

4 cups kidney beans

4 cups pinto beans

4 cups black beans

Pour all of your beans in a large bowl and set aside.

In a food processor, pulse 1 cup diced yellow onions.  Then add 1 cup olive oil, 1 cup Bragg’s Apple Cider Vinegar, 2 teaspoons salt, 1 teaspoon pepper and 3/4 cup raw agave syrup.  Pulse the mixture a few times in your food processor until you have a reasonably smooth dressing.

Pour your dressing over your bean mixture, and allow to sit at room temperature for about an hour before serving.  You can garnish your salad with a little oregano or parsley if you wish.  Enjoy!

IMG_5610

*A note about all my recipes:  I use all organic ingredients, local when available.  I use non-homogenized milk, and all of the dairy we use is from animals raised on pasture. I also use oils that are non-GMO verified.  All our meat is raised locally on organic feed, and our beef is grass-fed, grass-finished.  All our spices and cane sugar are fair-trade certified and purchased through a cooperative.

Cooking Sauce with Daddy

1234748_604283966279762_541147407_n

While I was enjoying myself at a baby shower in the beautiful Anderson Japanese Gardens, my girls were home making pasta sauce with Daddy.  My husband gets huge bonus points for this because not only did he cook with the girls (a feat in and of itself), he took pictures of them doing it!  In honor of this momentous occasion, today I bring you a blog post written by the man himself…

IMG_4986

Pasta sauce, or “sugo” has a special place in our family.  Every holiday I can remember involved Grandma Jan’s giant pot of sauce, simmering on the stove, filled with meatballs and hunks of pepperoni.  The pasta was always an afterthought, the lowly vessel on which more sauce could be ladled.  Her recipe was given to her by her mother-in-law, my Great-Grandma Lou.  She could flat-out cook and to this day, her skills bring the conversation to a halt, as eyes glaze over in remembrance of what she could do in the kitchen.  Although she is no longer with us, her memories inspired a lazy Saturday to turn into a sauce making event that I was honored to share with two excited and delightful sous chefs.  

This time of year brings us tomatoes, onions, oregano, carrots, and basil right out of the garden.  Despite eating more than we process, there were enough tomatoes to get the project started.  The girls both helped with Gianna pulling carrots from the garden and Addie peeling cloves of garlic.  Both girls helped peel onions and prep the herbs.  We absolutely destroyed the kitchen, used every cutting board in the house, and left onion skins all over the floor.  Despite the mess, I was able to spend a few hours with my girls recreating the smells and flavors that I remember growing up with.  My most sincere hope is that they will remember these moments and find time to create them with their children and grand children, so that future generations will know the importance of food, family, and the sense of community only found in the kitchen.

IMG_4987 IMG_4988 IMG_4992IMG_4996

Basil Lime Gimlet

IMG_4980

Date nights do not often happen these days.  Crazy schedules, shifting demands of the workplace and caring for two young children make it difficult for this mom and dad to have a few spare moments alone.  That is why this past weekend was quite a celebration.  We enjoyed a date night.  With just the two of us.  Alone.

We spent our time at an early evening movie, followed by wonderful Vietnemese food, and all wrapped up with homemade garden-inspired cocktails.  It was a perfectly wonderful evening.

We wanted to incorporate our garden bounty in our cocktails in some way, so here is our best attempt to embody late summer garden freshness in a glass.  We hope you enjoy this little treat as much as we did!

Basil Lime Gimlet

1 cup lime juice

1/2 cup water

7 fresh basil leaves

1/2 cup sugar

Place the above ingredients in a small saucepan over medium heat.  Stir the mixture constantly until the sugar is dissolved and begins to bubble.  Turn off the heat, and allow the mixture to steep with the lid on for at least an hour.  Remove the wilted basil leaves and pour into a glass container and place in the refrigerator until chilled.

When you are ready to enjoy your cocktail, fill a pint-sized Mason jar with ice.  Add 1 oz. vodka, 2/3 cup of the basil lime simple syrup above, and 2 fresh basil leaves.  Now, for that rustic chic charm, attach a lid and rim to your Mason jar and shake away.  I’m telling you, it’s the coolest martini shaker on the market these days 🙂  Once your cocktail is properly shaken, remove the rim and lid, serve and enjoy!

IMG_4981

*A note about all my recipes:  I use all organic ingredients, local when available.  I use non-homogenized milk, and all of the dairy we use is from animals raised on pasture. I also use oils that are non-GMO verified.  All our meat is raised locally on organic feed, and our beef is grass-fed, grass-finished.  All our spices and cane sugar are fair-trade certified and purchased through a cooperative.

Dairy Free Apple Crisp

IMG_4957

Despite the fact the mercury is reading 85 degrees tonight as I write this, I am thinking Fall.  To help force my most-loved season along, the girls and I decided to pick our first-ever crop of apples from two of our apple trees and enjoy them for dinner in our favorite  baked apple form:  a crisp.

Because my youngest is still on a non-dairy diet, I continue striving to find new ways of tweaking our favorite recipes to make them dairy-free.  This recipe is one of those such experiments.  I wanted to substitute the butter in a traditional crisp, without losing the earthy, creamy flavor I think butter brings to the table.  I ended up using a combination of coconut oil, for the fat content, and whole wheat flour for the earthiness factor.  The crisp turned out quite nicely, without any hint of a coconut flavor that sometimes makes its way into recipes where I substitute butter with coconut oil.

I hope you enjoy this yummy fall treat!

IMG_4952

Dairy Free Apple Crisp

1/4 cup honey

1 teaspoon cinnamon

1/2 teaspoon nutmeg

Heat the above ingredients in a small saucepan until the honey becomes runny.  Pour this mixture over 6 cups of sliced, fresh apples.

Pour the apple honey mixture into a 9X9 baking pan.

In a separate bowl, mix together:

2 cups rolled oats

1/2 cup whole wheat flour

1 teaspoon cinnamon

1/4 teaspoon salt

Cut in 5 tablespoons of coconut oil.  Crumble the oat mixture over the apple mixture.  Bake in a 350 degree oven for 45 minutes, or until the top is crunchy and golden brown.  Enjoy!

IMG_4958

*A note about all my recipes:  I use all organic ingredients, local when available.  I use non-homogenized milk, and all of the dairy we use is from animals raised on pasture. I also use oils that are non-GMO verified.  All our meat is raised locally on organic feed, and our beef is grass-fed, grass-finished.  All our spices and cane sugar are fair-trade certified and purchased through a cooperative.

Cherry Pomegranate Frozen Yogurt

IMG_4065

It seems that it has been some time since I have shared one of my recipes in this space, so today is the day my friends.  Today I bring you yet another of our family’s experiments with a cow’s milk dairy free recipe.  My girls just love this frozen yogurt recipe I concocted, and I hope you and your family enjoy it as well.  It is incredibly simple, so you can whip it up on no time for a fun, summer snack.

Cherry Pomegranate Frozen Yogurt

10 oz dark sweet cherries (these can be fresh or frozen and thawed)

1/2 cup honey

1 cup 100% juice pomegranate juice

1 cup yogurt (We use goat’s milk yogurt, but any yogurt would work great.)

Add the cherries and honey to a blender.  Blend until smooth.  Next add the juice and the yogurt.  Pulse a few times in the blender until combined.  Pour the mixture into your ice cream maker and follow the manufacturer’s instructions.  Enjoy!

*A note about all my recipes:  I use all organic ingredients, local when available.  I use non-homogenized milk, and all of the dairy we use is from animals raised on pasture. I also use oils that are non-GMO verified.  All our meat is raised locally on organic feed, and our beef is grass-fed, grass-finished.  All our spices and cane sugar are fair-trade certified and purchased through a cooperative.