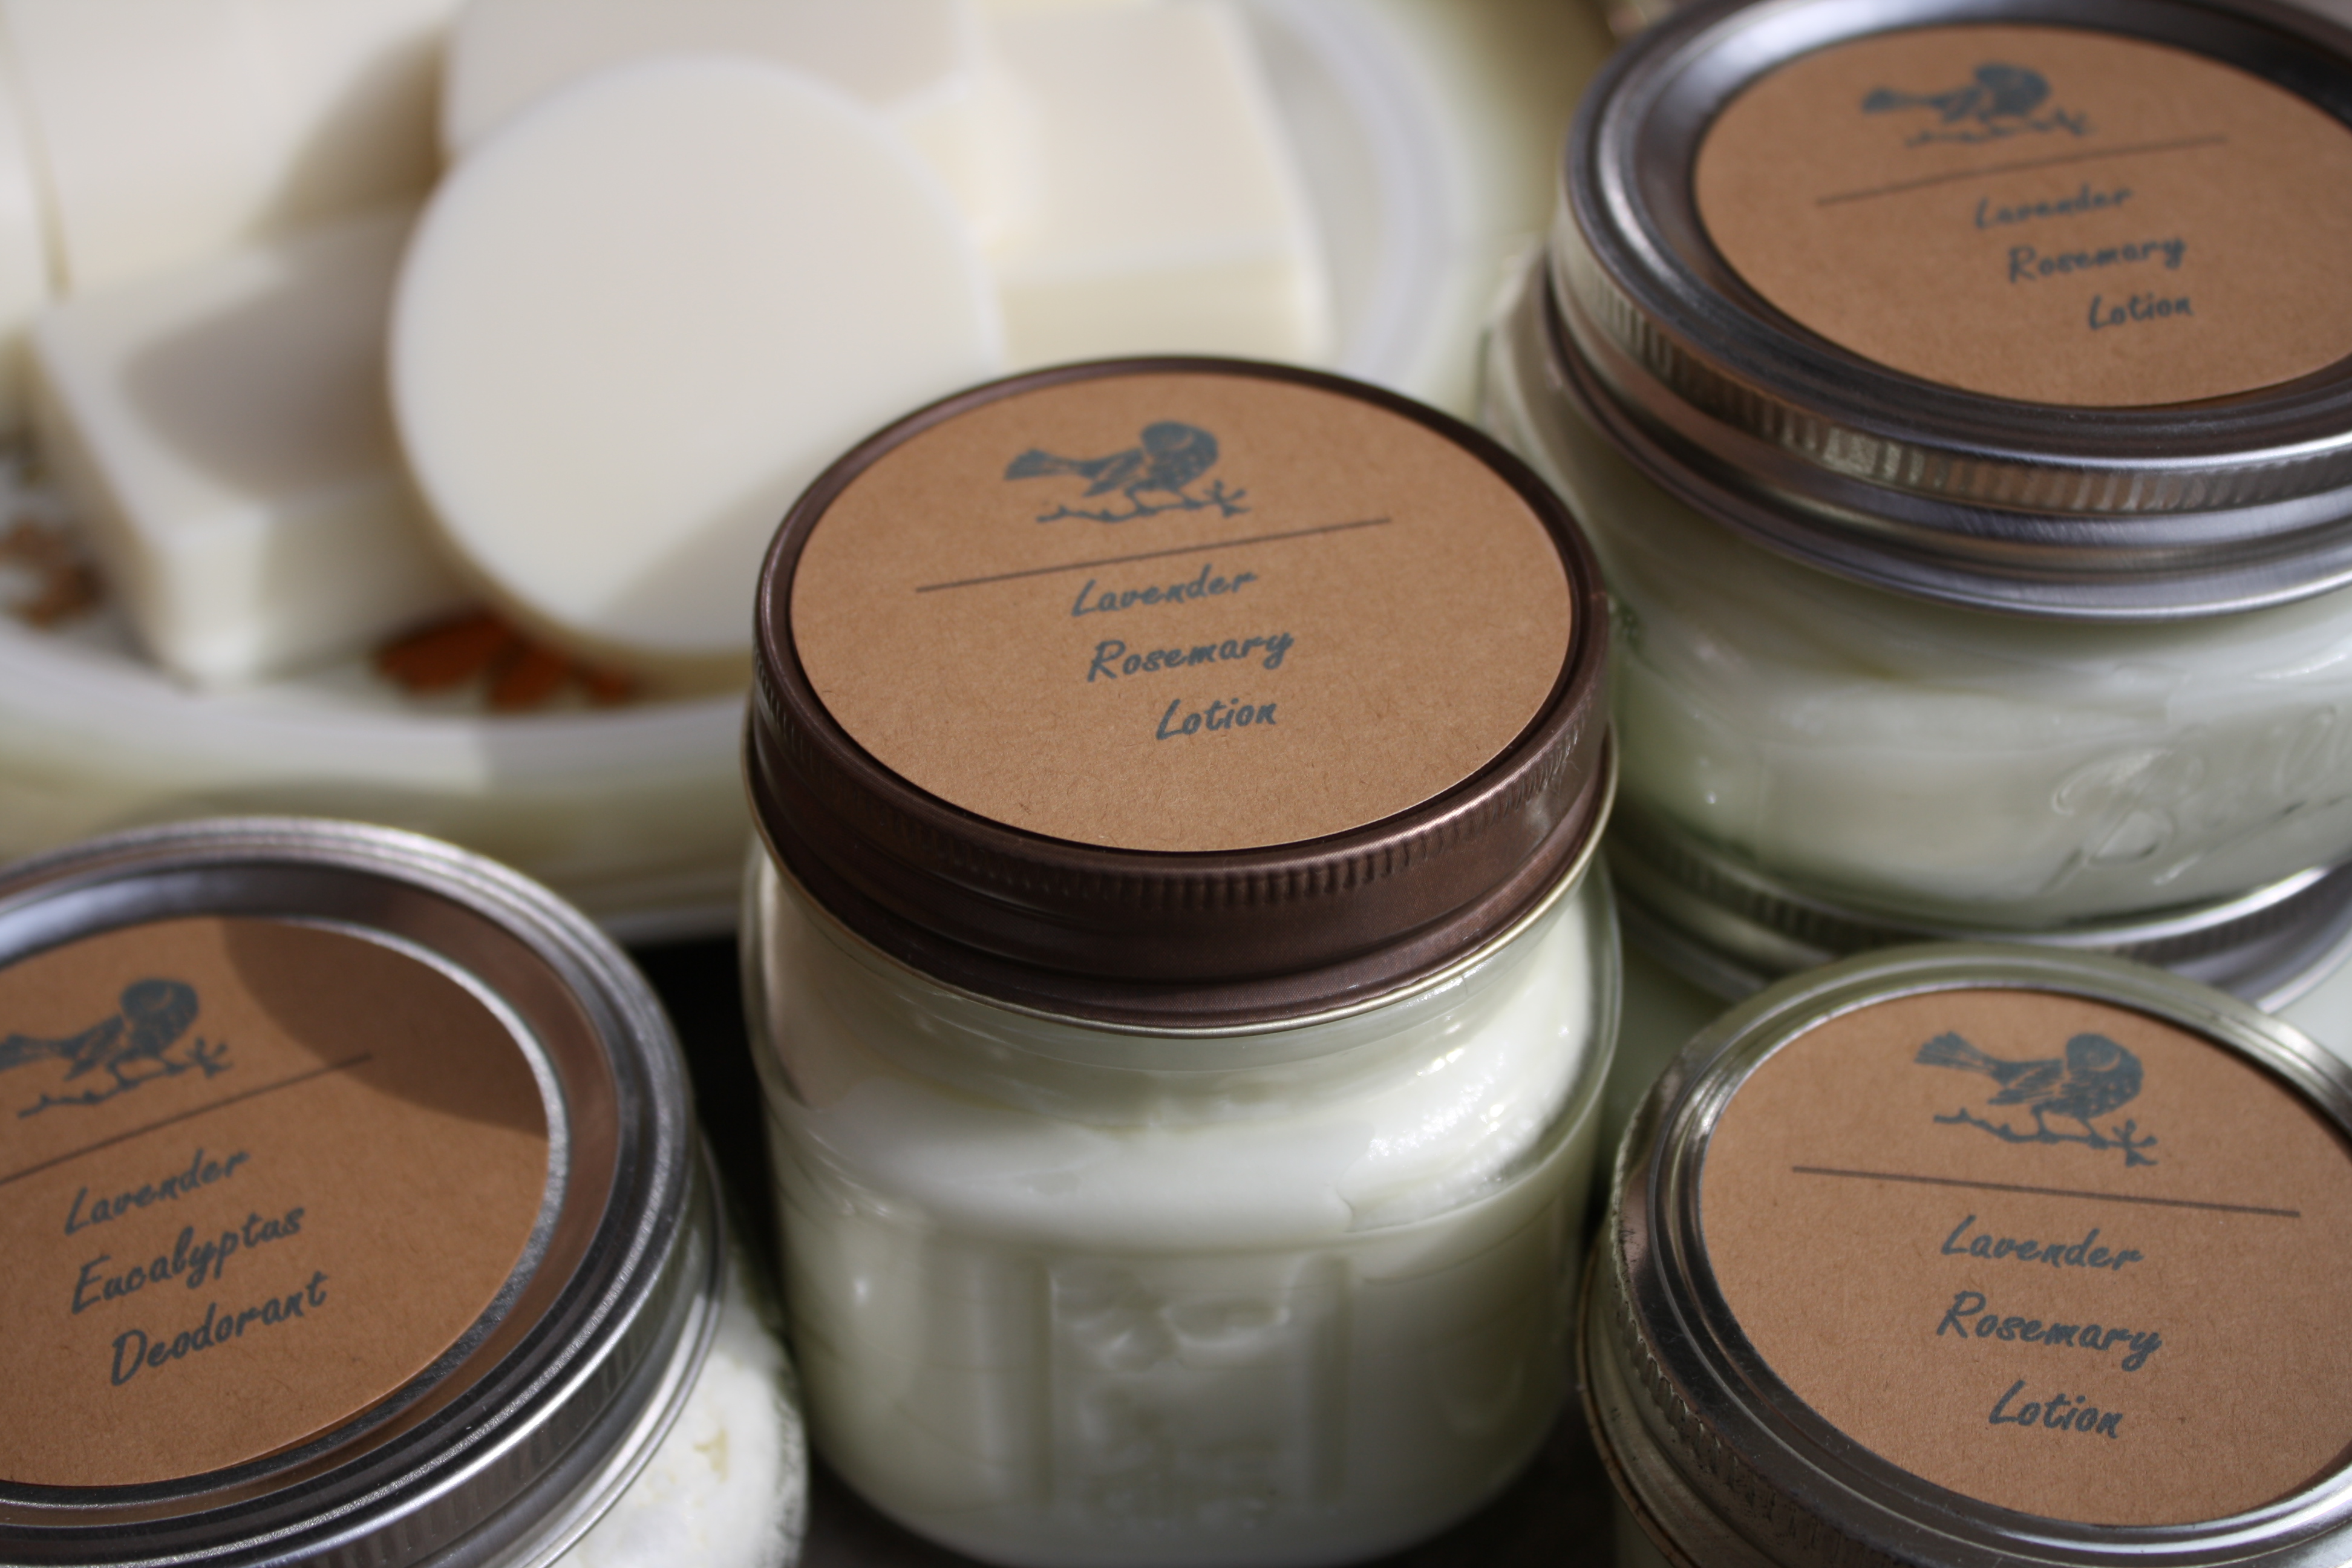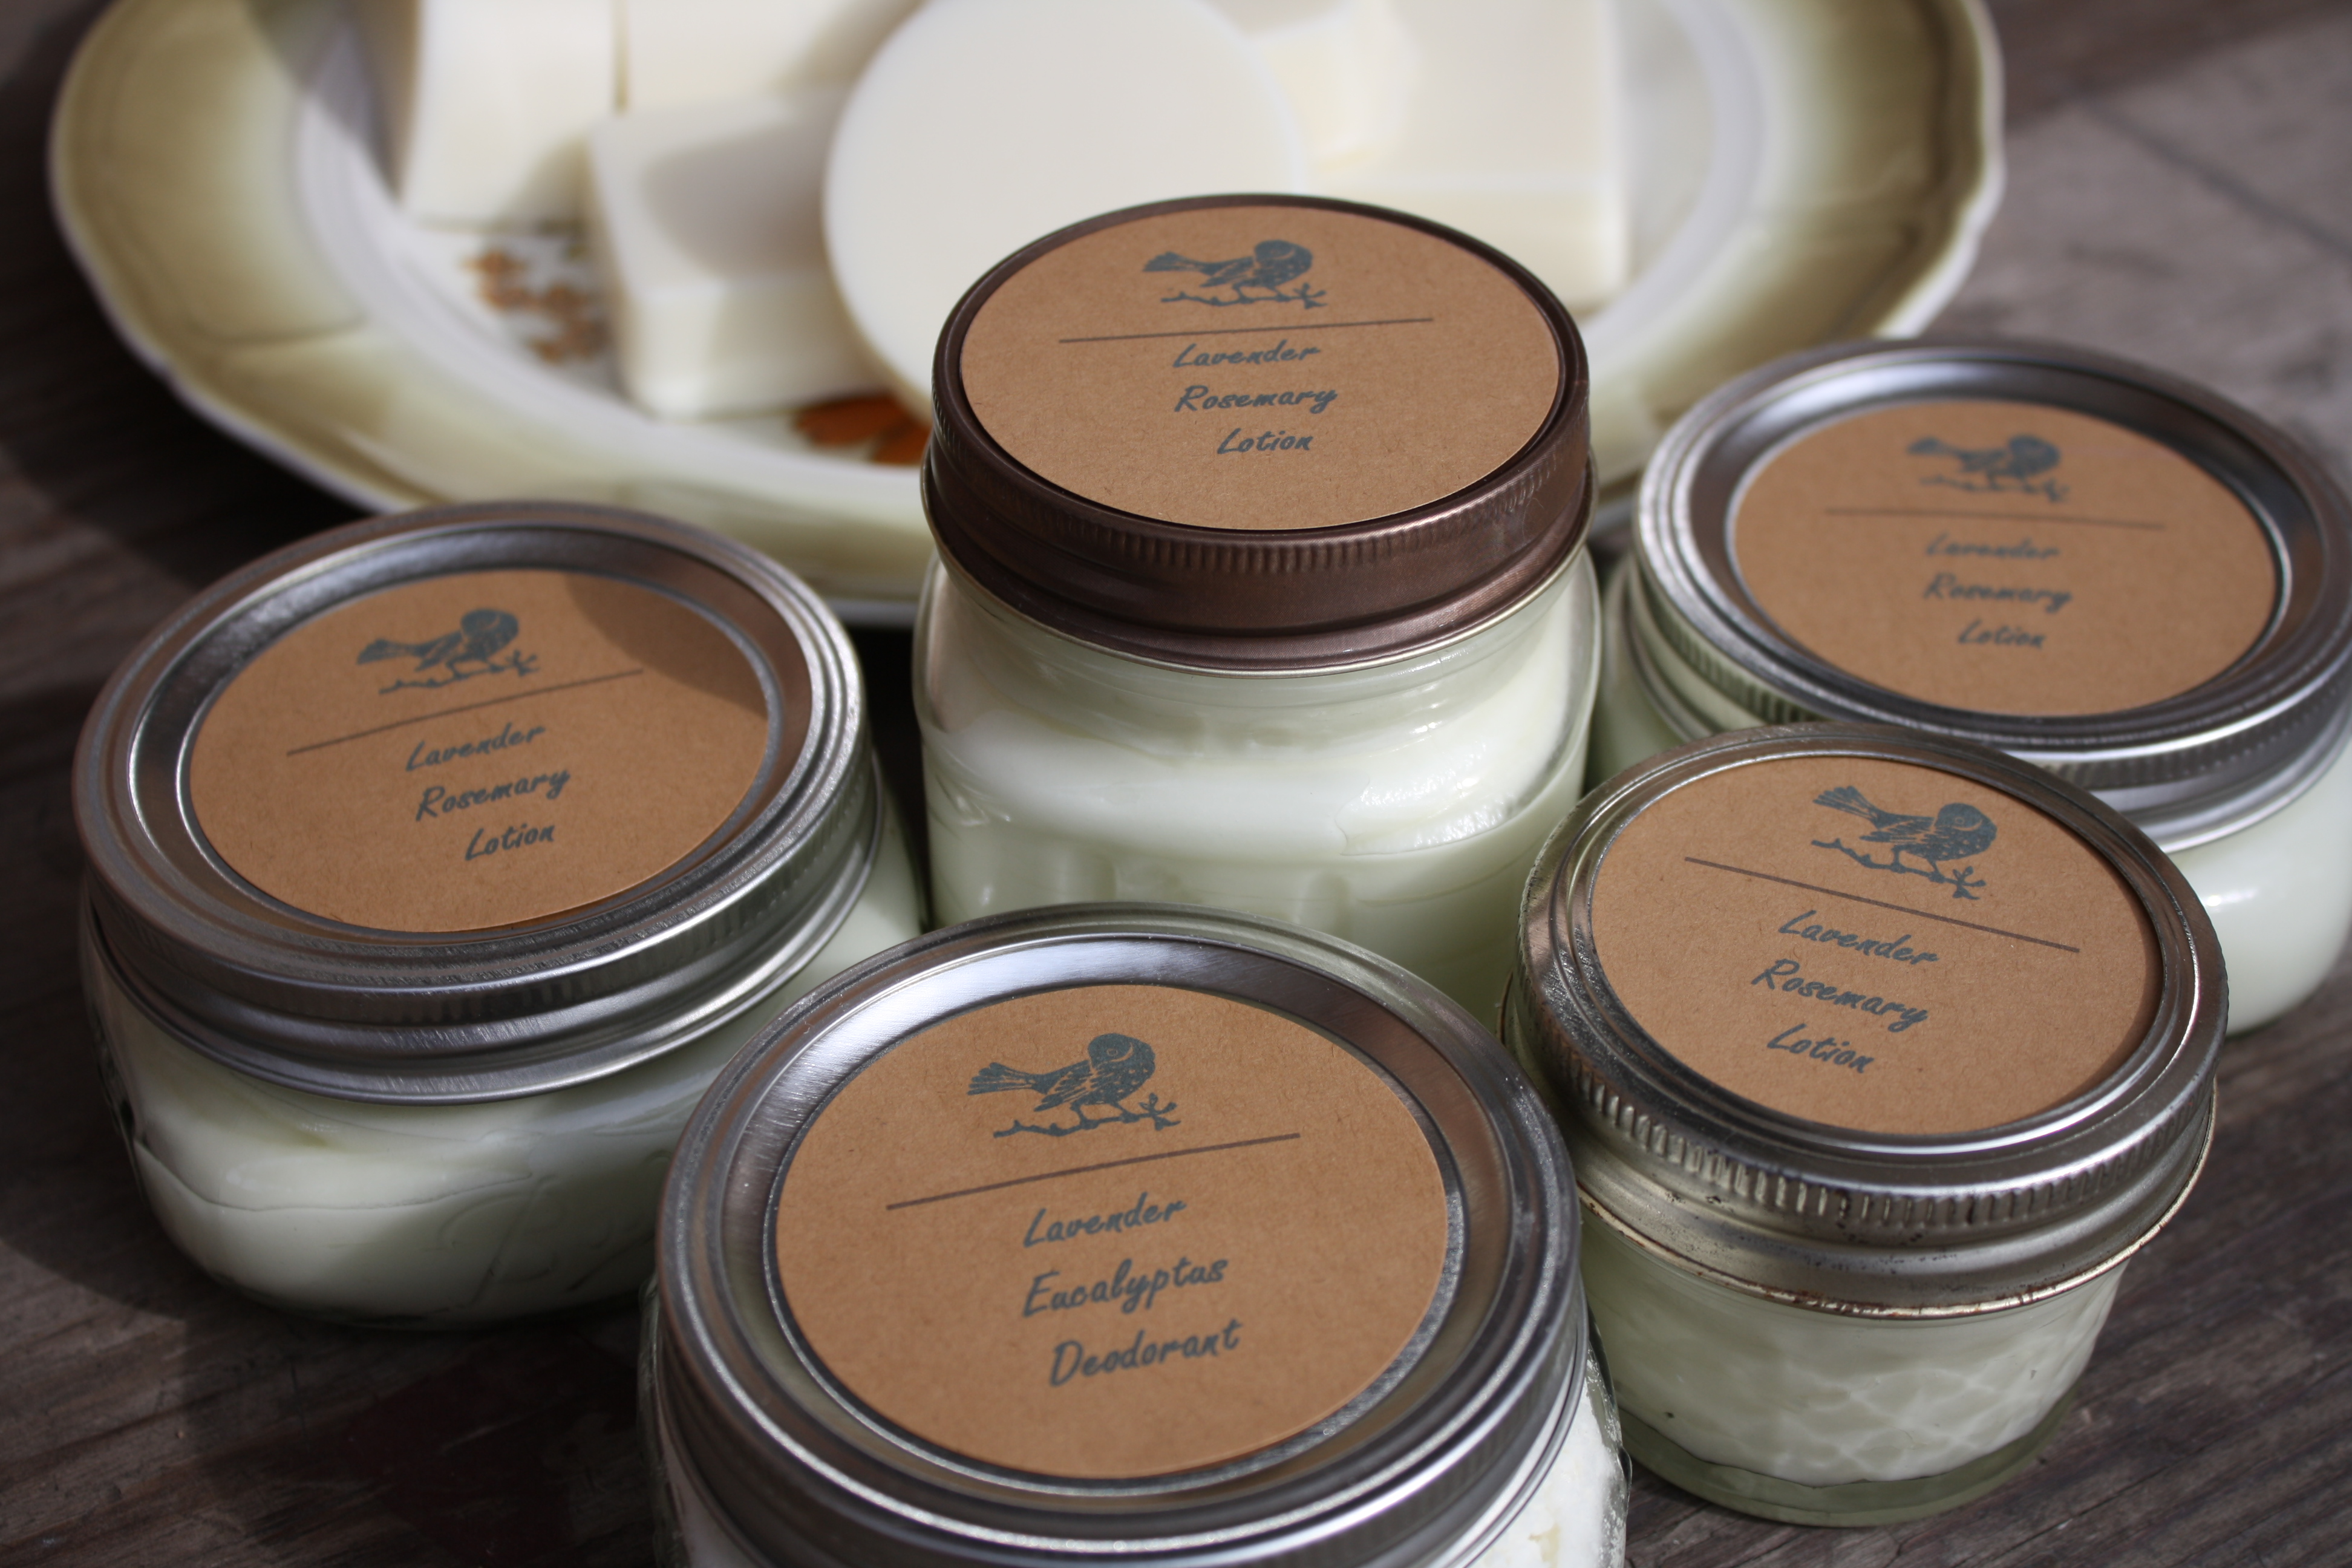
Amid the hustle and hustle of the past few weeks, I ran to the linen closet to grab a bar of soap and some lotion and found the shelves that normally house these items to be completely bare. So, we spent much of our St. Patrick’s Day afternoon making some new soap, lotion and deodorant.
I used my favorite lotion recipe from this amazing book, but instead using olive oil as I normally do, I used a cold-pressed organic grape seed oil. It ended up making a much lighter lotion, which I really like.
A friend of mine steered me towards this great homemade deodorant recipe, and after wearing it in a multitude of situations, I have found it to work wonderfully! In fact, I would even venture to say it works better than my organic store-bought deodorant.
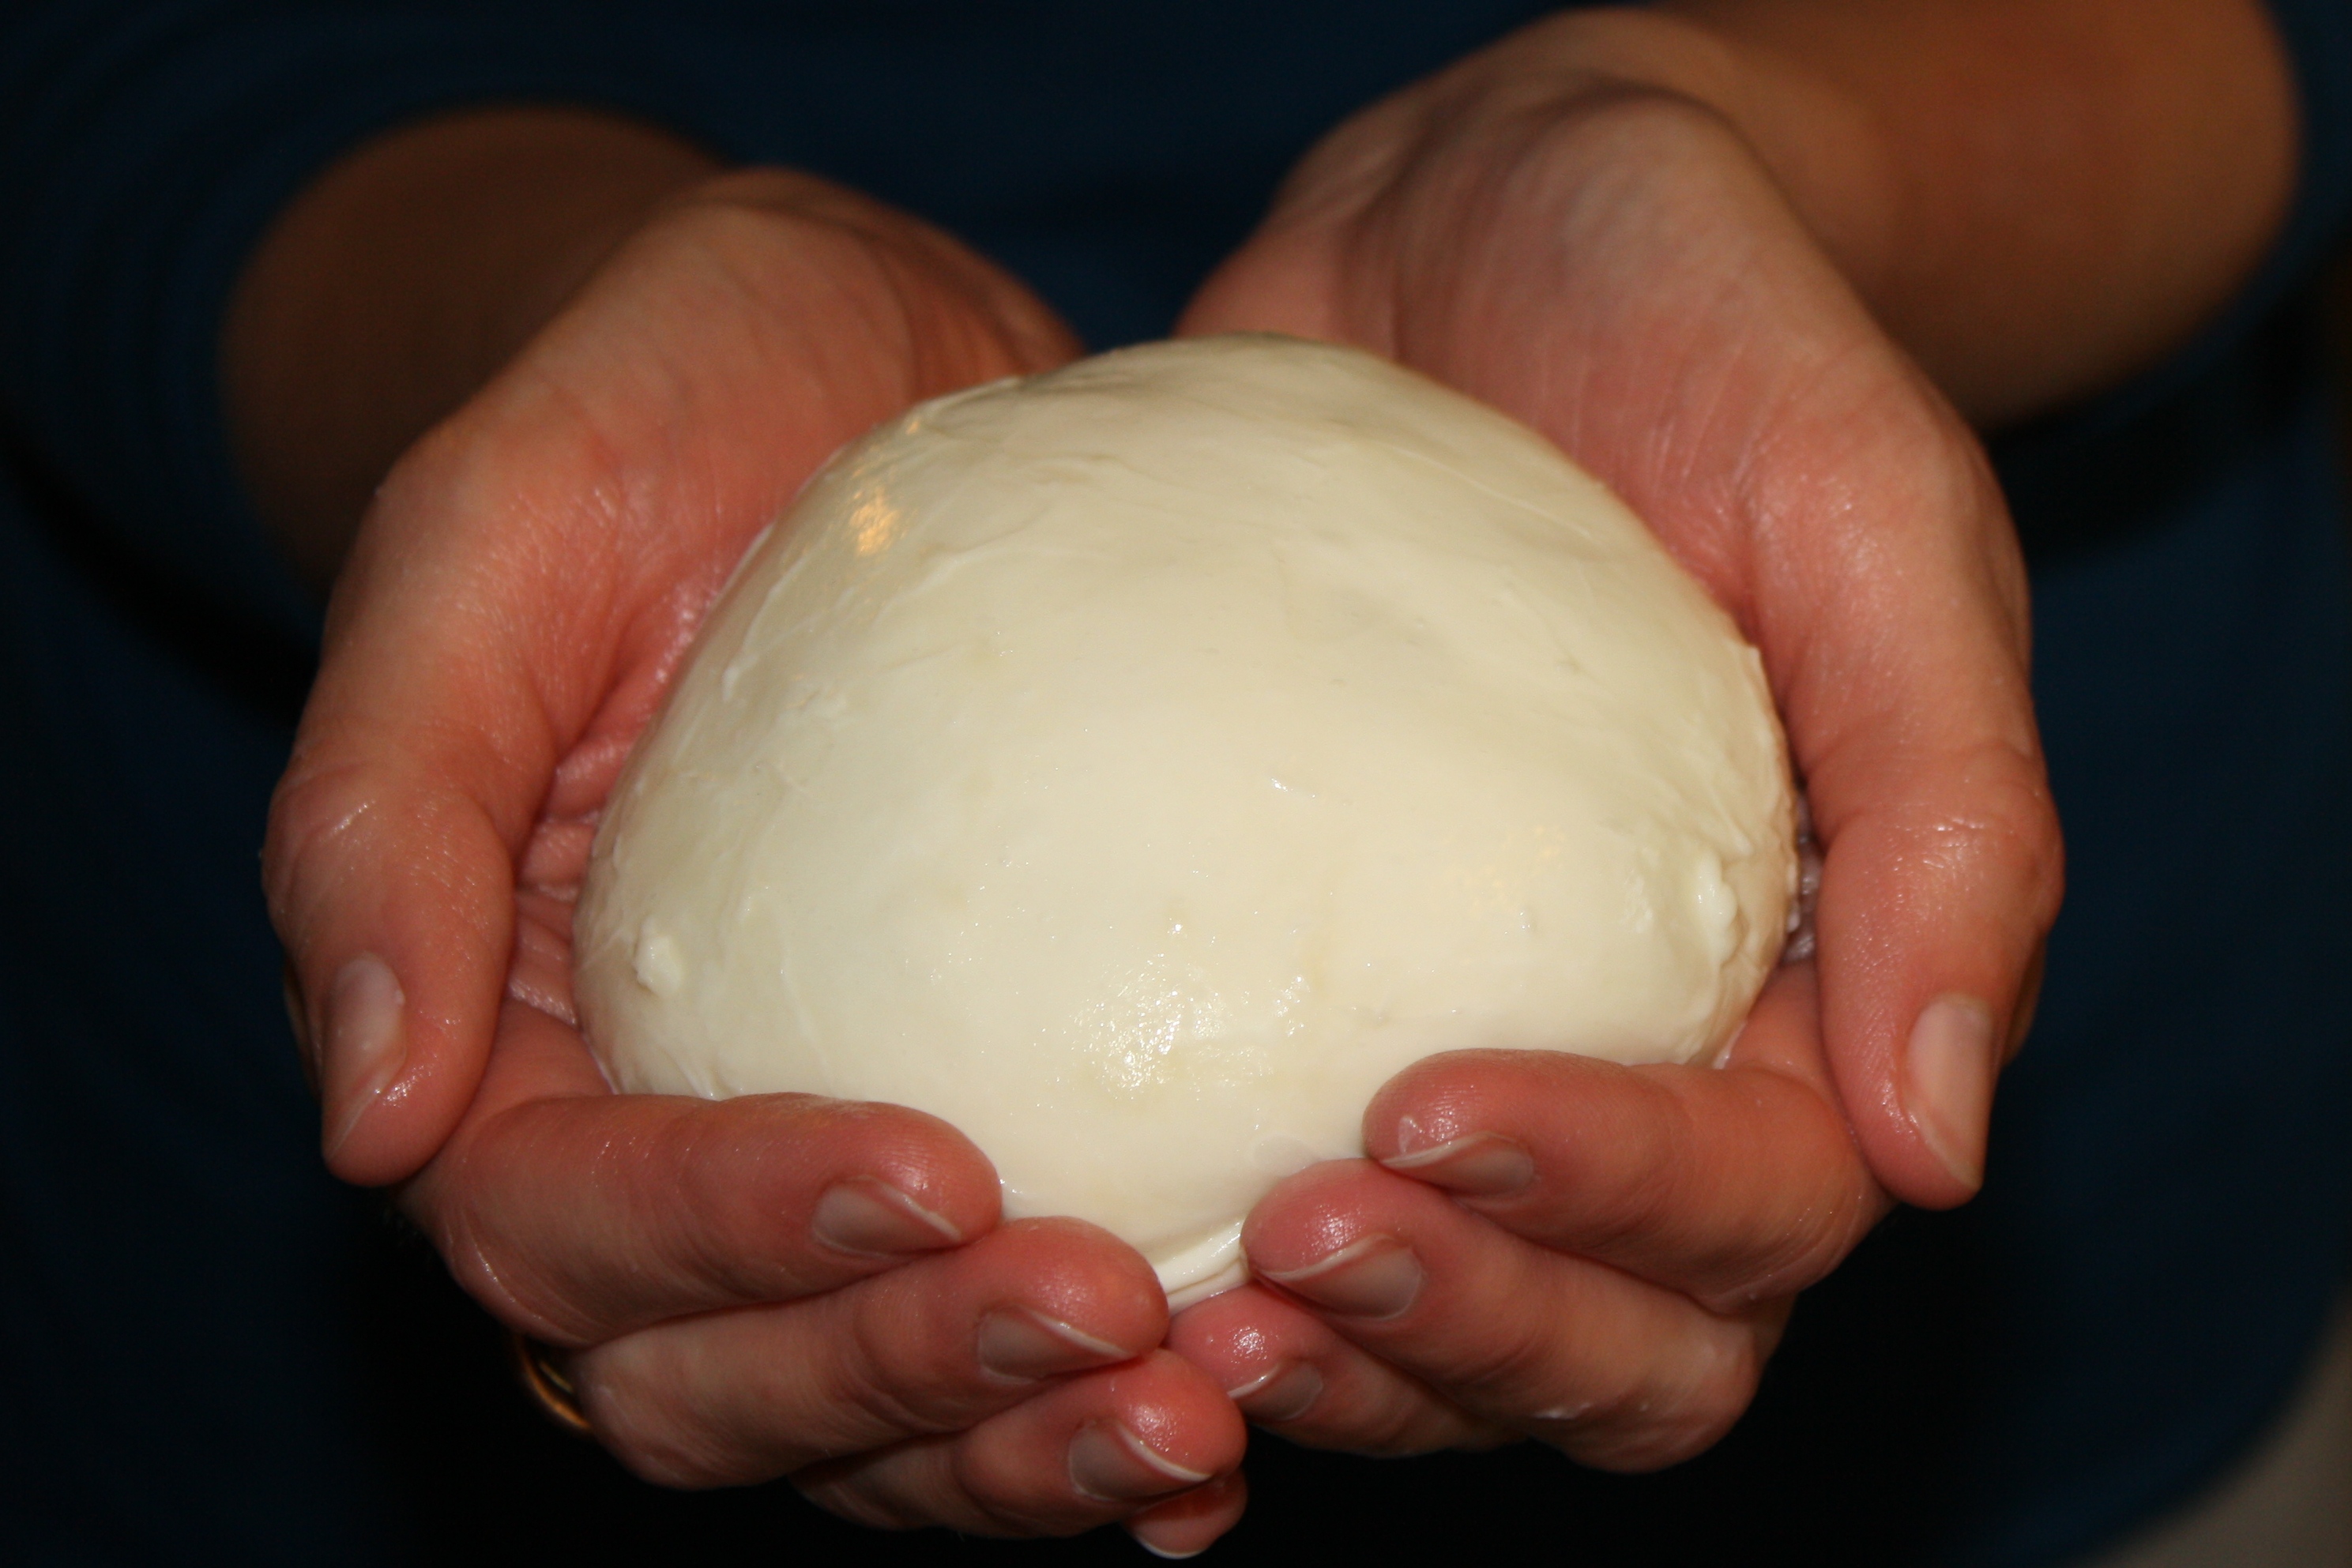
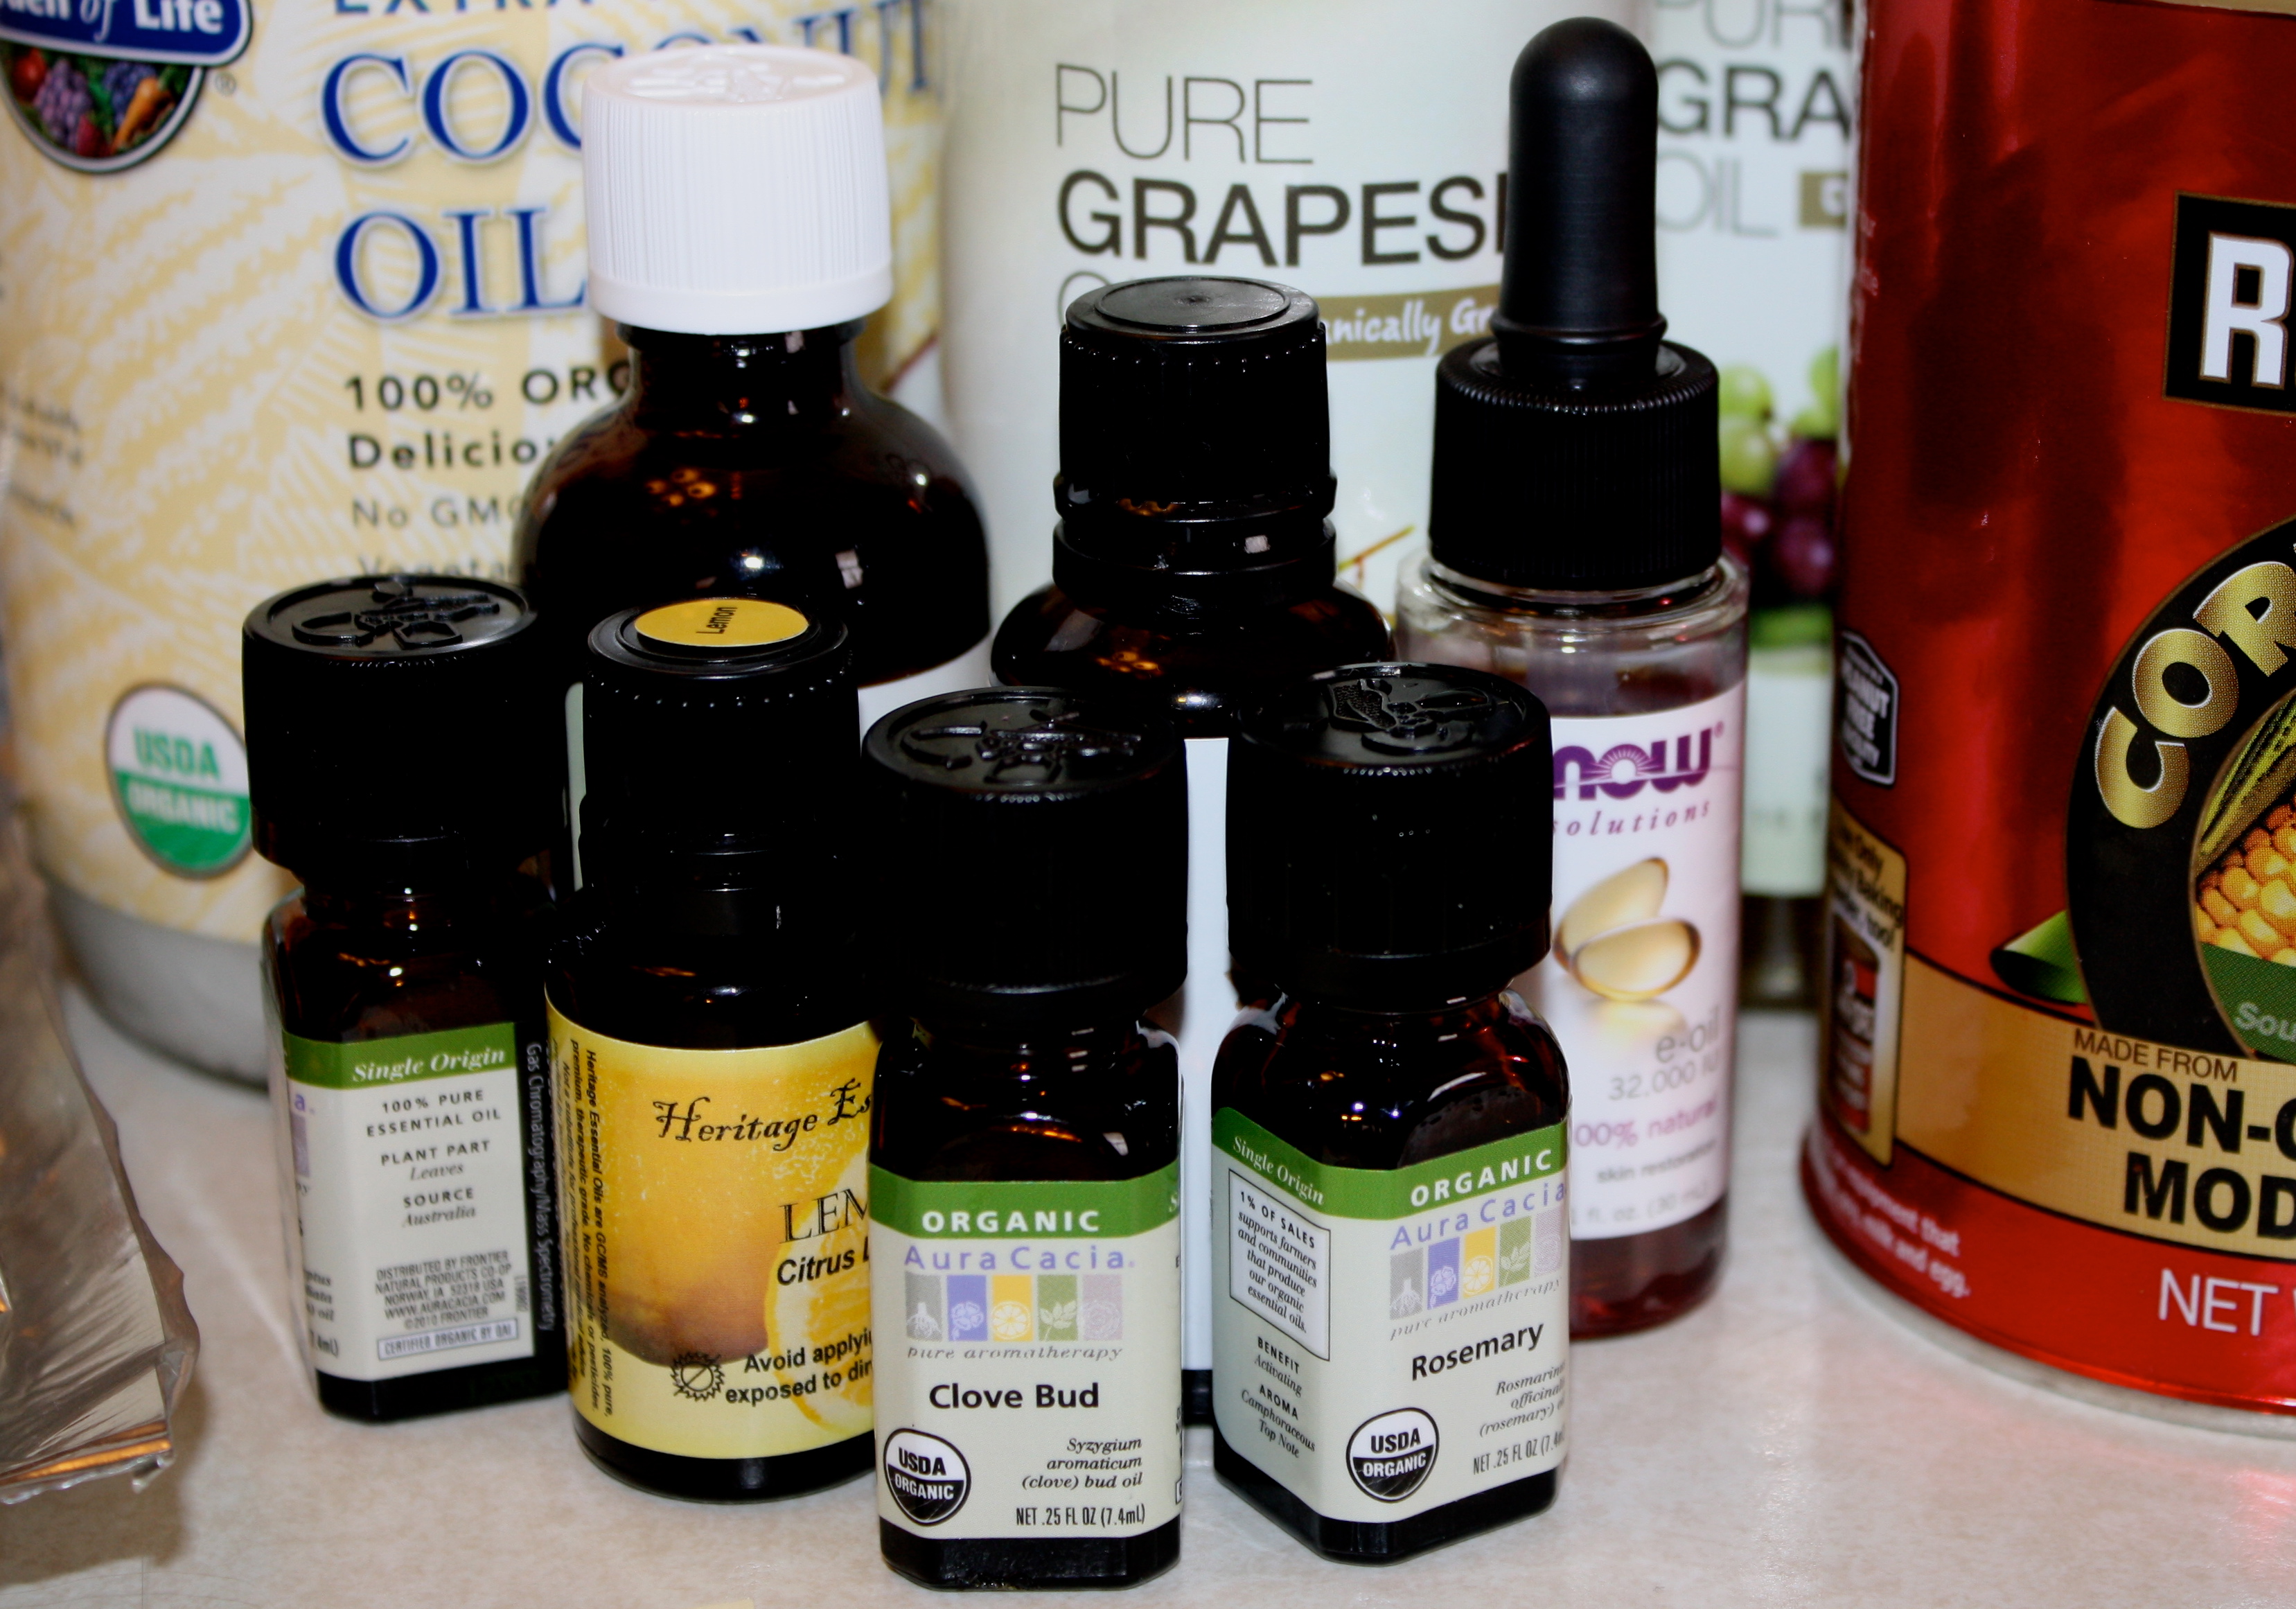
And last but not least on our to-do list: soap. I created this recipe after researching those essential oils known for their anti-bacterial properties. I hope you enjoy this soap as much as we do!
Making of a Home’s Anti-Bacterial Soap
2 pounds Melt and Pour Soap Base (I use this Goat’s Milk Soap Base.)
1/2 cup palm oil
4 eye droppers of Vitamin E oil
20 drops clove essential oil
20 drops lemon essential oil
10 drops rosemary essential oil
8 drops eucalyptus essential oil
5 drops cinnamon essential oil
5 drops tea tree essential oil
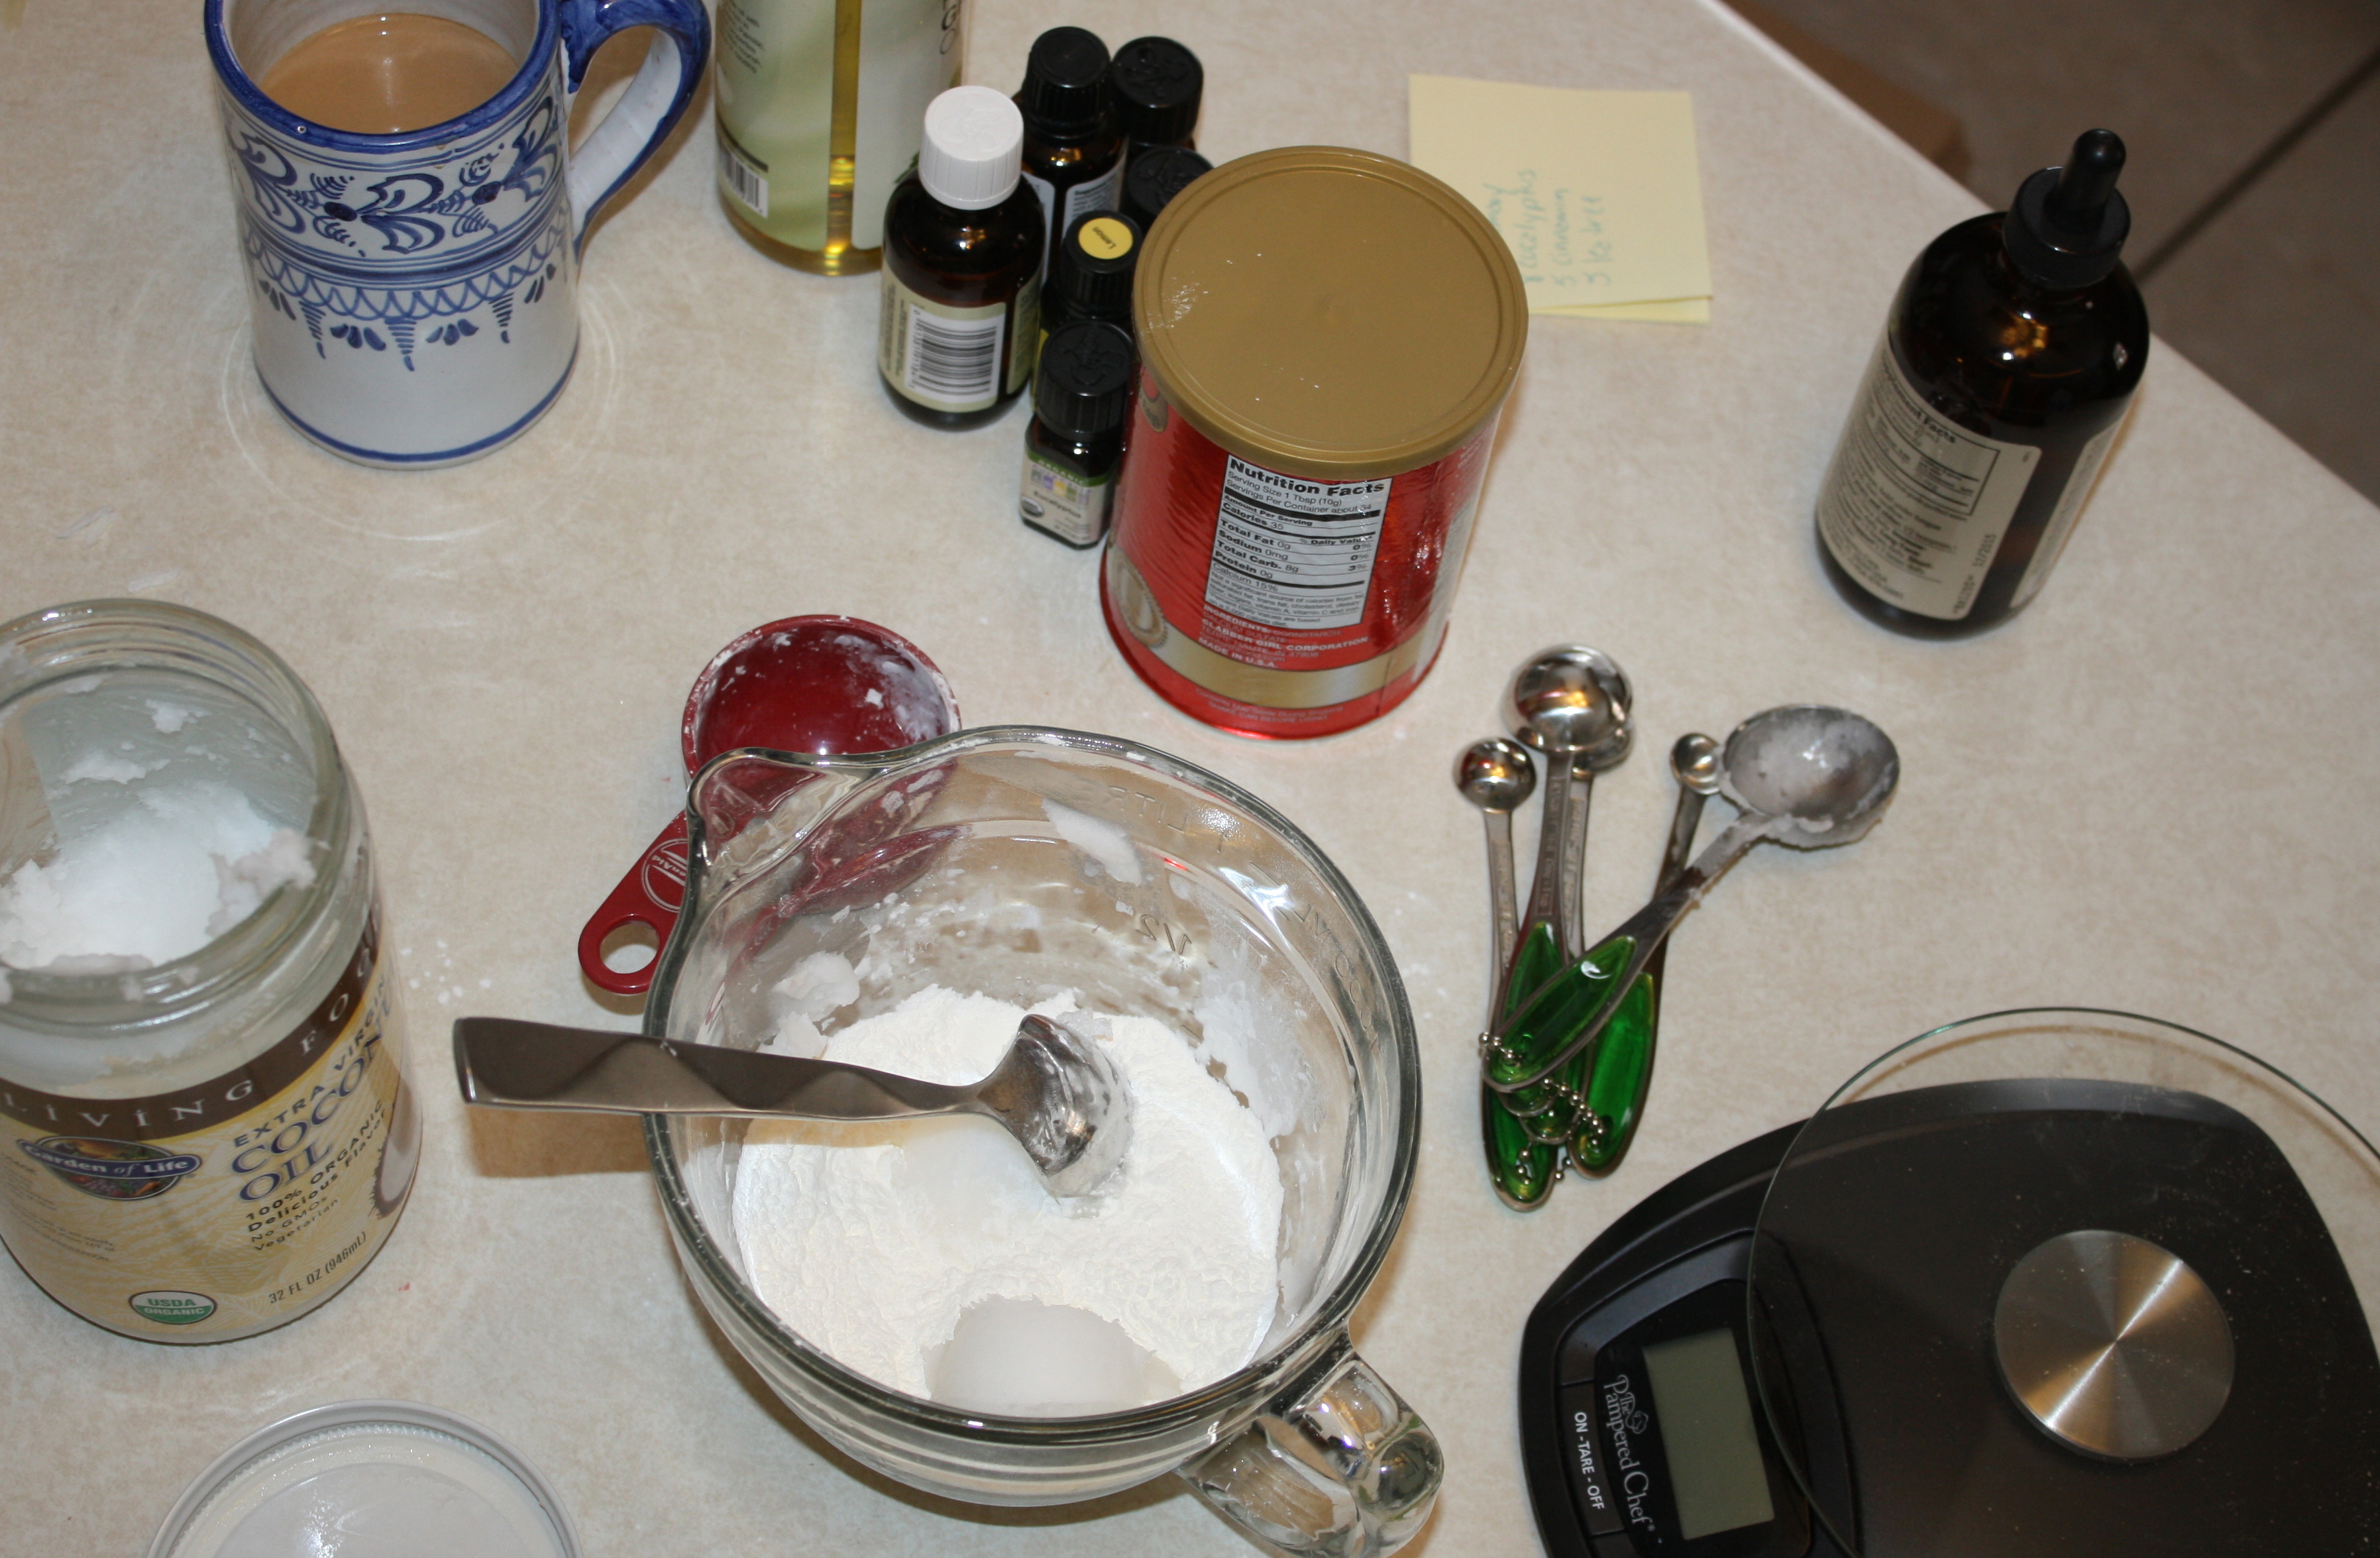
a shallow pot or saucepan
a glass bowl
wooden spoon
soap molds (You can purchase these at your local craft store or here.)
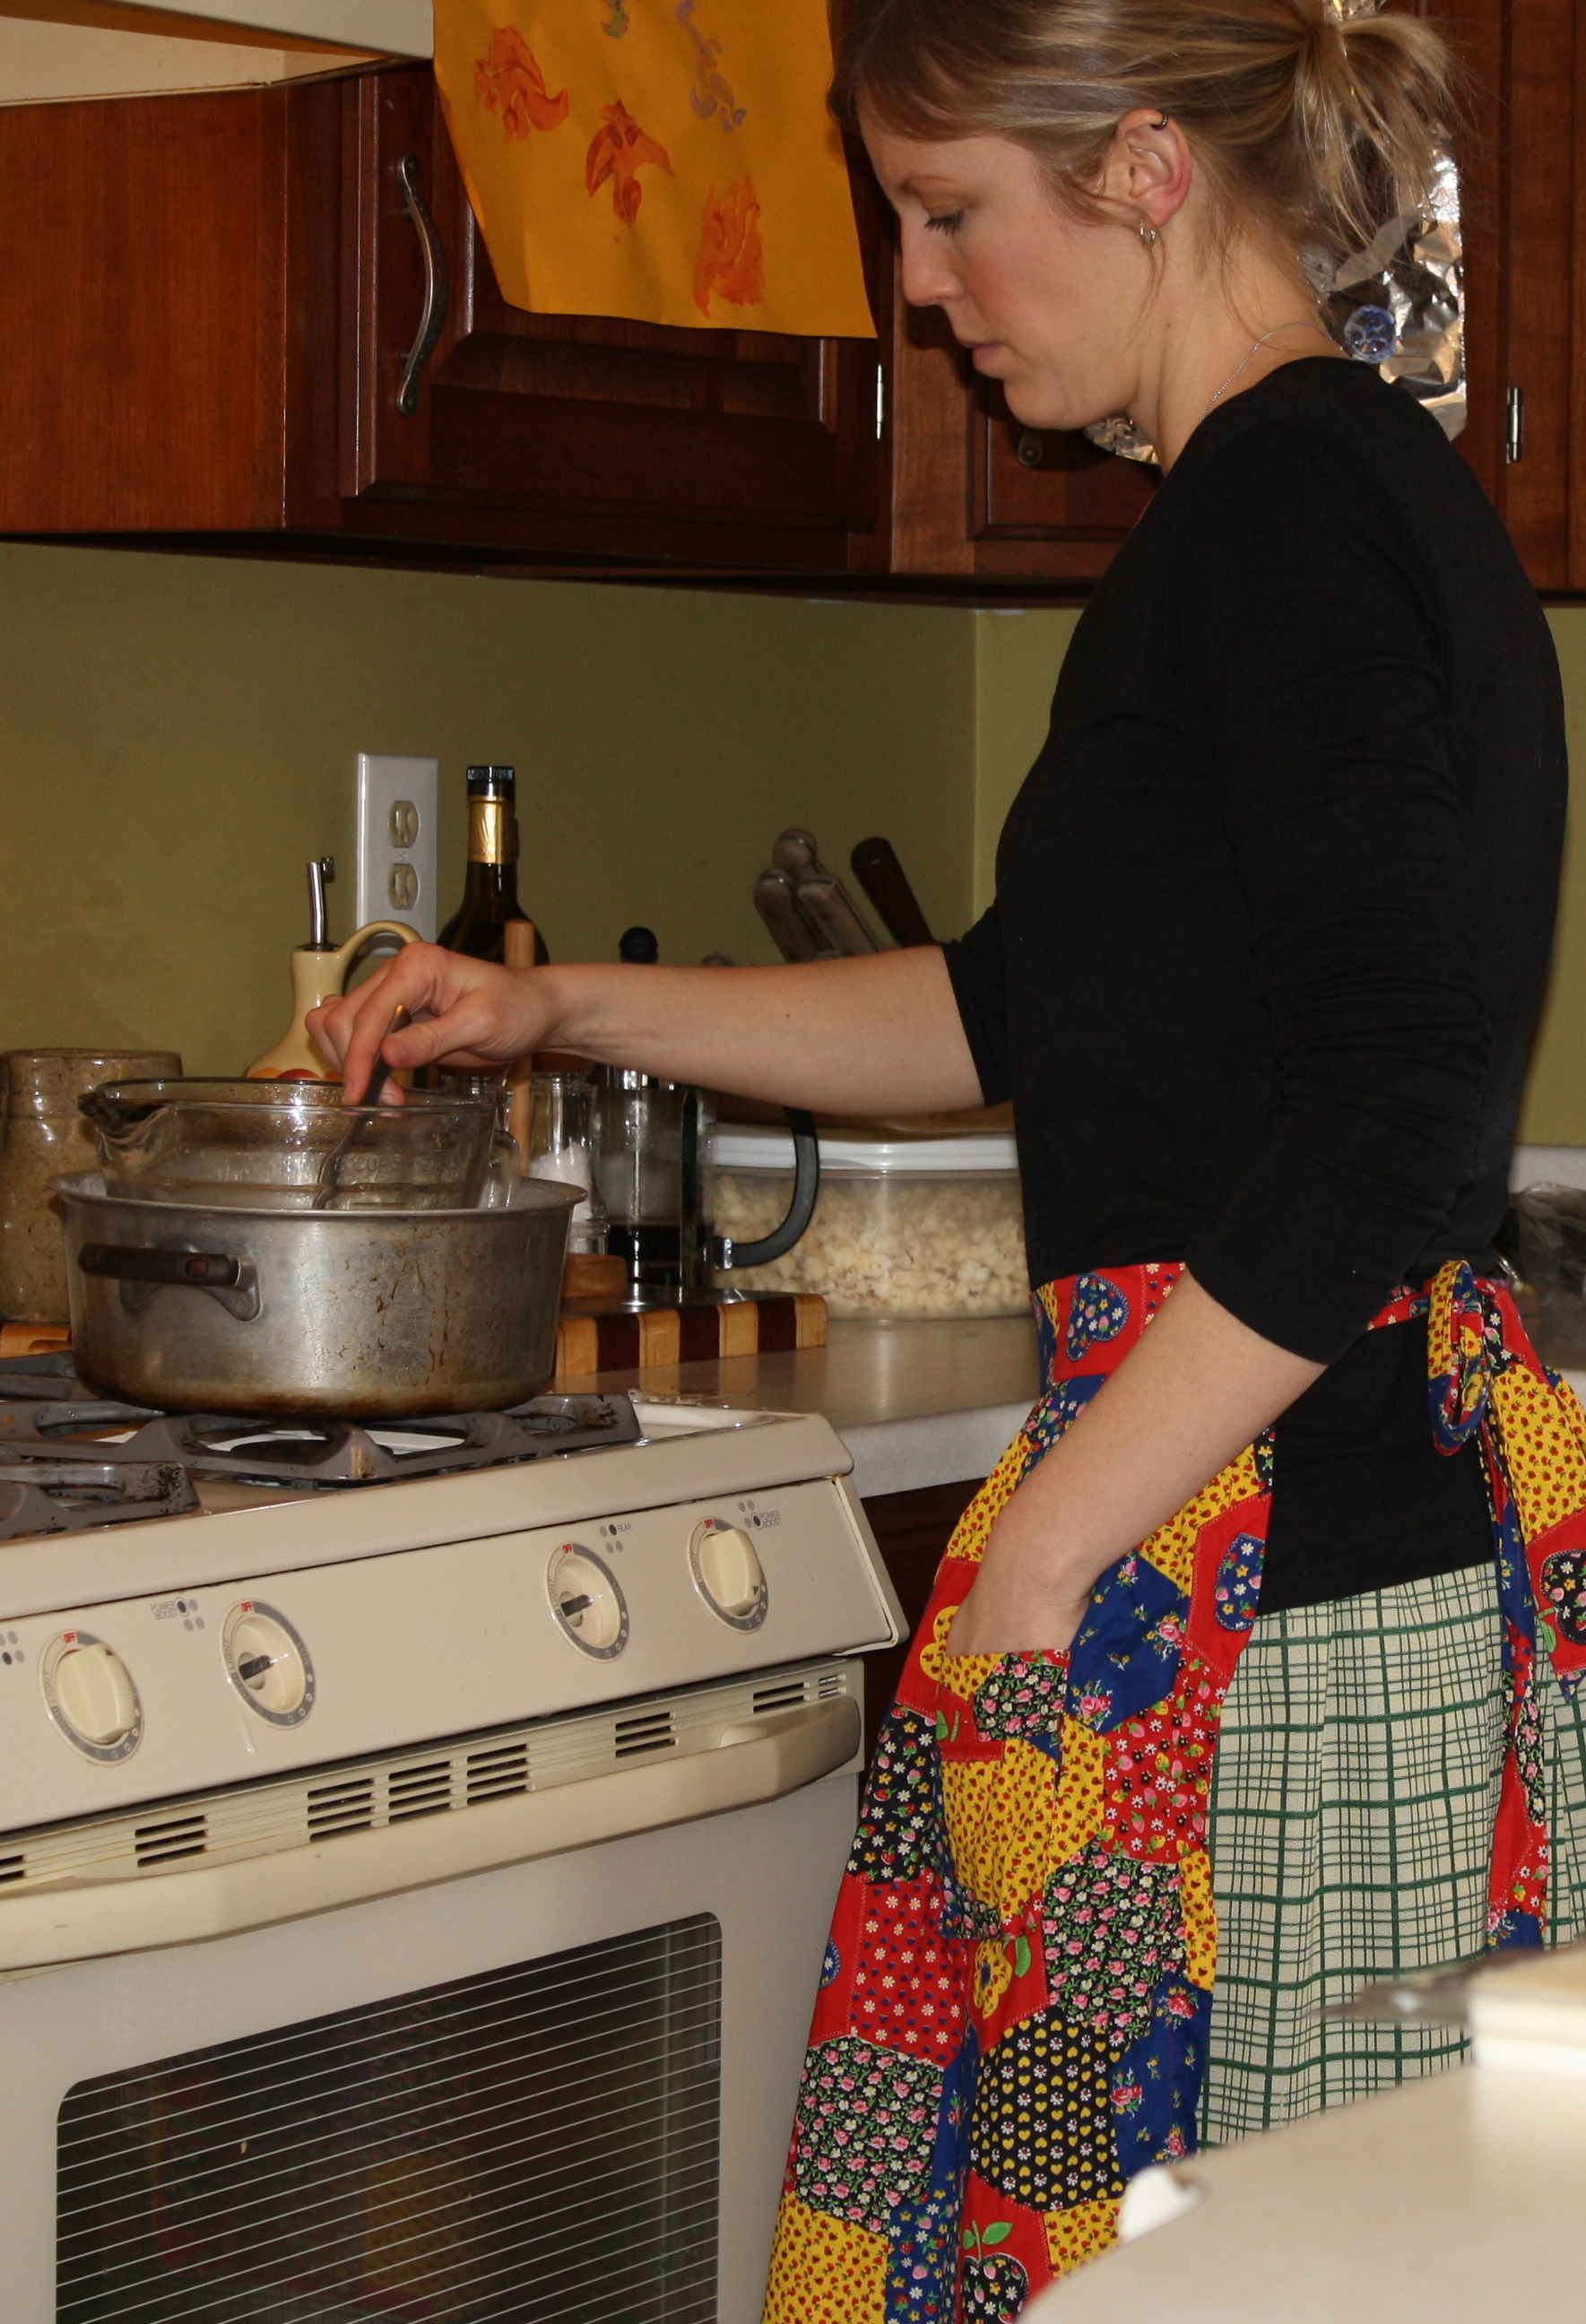
Fill the pot or saucepan half full with water. Bring to a simmer. Place the glass bowl in the pot of water to create a double boiler of sorts. Place the melt and pour soap base, palm oil and the vitamin E oil in the glass bowl. Stir with a wooden spoon until it melts. Remove the bowl from the heat and add the essential oils and stir. Allow the mixture to cool slightly (enough to thicken the mixture just a bit). Pour into your molds. Allow to rest until completely cool. Remove the soap from the molds. Allow the soaps to cure for about two weeks before you use them.