What I’m Into This Week

IMG_0599

Whew.  It has been one of those weeks.  I know you all understand what I’m talking about…One of those weeks where all of a sudden you look at the calendar and realize multiple days have gone by without your noticing.  Yes.  That has been my week.

I think one reason for the craziness is I seem to have had my hand in a bit of everything this week.  So, with that said, here is what I’m into this week…

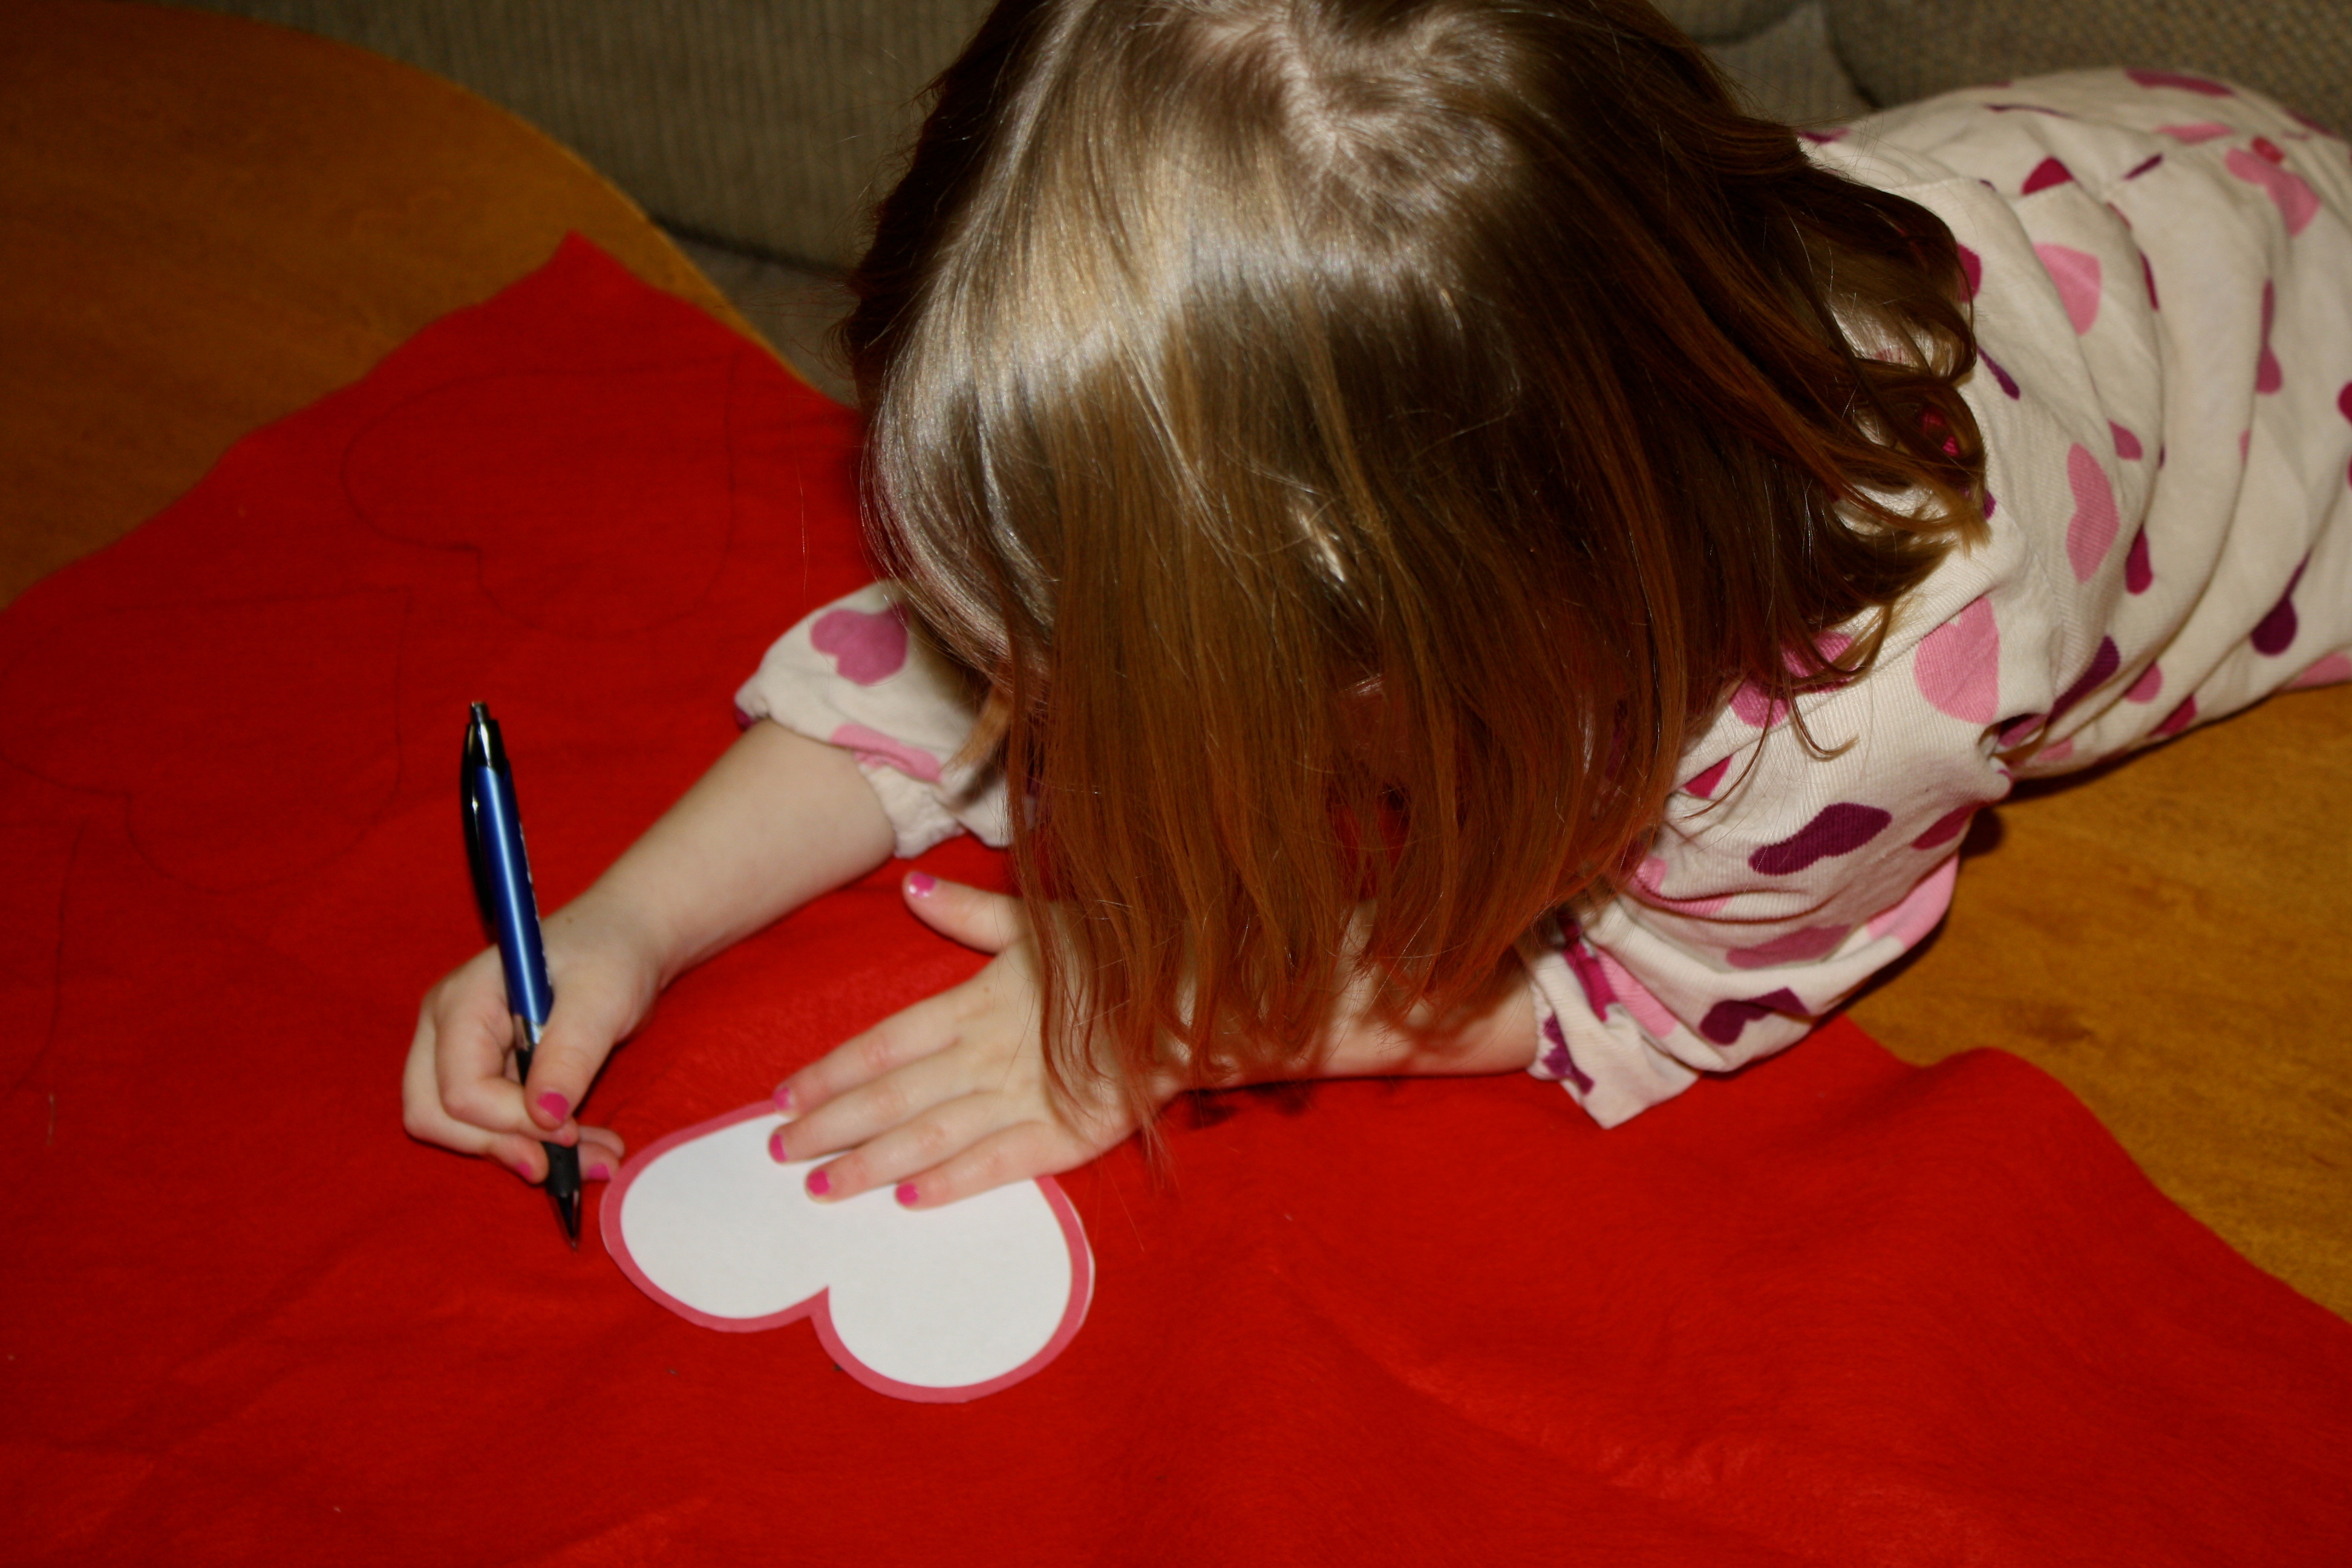
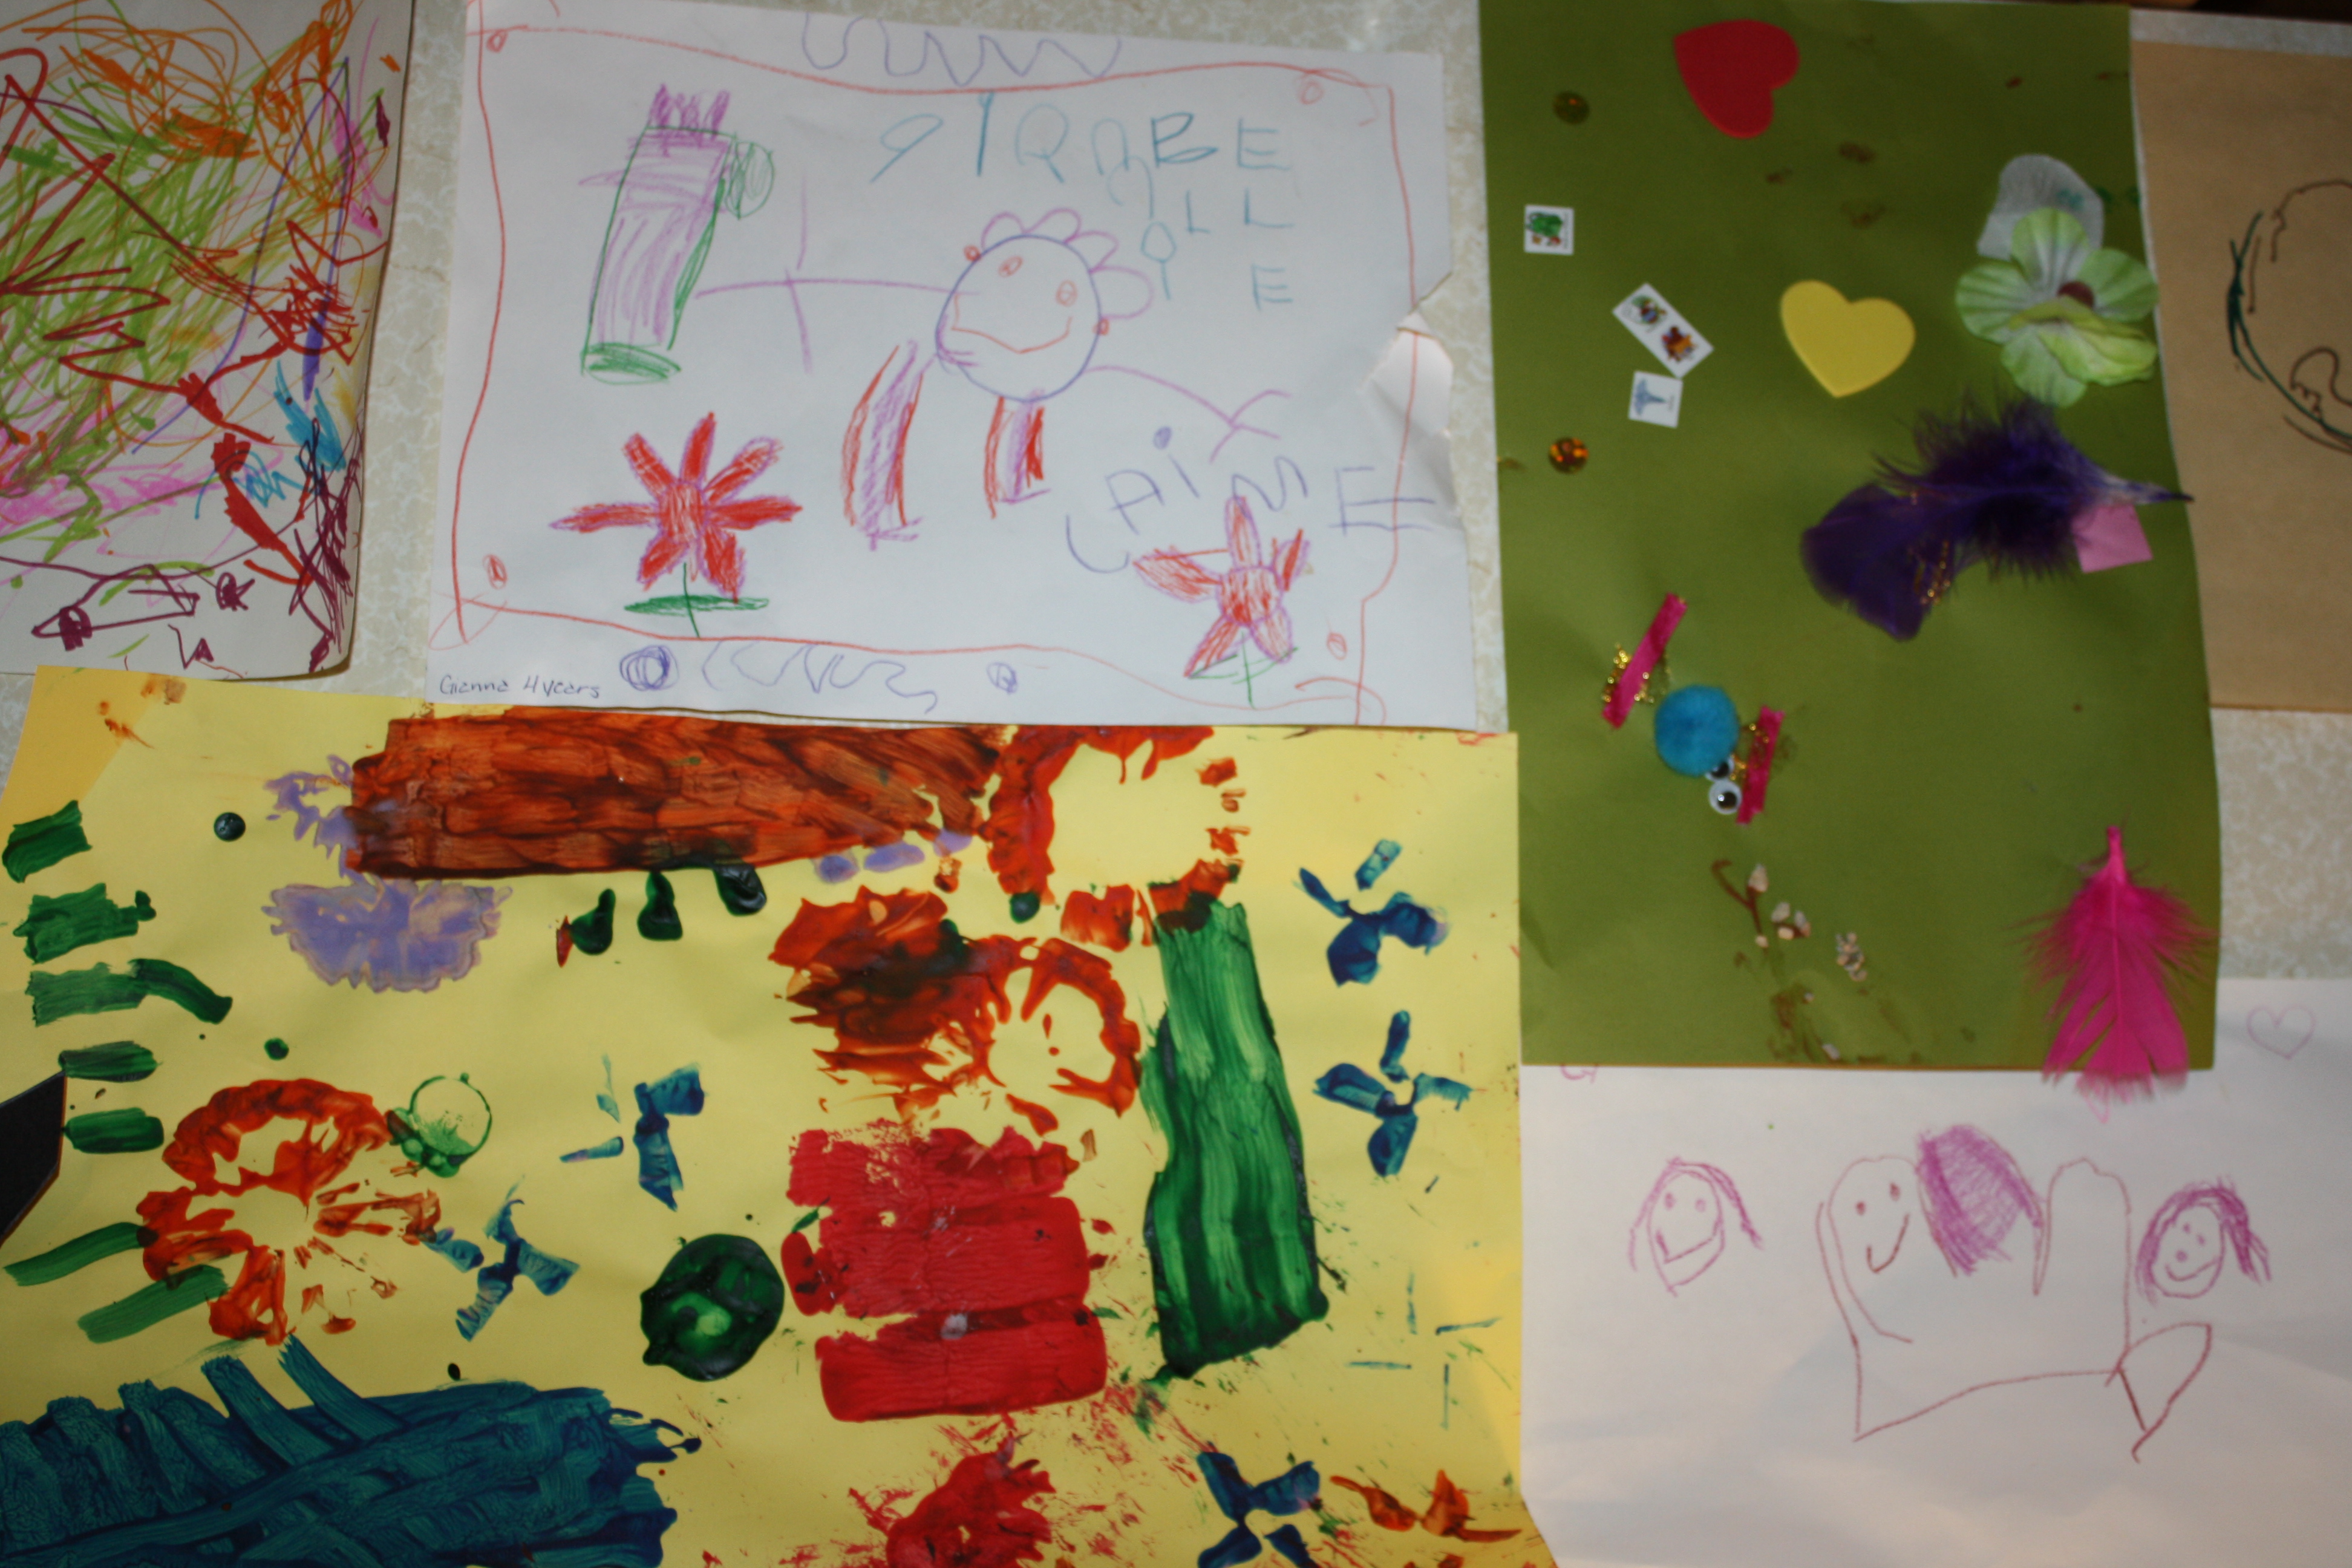
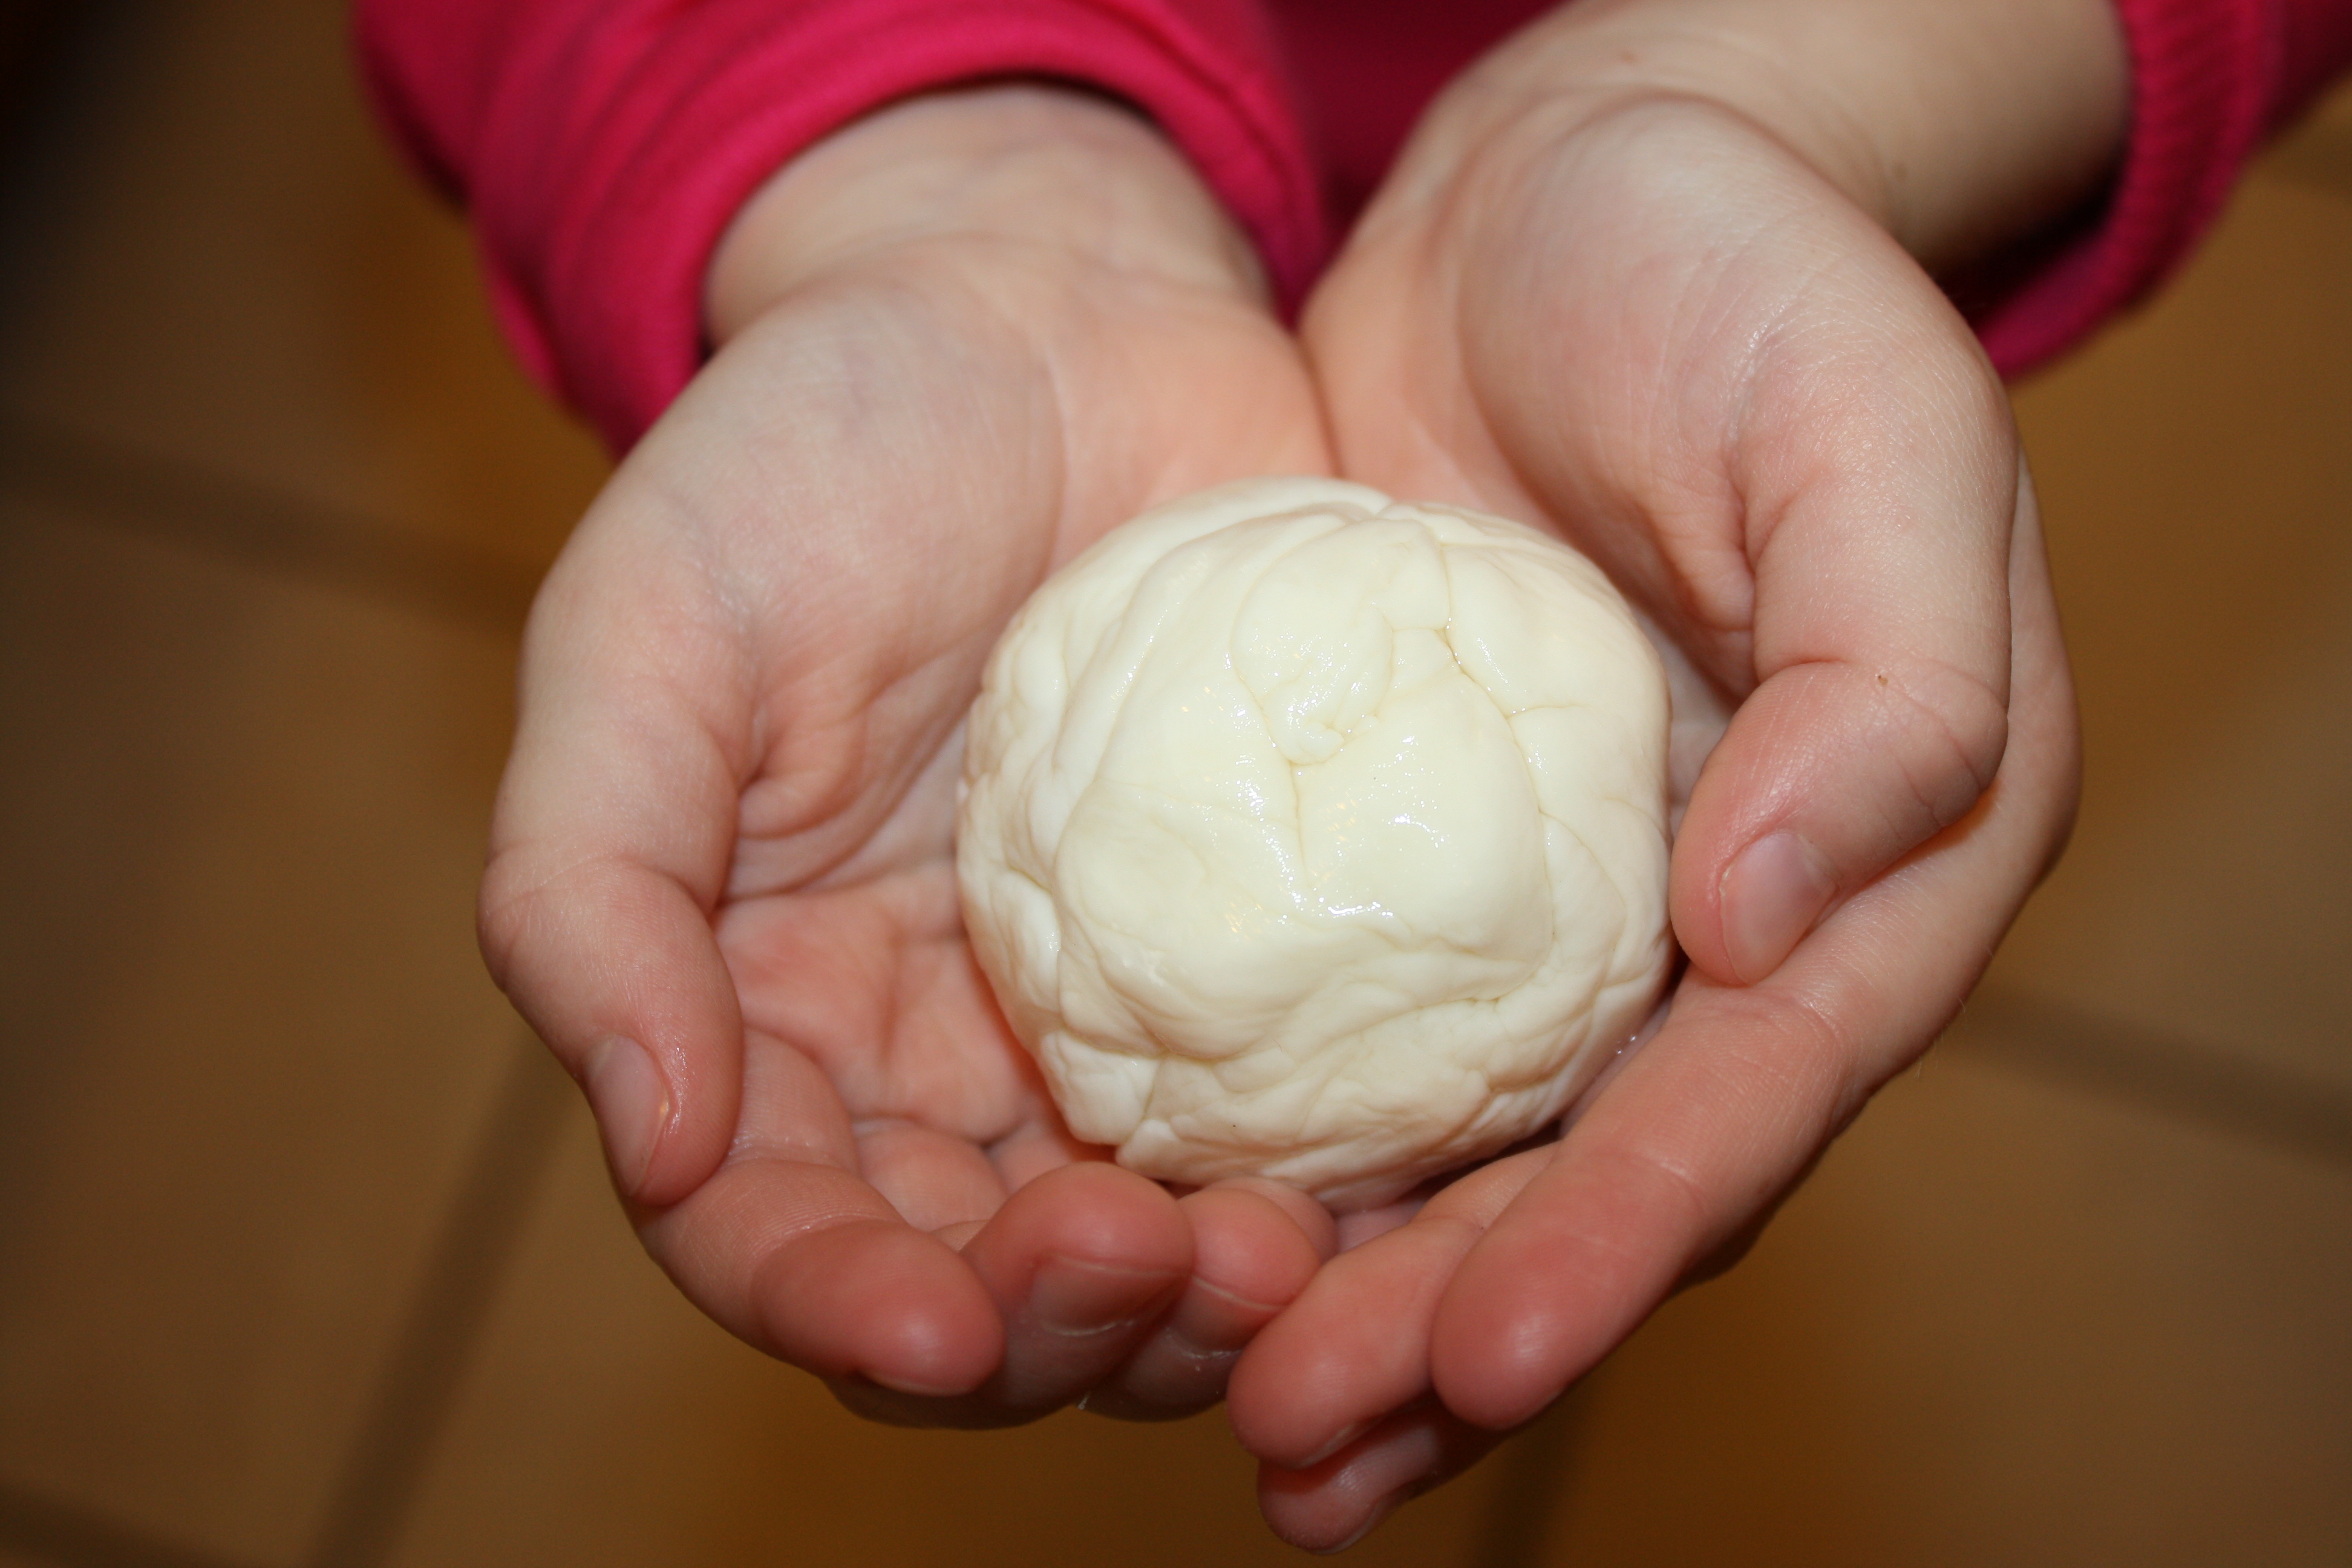
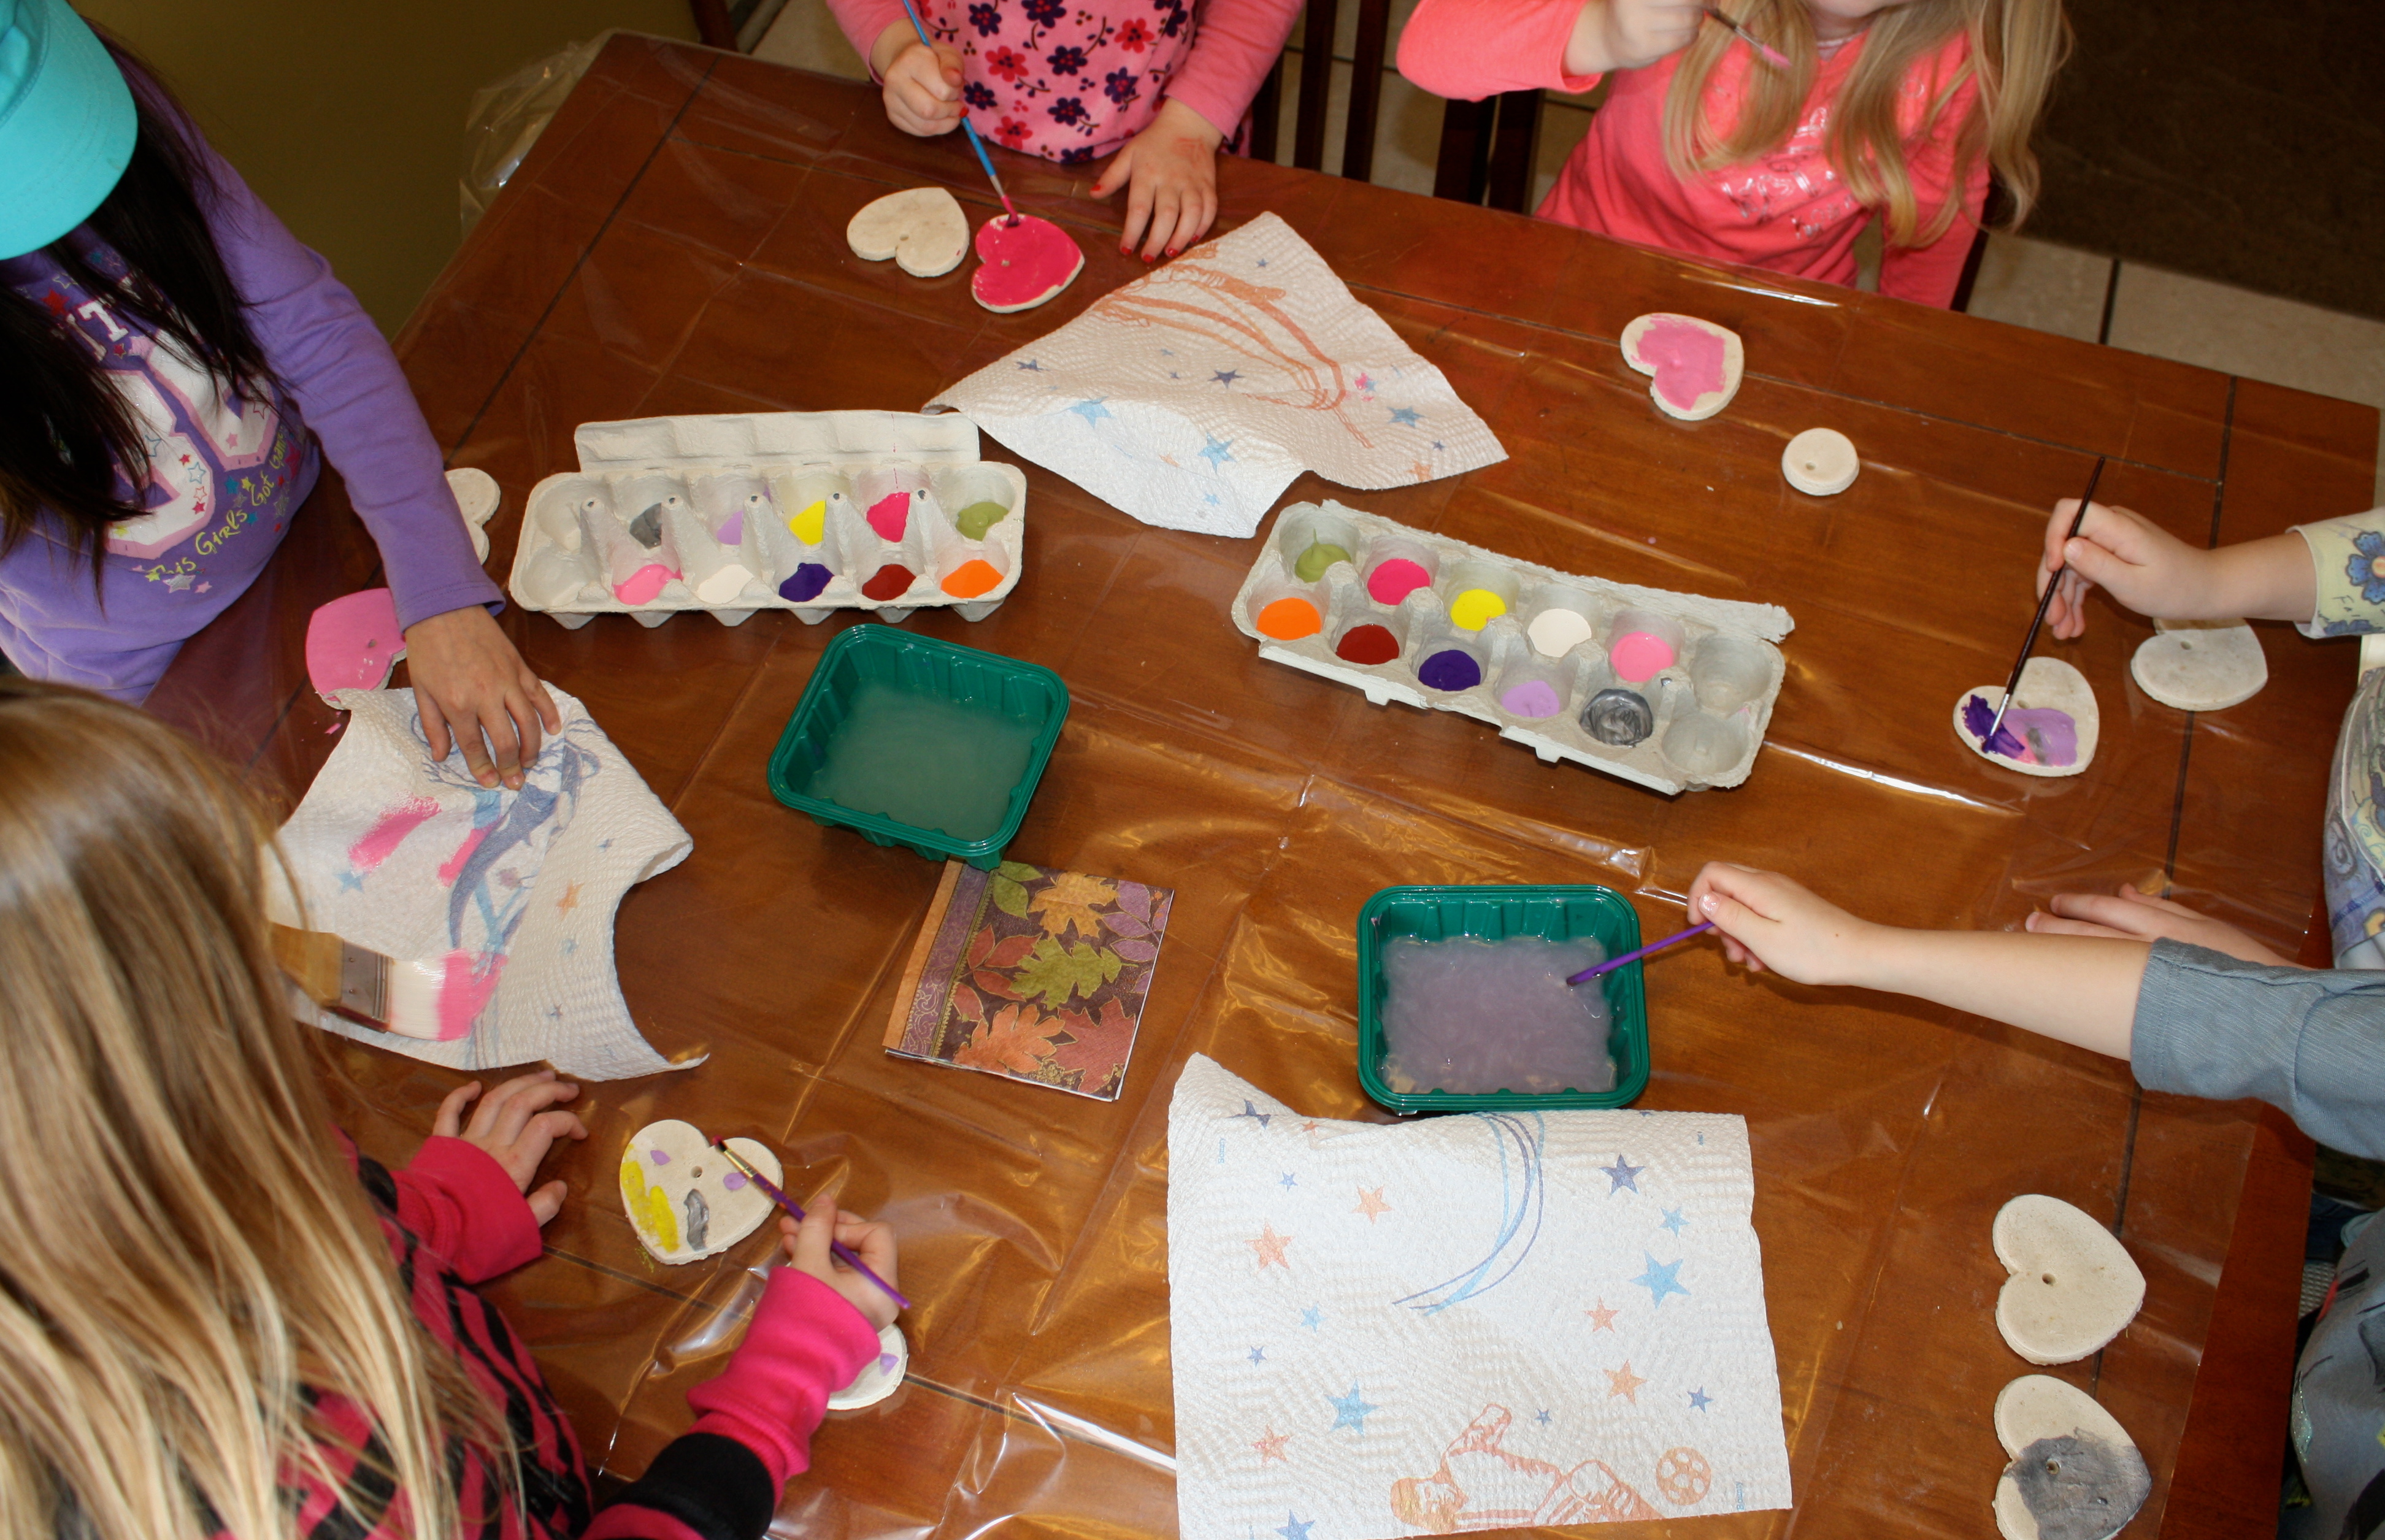
  • My girls had a few friends over and they made some Valentine’s Day ornaments using the “Salt Dough” recipe from Paula Deen’s My First Cookbook.
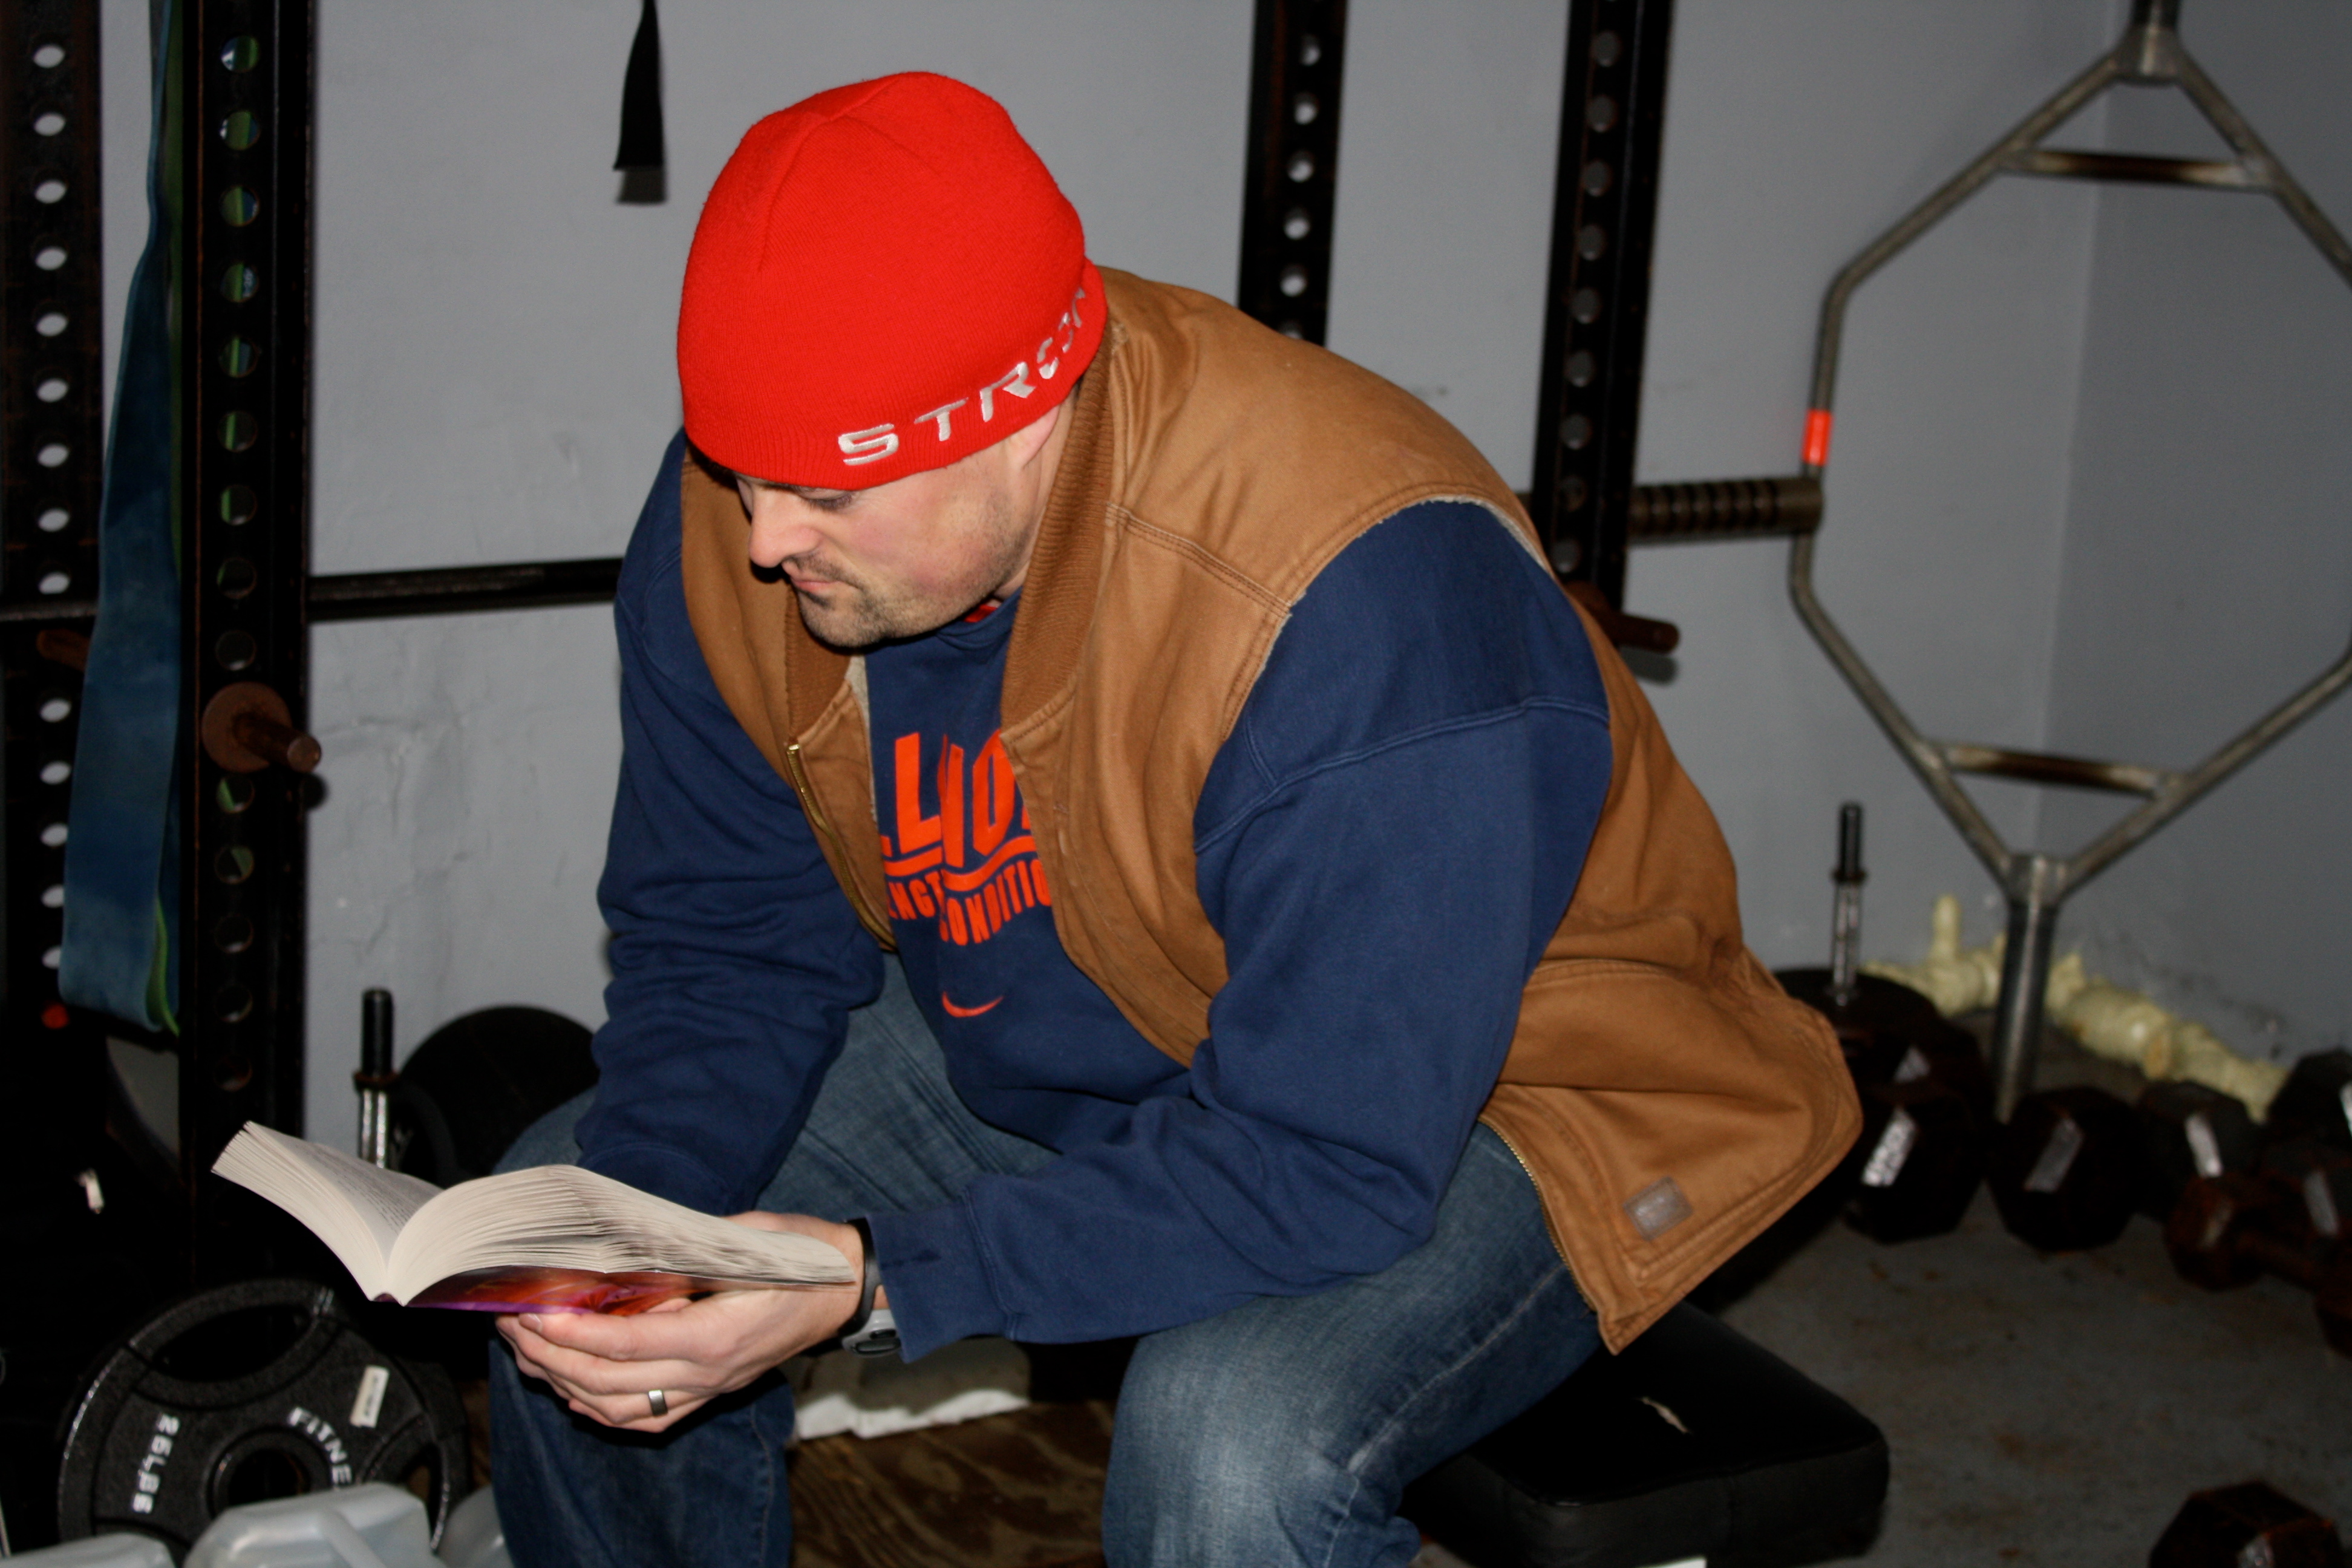
  • I just finished reading Radical Homemakers by Shannon Hayes, and let me tell you, it is a fabulous book!  It gave me a whole new perspective on homemaking as a means of ushering in social change.  Amazing.
  • I also just picked up another book by Shannon Hayes, Long Way On A Little.  It contains great insight into the world of eating closer to the source, and also has a ton of great recipes and project ideas.  Hopefully you will see some of this in action in upcoming posts.
  • It’s not only non-fiction on my reading list this week, I also just started reading Gone Girl for my next book club gathering.  It is a bit on the creepy side, but it is definitely a page-turner.
  • A dear friend of mine just passed along this link to a great homemade fruit snack recipe.  My youngest and I made four batches already this week and they are being gobbled up as fast as we can make them.
  • I started a crocheting project with wool from this farm.  It is working up nicely, and  rest assured there will be a picture of the finished project coming soon.
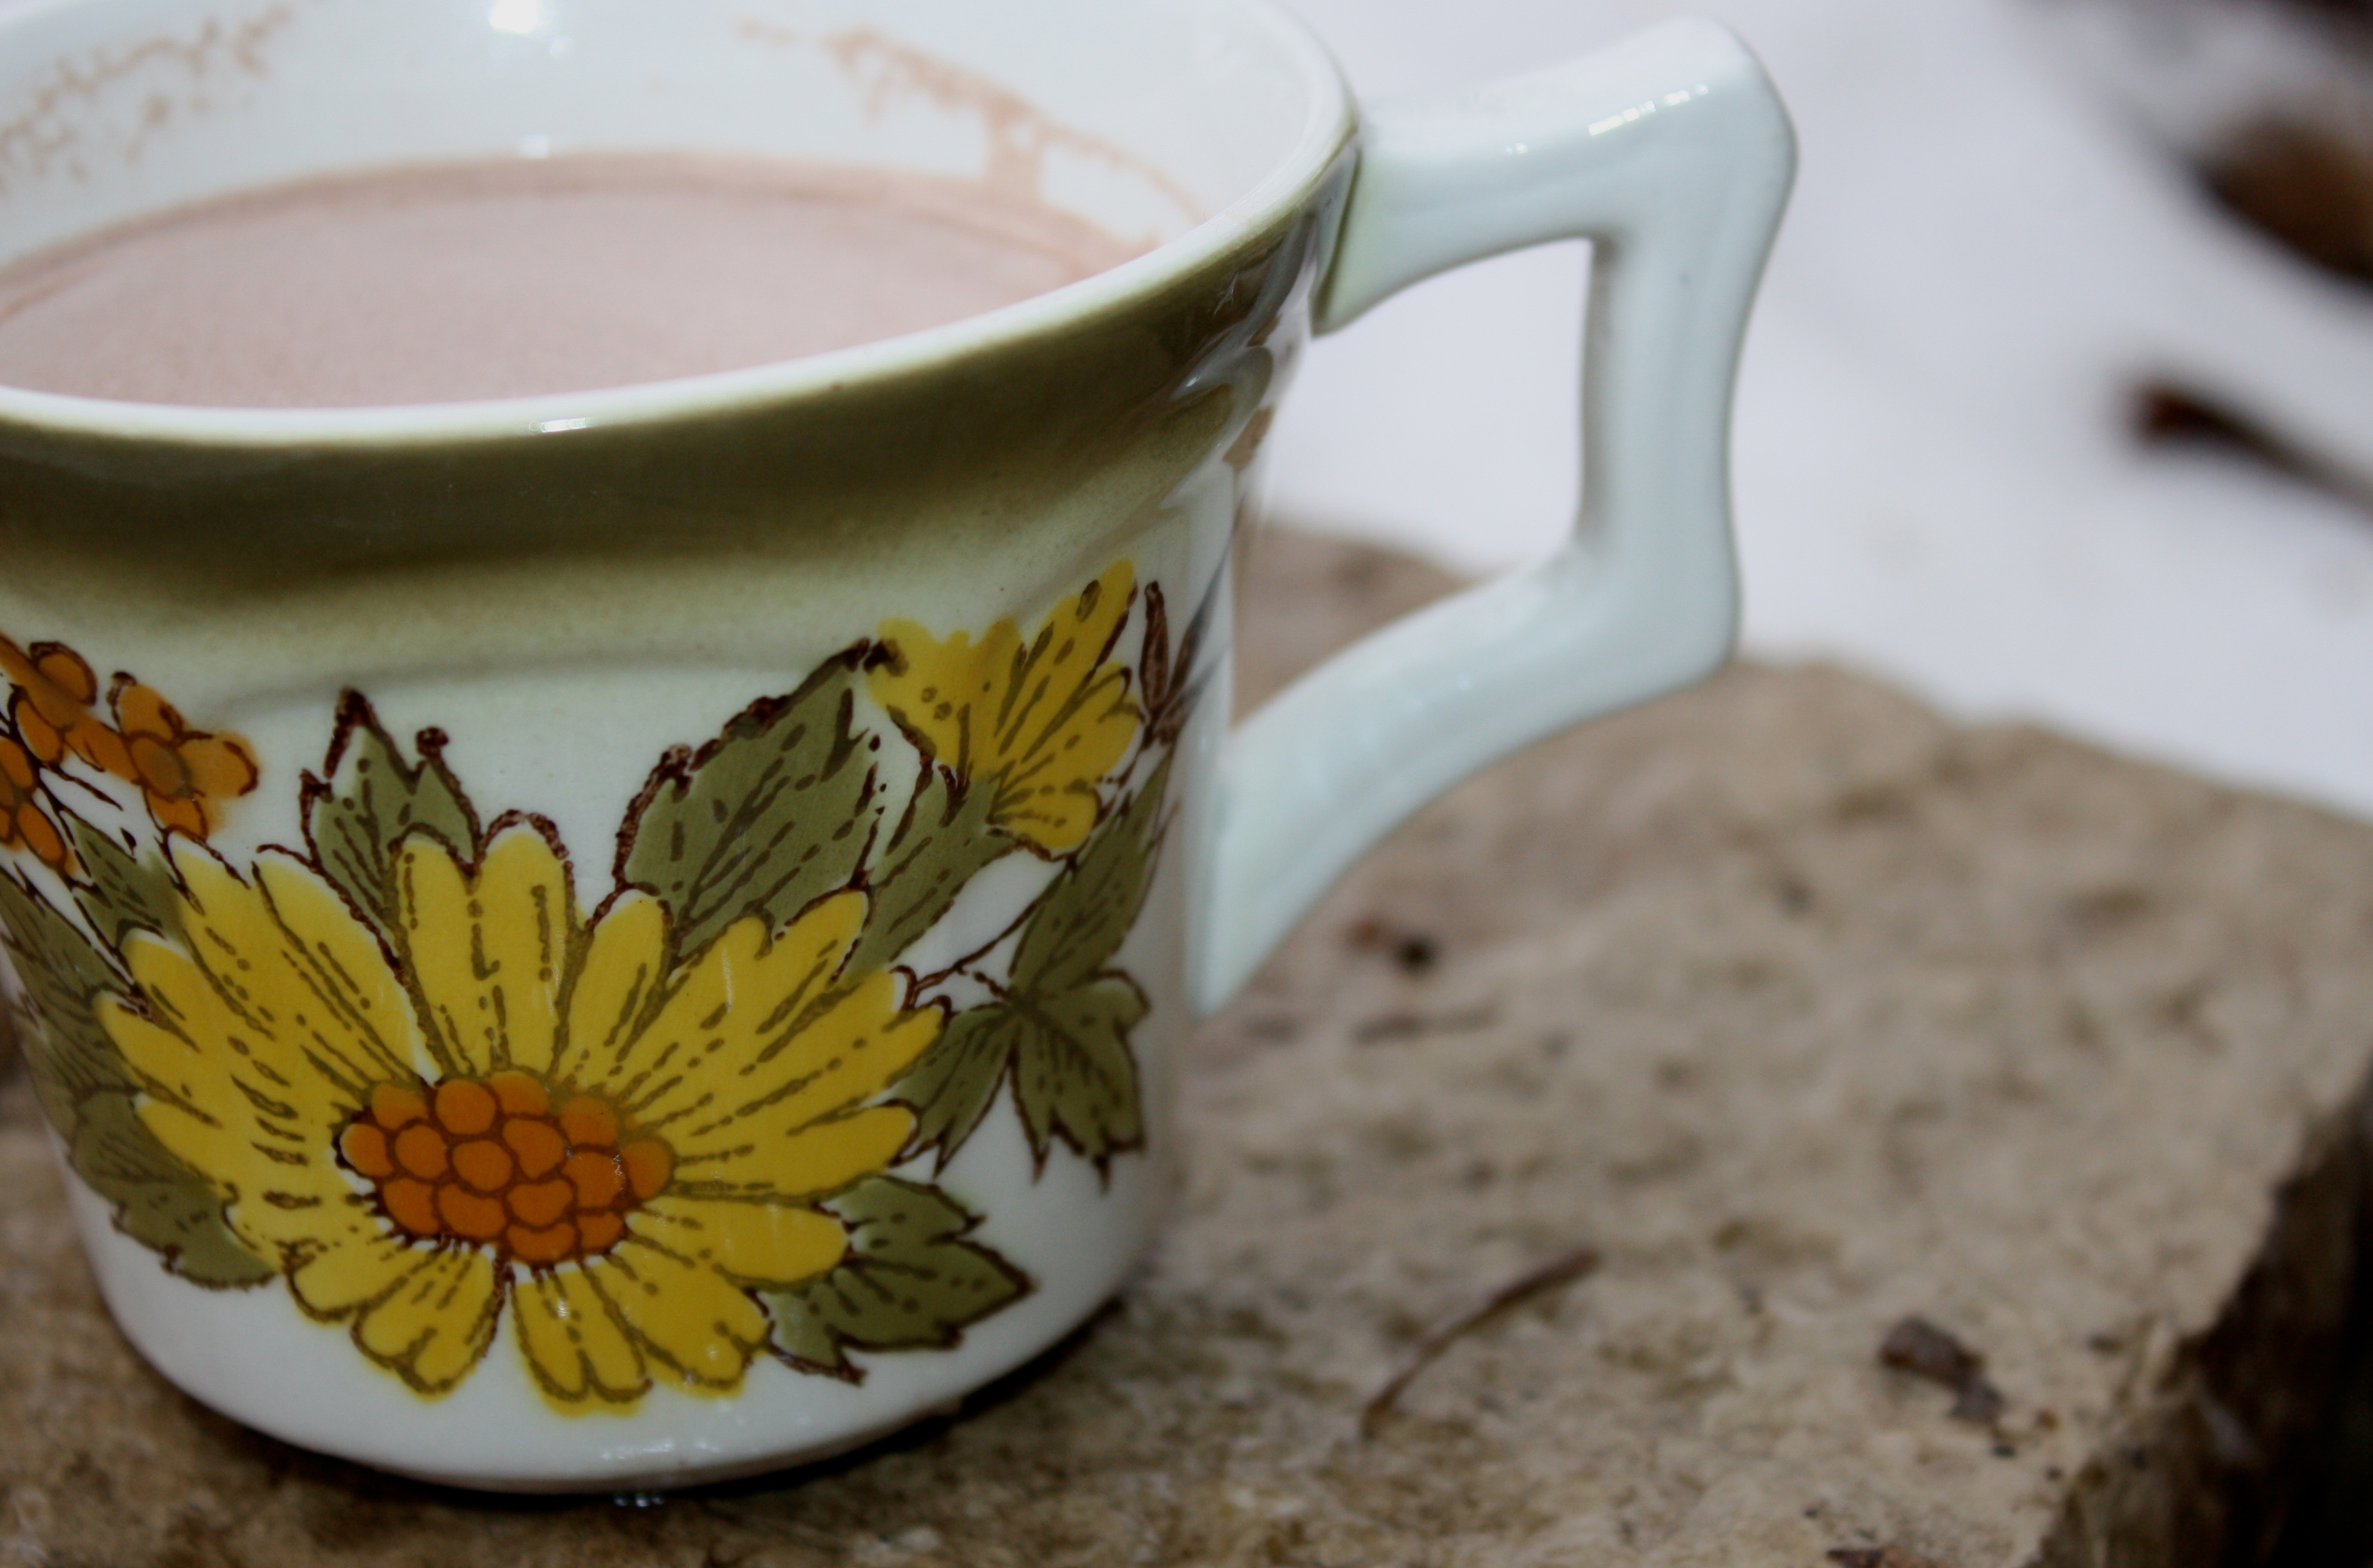
  • I’ve been perusing this thrift store and this one, and this antique mall lately for some new dishes.  I’ve come home with a lot of cute sweaters…and not so many dishes…ha.
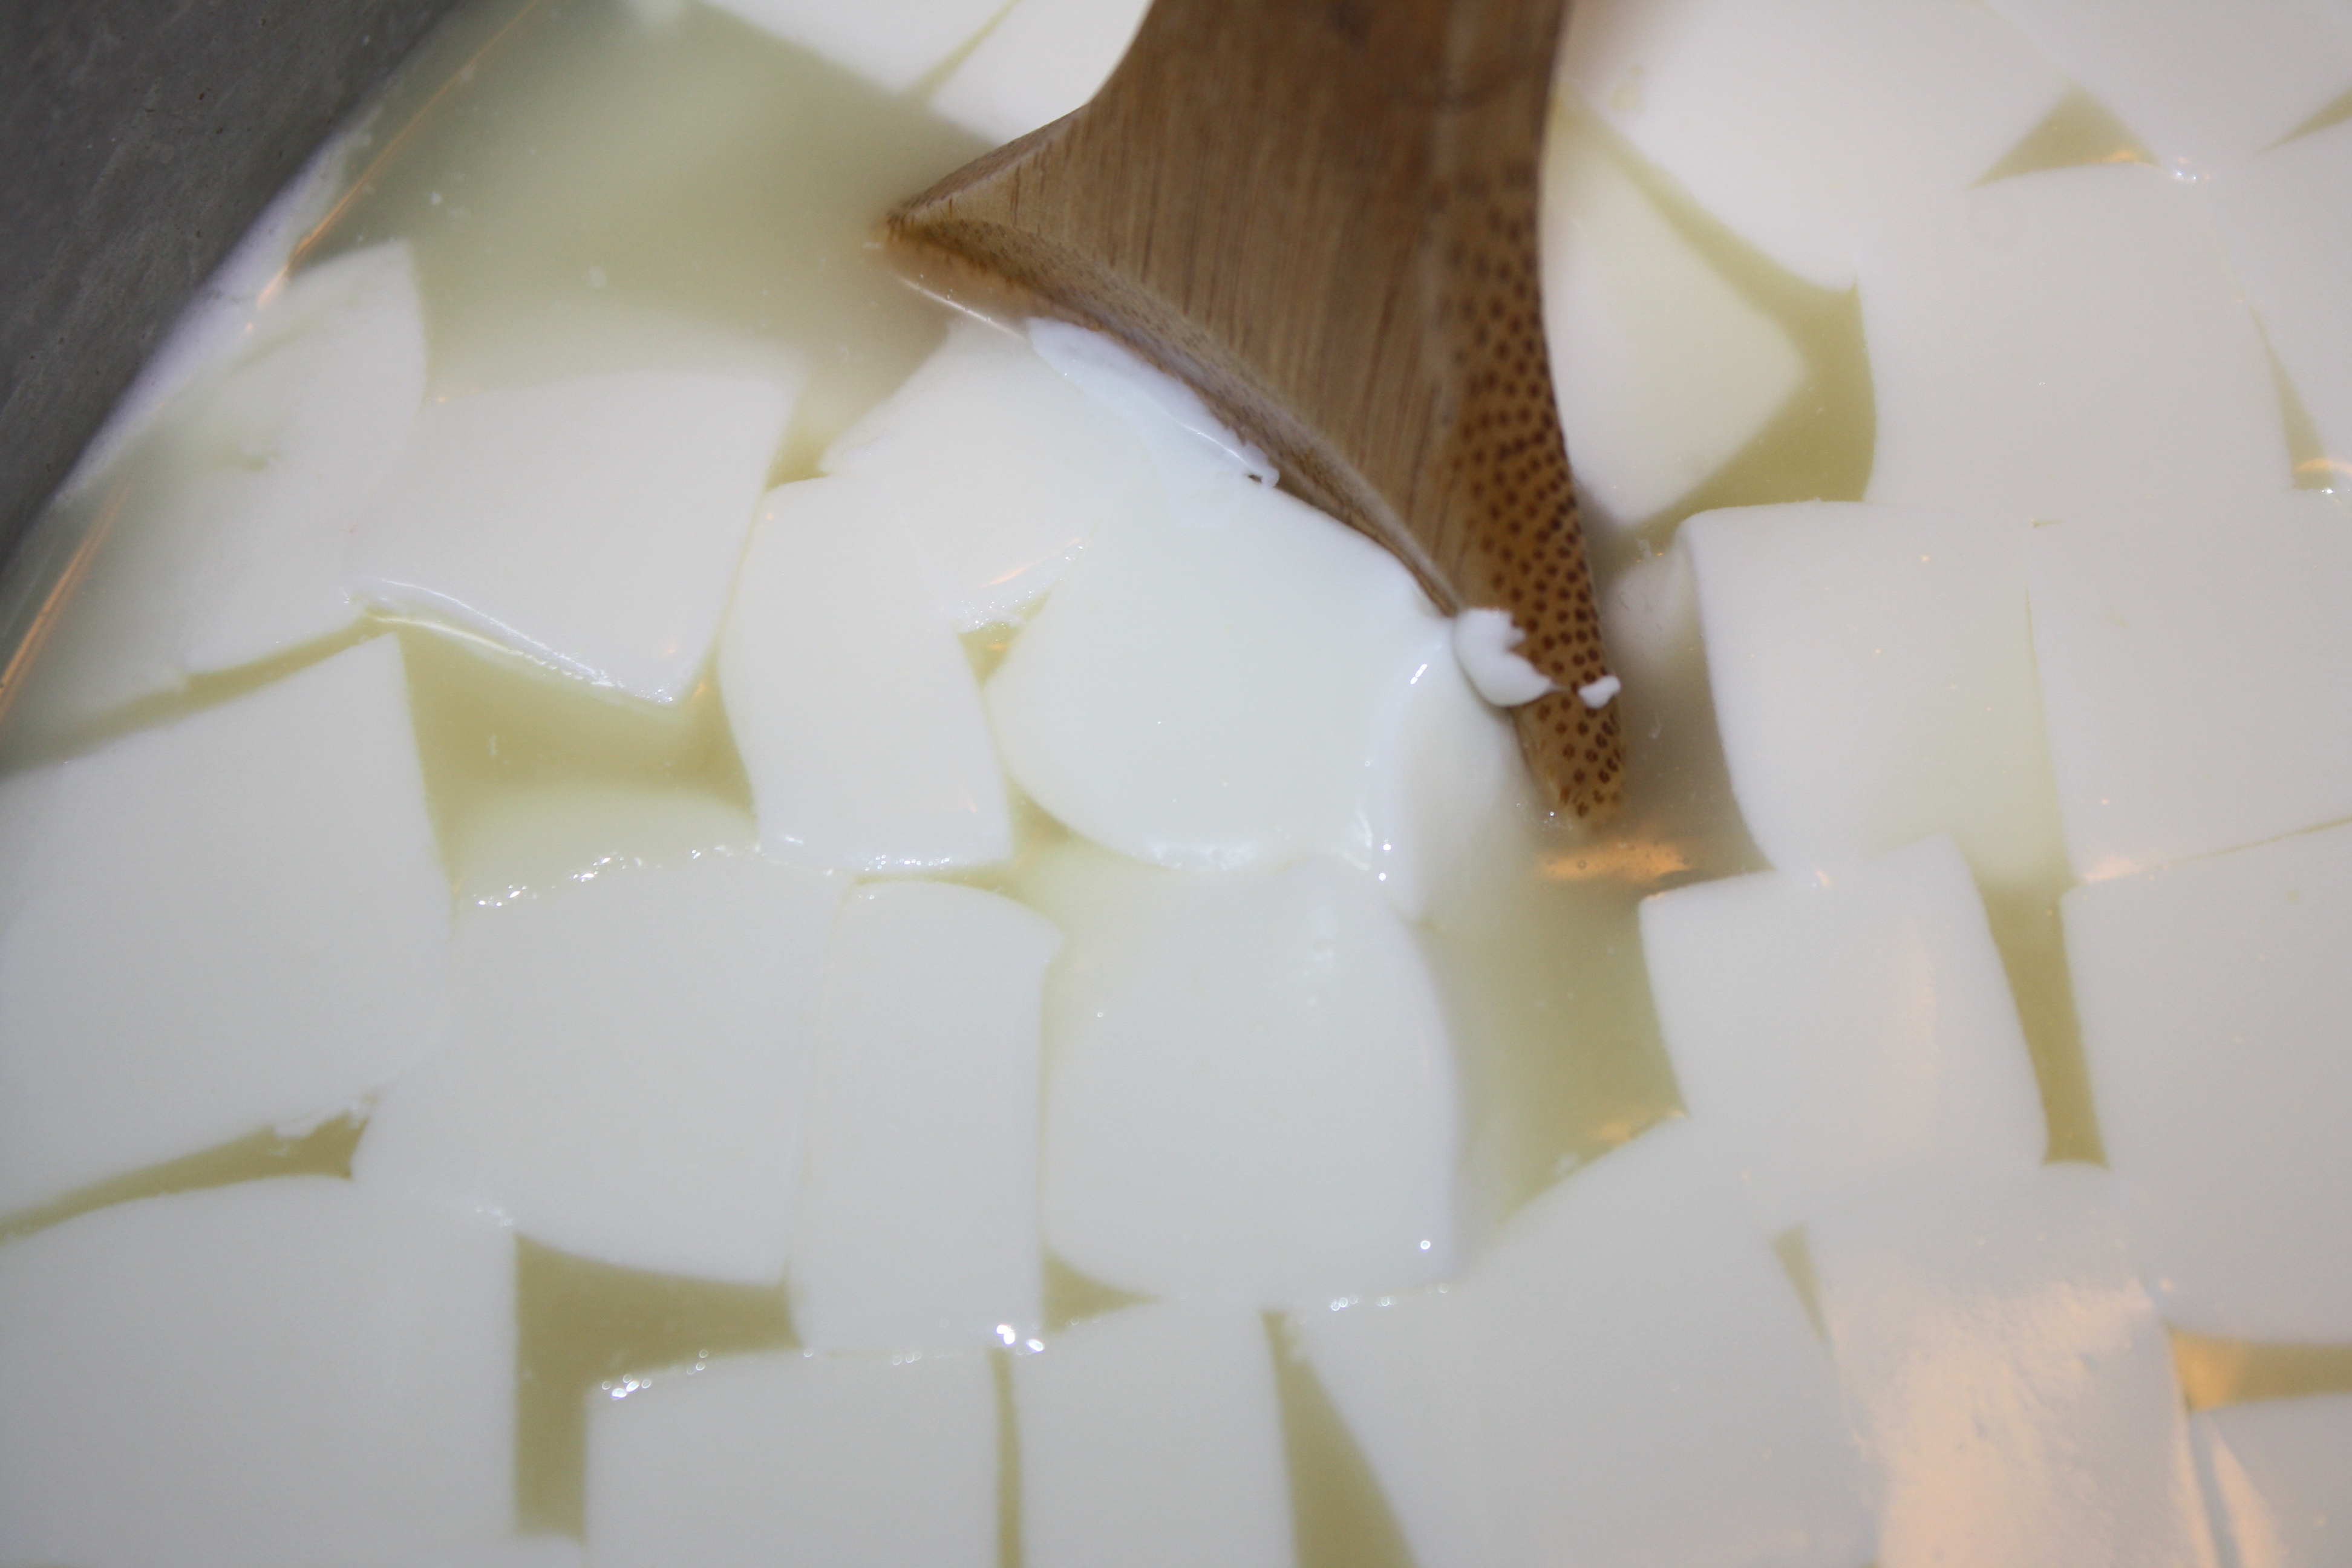
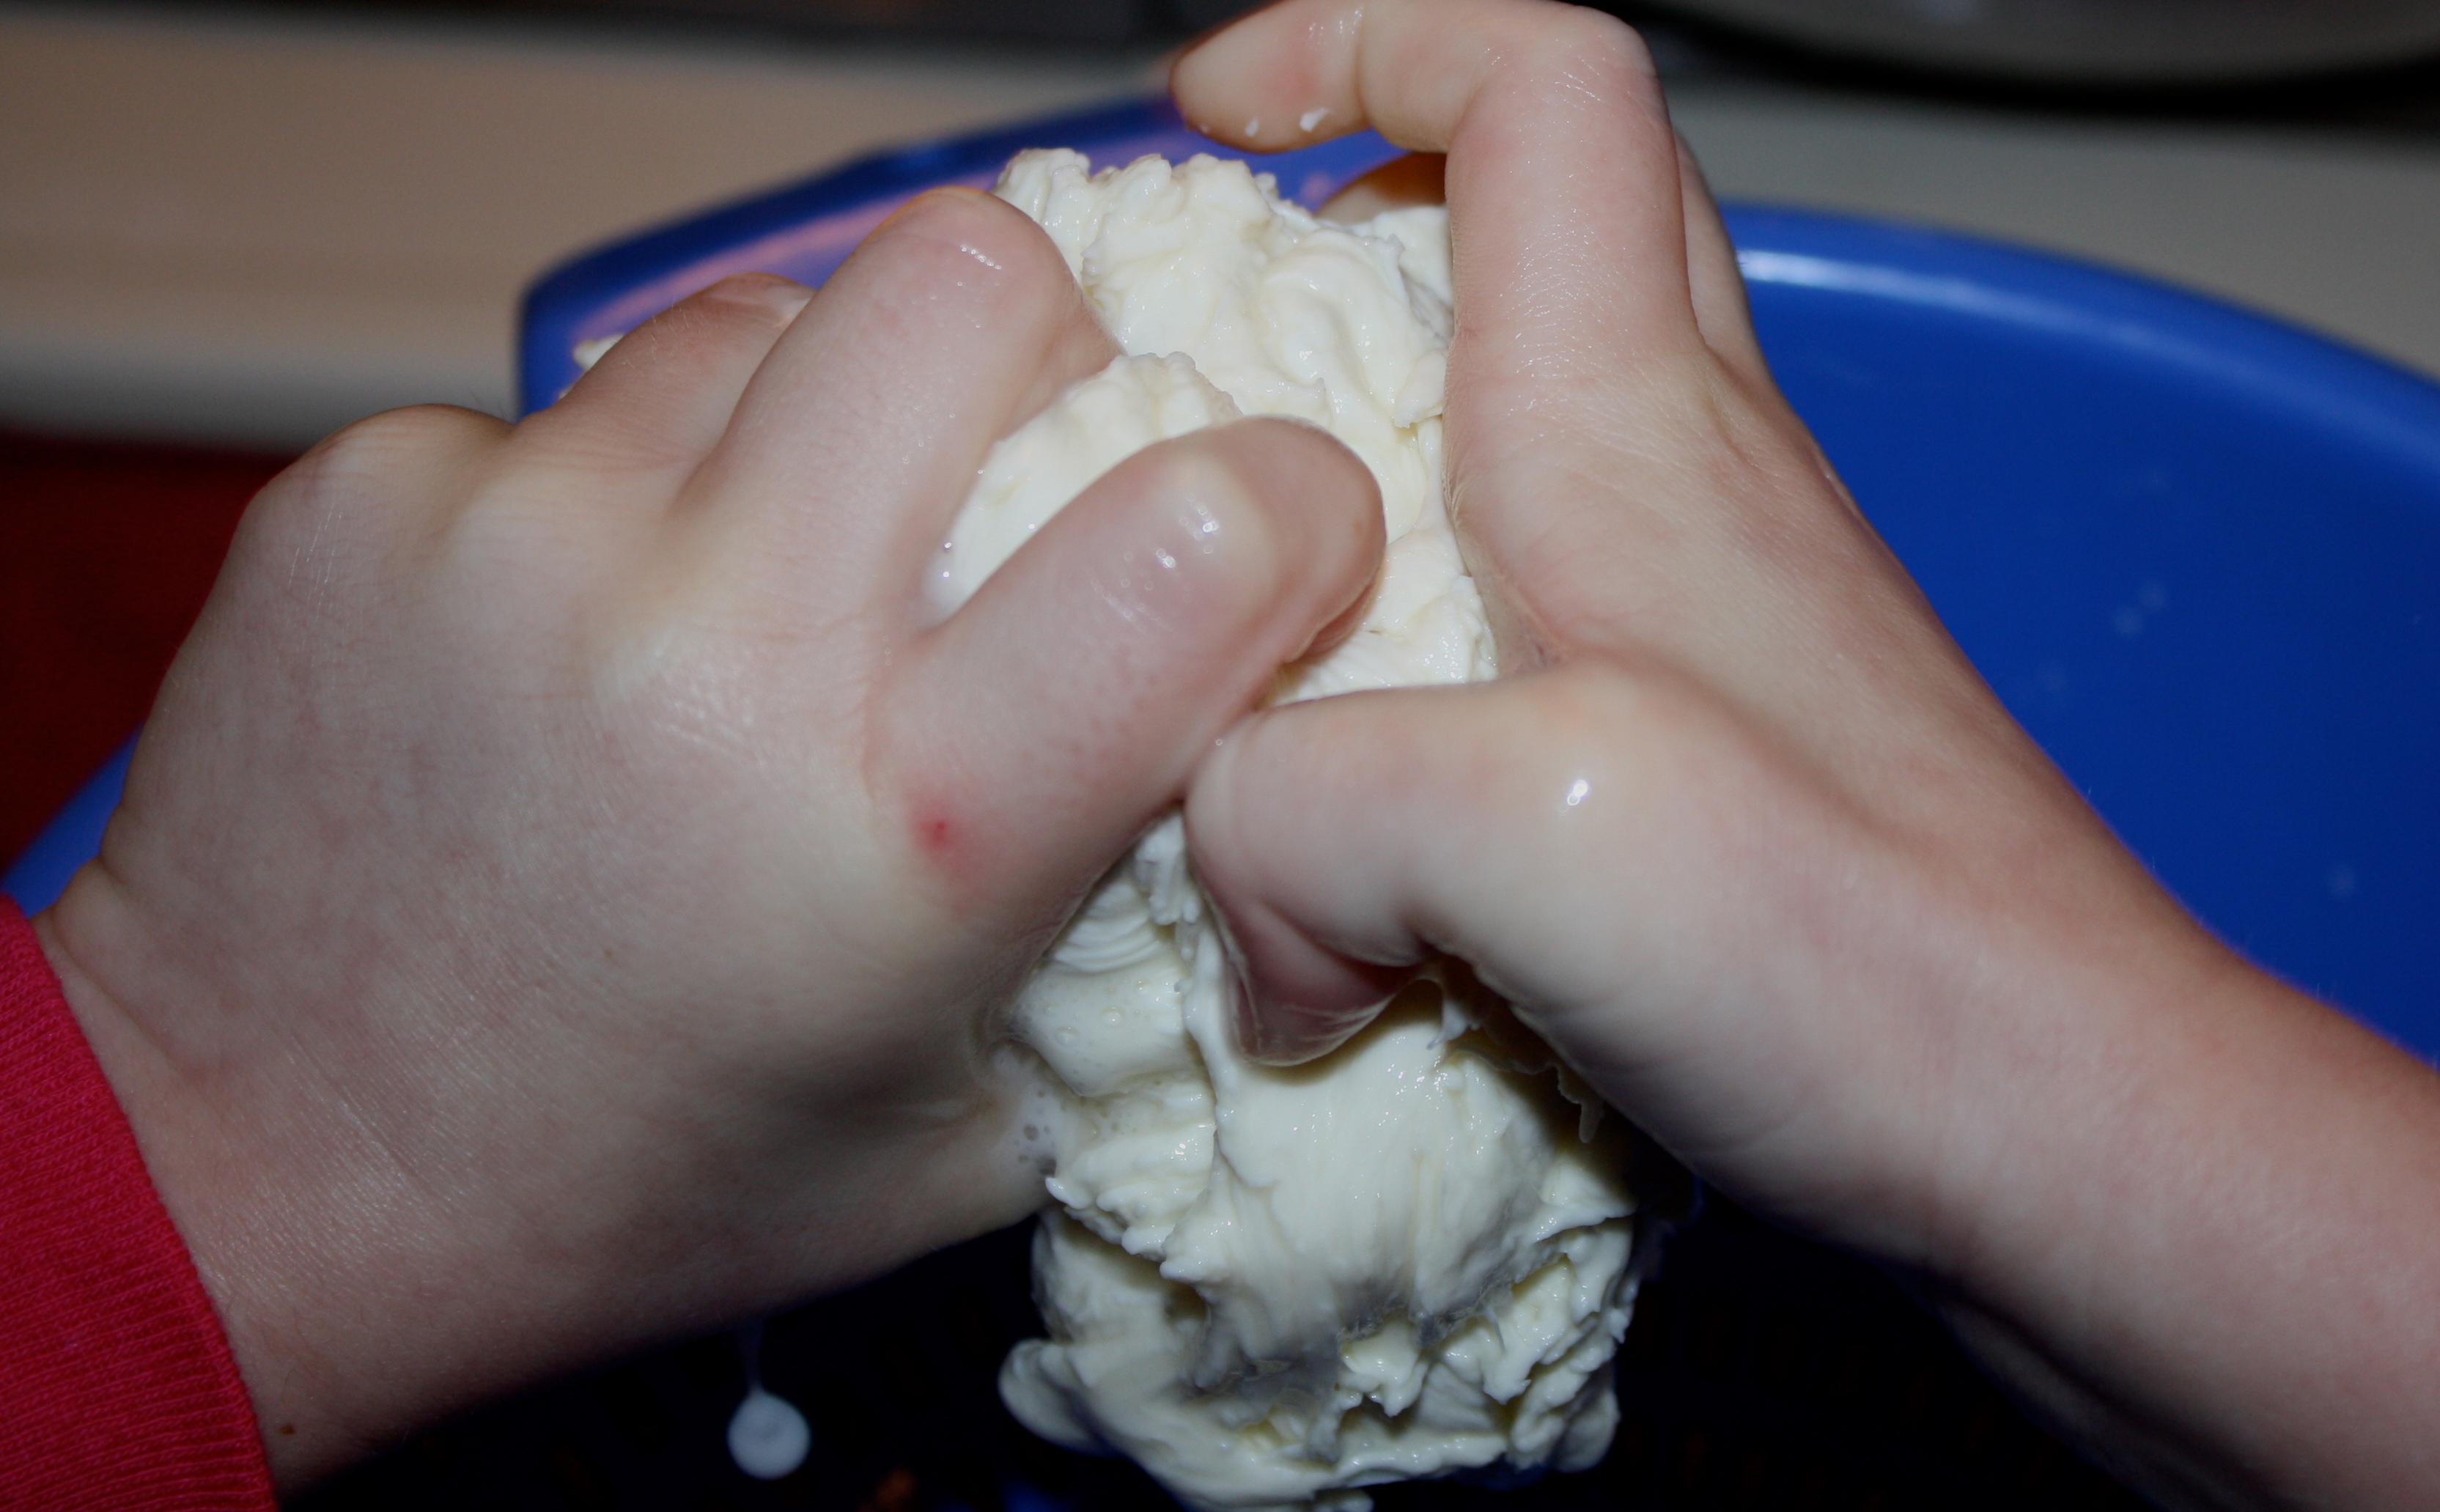
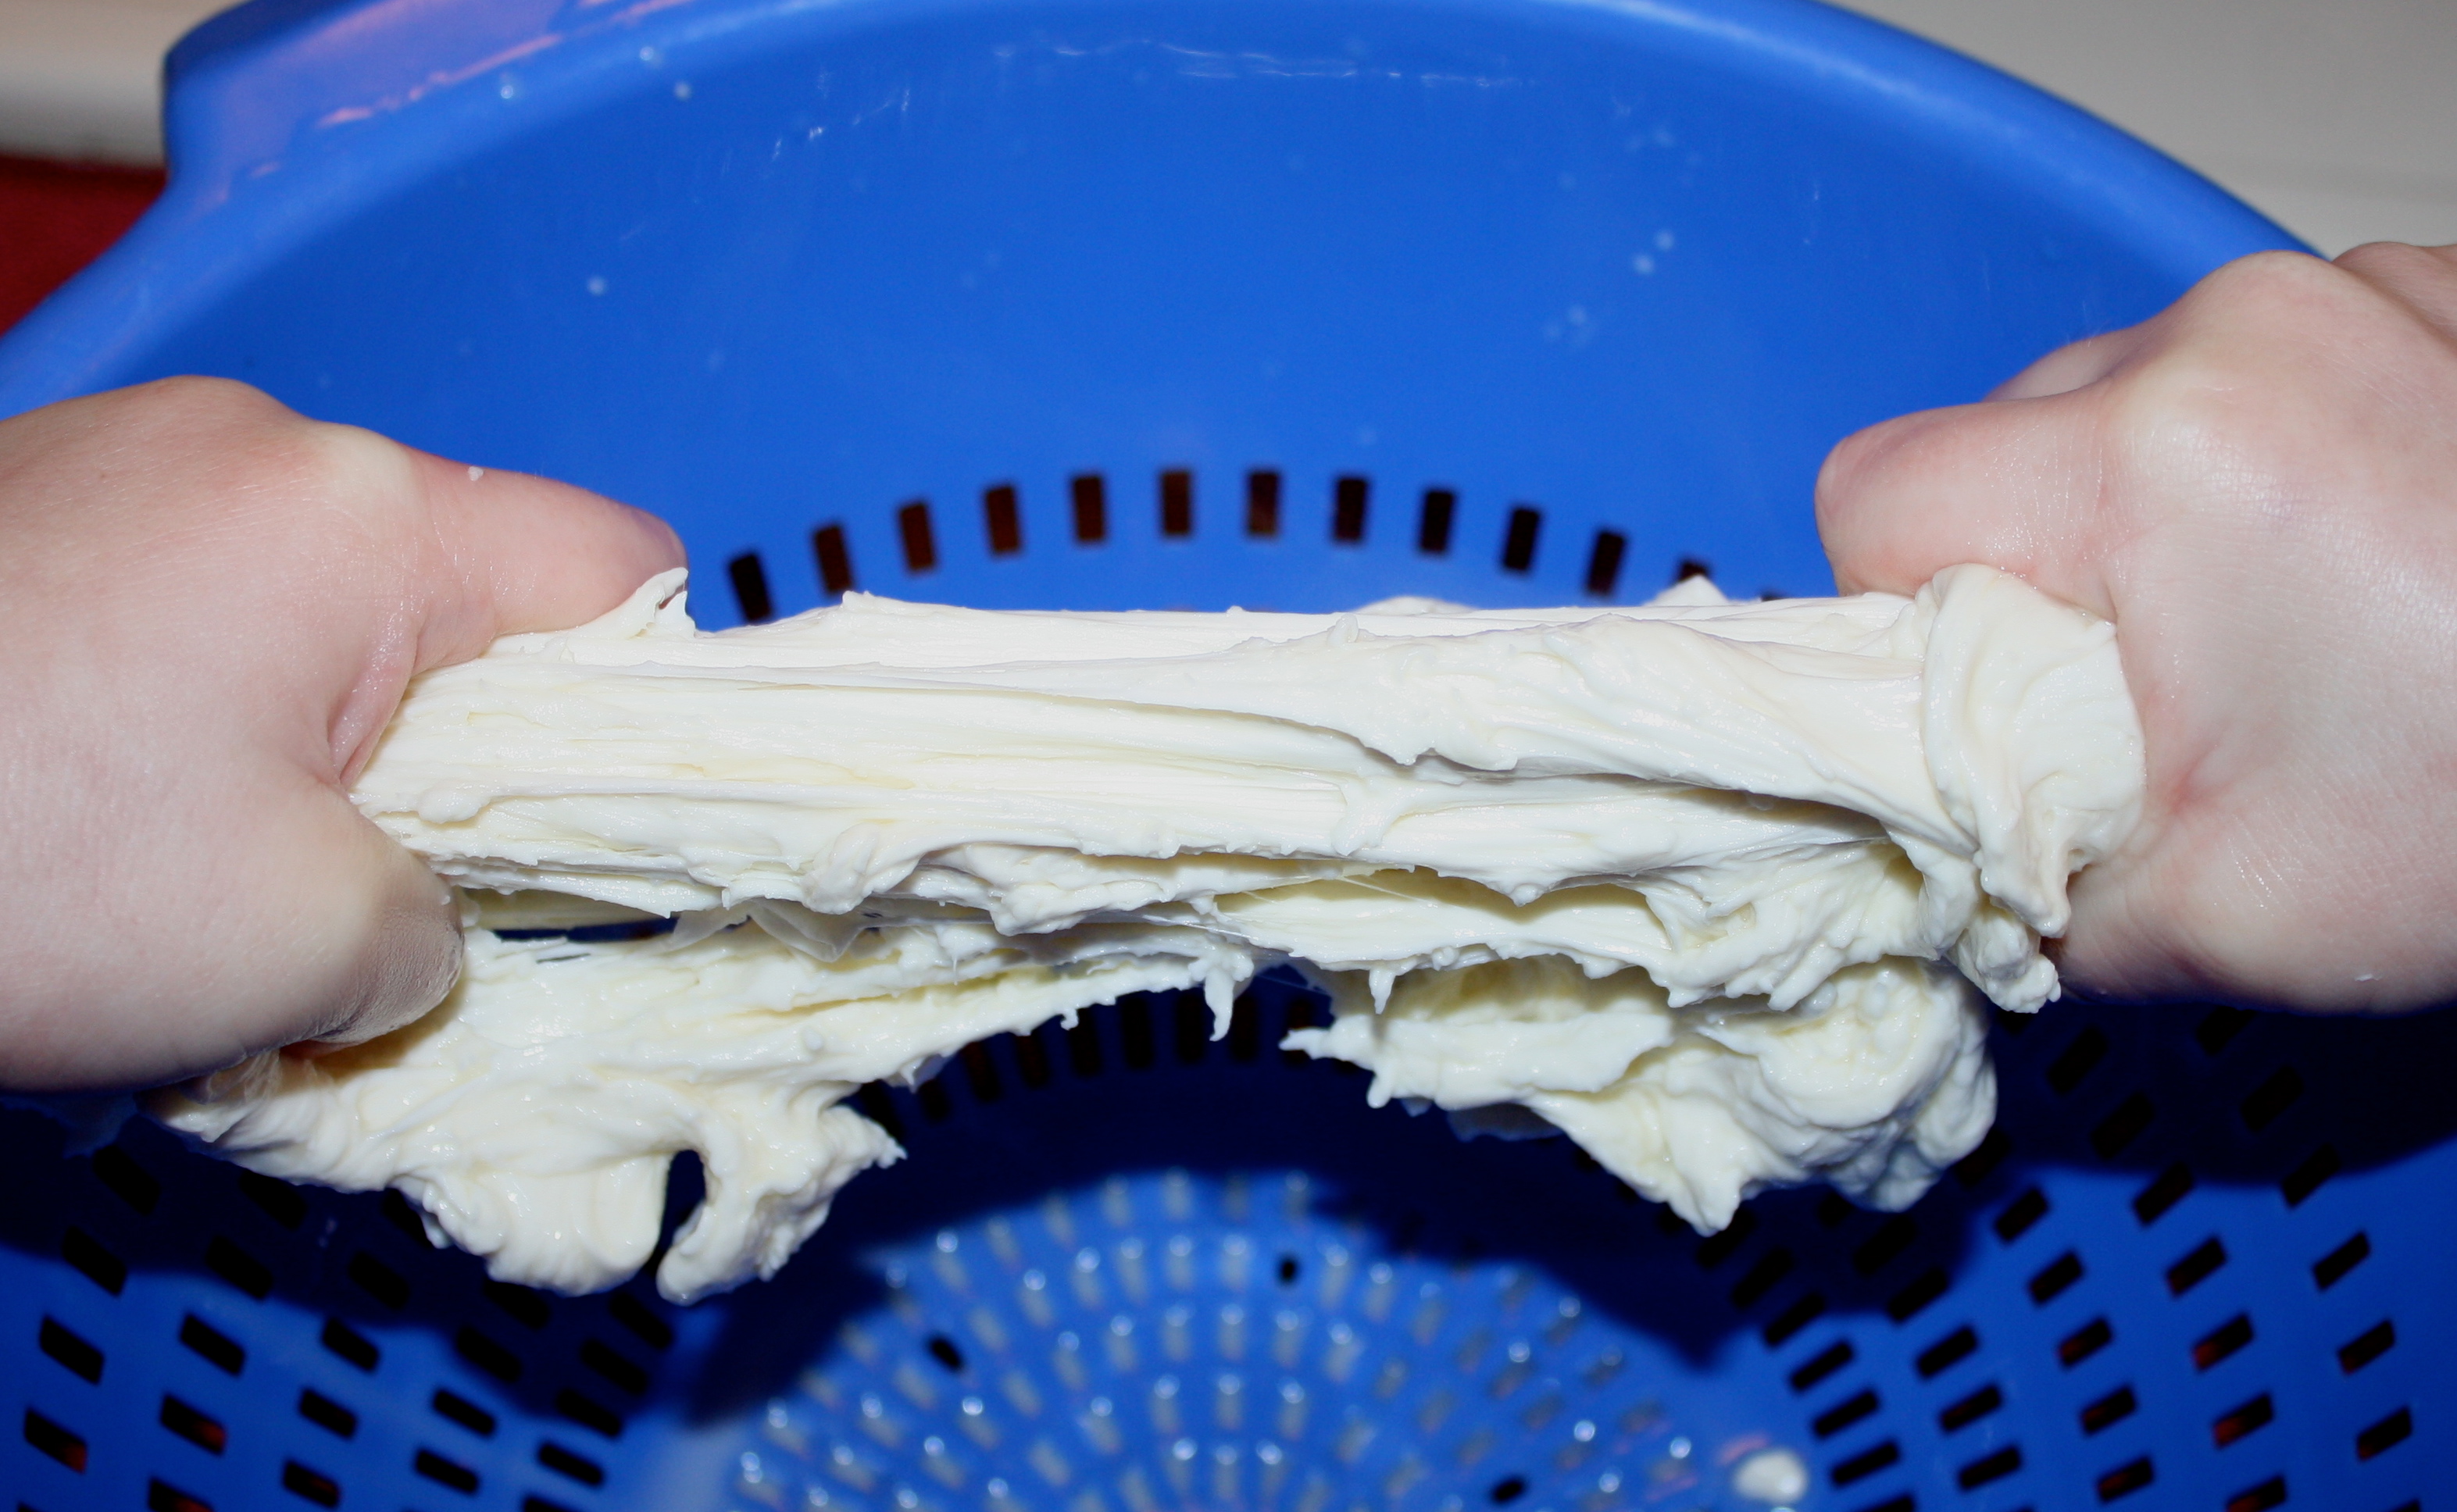
  • My oldest daughter and I are looking forward to making quite a bit of cheese today with our kit from New England Cheesemaking Supply Company.
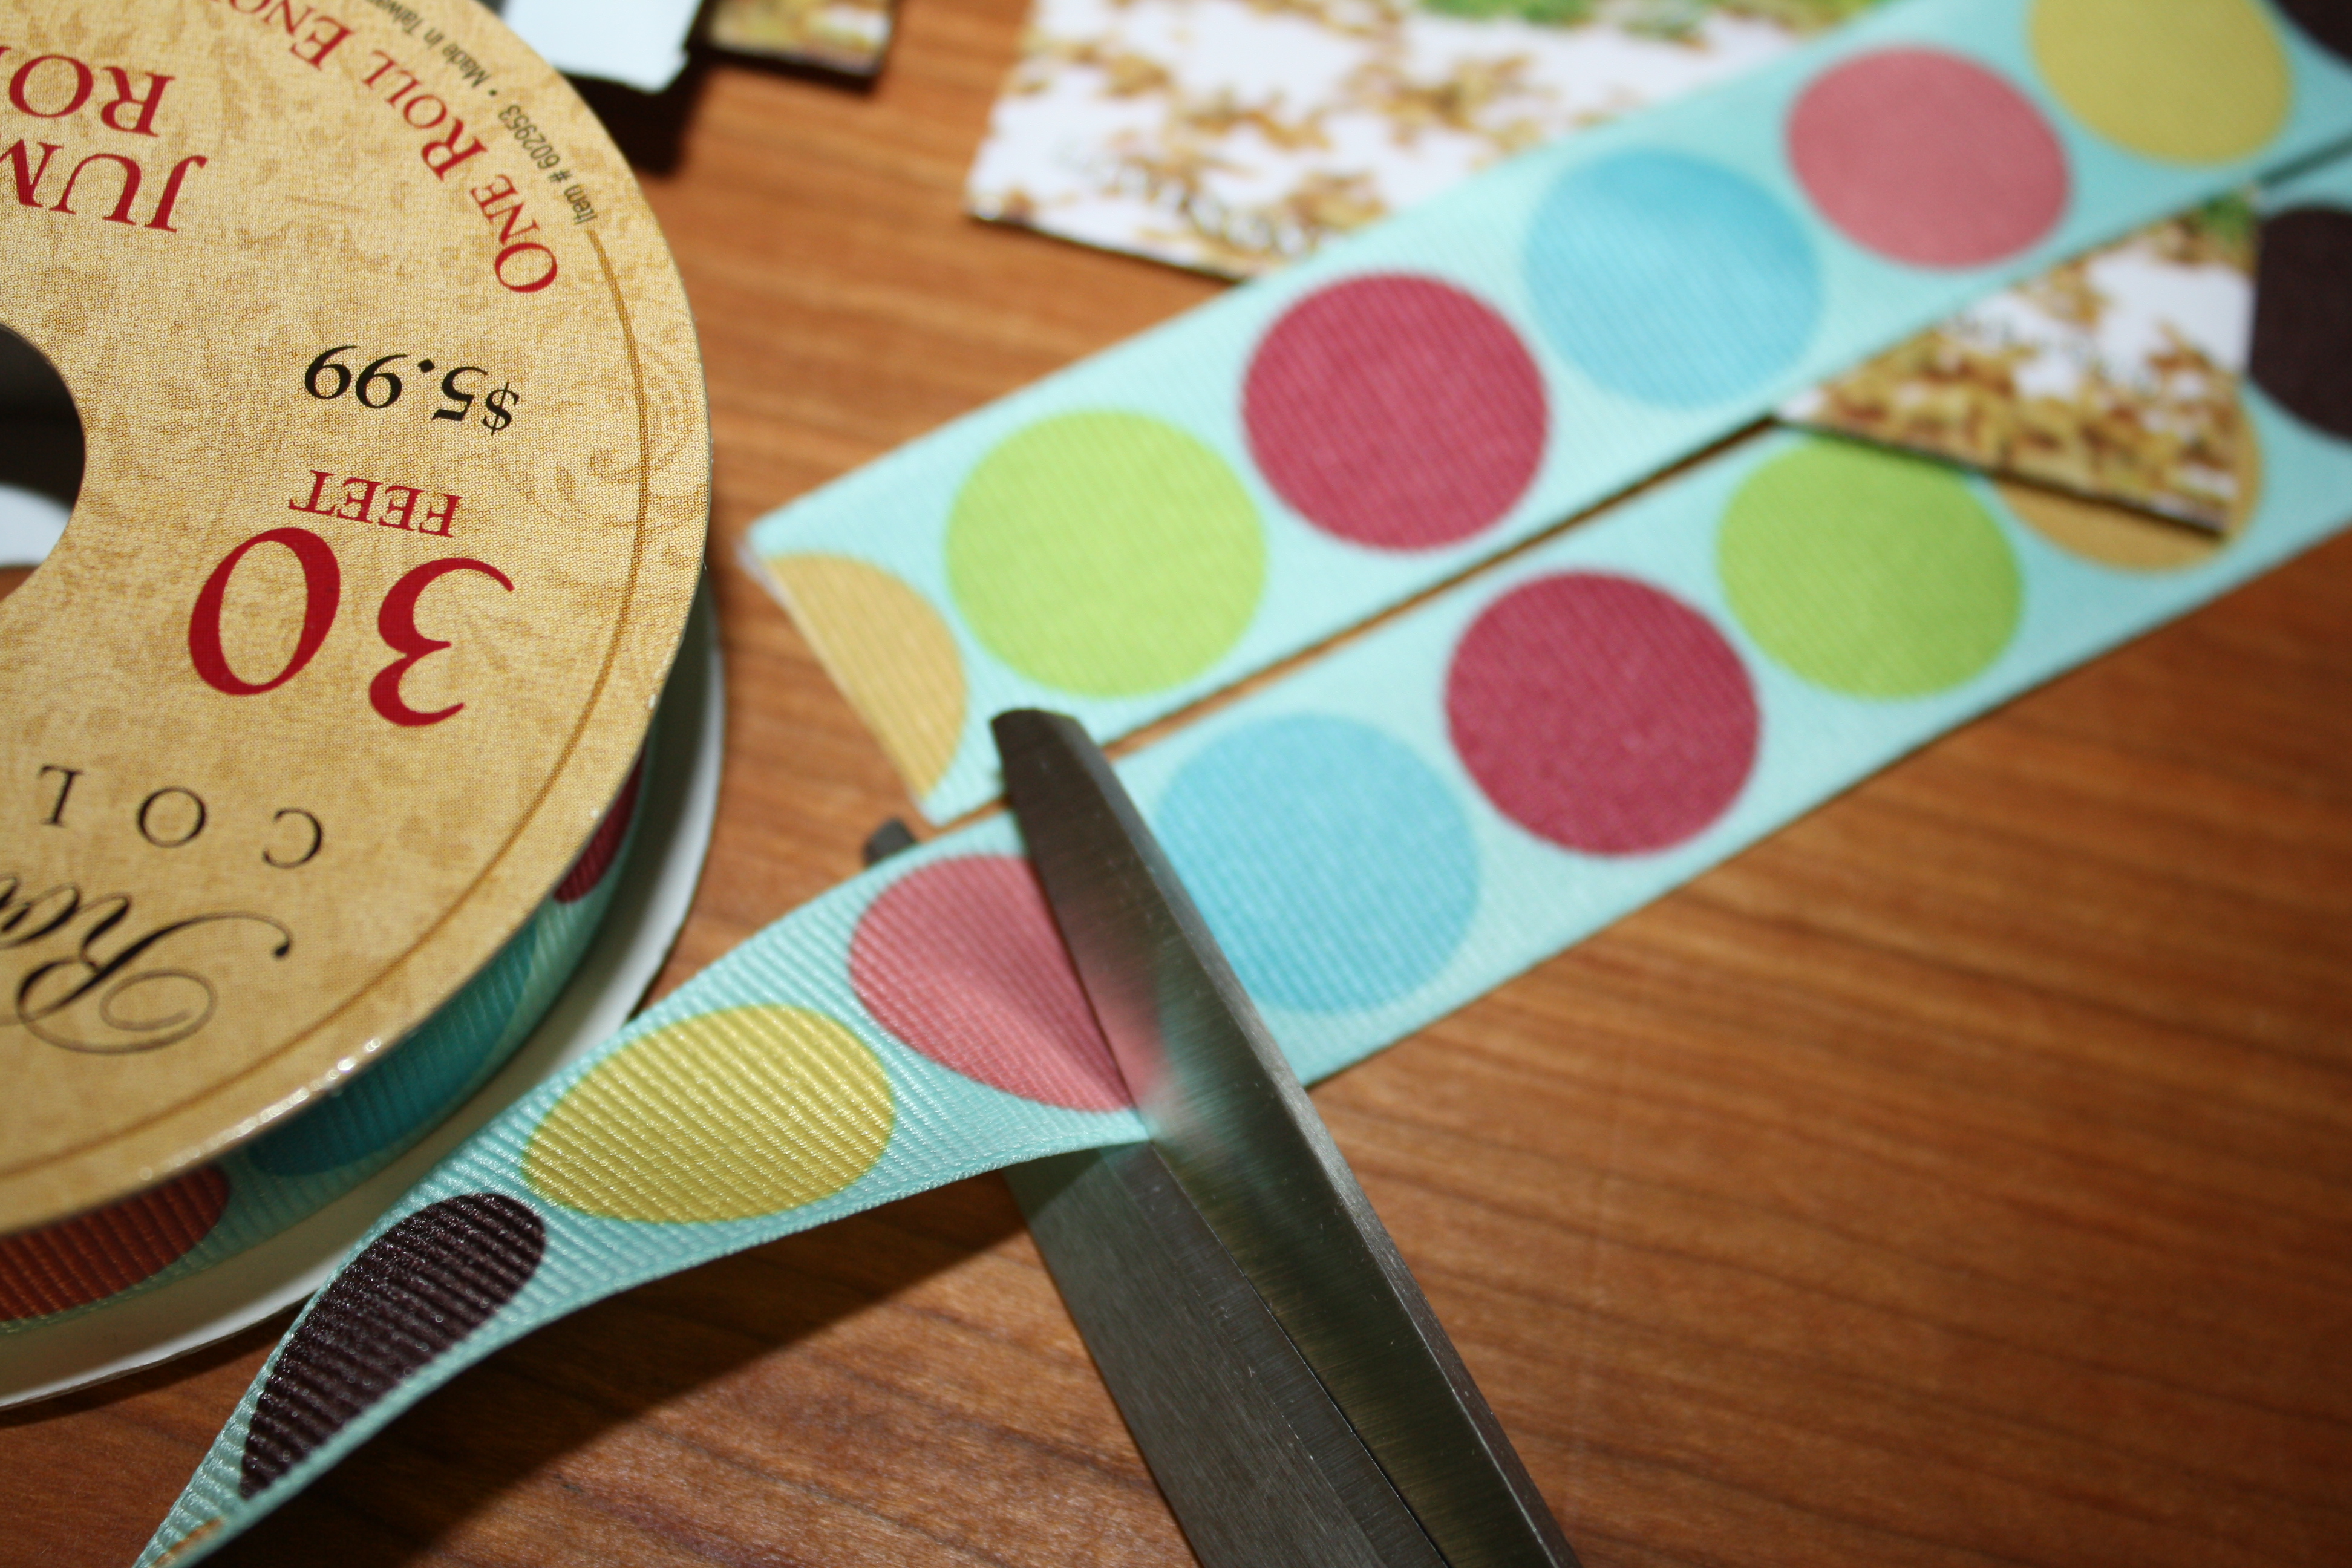
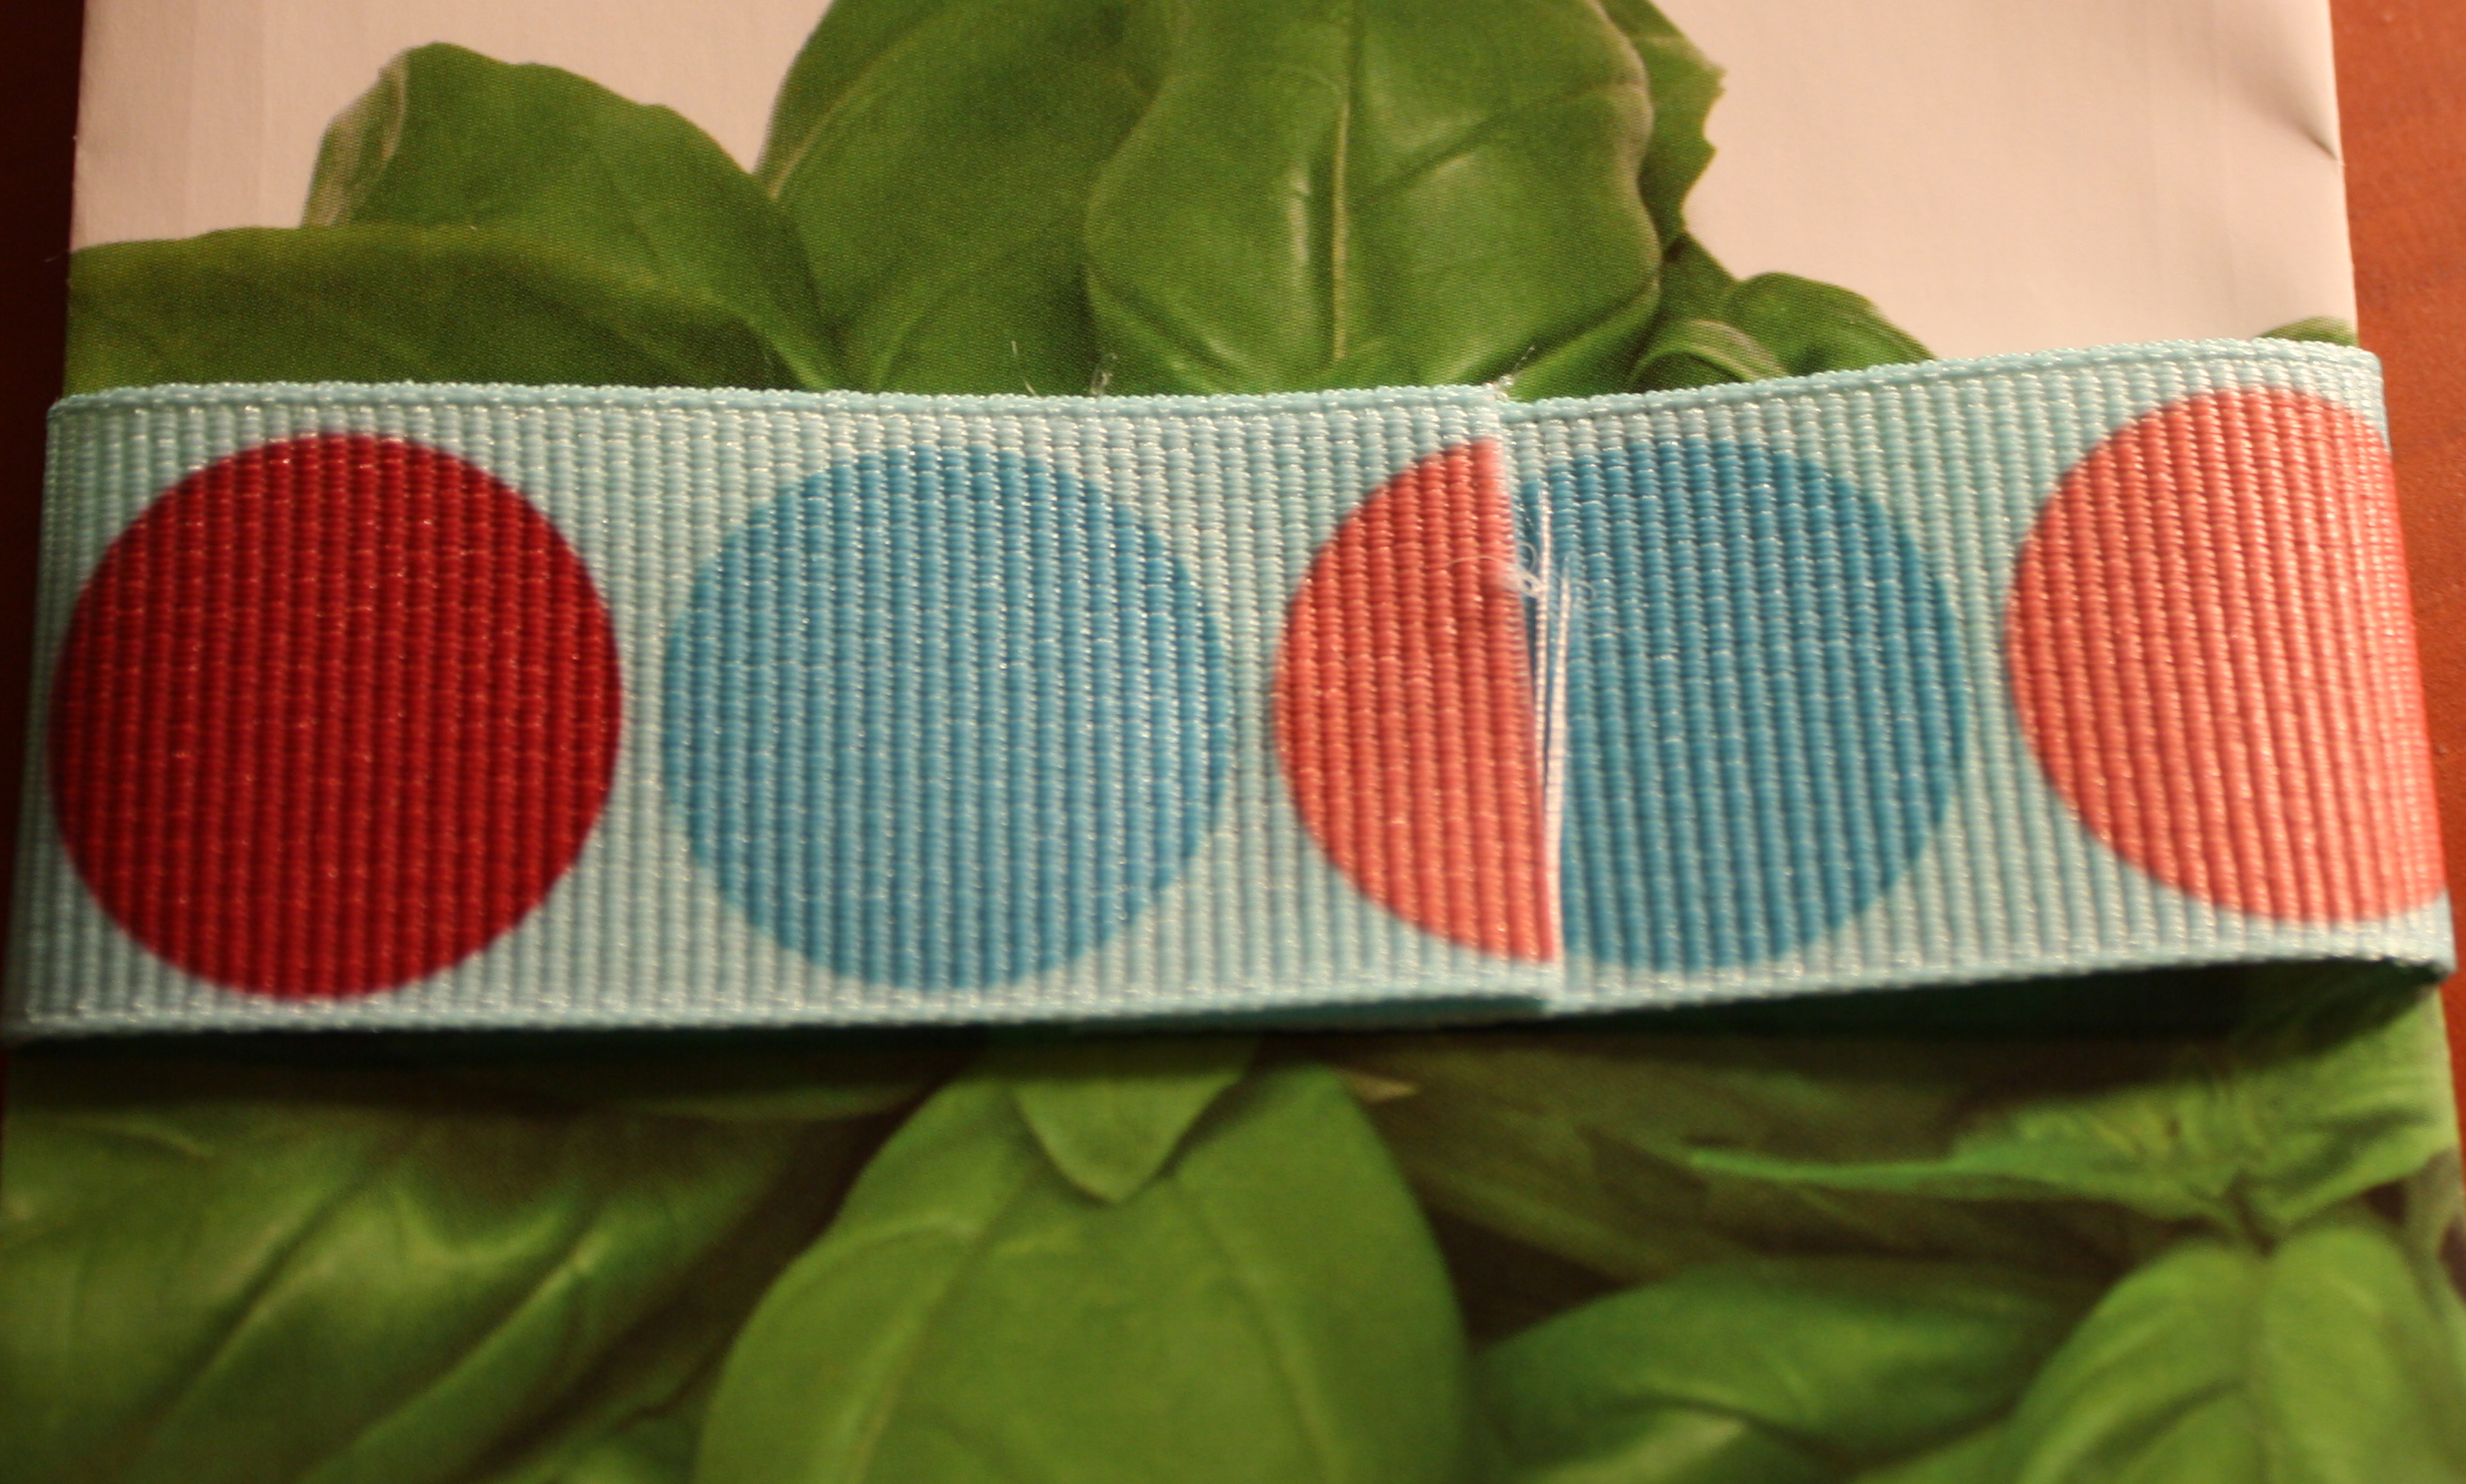
  • I want to redecorate our main bathroom, and I’ve been looking to make this project as the focal point of the room.
  • And last but certainly not least, I plan to try out two more pie recipes from A Year of Pies, my new favorite cookbook.IMG_0610

Valentine Number Two

IMG_0560

My youngest daughter’s Valentine idea yesterday led me to another idea I could use for my oldest daughter’s Valentines.  I used a similar play on words, changed sew to sow, and voila…2013 Valentines are done.  Here’s how to do it…

Step 1:  Cut a length of ribbon that will fit around your chosen seed pack.  (I gave myself an extra inch.)

IMG_0547

Step 2:  Put a dot of hot glue on one end of the ribbon and attach it to the seed pack.  Then use another dot of hot glue to attach the other end of the ribbon to itself.  (This way the seed pack won’t slip out of the ribbon.)

IMG_0550

Step 3:  Print your text I’m “SOW” happy you are my Valentine! onto these labels.

Step 5:  Place one label on the seed pack, over the seam of the ribbon.

And that’s it!

IMG_0556

Happy crafting!

Valentine Number One

In yesterday’s post, I mentioned that I needed to peruse the internet for some fun, creative Valentine ideas.  Well, before I ventured into cyberspace to find ideas, I first went to my three year-old who is never short on a few ideas of her own.  Let me tell you, I’m so glad that I did.  That little lady had such a cute idea, and I bring it to you here today.

She told me, “Mommy, I want to use my new sewing machine and sew hearts for my friends for Valentine’s Day.”  And that’s just what we did…

Step 1:  Trace heart shapes onto a piece of felt.

IMG_0537

Step 2:  Cut out the heart shapes using pinking shears.

IMG_0538

Step 3:  Sew a zig zag stitch along the outside edge of each heart.

IMG_0541

Step 4:  Print your text I’m “SEW” glad you are my Valentine! onto these labels.

Step 5:  Place one label on each heart, reinforcing it with a brad of your choice.

And that’s it!

IMG_0541

Happy crafting!

Homemade Shave Oil and Shave Soap

IMG_0479

When you peek at the back of a shaving cream can, you may notice a longer list of ingredients than the processed food in the grocery store.  Almost all of the ingredients are unpronounceable, and really a bit scary when you think of what impact those ingredients have on our bodies once they are absorbed into our skin.

My husband has been searching for a good shave soap for years now and he continued to come up empty handed.  He has very sensitive skin and couldn’t seem to locate anything that worked, didn’t contain a ton of chemicals, and didn’t irritate his skin.

So, like many other things in our life, we decided to try our hand at making our own.  My hubby has been extremely happy with how these products turned out, and he uses them on a daily basis, confident in the fact that toxins are not leaching into his system, and he does’t have to worry about skin irritation issues.

Sandalwood, Cedarwood & Bay Shave Oil

(Apply a small amount of this Shave Oil prior to shaving.  Follow with Shave Soap.)

1/2 cup organic extra virgin olive oil

1 cup castor oil

10 drops sandalwood essential oil

10 drop cedarwood essential oil

5 drops bay essential oil

4 oz. amber bottles with lids (I bought mine here.)

medium-sized bowl

metal spoon

funnel

Mix the olive oil and caster oil in a medium bowl.  Then, slowly mix in the three essential oils.  Using a funnel, pour the shave oil into the amber bottles.  Cap.  Enjoy.

Sandalwood, Cedarwood & Bay Shave Soap

(Place a bar of this soap in the bottom of a large mug.  Thoroughly wet a shave brush and then vigorously rub it over the bar of shave soap.  Lather the soap on your face and you are ready to begin shaving.)

1 pound Melt and Pour Soap Base (I use this Goat’s Milk Soap Base.)

2 teaspoons bentonite clay (I purchase mine from this local natural food store, but you can get it here.)

10 drops sandalwood essential oil

10 drops cedarwood essential oil

5 drops bay essential oil

a shallow pot or saucepan

a glass bowl

wooden spoon

soap molds (You can purchase these at your local craft store or here.)

Fill the pot or saucepan half full with water.  Bring to a simmer.  Place the glass bowl in the pot of water to create a double boiler of sorts.  Place the melt and pour soap base in the glass bowl.  Stir the base with a wooden spoon until it melts.  Remove the bowl from the heat and quickly mix in the clay.  Then add the three essential oils and stir.  Allow the mixture to cool just slightly (enough to thicken the mixture just a bit).  Pour into your molds.  Allow to rest until completely cool.  Remove the soap from the molds.  Enjoy.

IMG_0480

Our Crafting Space

IMG_0218

After spending so much time crafting over the holidays, I realized I have never shared our crafting space with all of you.  The previous owners of our home used this space as a dark room because the husband was a hobby photographer.  When we took ownership of the property, this space was perfect to house our crafty endeavors.

IMG_0219 IMG_0221 IMG_0223 IMG_0224 IMG_0225 IMG_0235 IMG_0236

Over the last four years, the walls have grown covered with artwork, making it a cozy little space that perfectly suits our arts and crafts needs.  On many a weekend, you can find us gals down in the basement, nestled into this small space, creating away.

IMG_0237

Brew and Moo

IMG_0062

The mercury had risen just a touch, but enough to make it bearable outside.  The snow fell lightly upon the ground, leaving a white dusting on the roofs of houses and the paved roadways.  This past weekend we took full advantage of this beauty.  I kept the kitchen warm with the stovetop all abustle, and the smell of warm milk in the air.  Meanwhile, my hubby could be found in the nearby garage, reading and mixing his brew with the aromas of hops pouring forth into the crisp air outside.  The girls frolicked in the snow, while the cat sat perched in a tree, taking in all the action.

IMG_0283

IMG_0274

My oldest daughter and I used our favorite cheese kit and made two pounds of fresh mozzarella cheese.  (You can check out our previous cheesemaking experience here.)  For the first time, I allowed her to truly assist me by slowly stirring the curd and then stretching it, adding salt, and then forming it into small balls of deliciousness.  The best part of the entire experience was when this six year-old, who normally only likes “cooked cheese,”  took a ball of fresh mozzarella and bit in.  She said, “Well, I only like cheese that I make.  That’s the only kind I’ll eat.”  Love.

IMG_0252 IMG_0254 IMG_0257 IMG_0259 IMG_0260

The holidays left us empty handed in the home-brew department, so my husband brewed three fresh batches this weekend.  He tried out a new brewing kit, and then made two tried and true favorites…a caramel creme ale and a fabulous breakfast stout.

IMG_0288

IMG_0281

IMG_0292

The finished products of the day:  beer, cheese and a bit of hot chocolate of course.  Is there anything better?  Yum!

IMG_0294 IMG_0301

The Gift of Homemade

The season of gift-giving is upon us, and this year we have decided to take a different approach to our most-loved holiday.  We hope to create many of our gifts with our very own hands, thus giving our friends and family something truly from deep within our hearts.  Here is a bit of what is in the works right now…

Good Clean Fun

This week opened with warm weather, but a whole lot of rain.  In order to keep ourselves entertained during these deluge-filled days, my youngest and I decided it was time to restore our soap supply.  It was time for some good clean fun.  It was time for soap making.

In the past, I have relied upon soap recipes from books, but this time I ventured into unknown territory and made up a few concoctions of my own.  Now with that said, let me be clear in stating that I have not yet made the move to making my own soap base from lye.  I hope to one day get to that point, but for now I still use a wonderful goat’s-milk base from this soap-making supply company.

I hope you enjoy these recipes as much as we have.  Enjoy!

Lavender Rosemary Soap

2 lbs 10 oz goat’s milk soap base

3/4 cup palm oil

1/4 cup beeswax pellets

Melt these ingredients down in a double boiler.  (I use an old glass bowl nested in a pan of hot water.)  Once the mixture is melted, remove from heat.  Add 3 eye droppers of vitamin E oil, 25 drops of rosemary essential oil, and 40 drops of lavender essential oil. Mix.  Continue to mix and allow the mixture to cool down slightly.  (I have found this helps to keep the palm oil from separating during the molding and cooling process.)  Then pour the mixture into soap molds and allow to cool.  Once cool, remove from molds (and cut if needed).  Let the soap cure on a drying rack for two weeks before use.

Orange Chai Spice Soap

2 lbs 10 oz goat’s milk soap base

3/4 cup palm oil

1/4 cup beeswax pellets

Melt these ingredients down in a double boiler.  (I use an old glass bowl nested in a pan of hot water.)  Once the mixture is melted, remove from heat.  Add 3 eye droppers of vitamin E oil, 40 drops of sweet orange essential oil, and the contents of 8 chai tea bags. Mix.  Continue to mix and allow the mixture to cool down slightly.  (I have found this helps to keep the palm oil from separating during the molding and cooling process.)  Then pour the mixture into soap molds and allow to cool.  Once cool, remove from molds (and cut if needed).  Let the soap cure on a drying rack for two weeks before use.

Fall Felting

If you joined us a few weeks ago, you may remember we visited with a few furry friends in honor of National Alpaca Weekend.  While on this fun adventure, we were lucky enough to receive some small bags of soft, velety alpaca fiber.  After a bit of research and a gander through one of my favorite home-crafting books, I came upon a fun and easy project, perfectly suited for my hard-to-entertain-these-days daughter.

Although a bit wet, the project was such fun on this unseasonably-warm fall afternoon.  I must say my favorite part of the entire process was each time my daughter held the dark brown fiber in her tiny hands and said, “Mommy, this fur is from Bob.  You know Bob.  He was the boy alpaca.”  Oh my, this girl.

We ended our day with quite a few felted balls that we plan to make into petite acorn decorations.  We will see if our planned nature walk today in search of acorn tops proves to be fruitful.